Welcome to In the Sketchbook, a monthly look at fashion design sketches that we are working on for ourselves. Sketching garments on a personal croquis is a great way for the individual couture enthusiast to move beyond the use of commercial patterns and into a world of personalized design! It can be intimidating at first, but with a little bit of practice it becomes something you look forward to. Join us for a look of what we have going on In the Sketchbook! Brought to you by Wendy Grossman of Couture Counsellor and Steph King from Siouxzeegirl Designs.
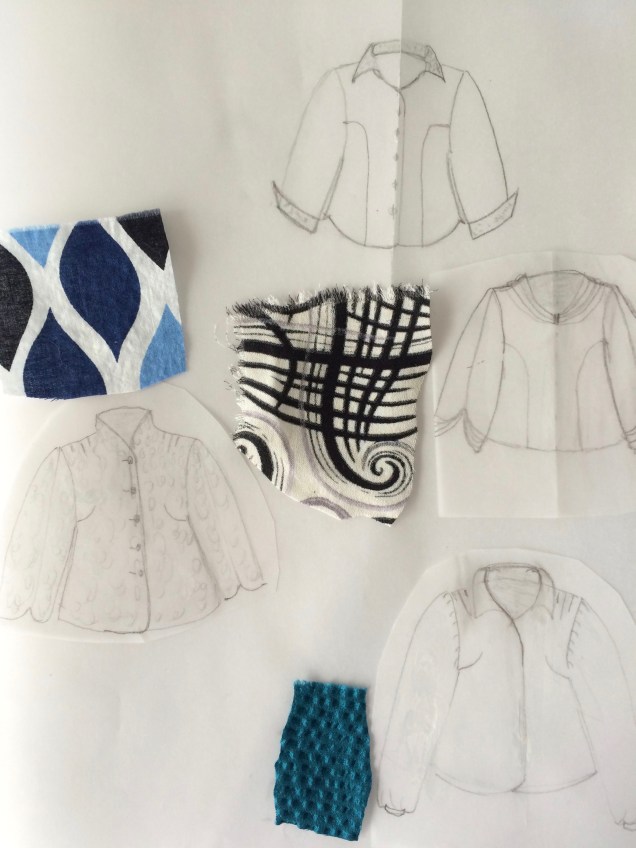
This month, I’ve been trying out drawing apps on the iPad Pro and learning how to use the different features that are offered. Like everything else, the results improve with practice. Although I was excited about sketching on lovely tracing vellum, electronic sketching seems to be much better for me. I remember feeling this way about writing when I bought my very first, very rudimentary personal word processor. For a diehard perfectionist, there is something so liberating about being able to pour out thoughts before they have to be committed to paper. The undo button and the ability to erase without leaving the slightest trace of a mistake allows me to venture well beyond where I go with pencil and paper.
Even bold color can be erased and you can’t erase paint or felt markers. Then there is the fill function, which I’m still trying to master. And the ability to add a background, which I did in the sketch on the right without knowing how that happened or how to do it again. Like I said, practice is needed.


The apps I’m using allow you to work with layers, so my personal croquis can serve as my guide the way it does when using tracing paper or vellum. I can lower the opacity of the croquis or turn off its visibility entirely before finalizing my sketch. You can also sketch individual pieces of a separates ensemble on their own layers to try out different looks and you can do the same with design details.


So far, the apps I’ve tried are Paper 53, Sketches, Procreate and Adobe Sketch. My brain is resistant to Adobe software. It was all I could do to learn InDesign when I needed to and to this day I only know how to do a few things in Photoshop, so I’m not sure I’ll ever feel comfortable with Adobe Sketch. I’m getting fairly comfortable with Sketches and I’m working my way through the very helpful e-book that’s available for Procreate to learn how to use its cool features. It’s a process.
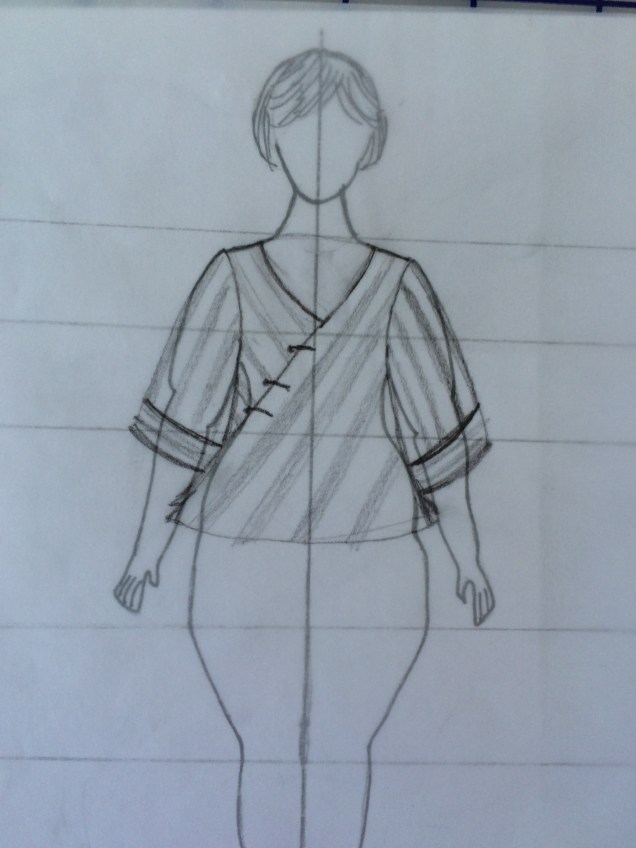
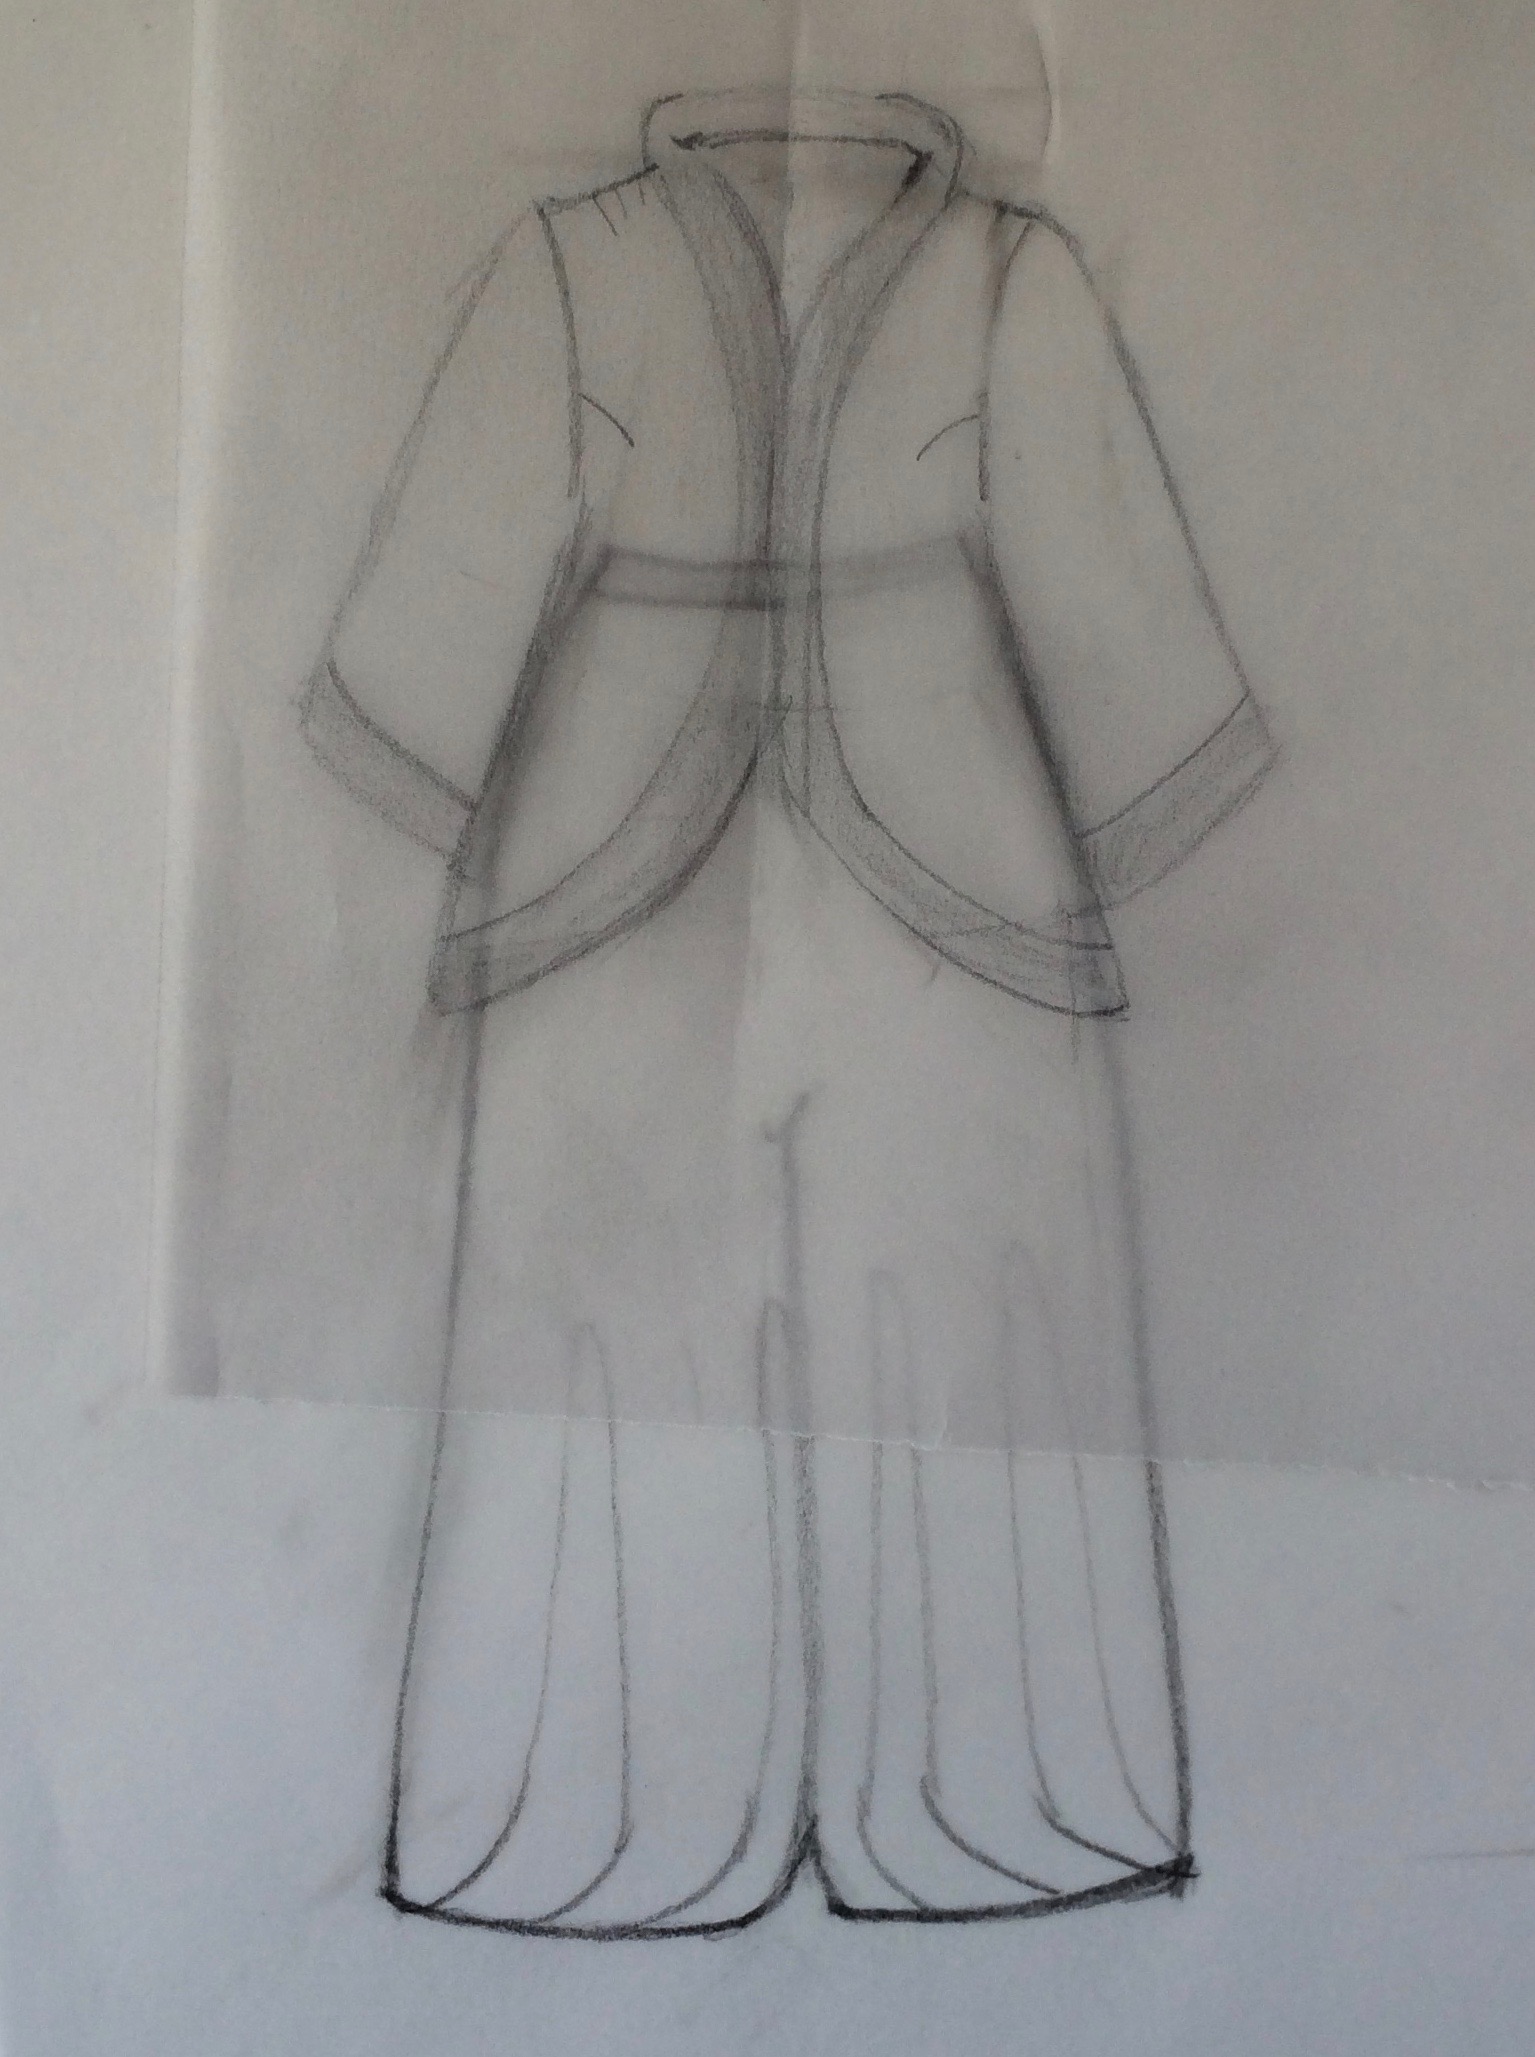
I’m looking forward to learning how to duplicate an image onto a new layer and flip it so I don’t have to draw both sides of a symmetrical piece, or I can fix a mistake when I draw one asymetrical element in the wrong direction as I did here.
Okay, enough tech talk. Let’s get to the designs.
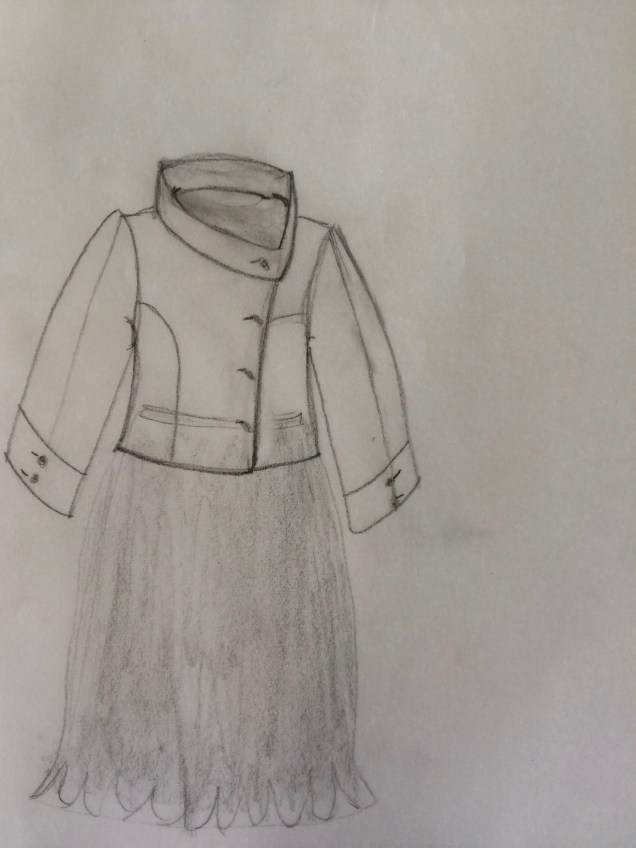
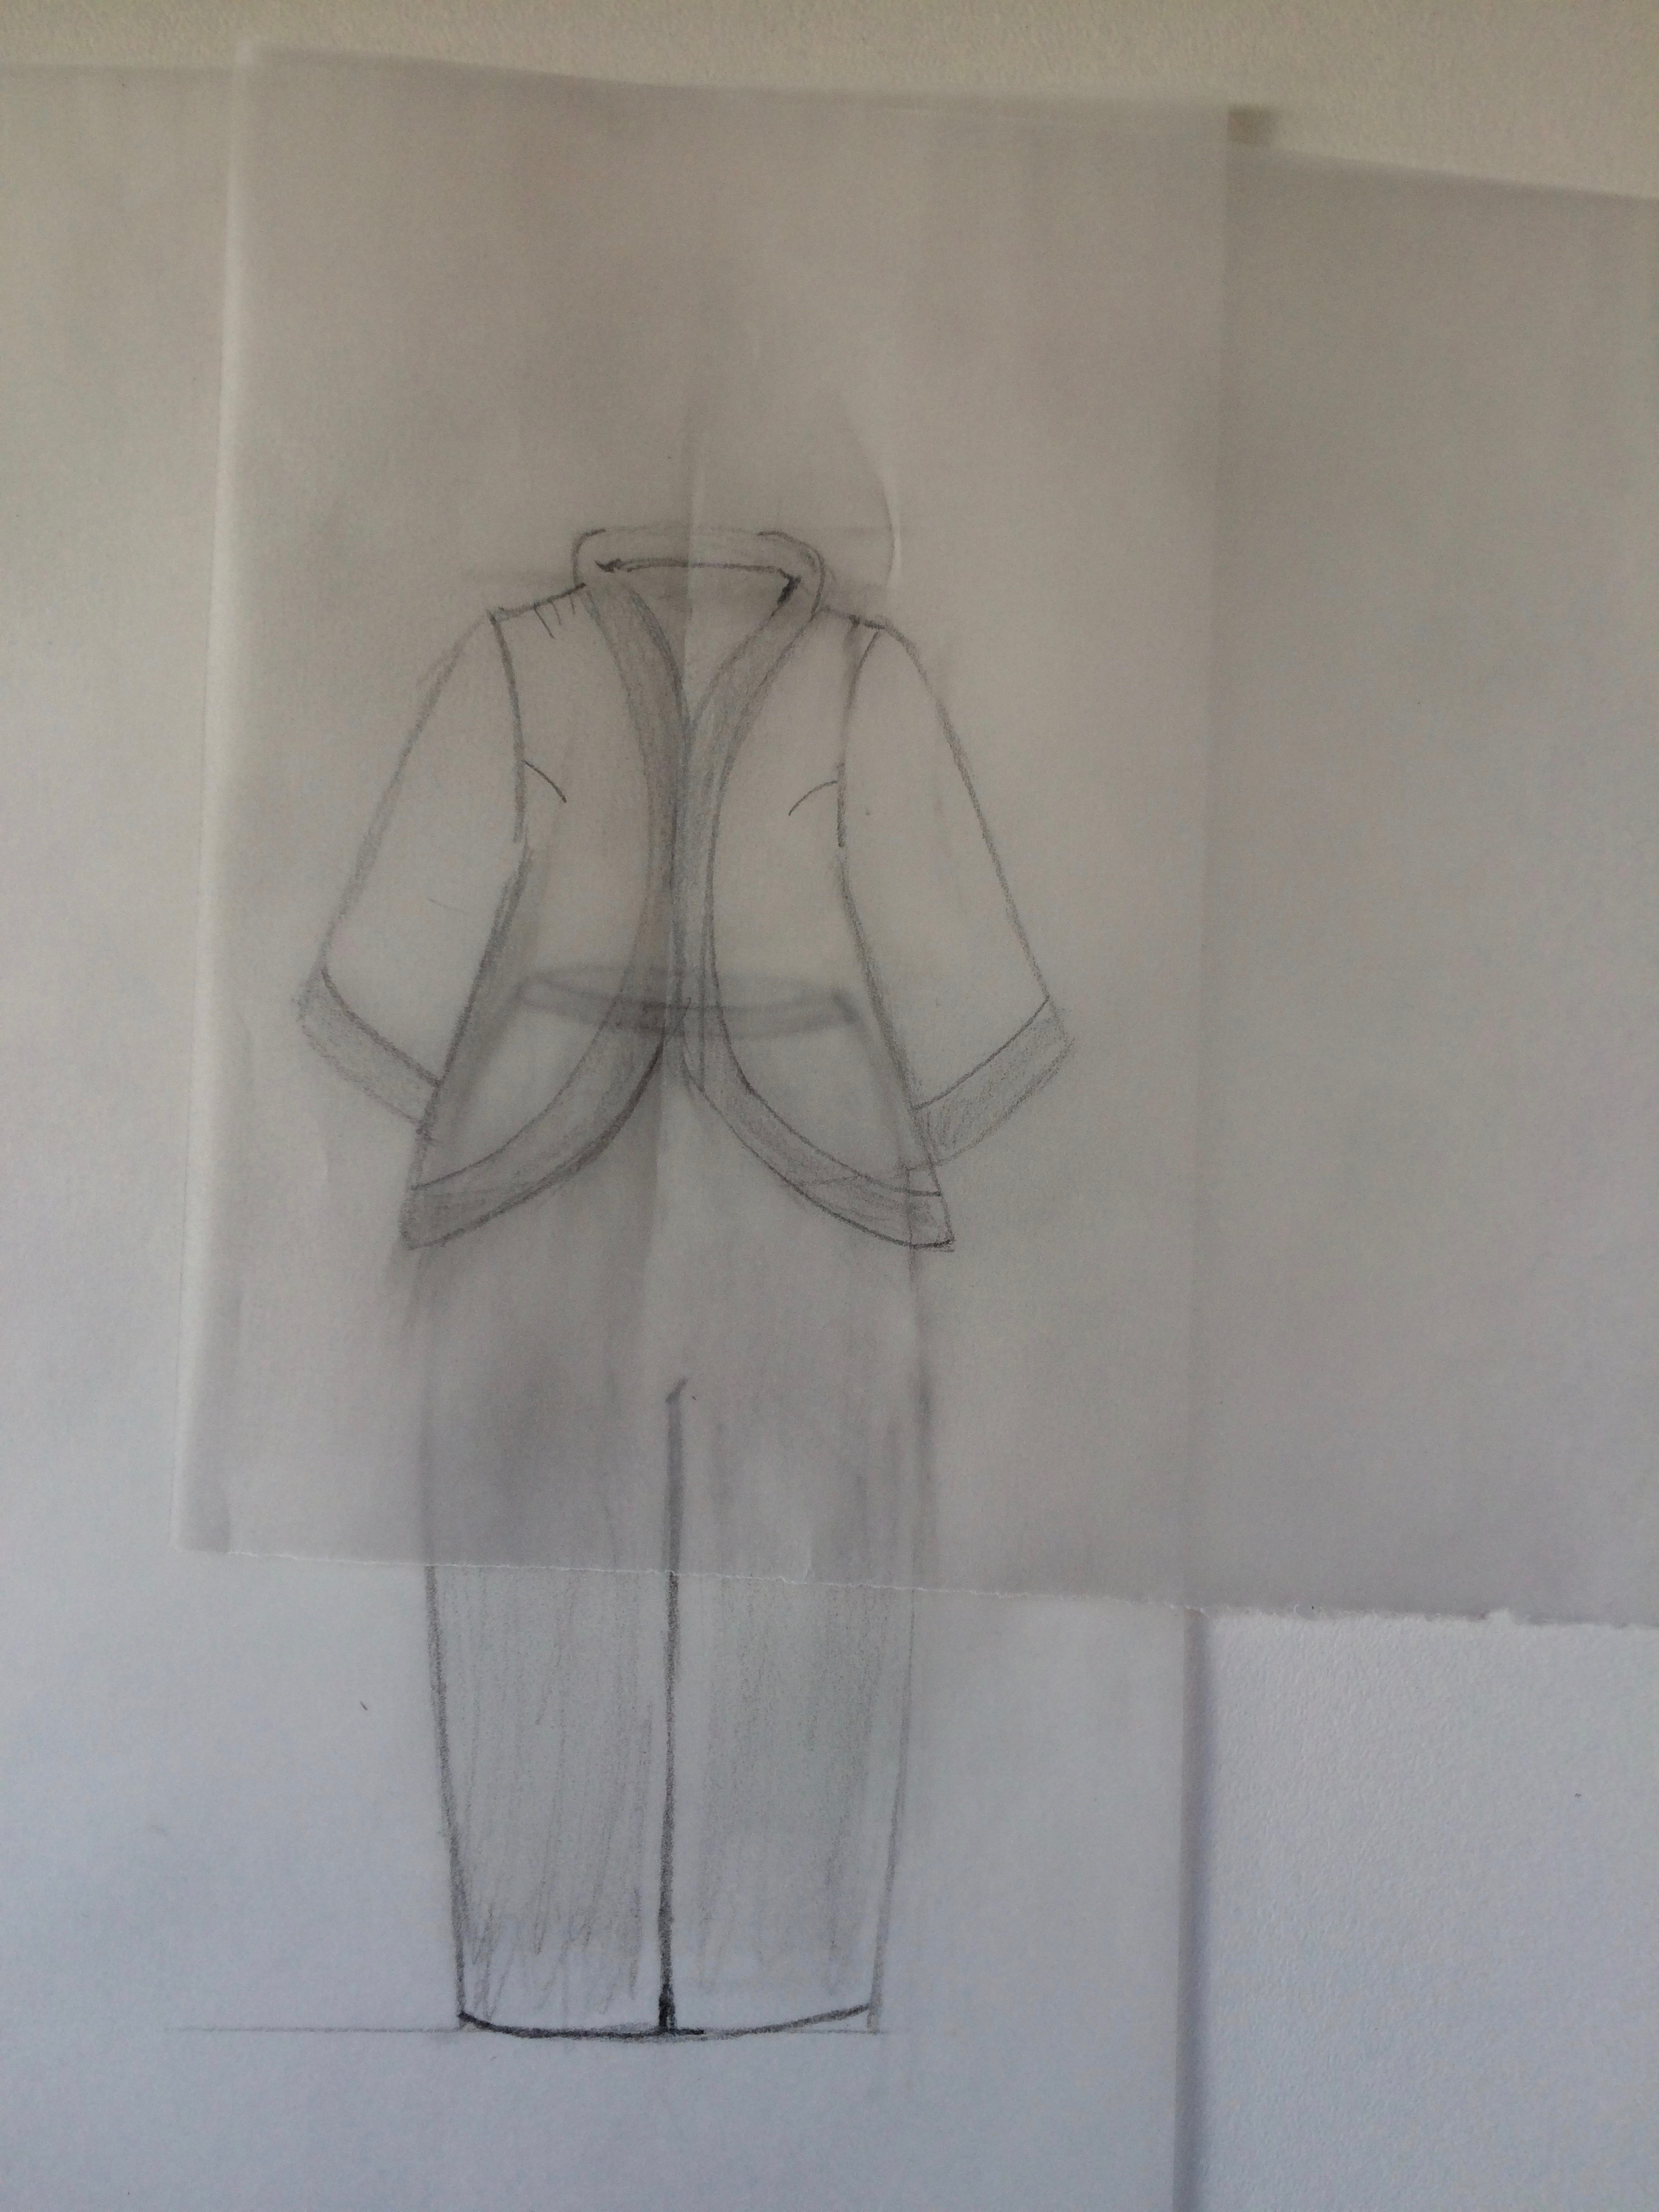
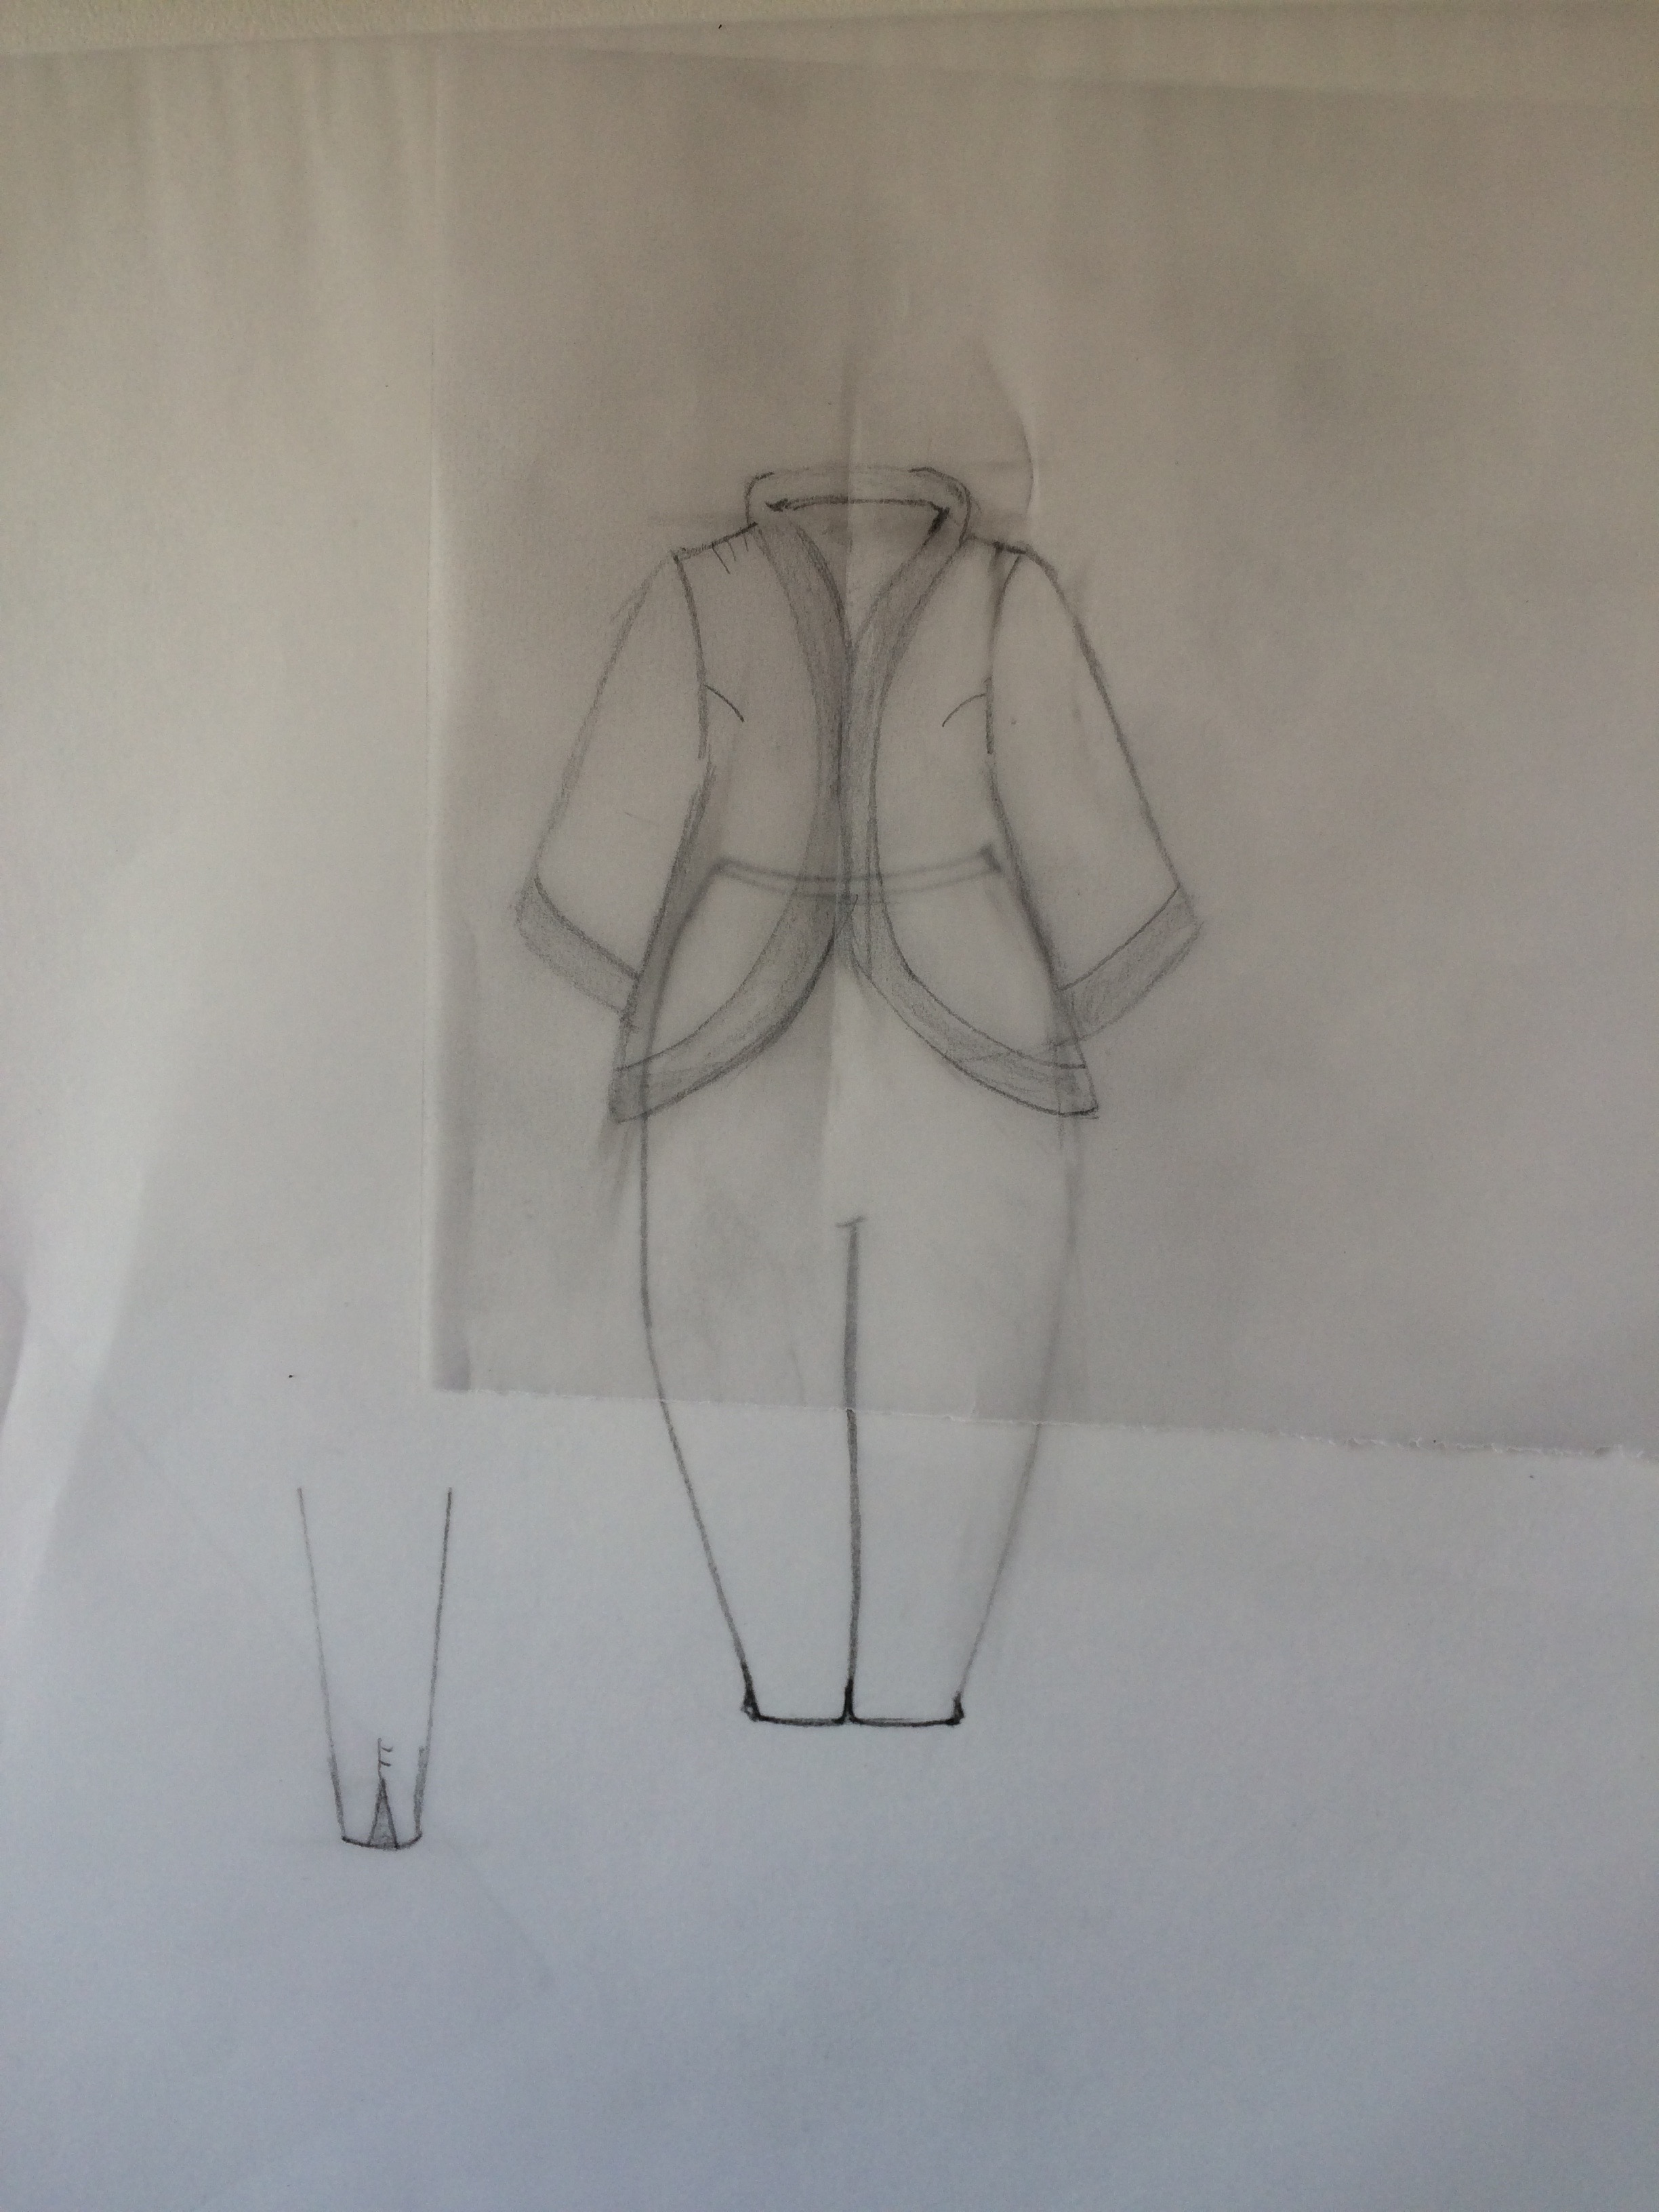
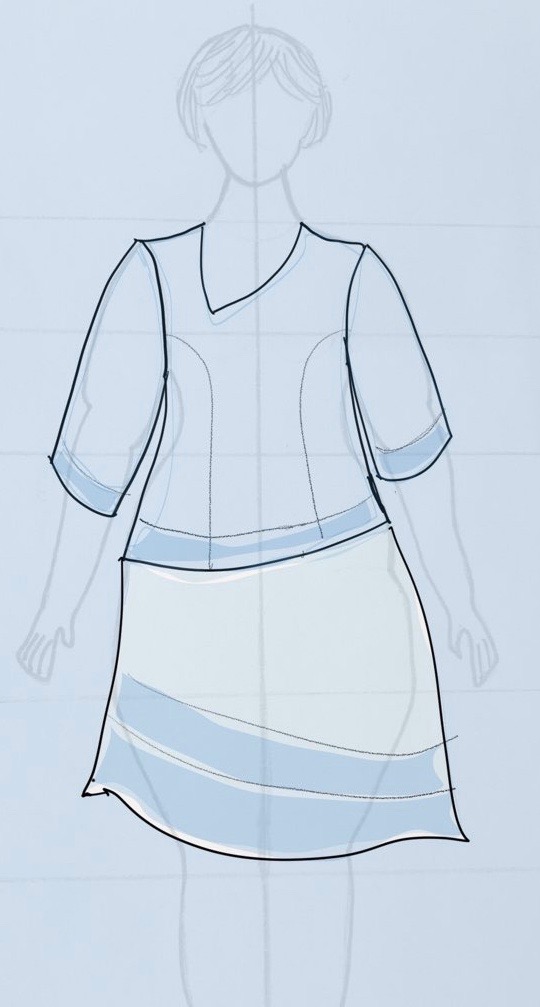
I’ve been inspired by the fabulous samples Mary Ray showed and the techniques she taught the ASG Chicago Chapter earlier this month. The mismatched asymetrical outfit just above and and the pink square-neck blouse that I paired with a trumpet skirt in the earlier picture are examples of what has been percolating in my brain since taking that class.
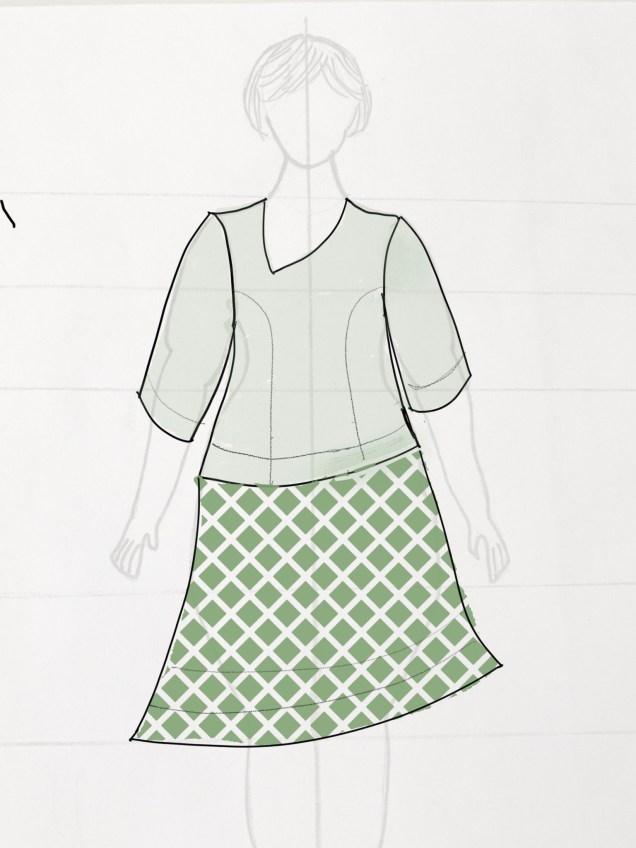
Here’s another sketch where I got the swoops all going in the same direction and I played around with pattern fill in the skirt.
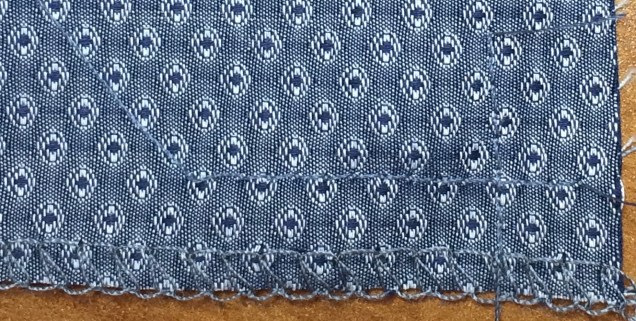
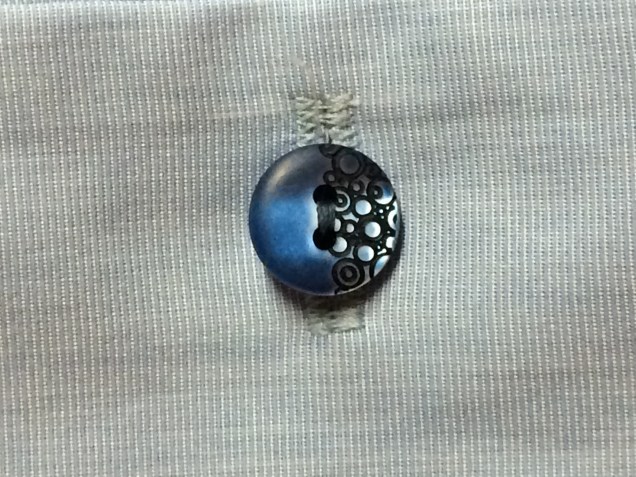
A technique that really captured my imagination in Mary’s class was sewing partial tucks on a grid to add a waffle effect to flat fabric. Mary told us her inspiration for this was the book, The Art of Fabric Manipulation by Colette Wolf. This is a book that was given to me as a gift by my dear friend Scottie and I’ve been inspired paging through it but haven’t tried any techniques in it yet. It’s time to change that.


Here is what I’ve been thinking about as a first trial of this technique.


This is my attempt to show using the tucks in the area that a yoke would otherwise go in a knit cardigan with a hemline that dips in back. The tucks will provide added fullness in the body of the garment and I think will work well in a lightweight rayon knit.
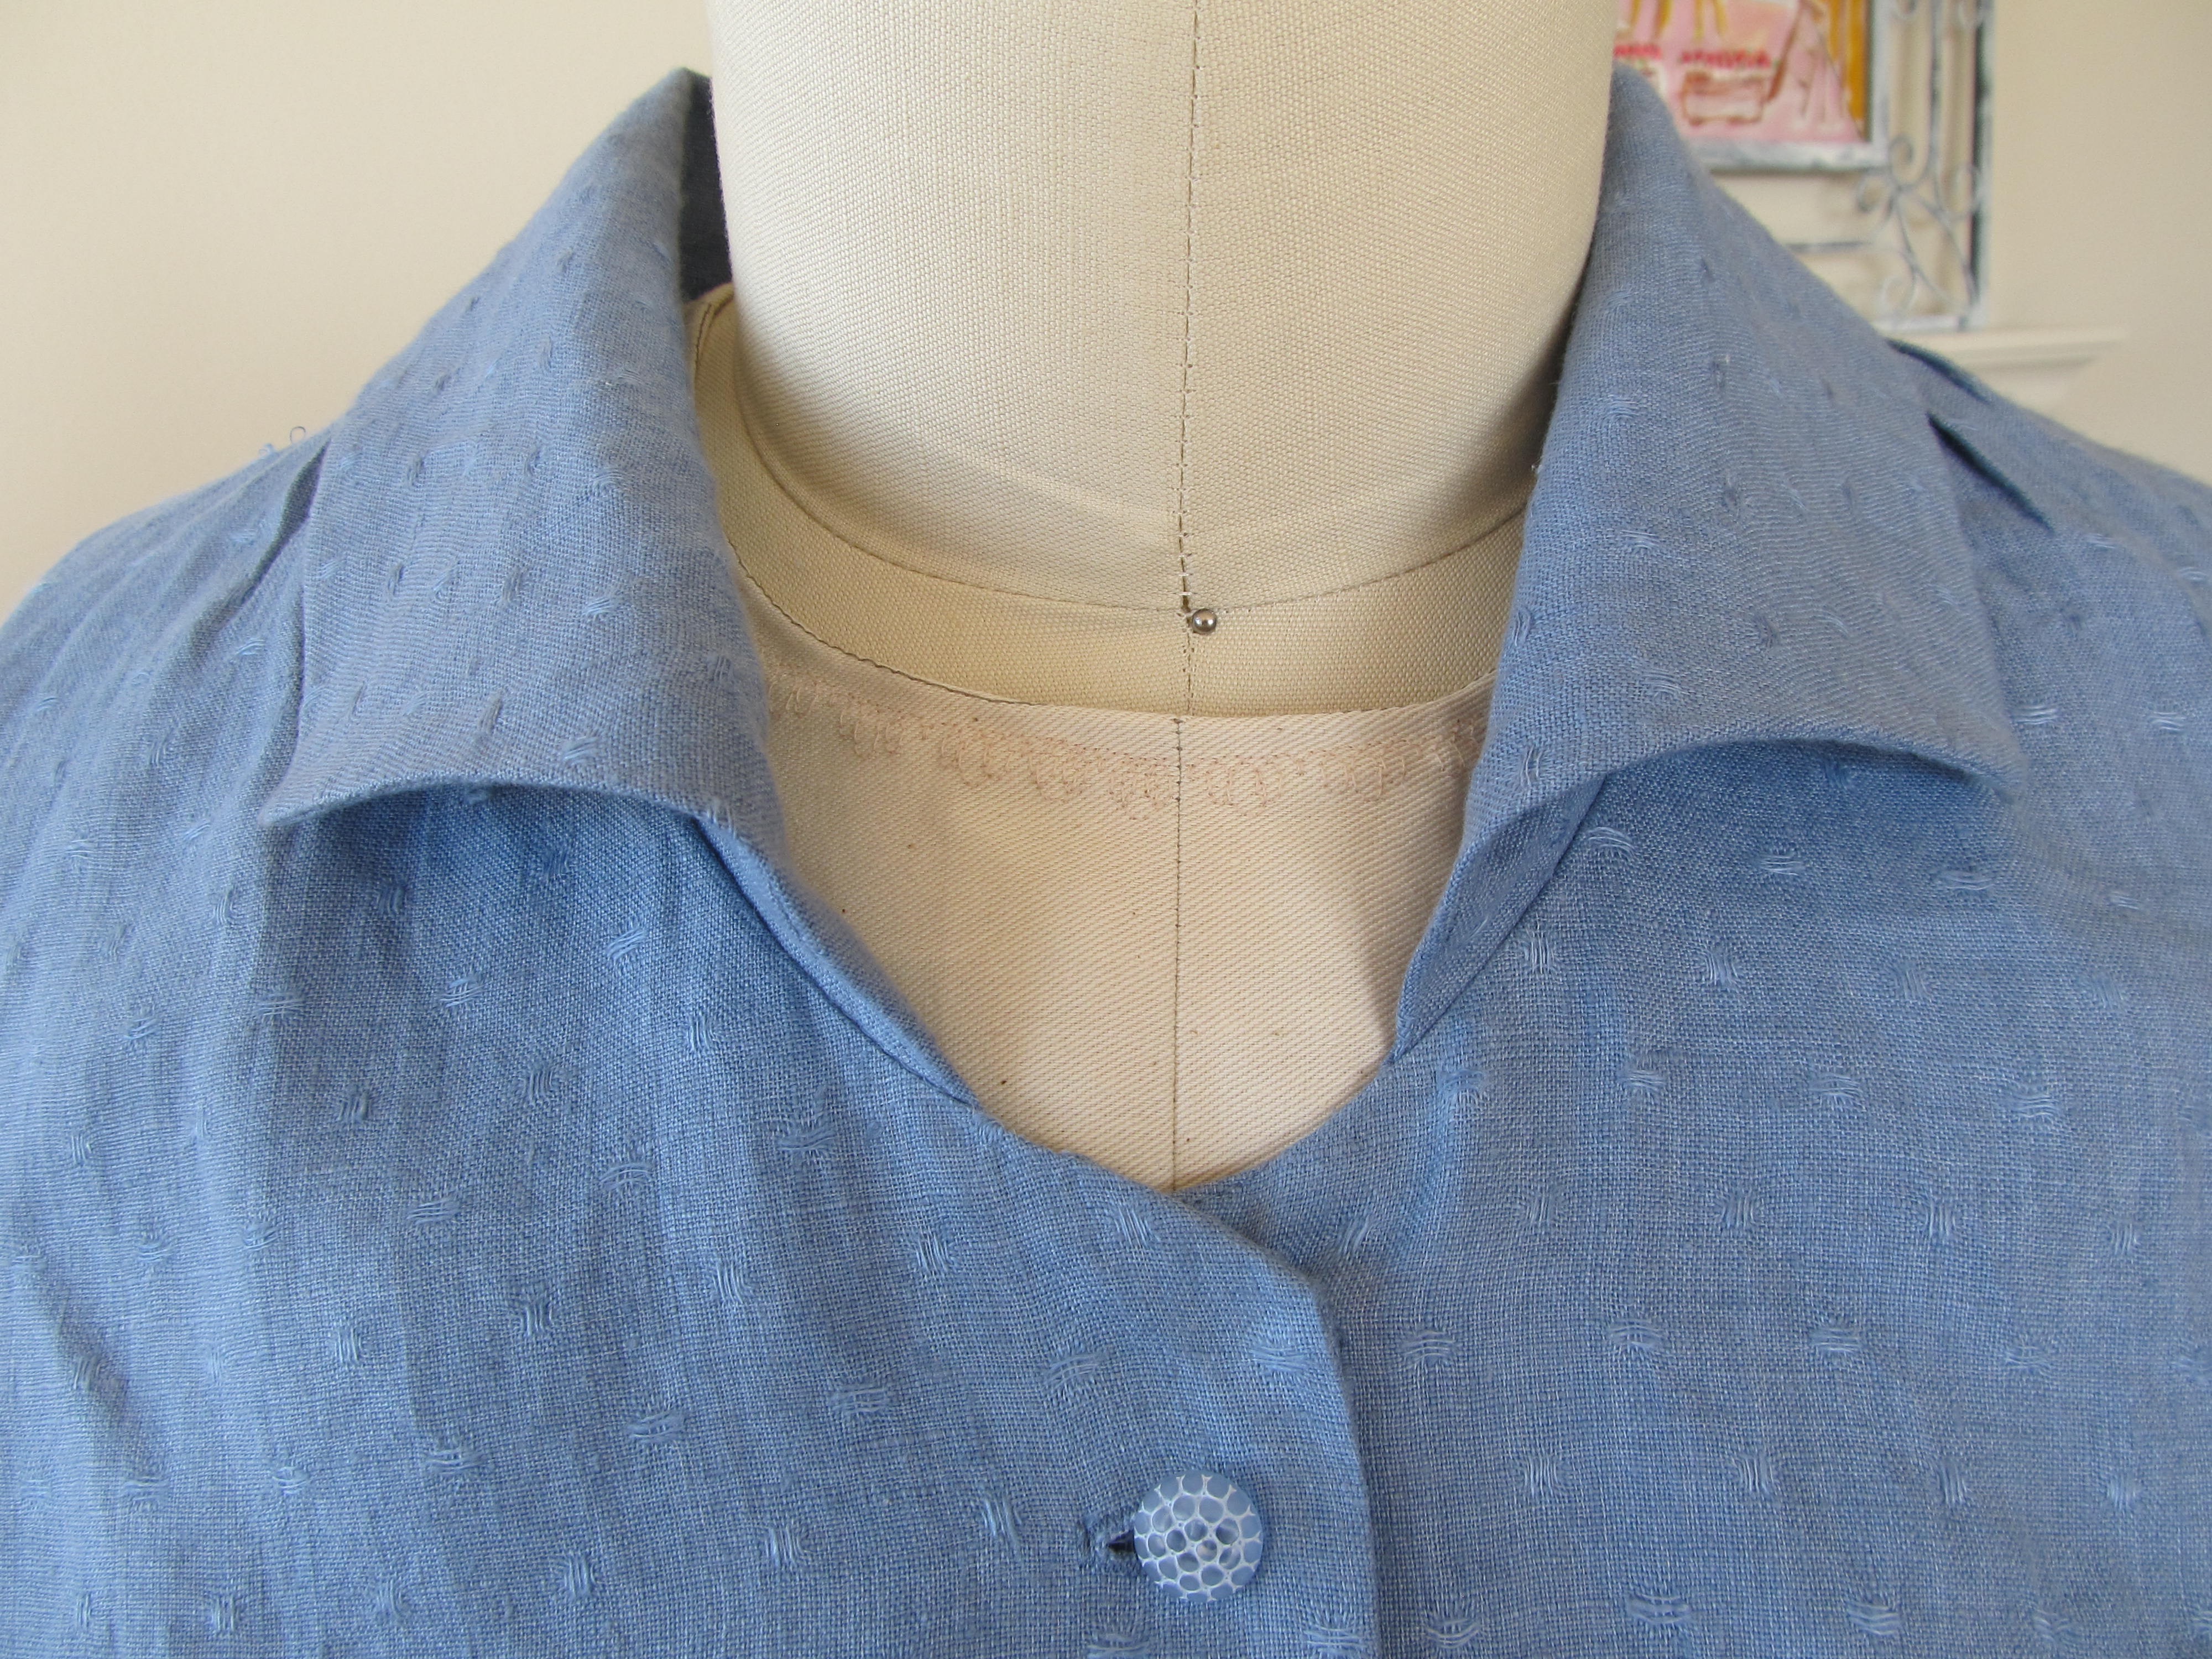
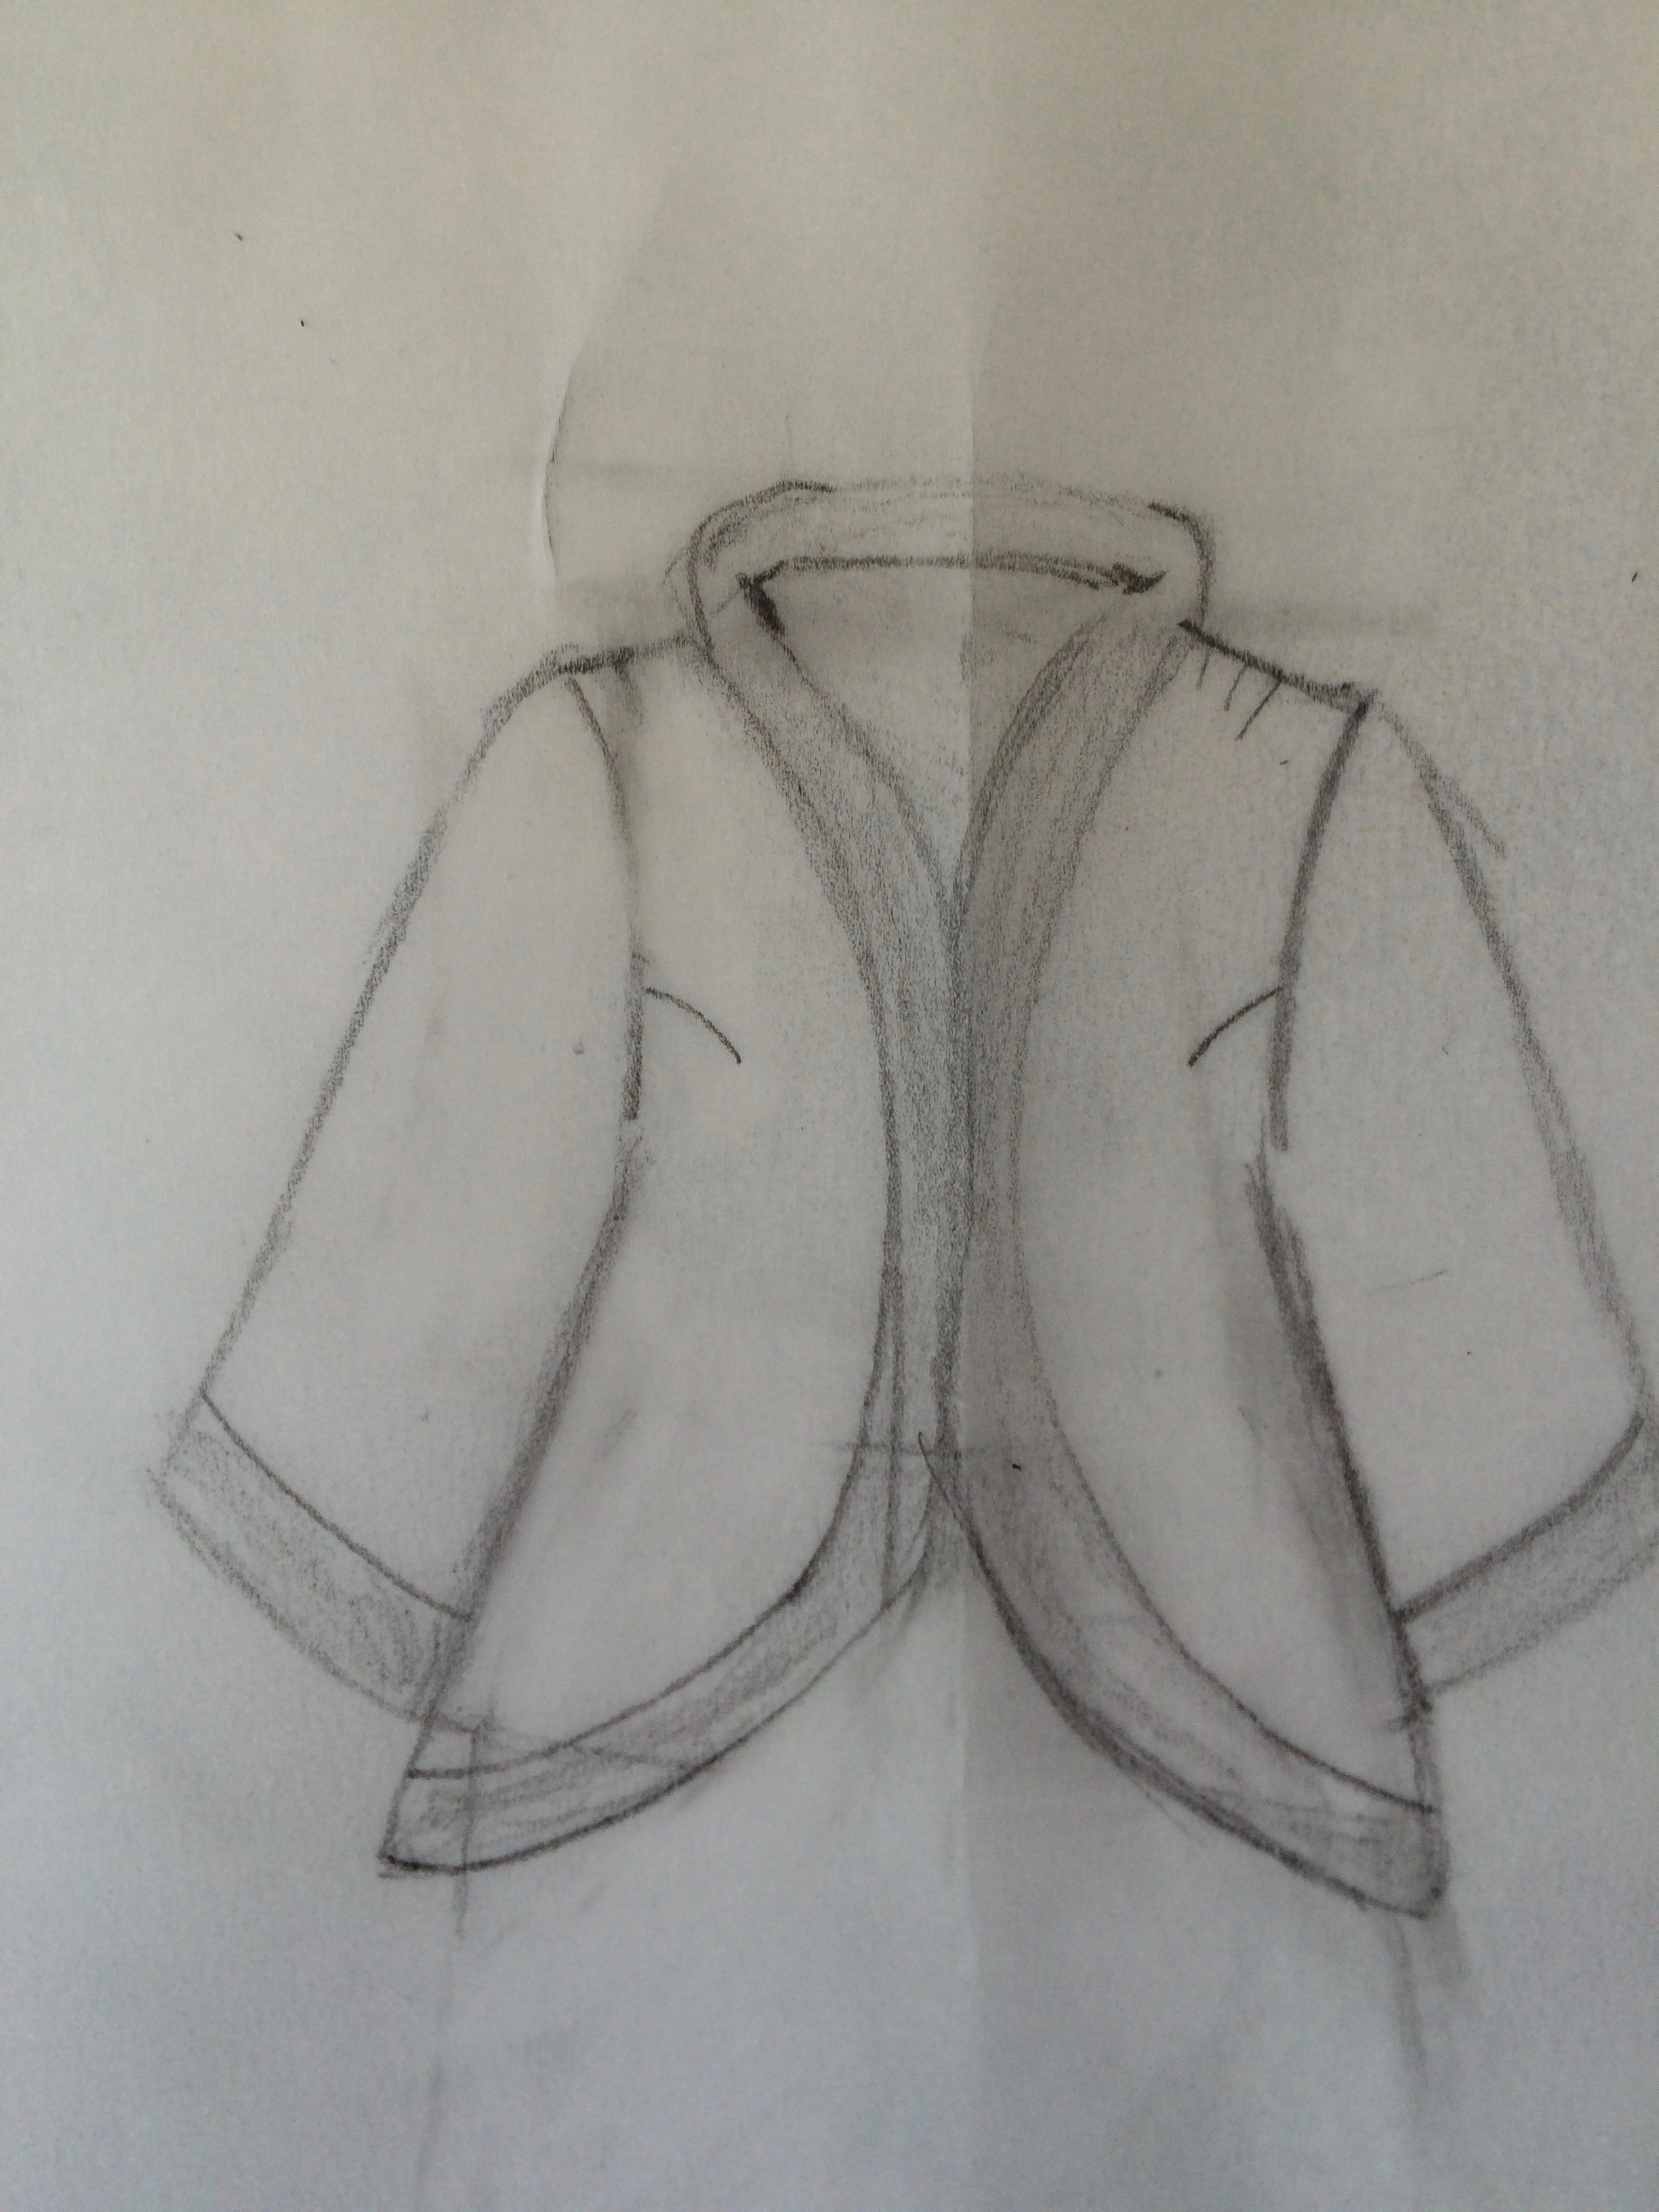
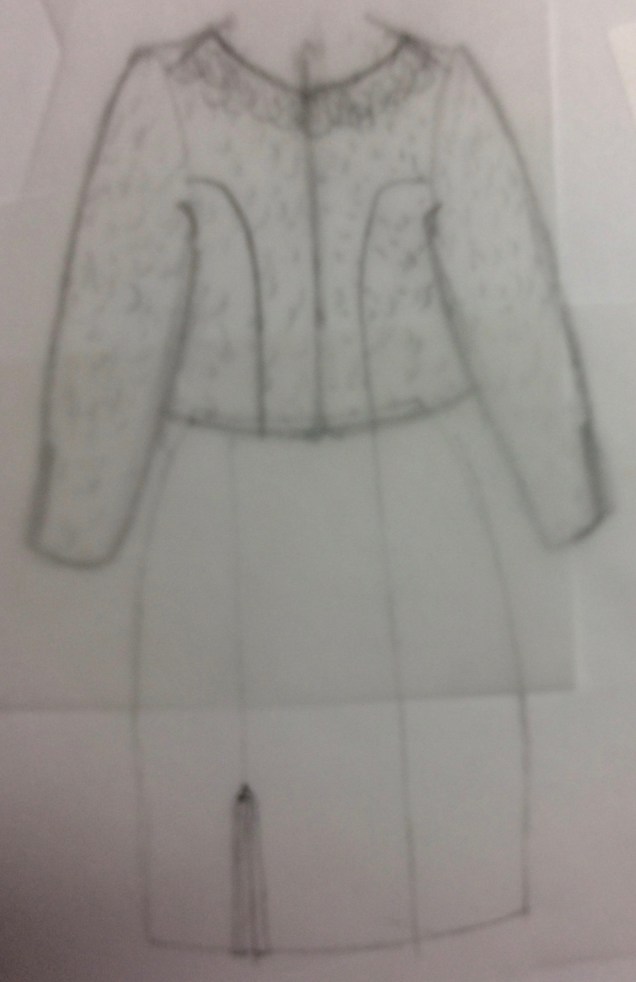
Before I got tucks on the brain, I sketched this jacket with a version of my favorite 60’s stand-up collar.
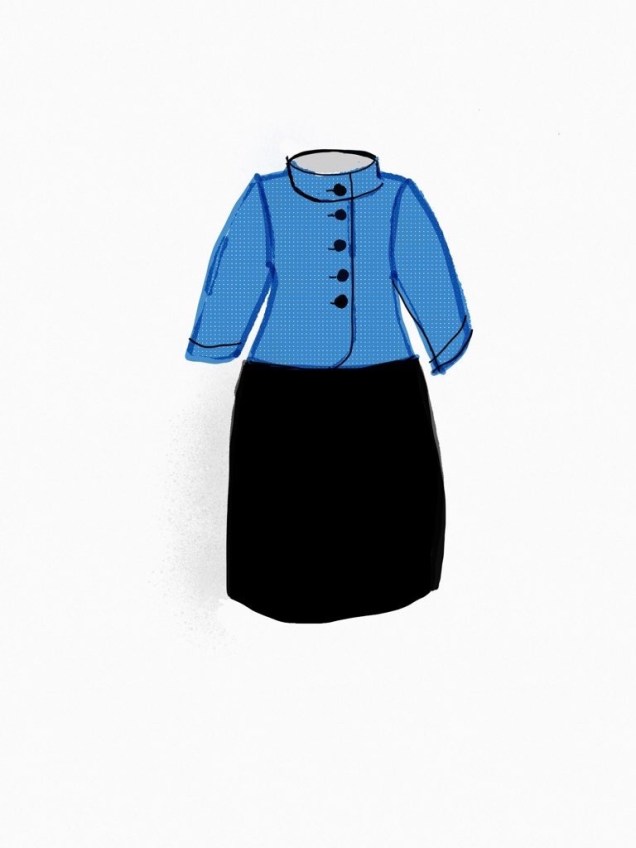
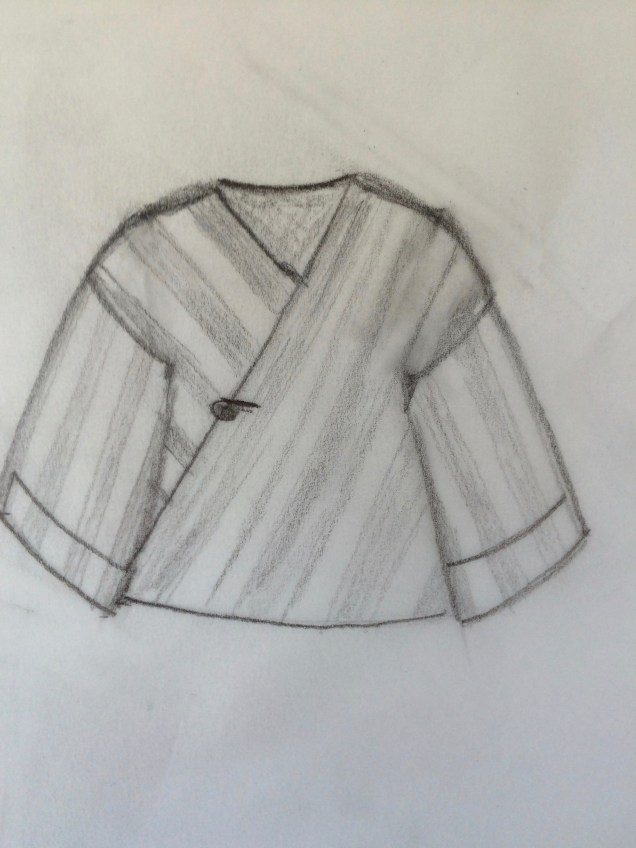
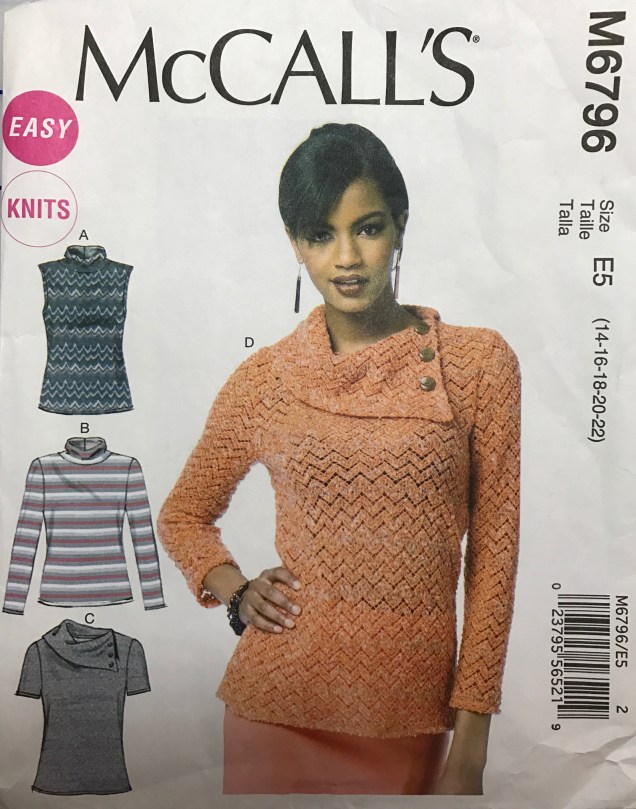
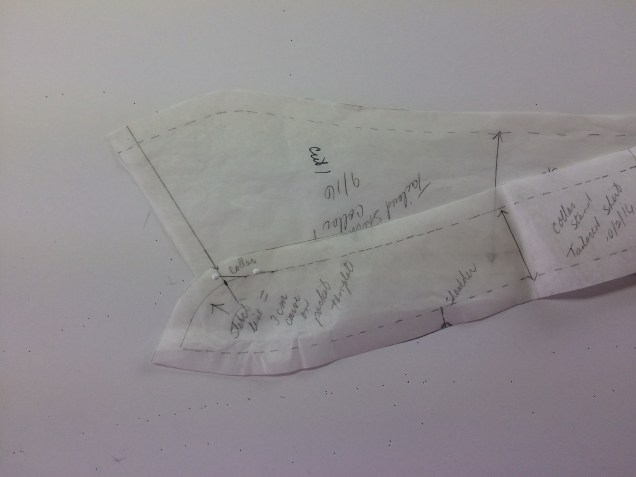
I also tried my hand at sketching the split collar from McCall’s pattern 6796 that I talked about in my last post.


As you can see, I’m having fun with this. I hope you are, too. Be sure to check out what fabulous designs my dear friend Steph King of Siouxzeegirl Designs is showing at 10 Sewing Machines & a Serger. We’d love to see and hear about what you’re sketching, so please leave a comment.
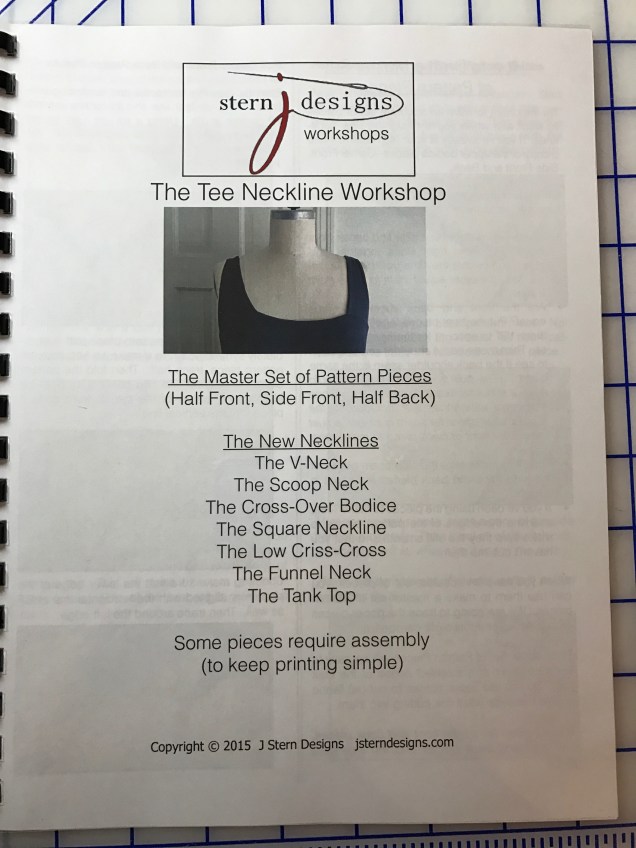
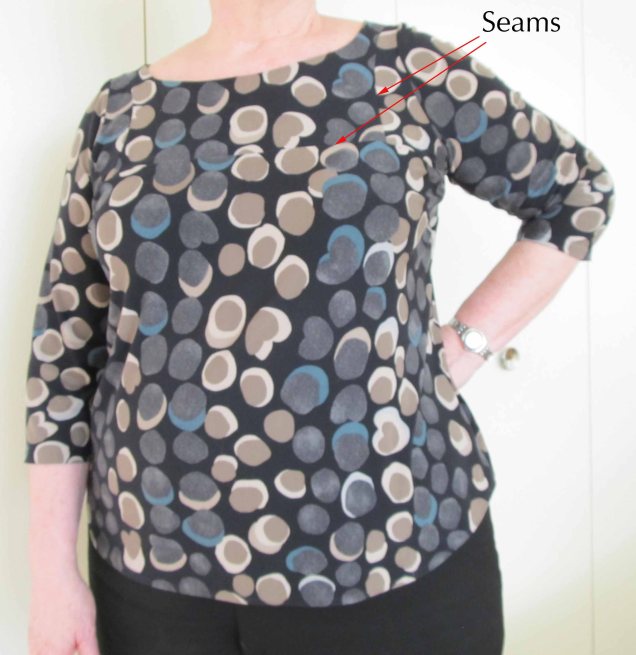


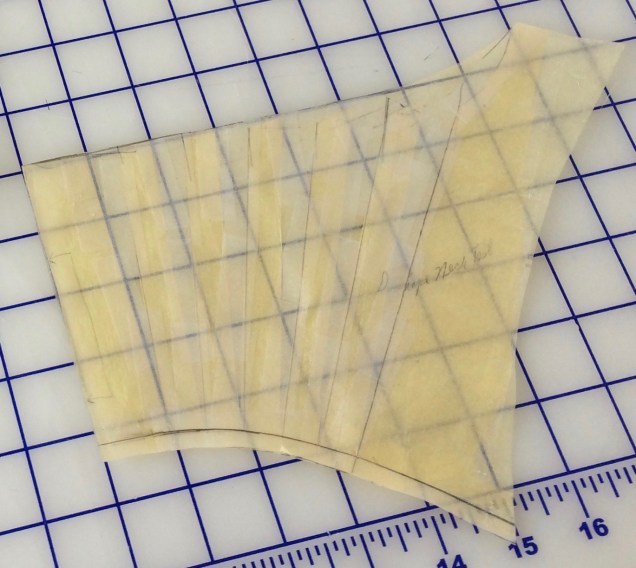
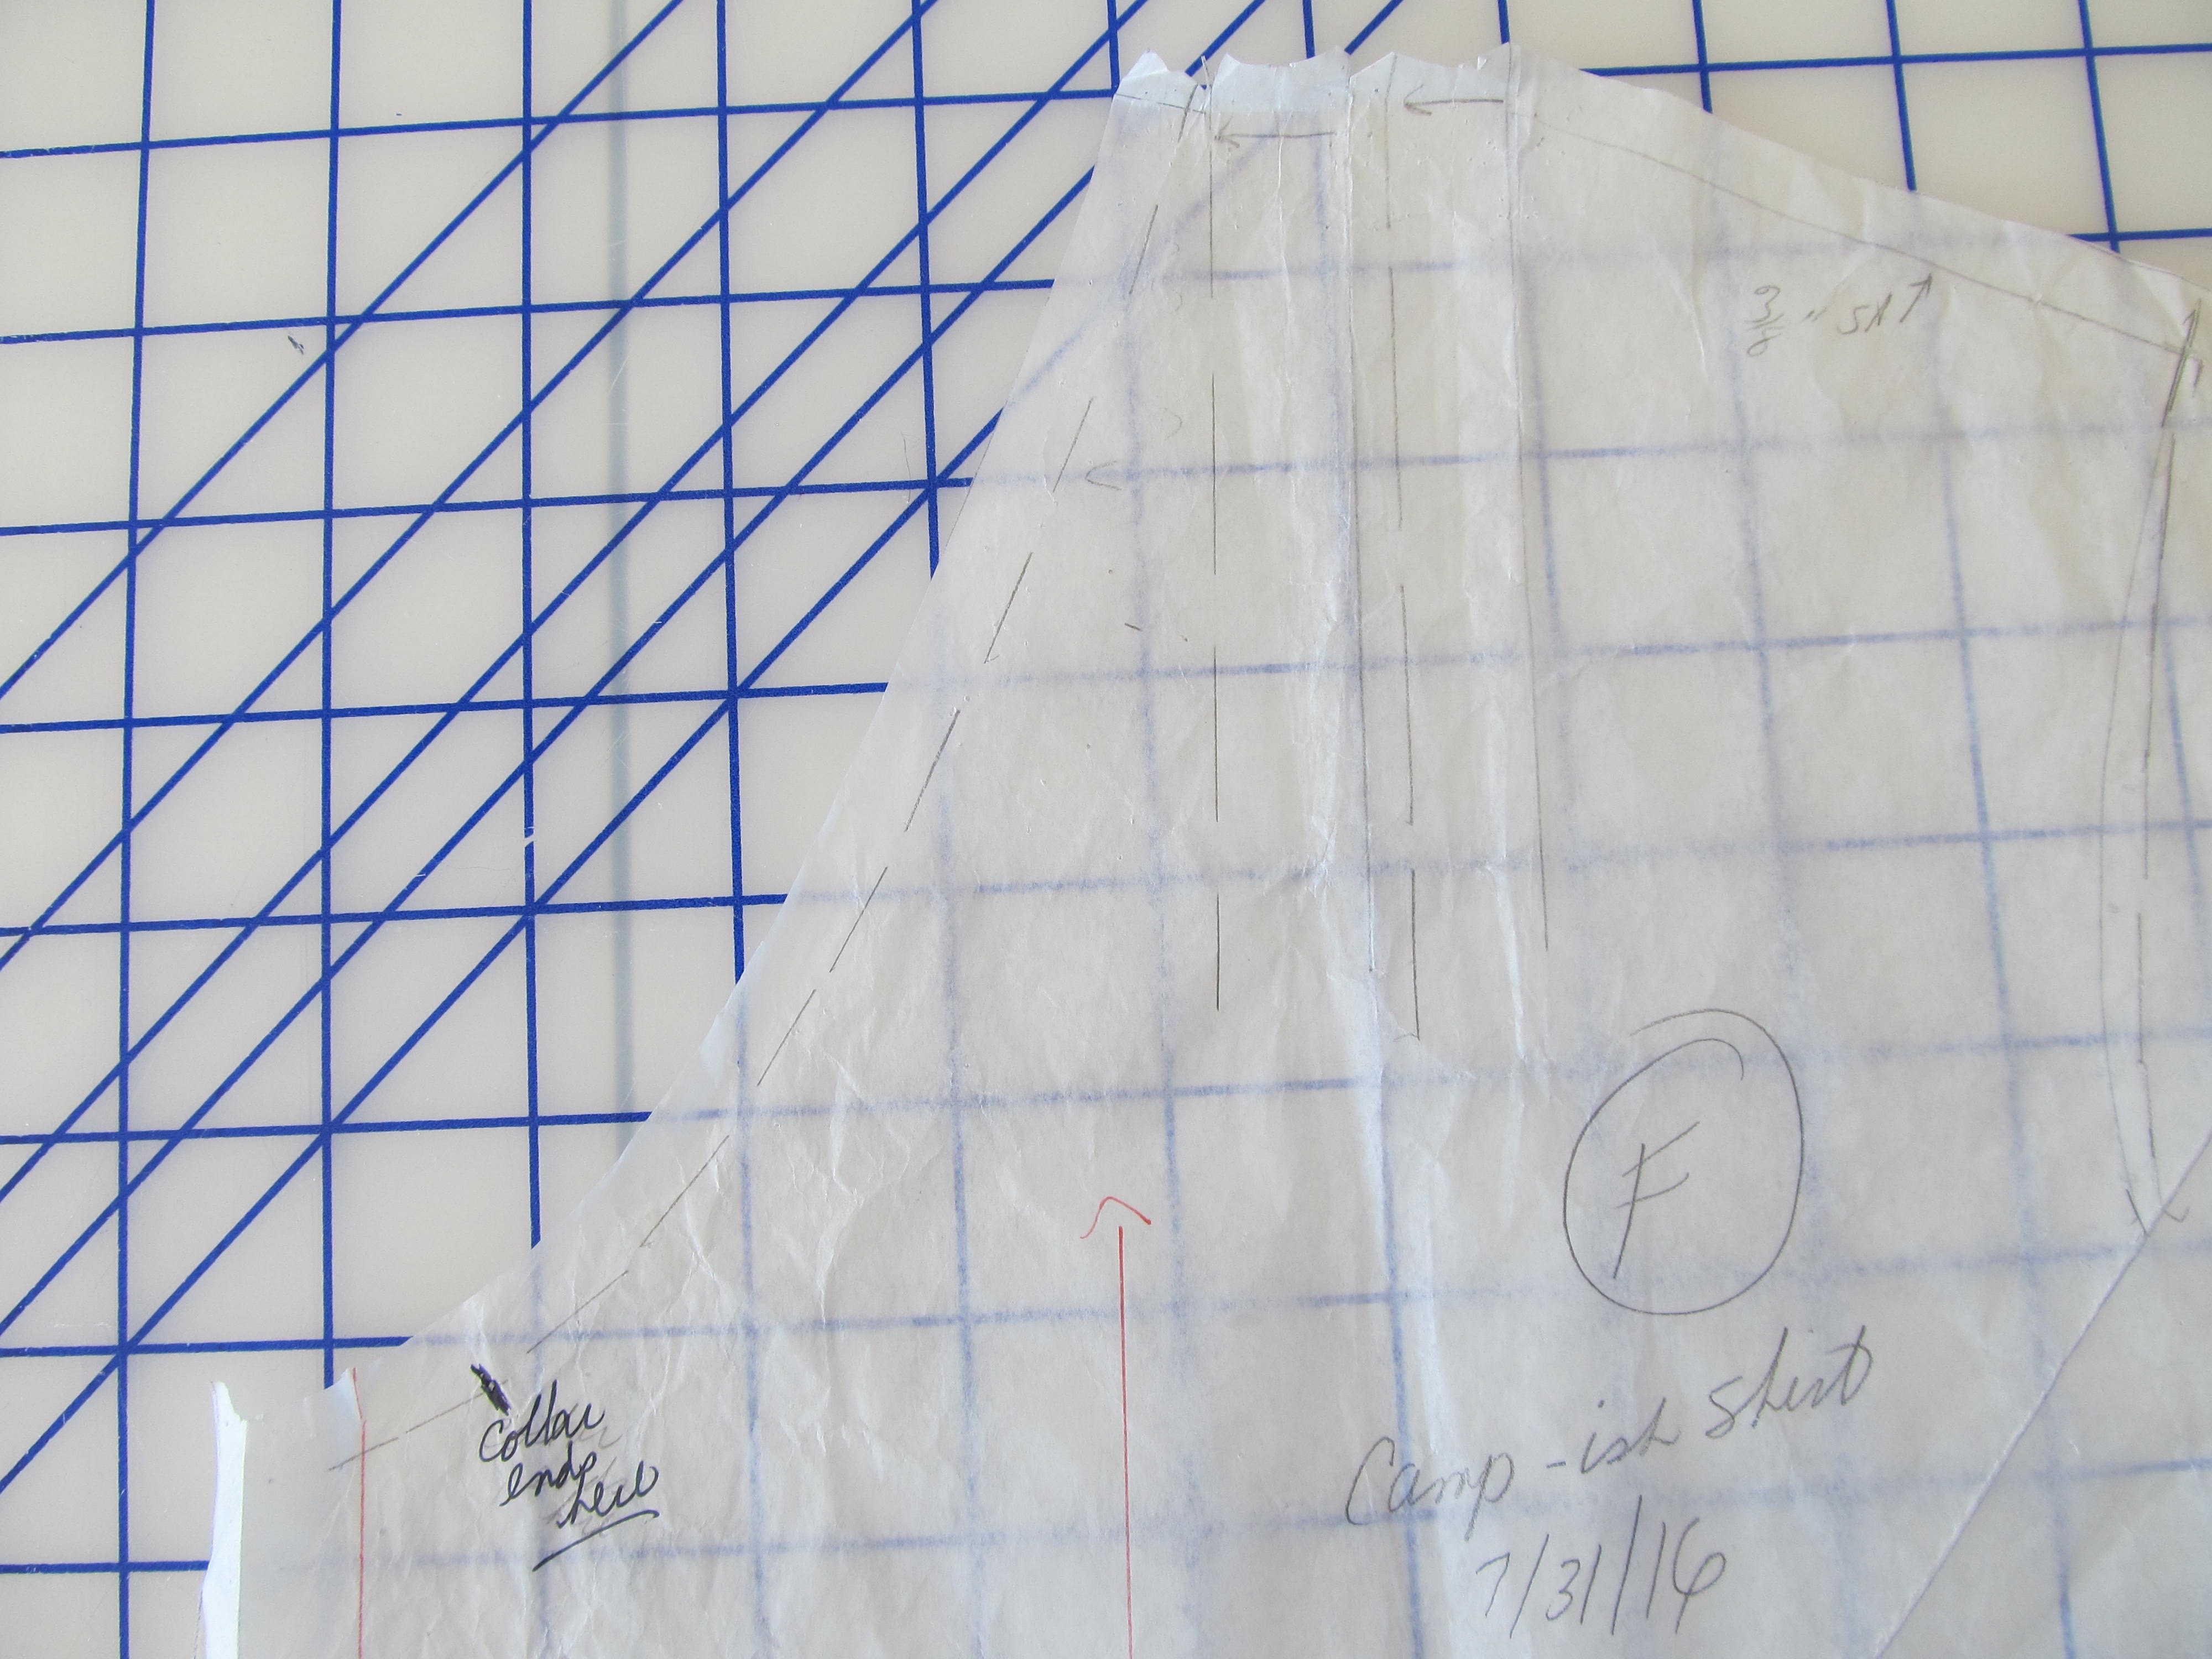
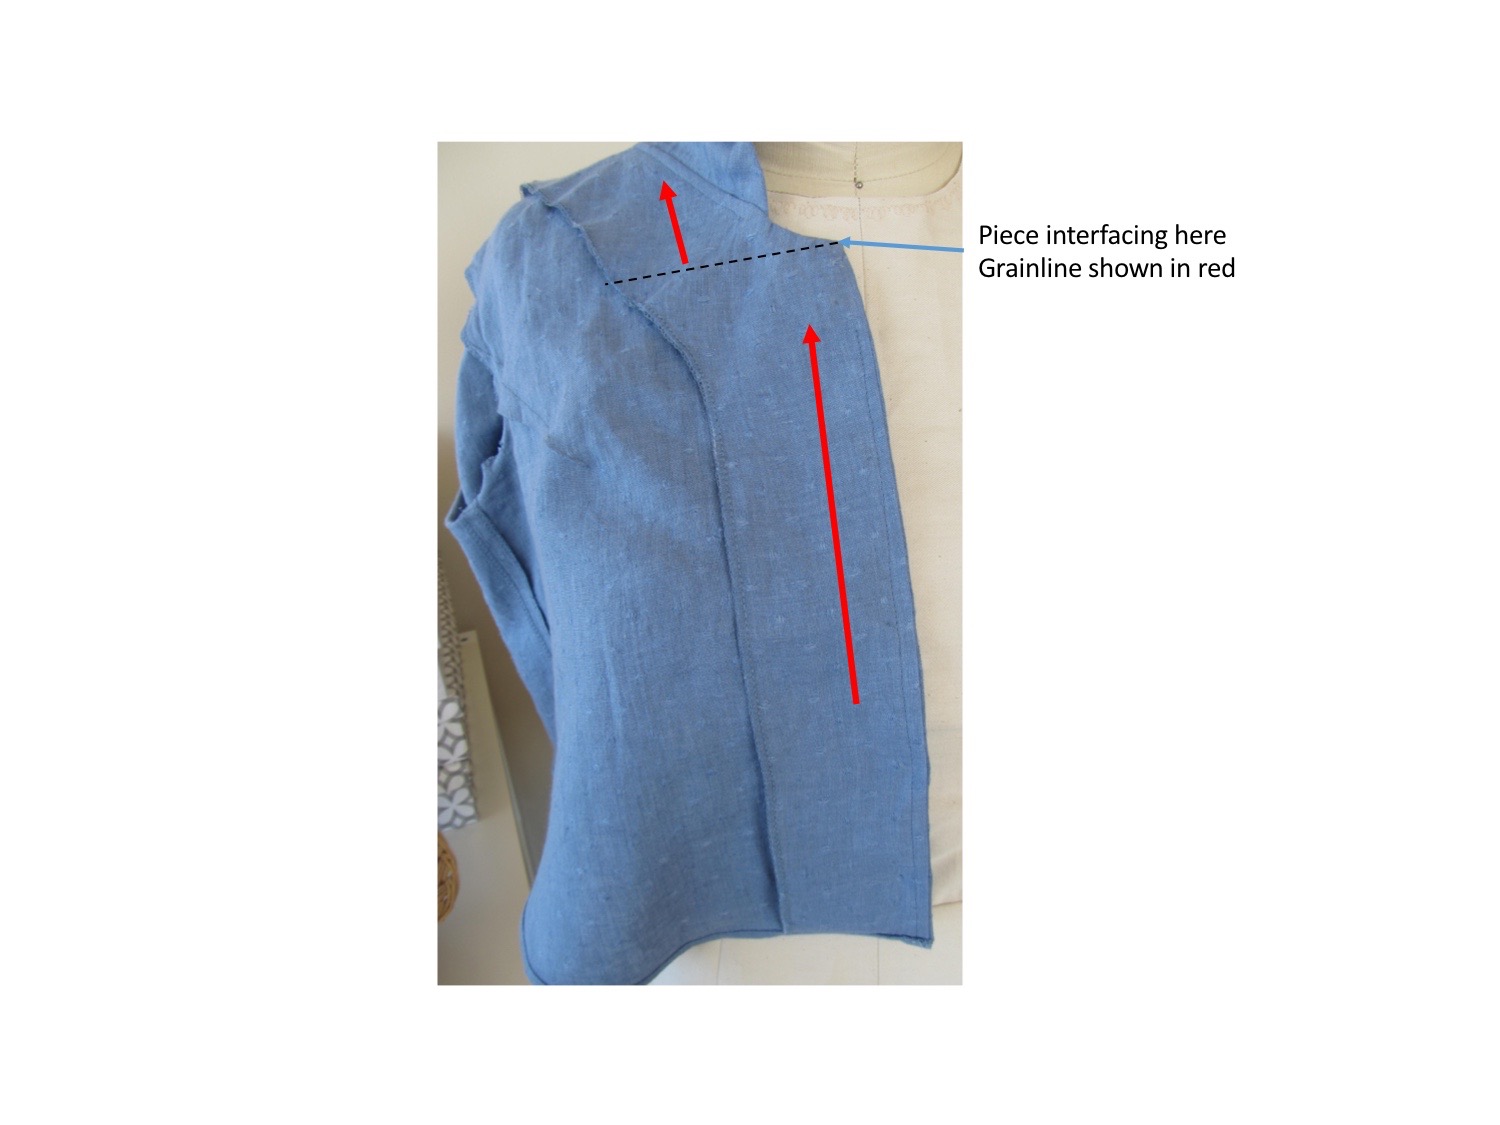
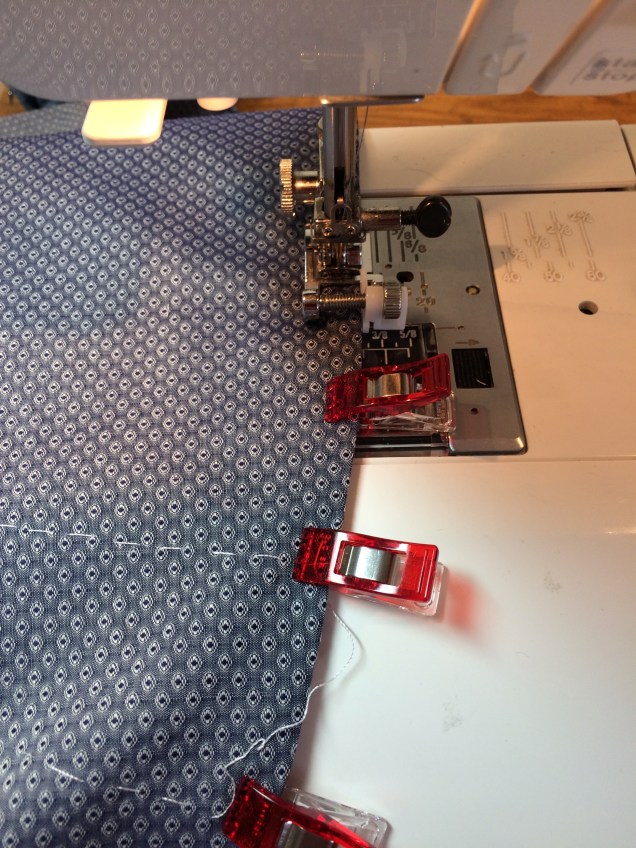
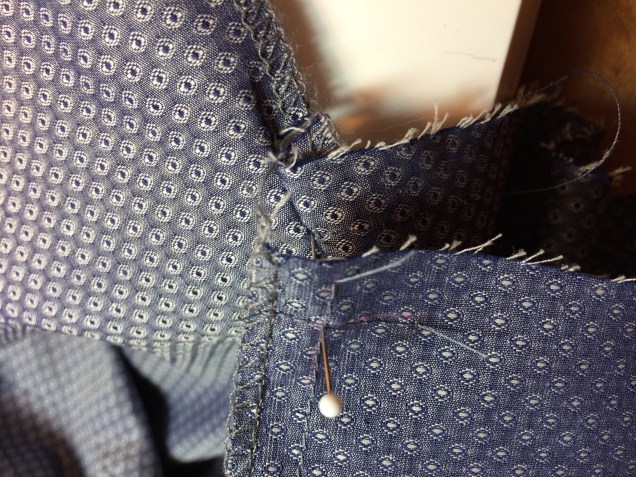
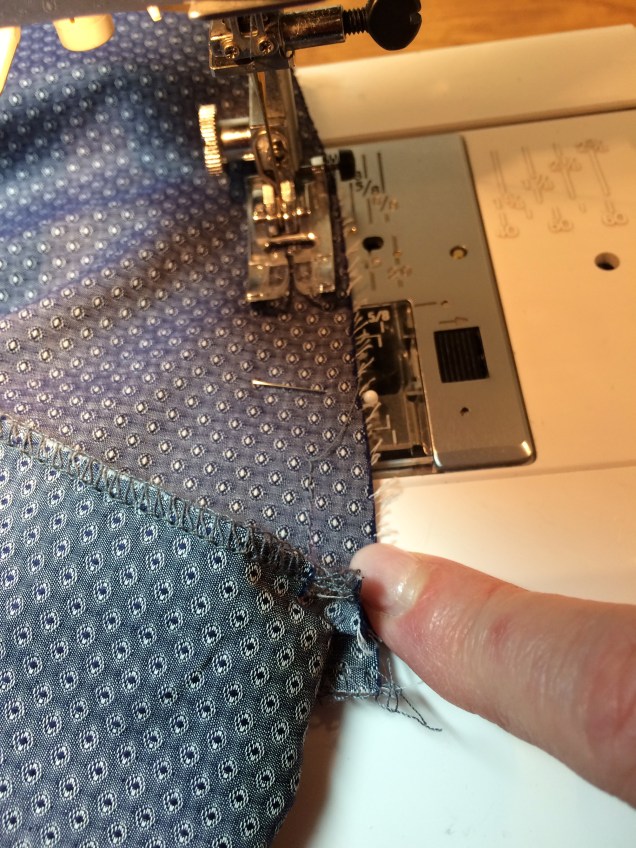
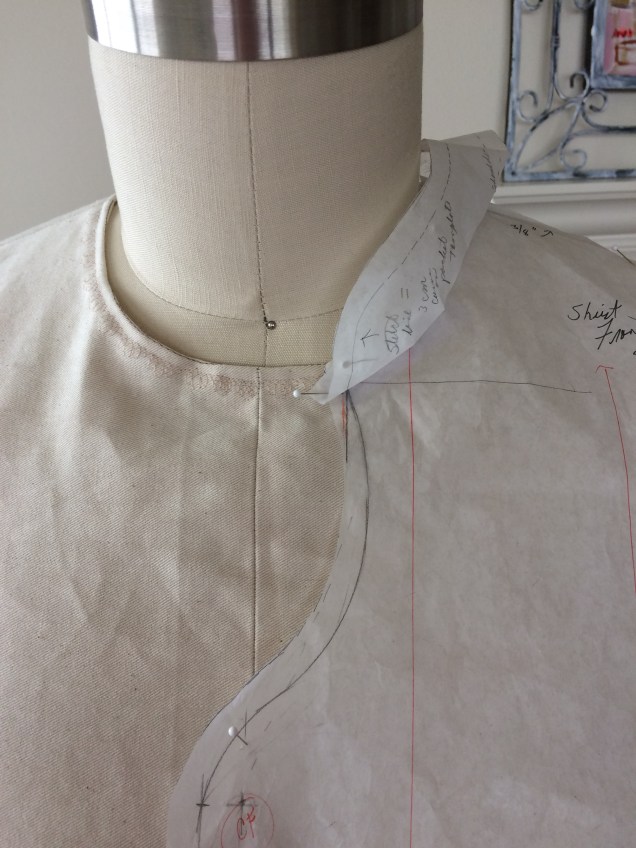
 It’s not marked in this picture, but the straight line on the left is Center Front, which is cut on the fold of the fabric. That “V” at the shoulder was the bit I had found intimidating. From a patternmaking point of view. it’s really no big deal. It’s what forms naturally when melding the two pieces together. Construction – especially on a serger – can be a little tricky.
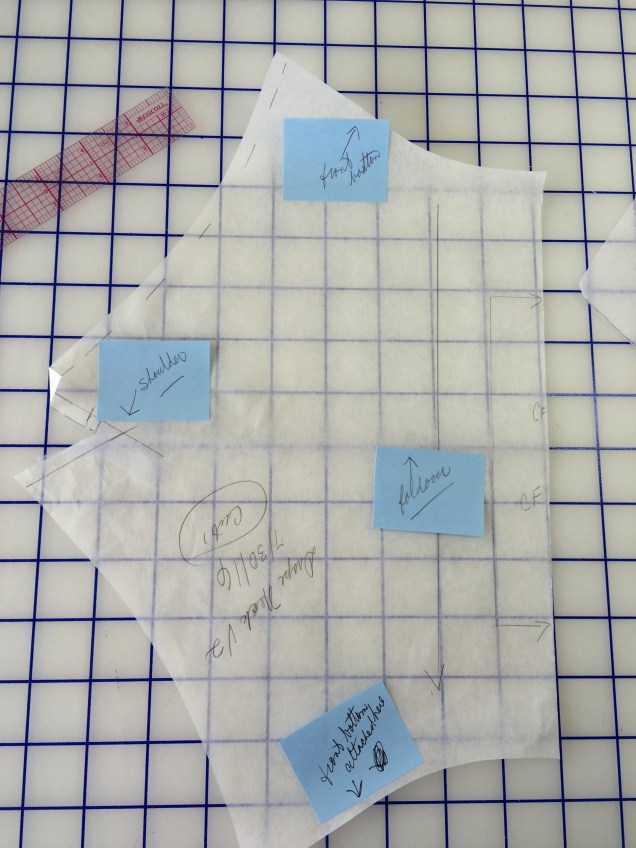


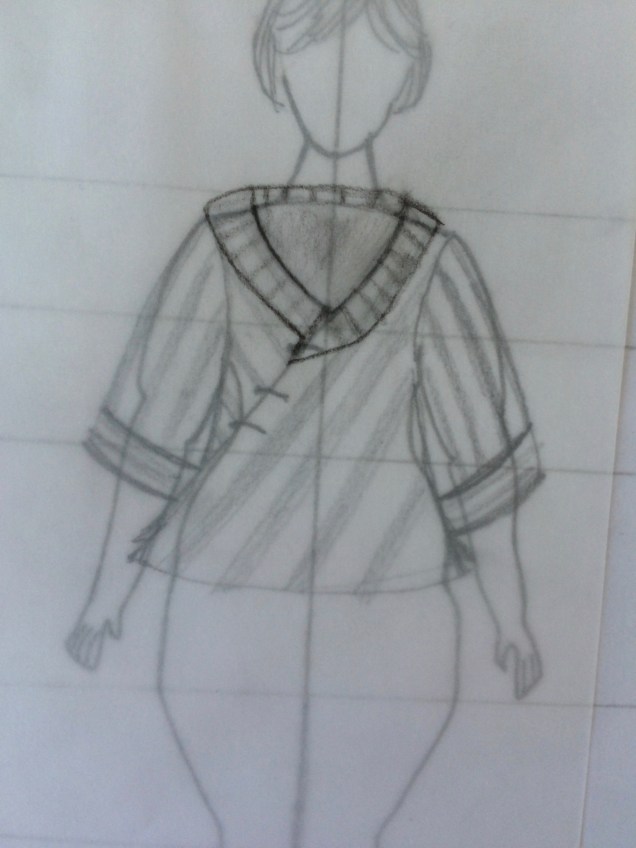
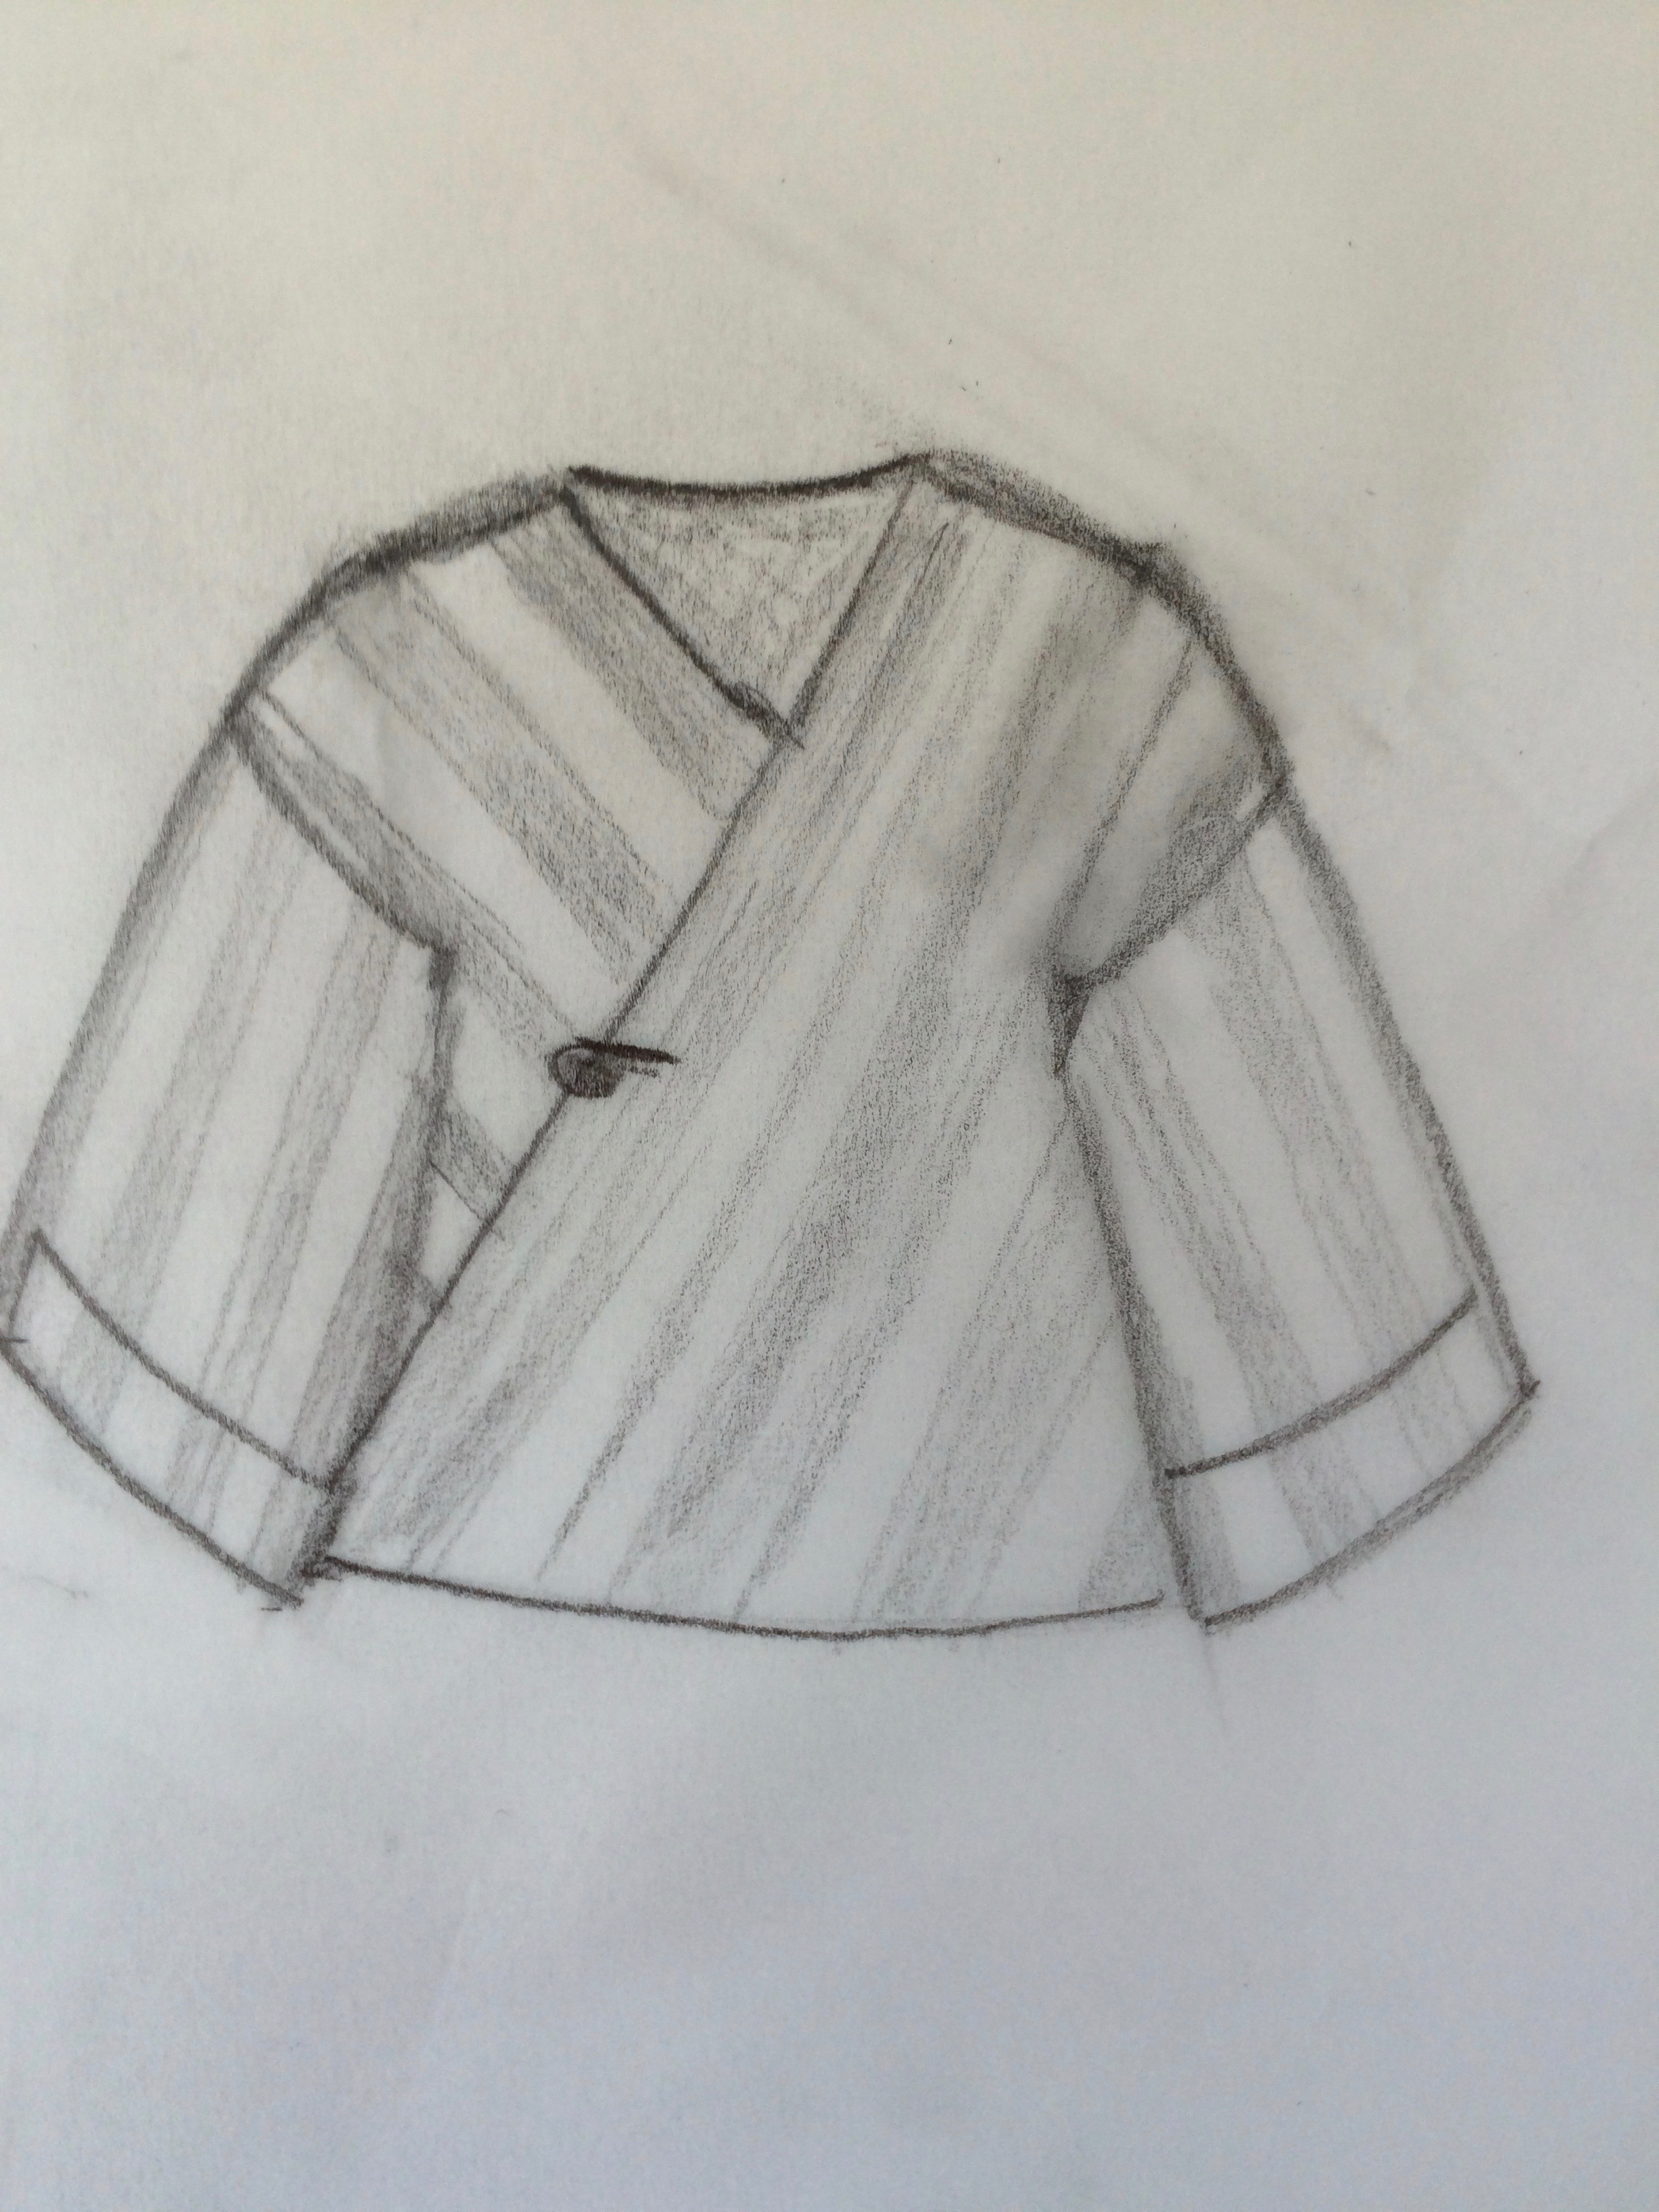
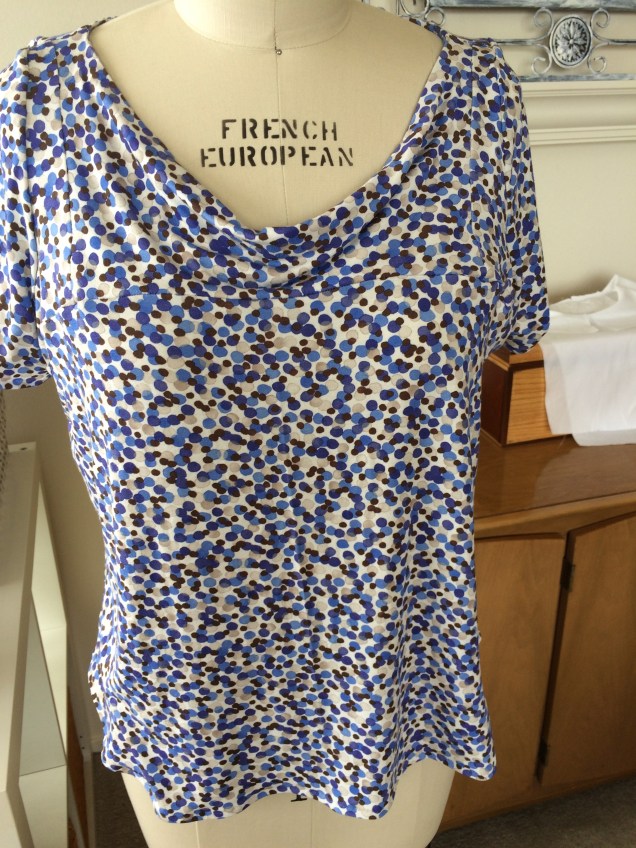
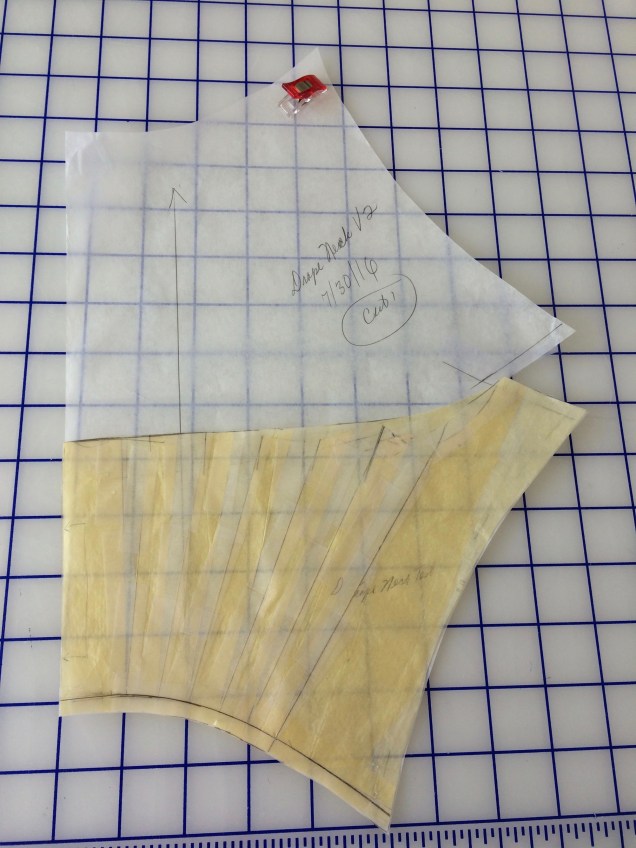
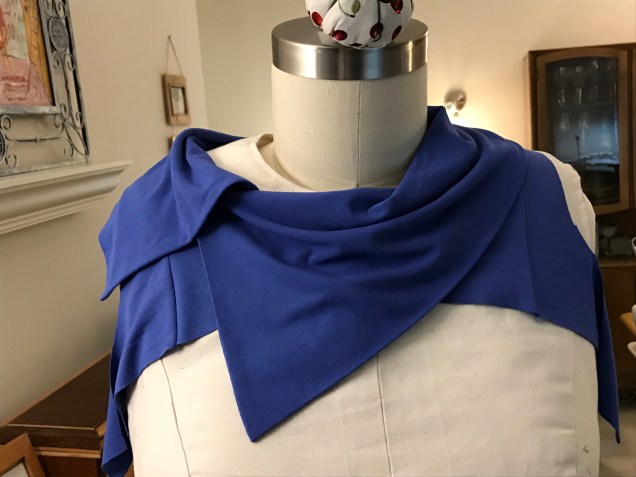
 After trying a mock-up with the scoop variation from the workshop, I decided the neckline had to be a little bit less scoopy. So I made a modified scoop neck pattern piece and adjusted the collar accordingly. I tried it out in this great rayon-Lycra knit from Sawyer Brook in a color they called Bluebonnet, but didn’t think it worked well. So, I made the top with the modified scoop neck but no collar.
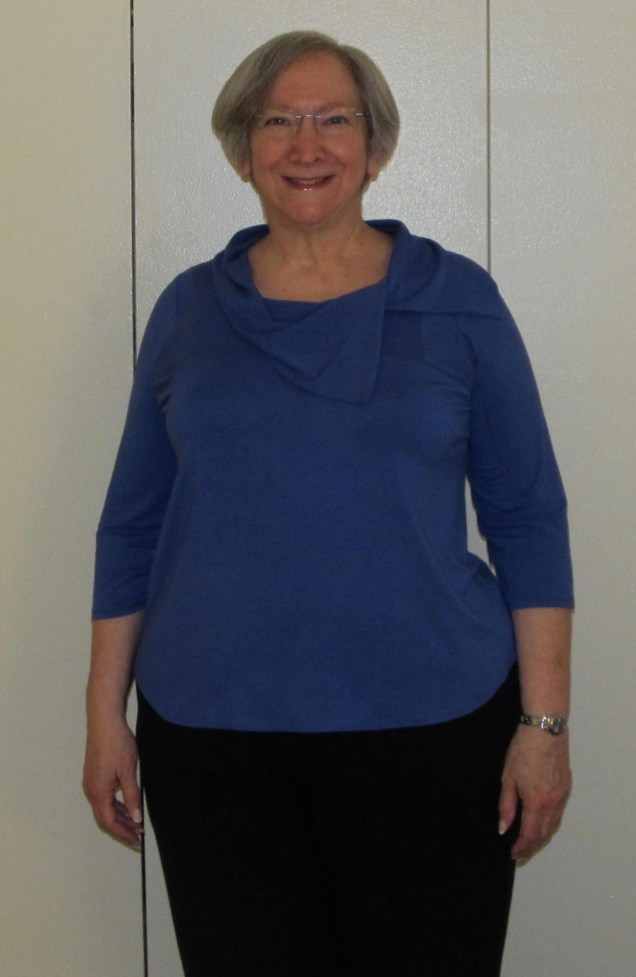
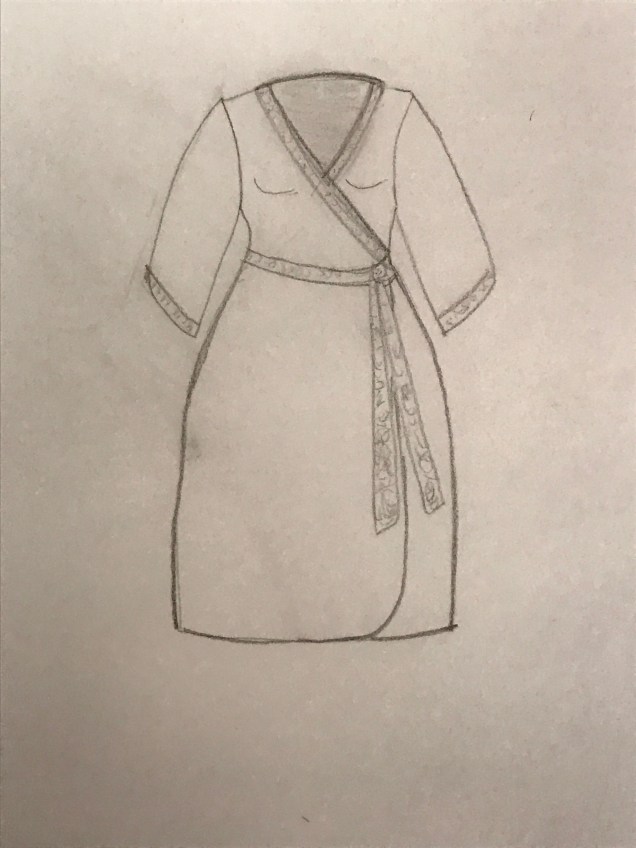 I’ll see if I can make it work on the sleeves, but I suspect I’ll need the stretch of the knit there. I thought about putting it on the edge of the overlap piece all the way to the hem, but I think it would be too much with the tie in that area. This is why sketching out ideas helps. You see issues you didn’t think of when the design is all in your head.
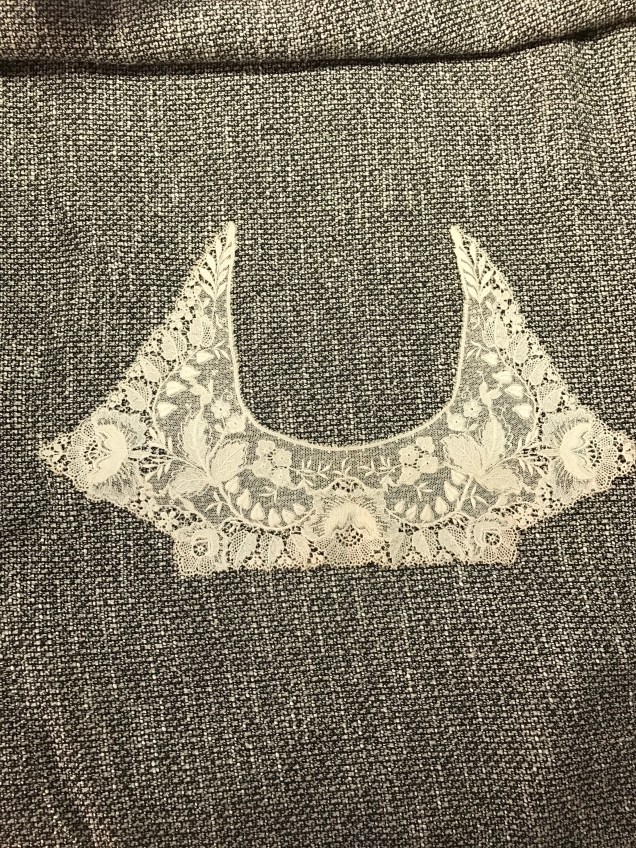 In a mentoring session, Sarah Veblen agreed that this is the lace I should use. She advised me to draft the neckline around it and forget about making a collar. I told her I was thinking about cutting out the flower at each of the points so the piece is not quite so wide and she agreed that’s a good idea. She suggested using the flowers somewhere else, maybe even at the top to balance out the width. I need to play around with them once I get them cut. I’m going to follow Pamela Legget’s advice for cutting out the motifs: sharp scissors, good lighting, no wine.
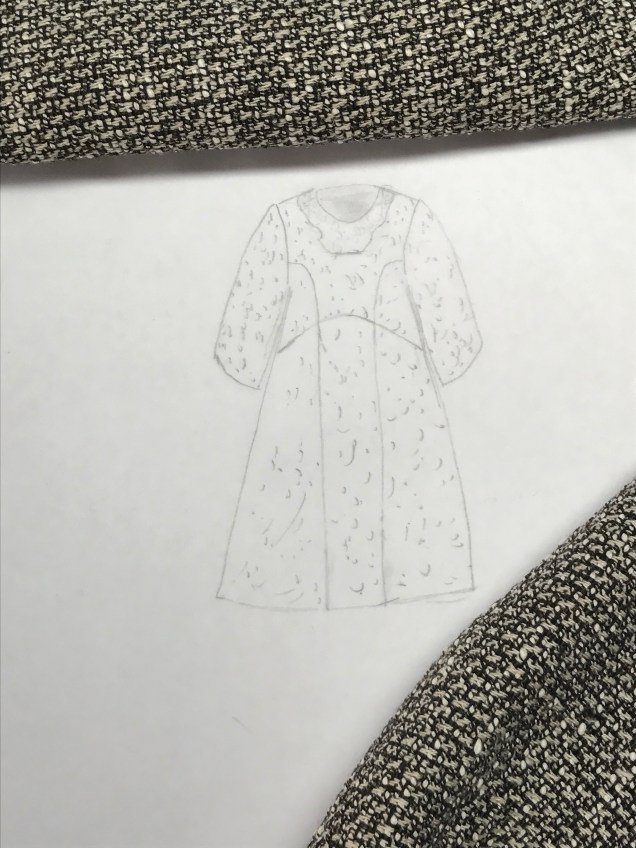

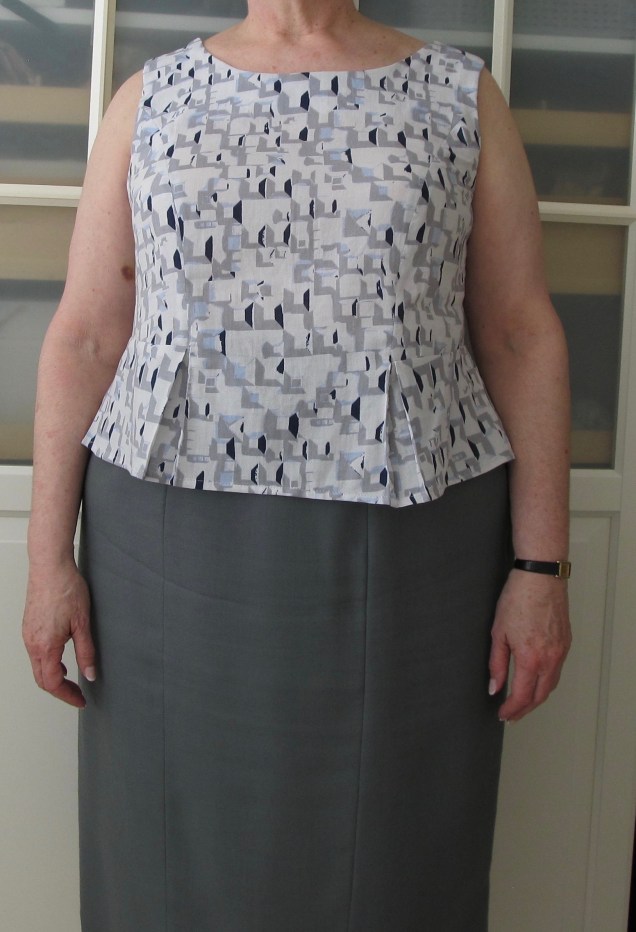


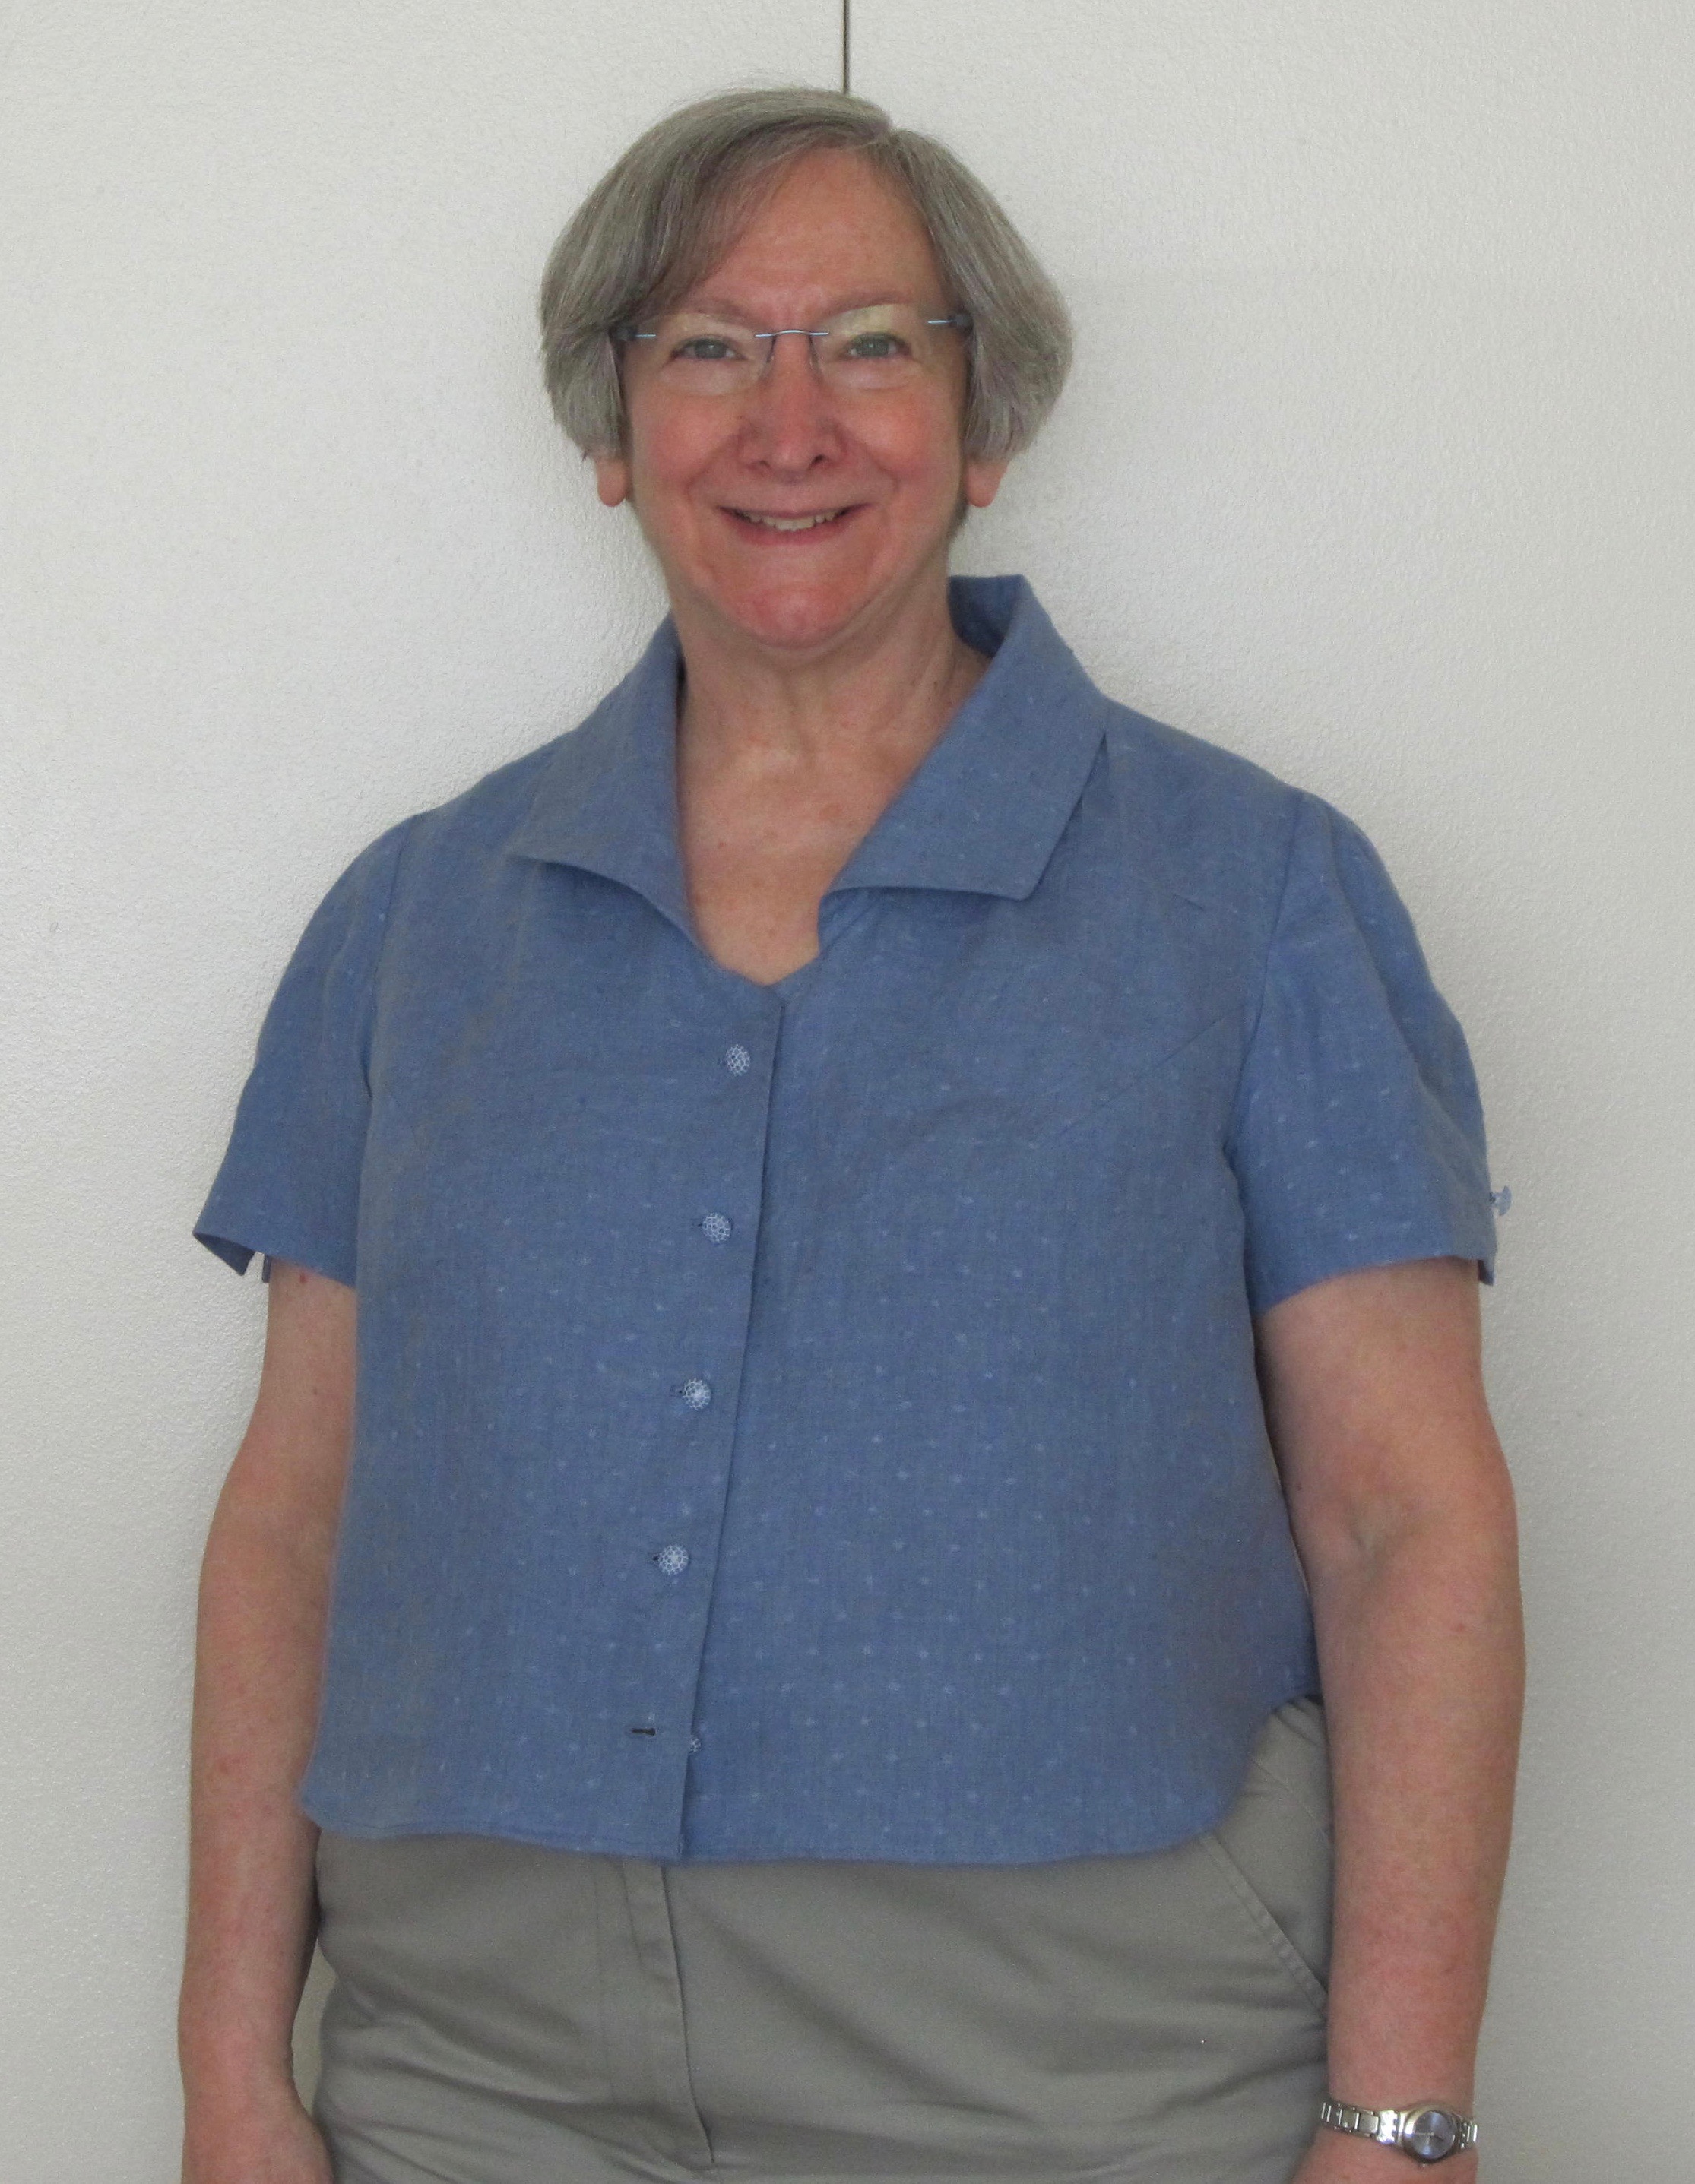
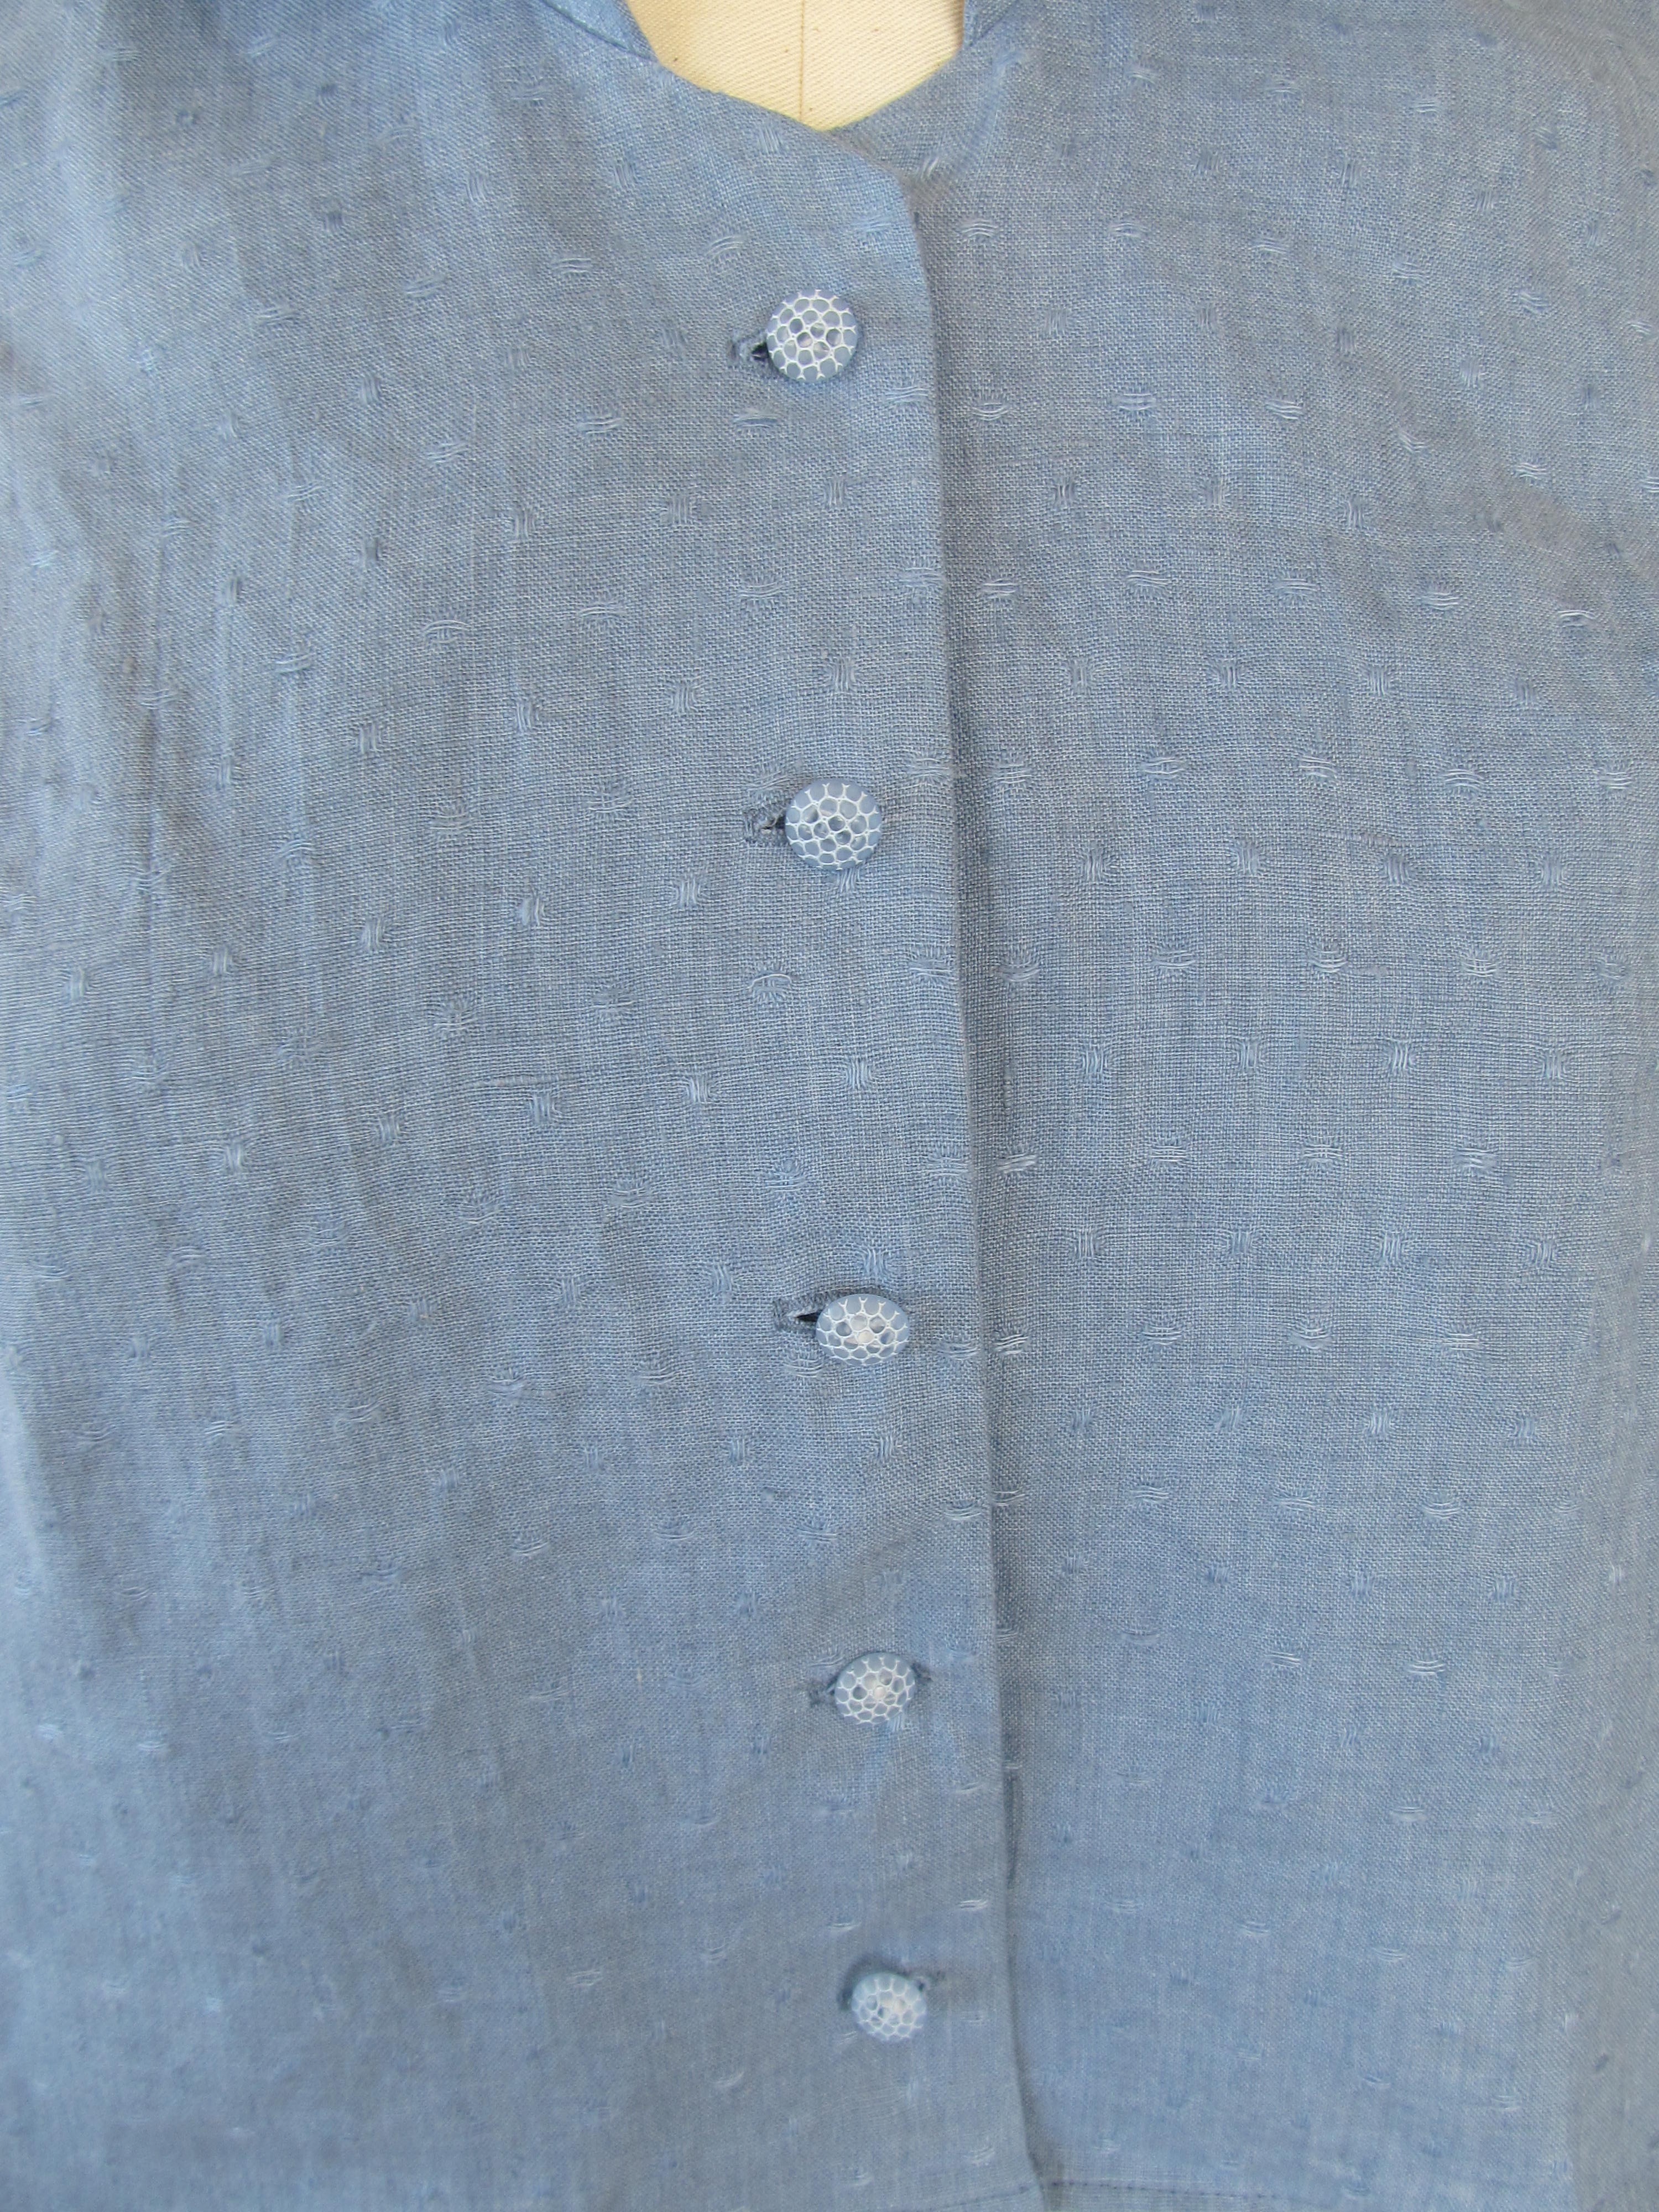
 So, here’s the finished blouse.
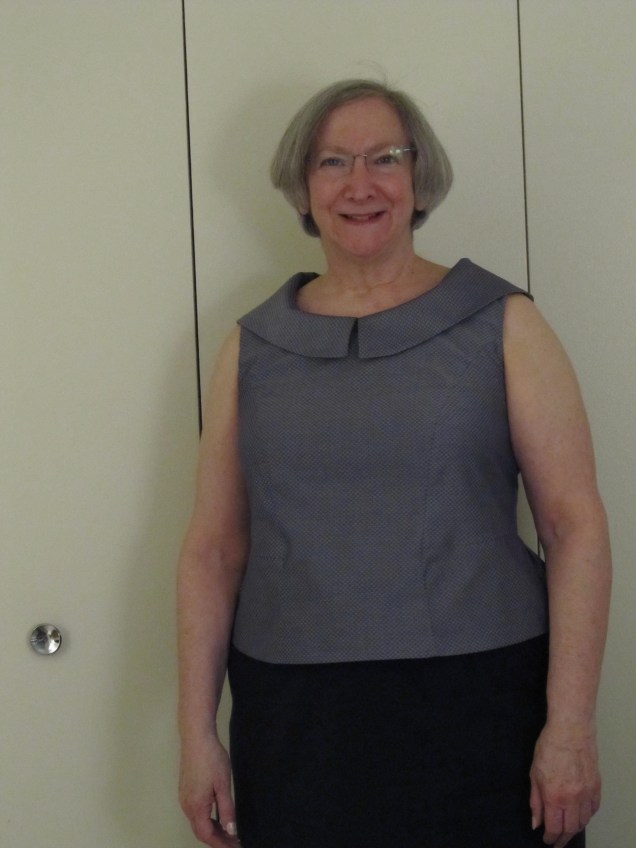


 Then there’s the possibility of using lace as a collar.


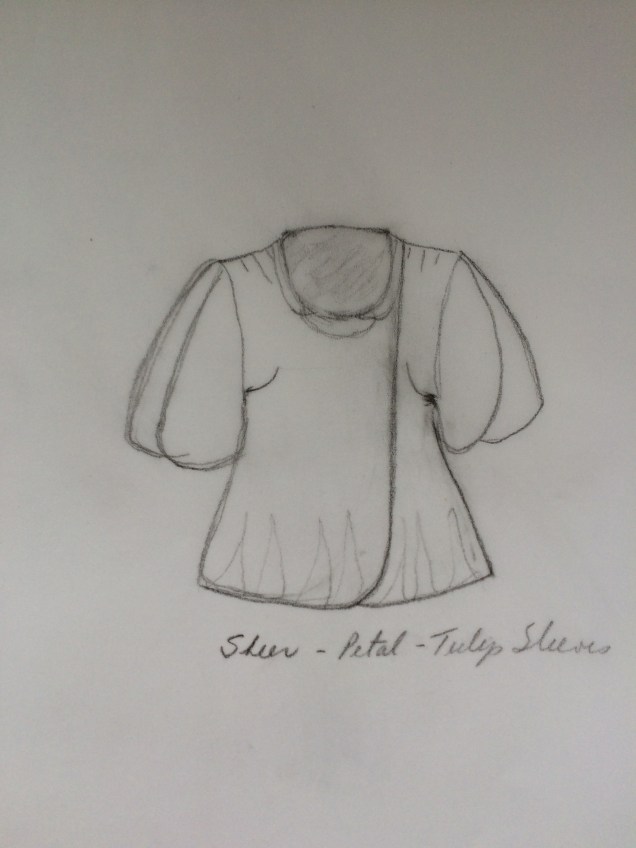
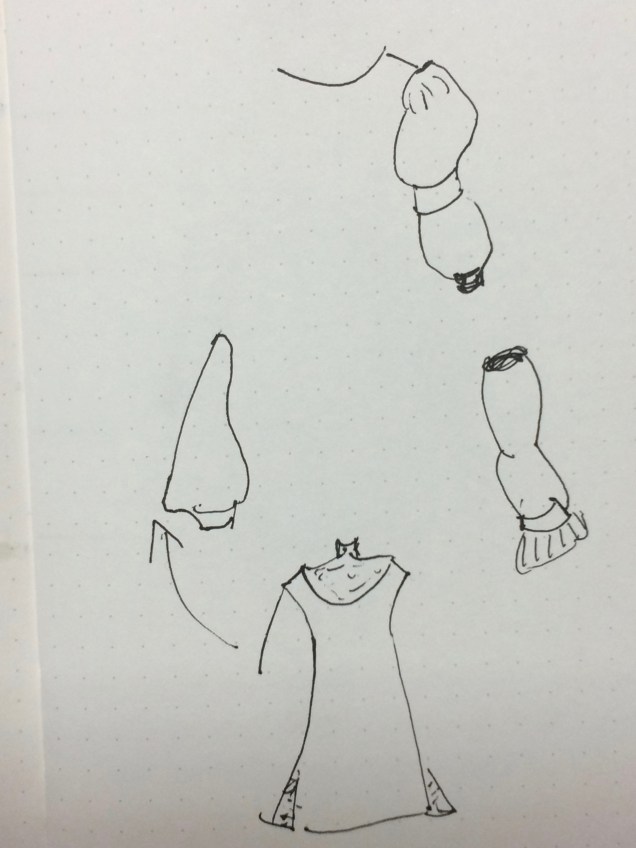 There was a lot of volume in the sleeves, but also interesting shapes. The one at the top was full, had a band mid-way down, then was less full and ended in a cuff. I’m thinking the fullness can be scaled down and the band and cuff might be made of contrasting fabric, or the full bits could be made of mesh or lace and the band and cuff could be the fashion fabric used on the body of the garment.
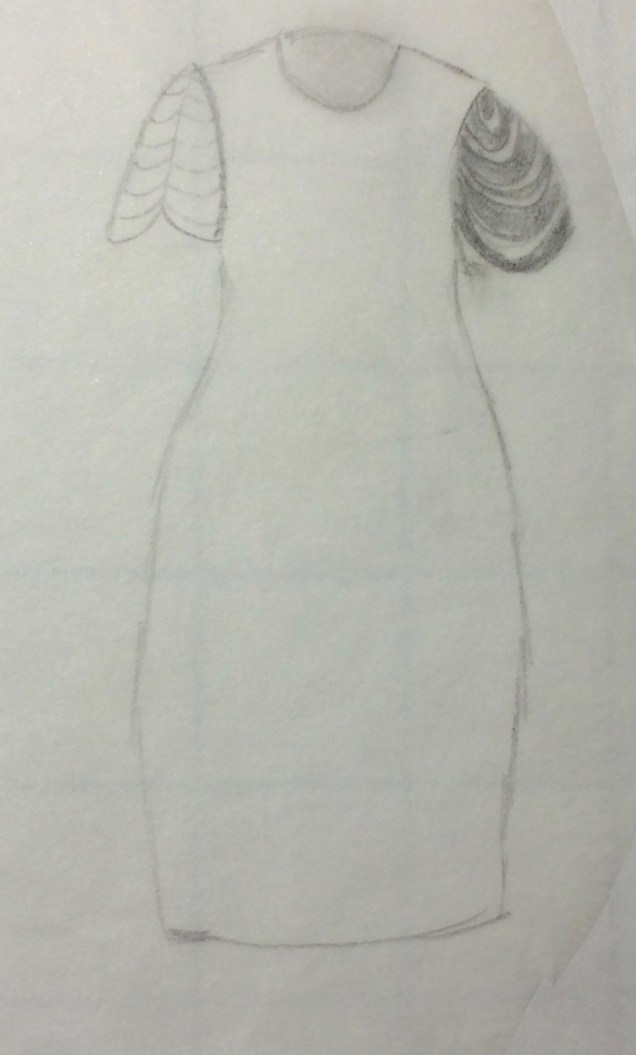 This is a sketch I’ve been ruminating about for a while. It has two different versions of an openwork sleeve I’d like to try. The one on the left is supposed to be thin bias tubes draped to hang off the shoulder seam. I have no idea whether it will work in real life. The one on the left poses the possibility of using overlapping curved strips of fabric that have finished edges. Again, very theoretical.
 One more sleeve design I’ve been ruminating about is to insert lace or mesh down the middle of a sleeve. I think this might be nice if the lace were used for the cuff and collar as well. The Haute Couture Club of Chicago is having a lace challenge in March and I’m hoping this will prompt me to actually use some of the lace I’ve been collecting, thinking about, and practicing on samples of for techniques.
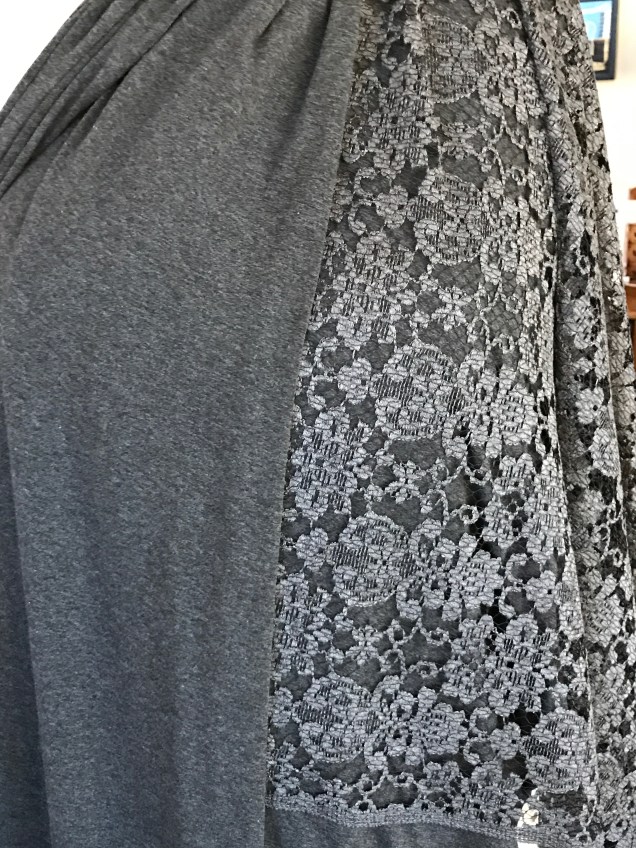