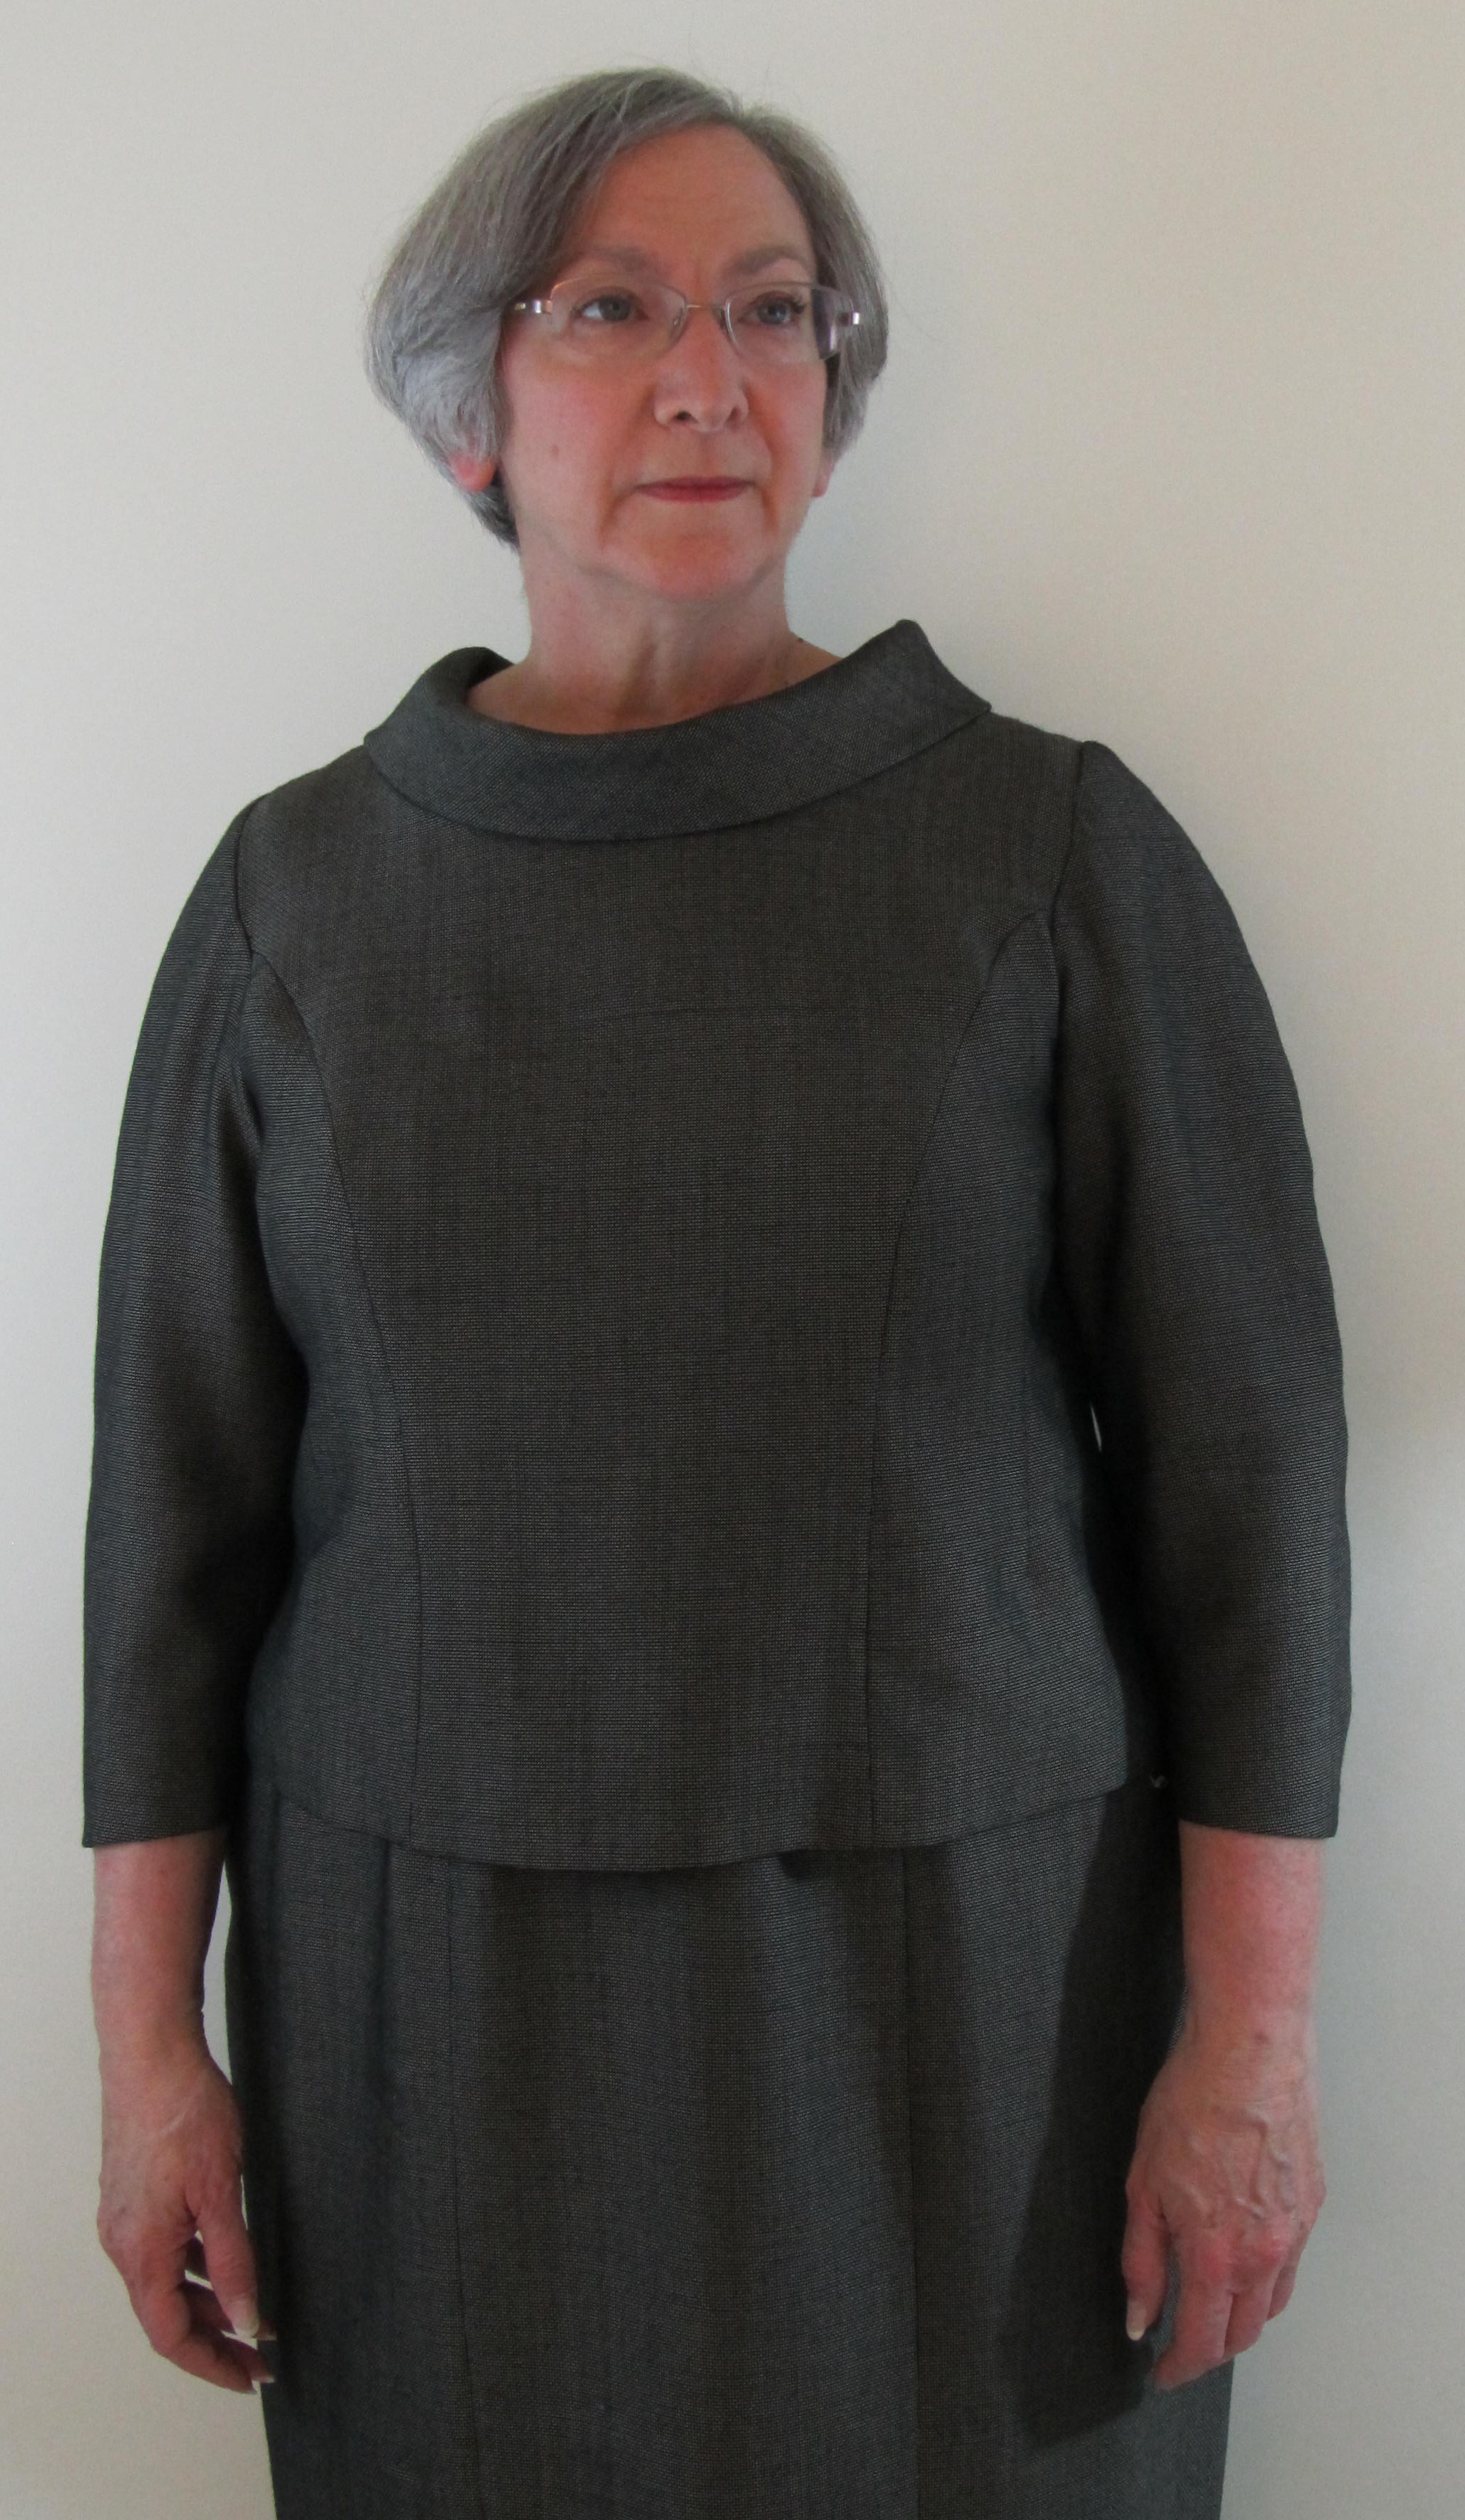
It’s been way too long since I’ve posted on this blog and it seems like forever since I’ve finished a garment to blog about. So, let’s get down to business with the jacket that I was going to wear on a trip to Brazil that has since been cancelled.

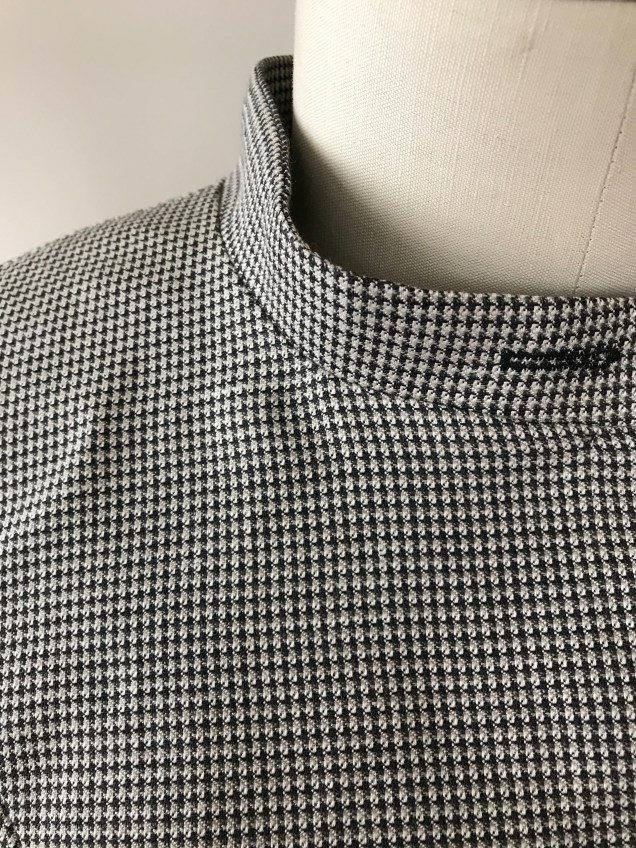
Except for the wrinkles, you would never know that this is linen. It has the look and texture of wool. The fabric is Armani (it says so in the selvage), which I bought from Marcy Titlon’s web site possibly two years ago. The pattern is one of those things that’s hard for cameras to capture accurately. It’s tiny houndstooth checks in black, taupe and beige. The buttons are from Soutache Ribbons and Trim and it is lined in Bemberg Ambiance.
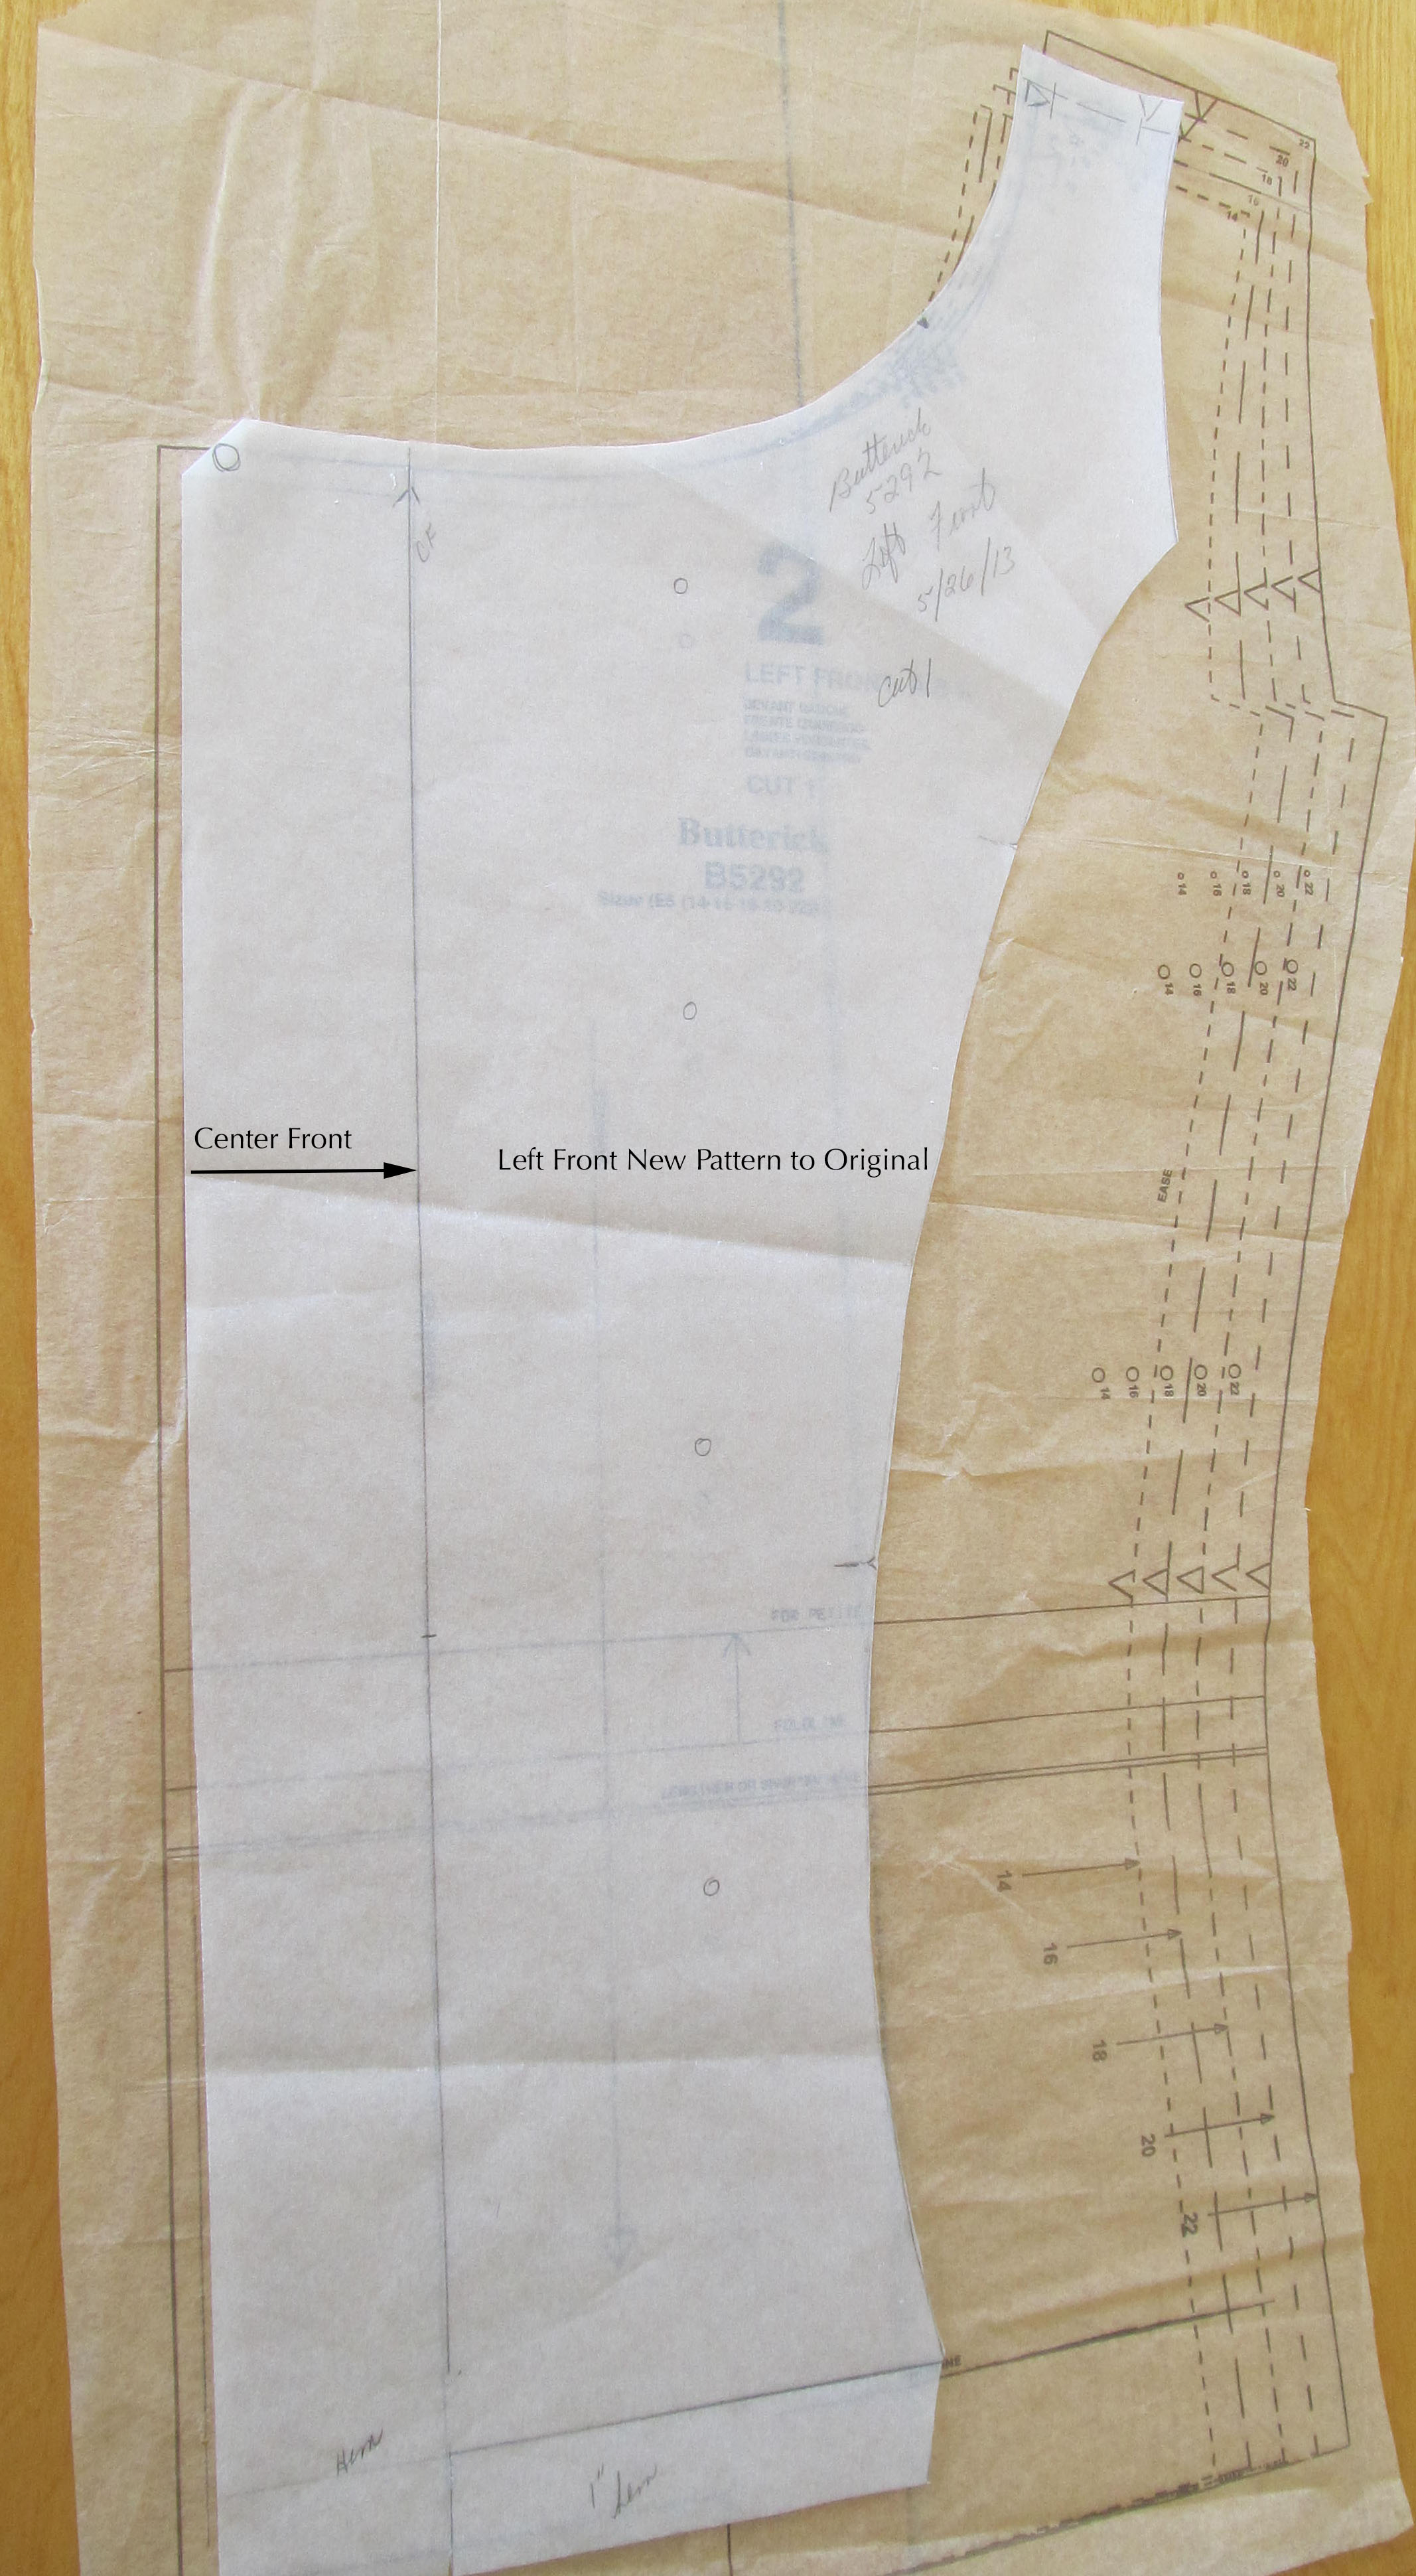
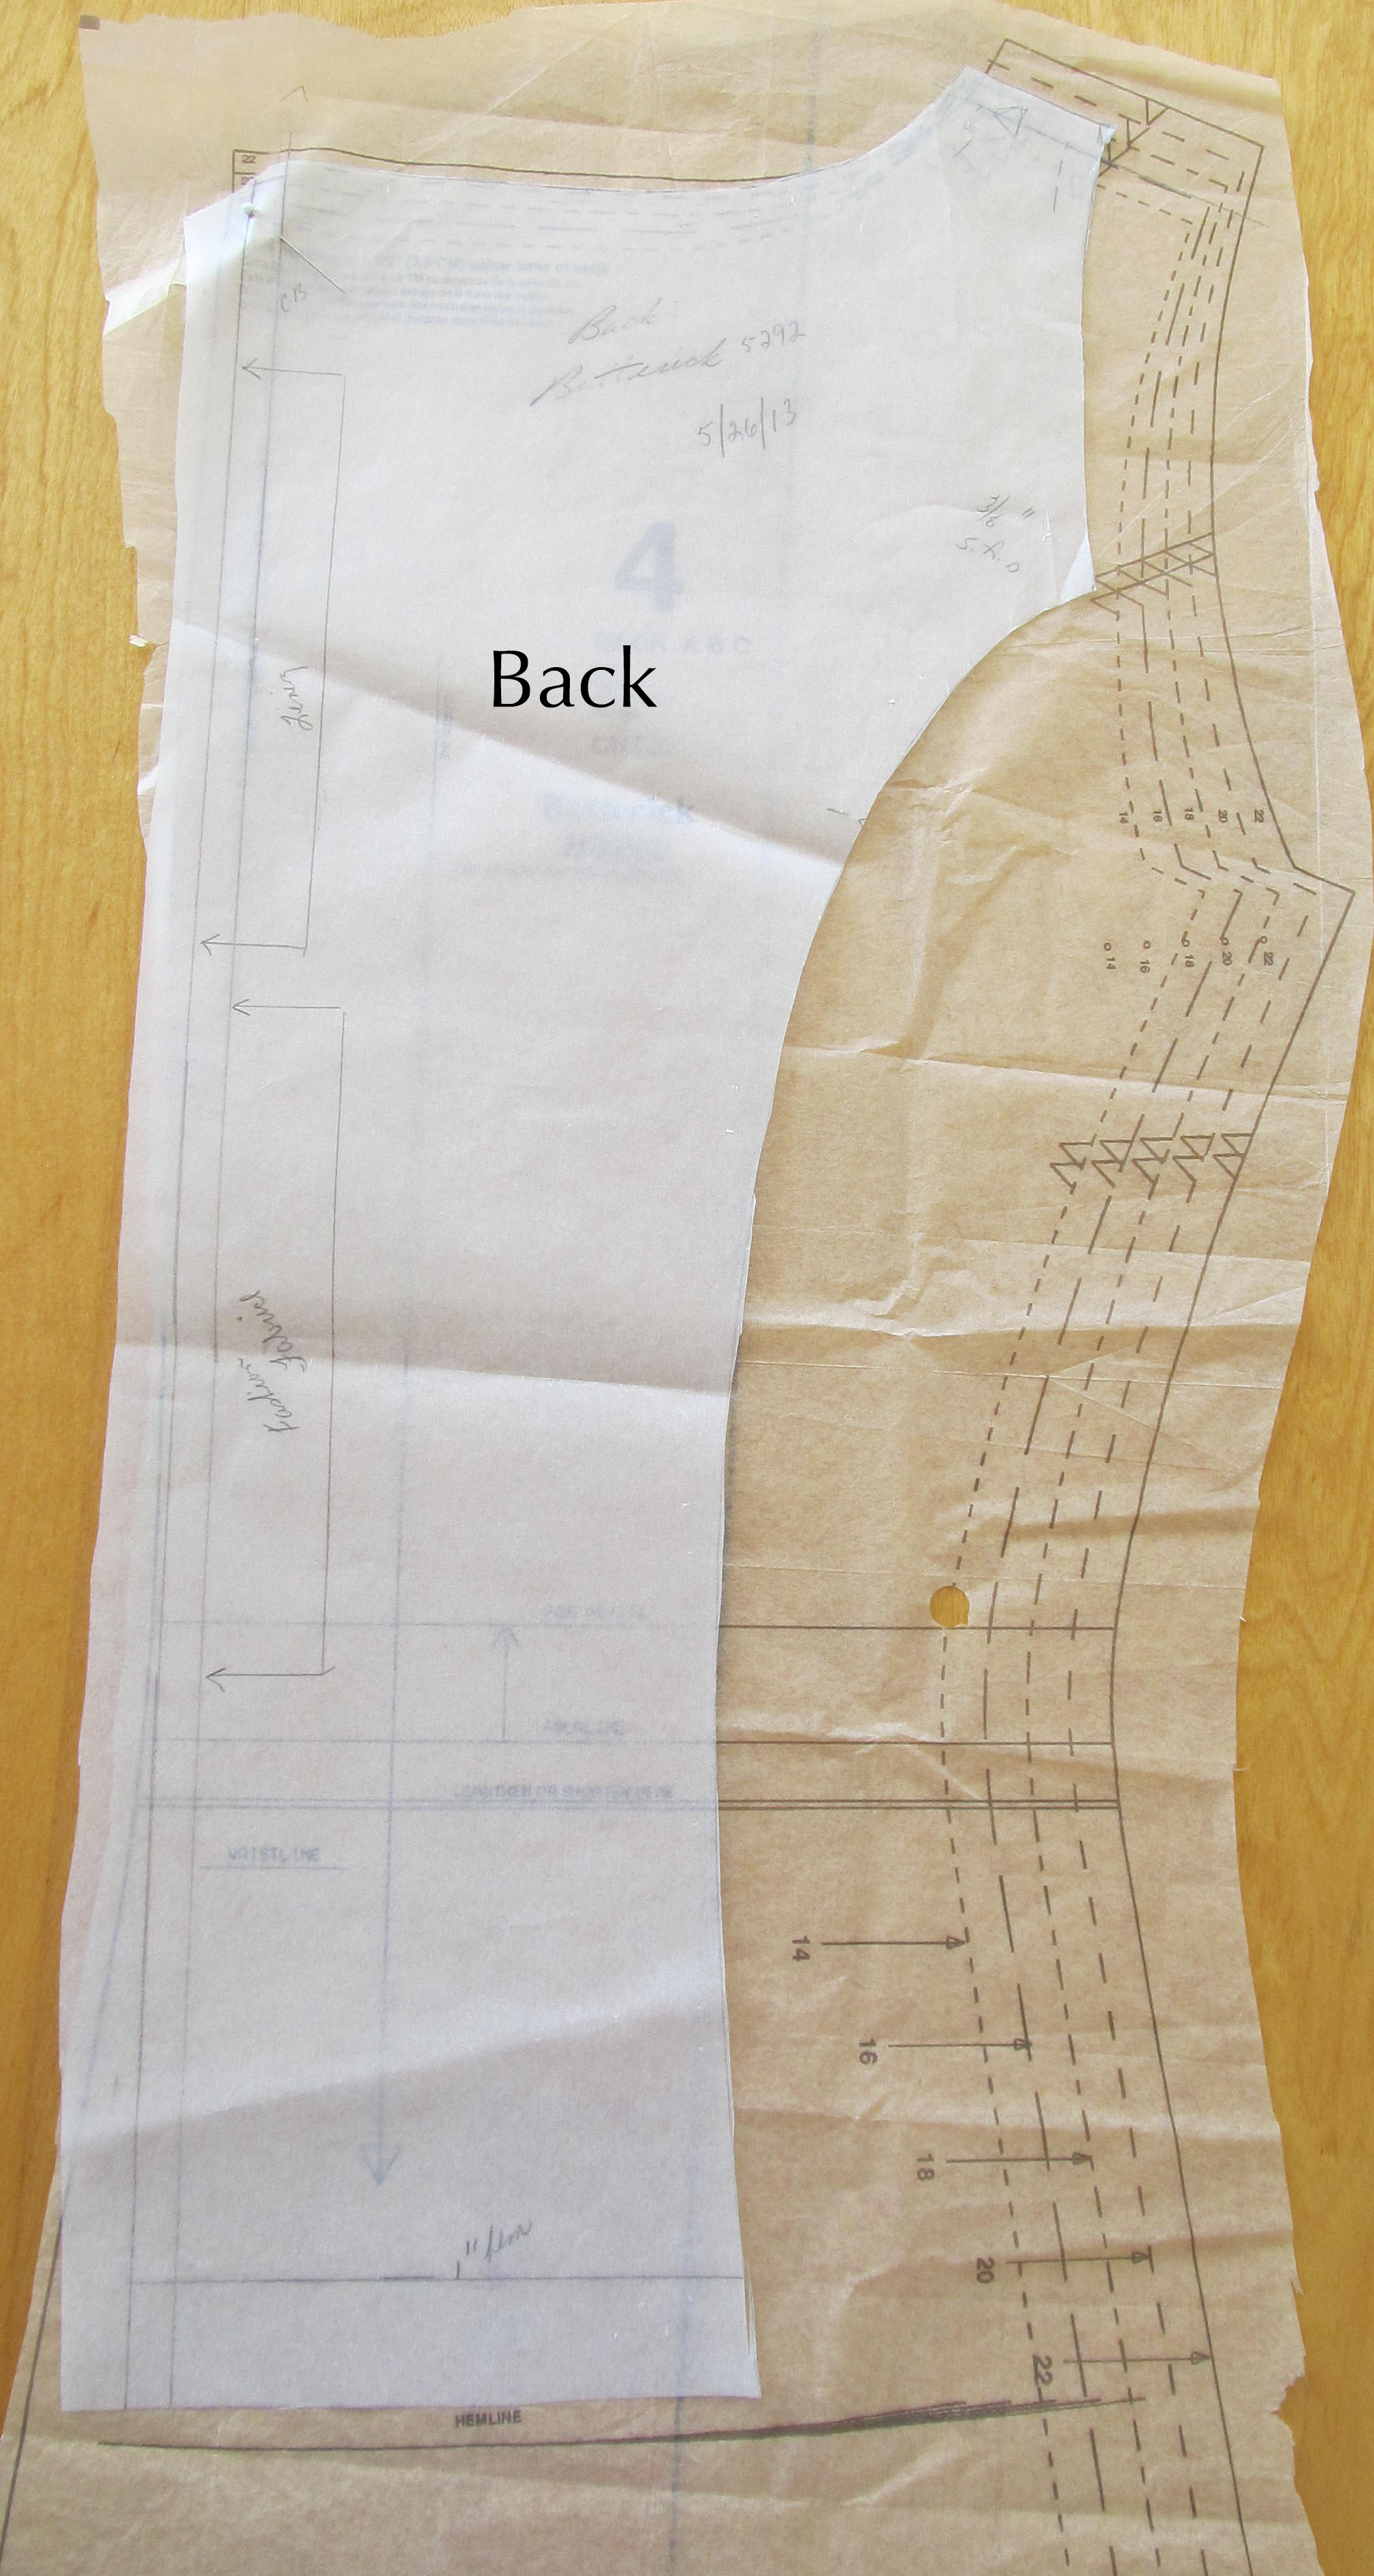
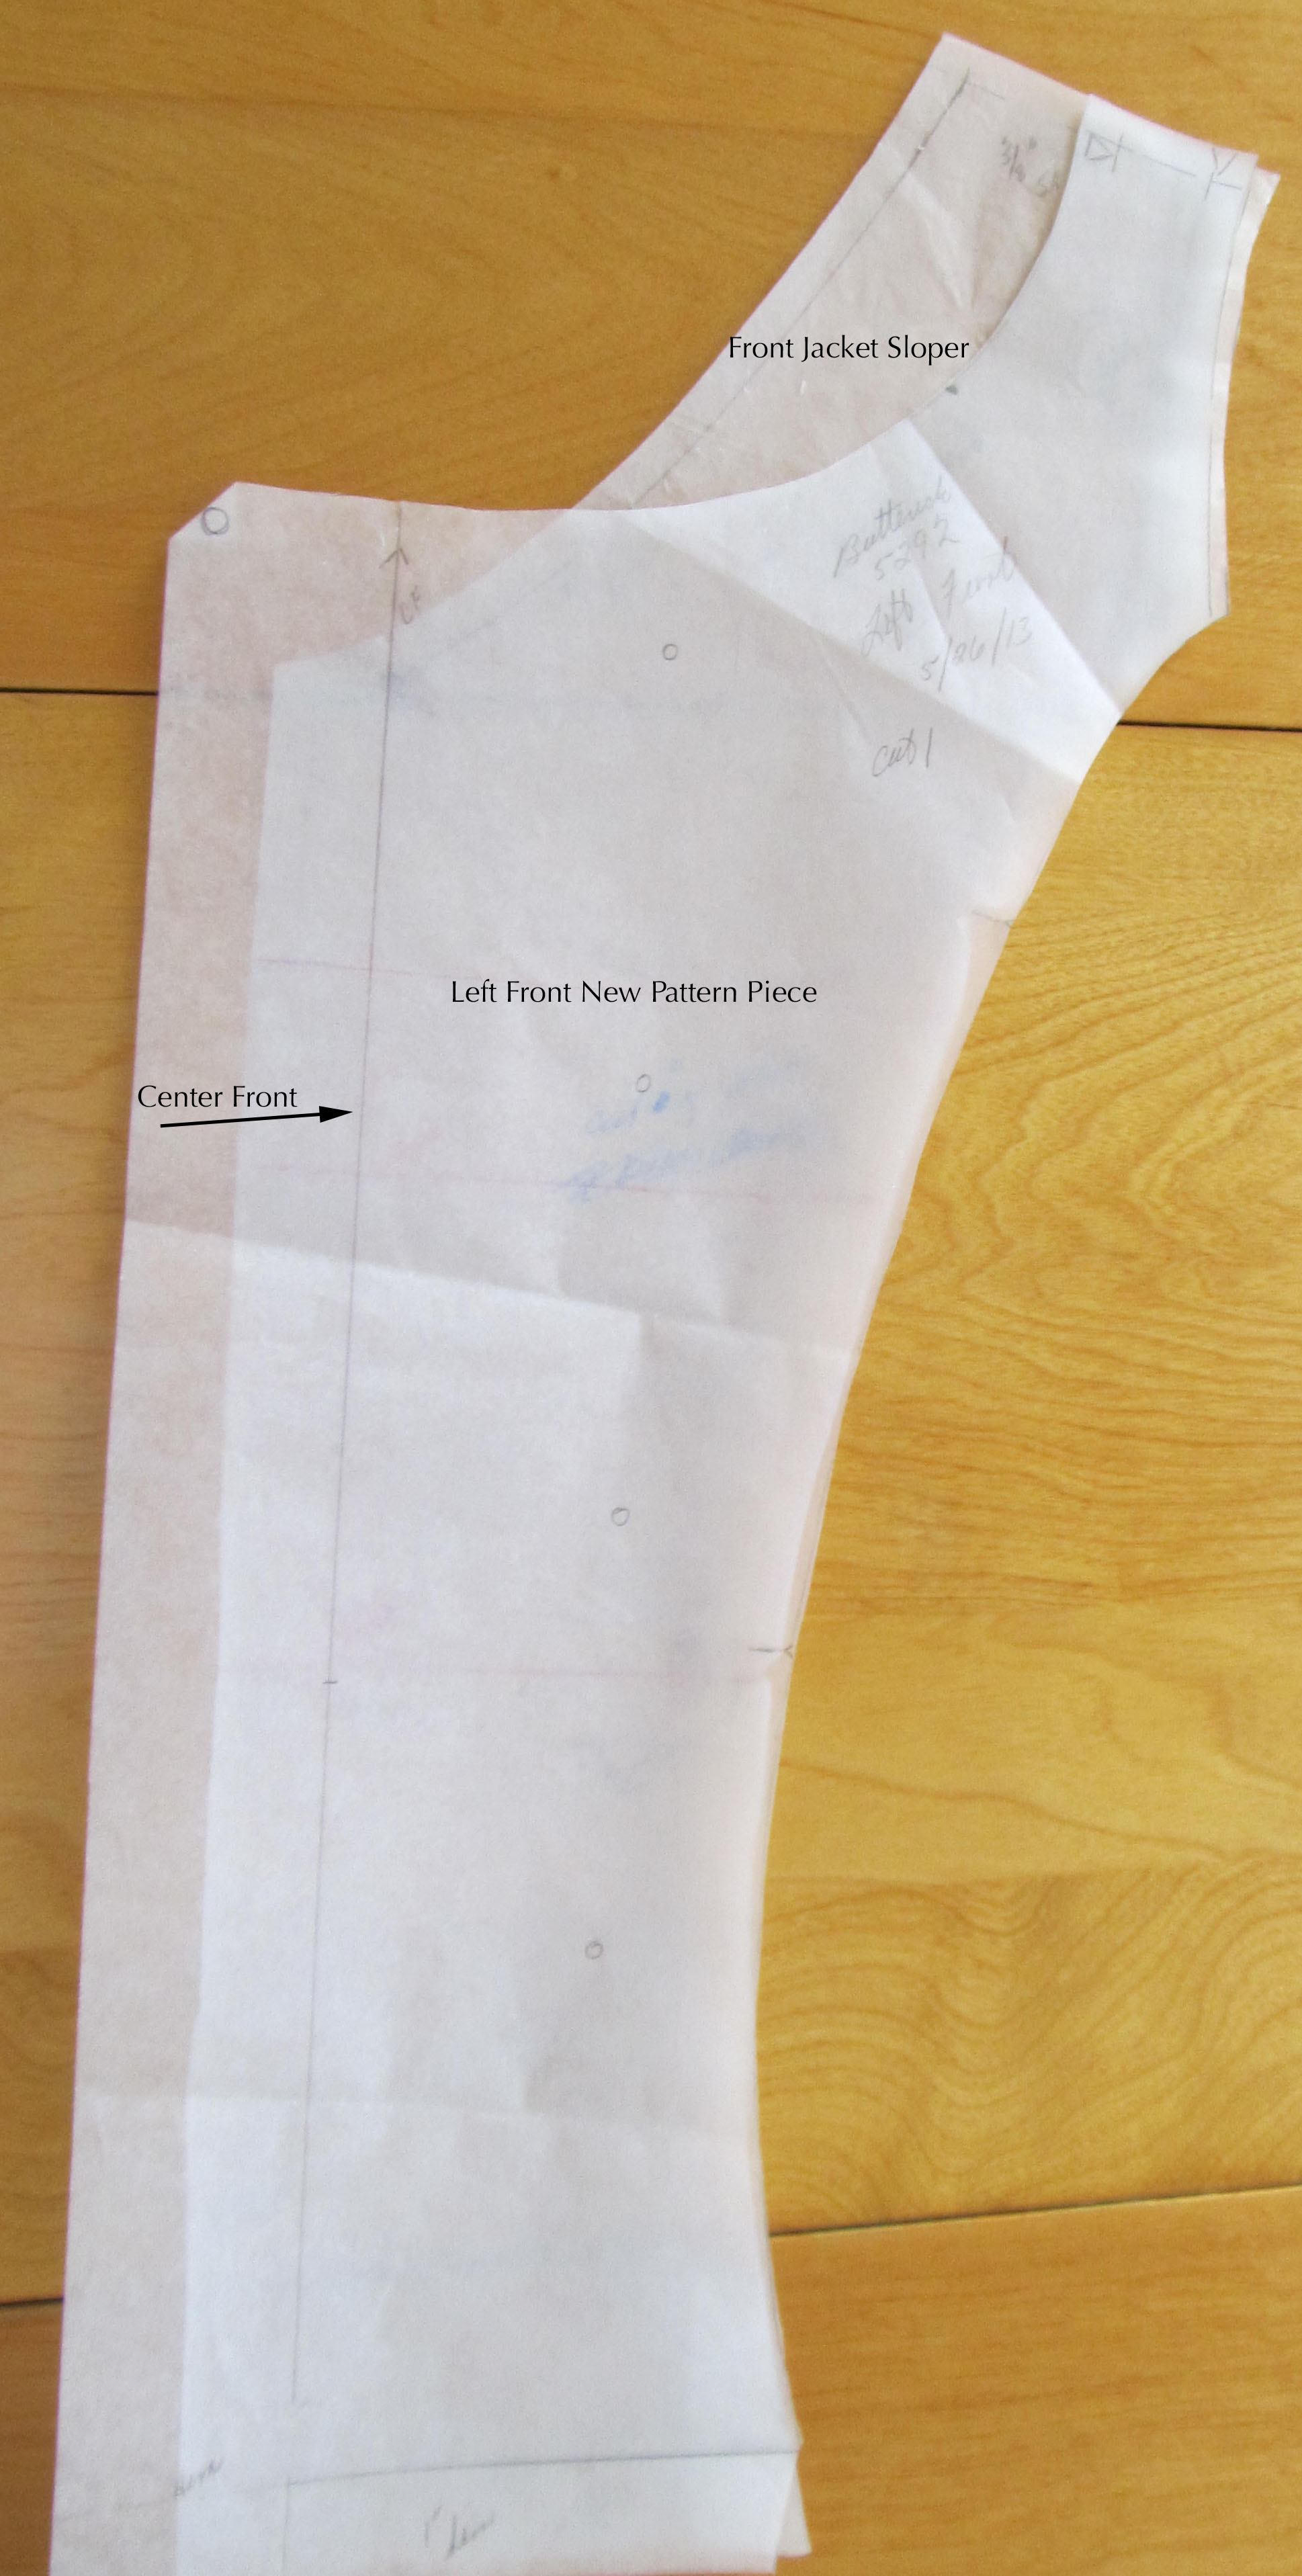
I started with my basic armscye princess bodice and ¾ length two-piece sleeves. I knew I wanted to do a Mandarin collar and at first I thought I might want the jacket to be asymmetrical, similar to this sketch I had made earlier (the one on the left).


After looking at circles of paper the size of my buttons arranged on my dress form, I decided to drop the idea of asymmetry. Having the buttons at center front looked just fine. I also decided I didn’t need the curve in the front overlap/underlap and cuffs or buttons on the sleeves could be eliminated as well. Work had been getting increasingly busy and I needed to get this project done.
In a mentoring session, Sarah Veblen told me I could just mock up the collar once I got the body of the jacket constructed, but I was unsure about the neckline so I did a muslin of a part of the front, the back and the collar. Sarah made minor adjustments to the mockup during a You Choose Your Focus workshop here in Chicago in March. Her advice was to make the collar slightly shorter in the front, which I did.
The next issue I thought through was the button in the collar. I knew that trying for a functional buttonhole and button in that location was asking for trouble, particularly with the diminished amount of real estate that resulted from making the front of the collar dipping a bit lower than the rest of the collar. I knew a plastic snap behind a button would work, but that still meant taking a risk of running into all sorts of headaches with the buttonhole. My solution was to make the top buttonhole before assembling and attaching the collar. That gave the automatic buttonhole foot an unobstructed path to work with. The stitching is on the upper collar only and I never cut it open. I made several practice buttonholes, both before making the non-functioning one and before making the rest of them, just to make sure that nothing had shifted when I set the buttonhole foot aside to sew the rest of the jacket and to account for the differences between a single layer of fabric and a fashion fabric/interfaced facing sandwich with a seam connecting them. Except for some skipped stitches that had to be resewn by hand, that part of the process worked fine.
For this project, I made a complete checklist of all the construction steps in advance in an attempt to keep myself on track and help with time estimates. This is one of the suggestions Sarah has made to help me be more realistic about my expectations and chart my progress. Checklists, like shopping lists, are extremely helpful, but only if you read them! I was working merrily along without referring to my checklist when I realized that I worked the collar construction the way I do a rolled collar, assembling it before attaching it to the body, whereas I had wanted to use the method you use for a collar band on a tailored shirt. I caught my mistake too late and complained to Sarah that I was going to have to make a new collar. She pointed out that there is more than one way to approach this construction and, in fact, she never uses the tailored shirt method. I followed her advice and concluded that, for a lined jacket, both methods work just fine.
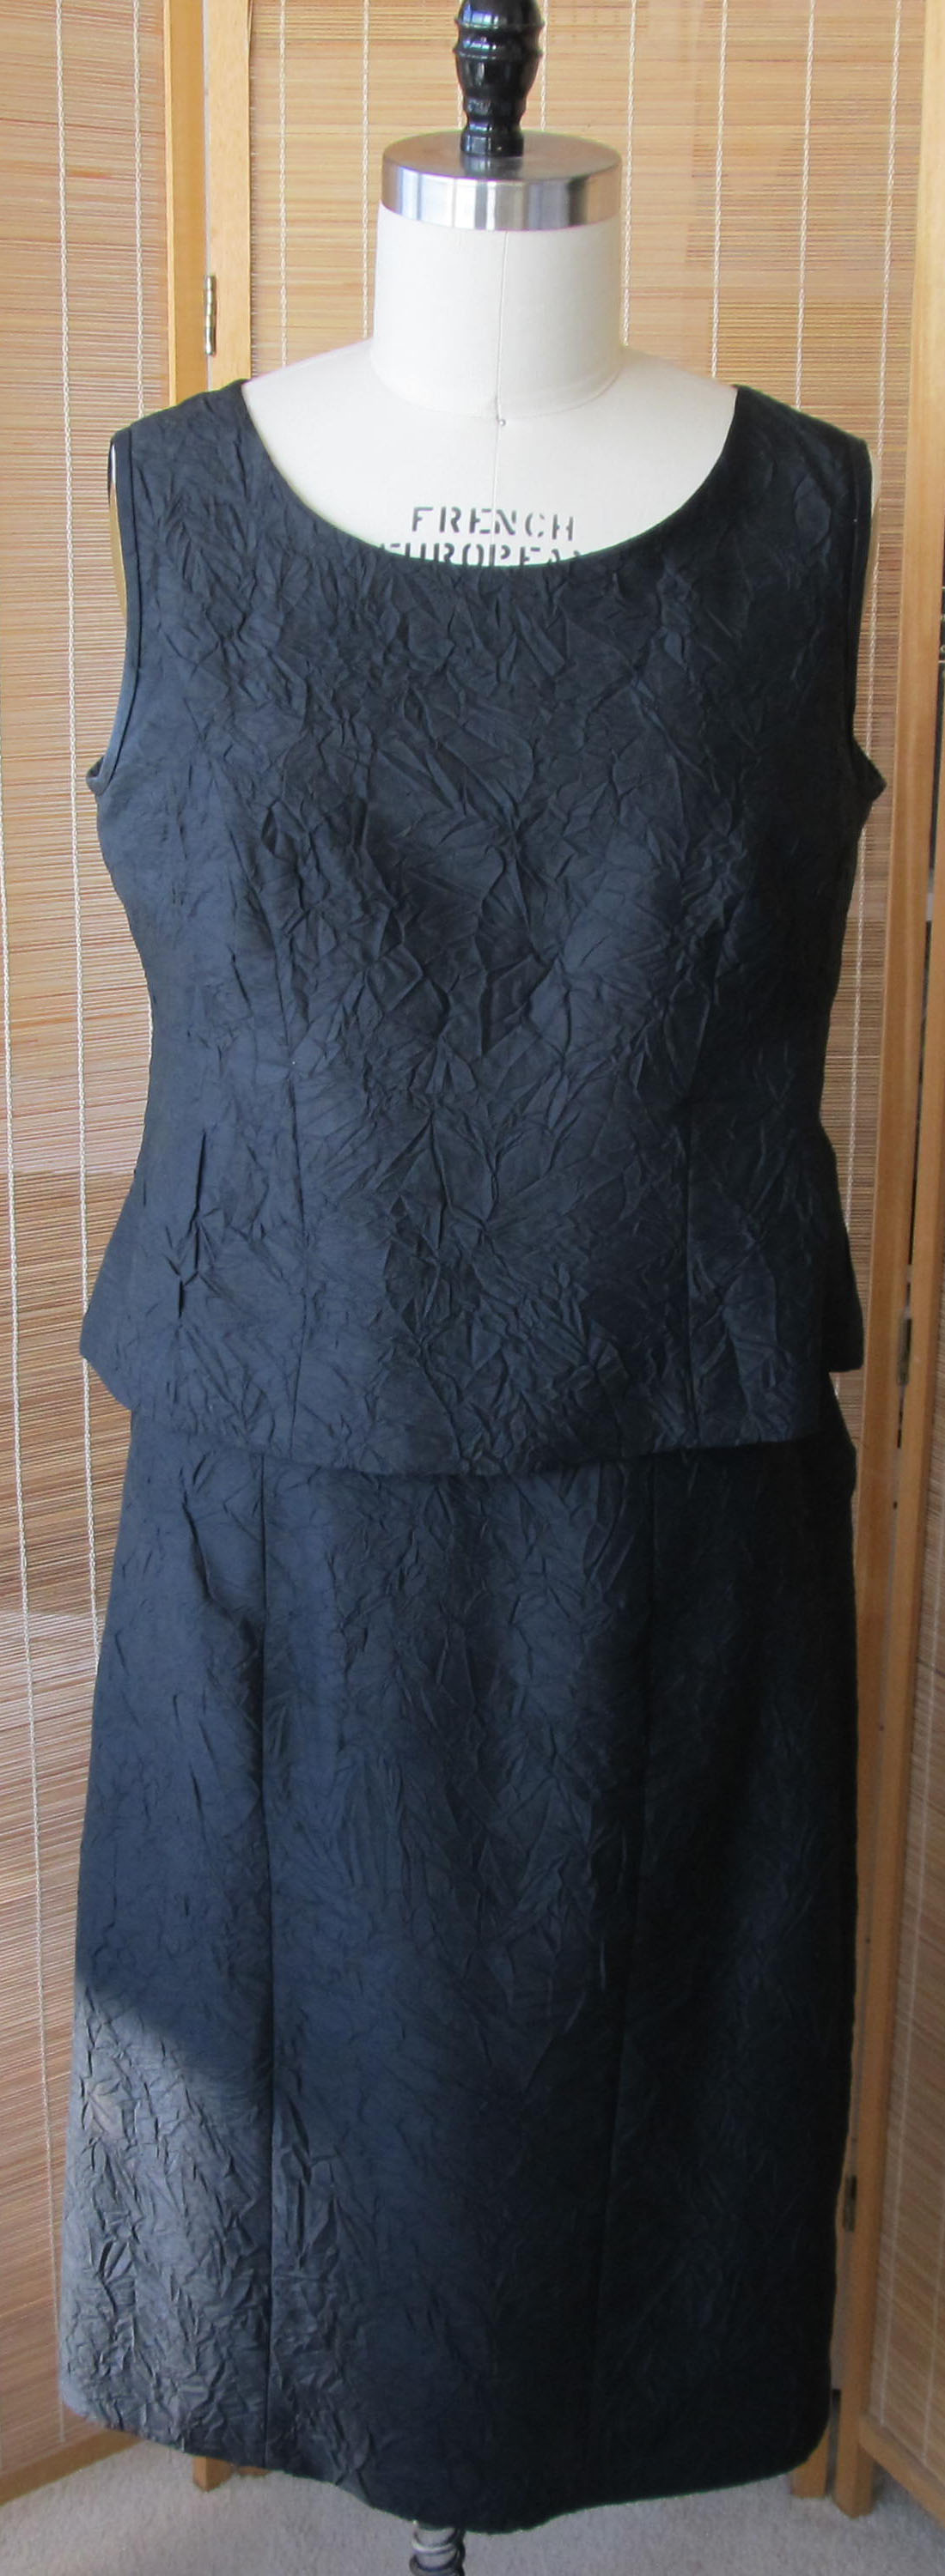
I did lose my momentum when my travel plans were changed and work got crazier. And, as you can see, I didn’t take a lot of pictures to document this project. My enthusiasm for this project dropped even more when I saw this bubble thing on one side:
The other side was perfectly smooth. Sarah tried to diagnose the problem by looking at pictures of what was going on inside.


After repeated pressings, extra clipping of the curve and general futzing, I remembered that I had needed to resort to spot steaming and some easing when sewing the neck seam. In all likelihood, one side got stretched out of shape in that process. Probably nobody would have noticed had I not pointed it out here, but I think it’s important to go over the pitfalls so we all can learn from them. Anyway, that close-up does show you my nice fake buttonhole.
The jacket is finally in my closet, and I might actually wear it if (1) I get the black linen skirt that goes with it sewn (right now all the pieces are cut out and only the back darts are sewn); and (2) I have a meeting that does not involve a video conference component (there is a reason nobody wears houndstooth prints on TV) on a day when the dew point isn’t in the stratosphere. Is that asking too much?


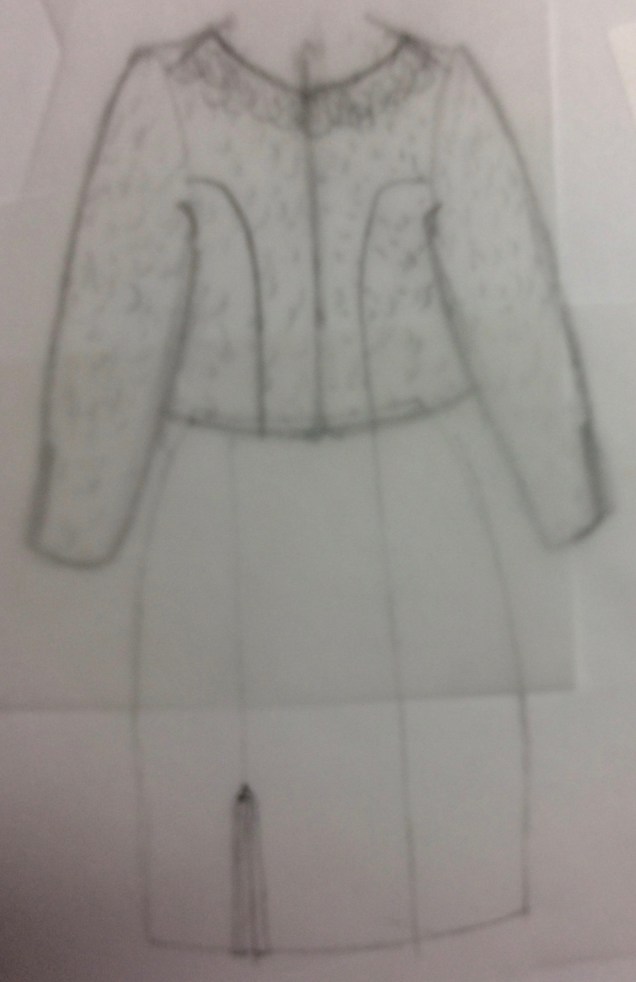 Then there’s the possibility of using lace as a collar.