It Started With The Collar

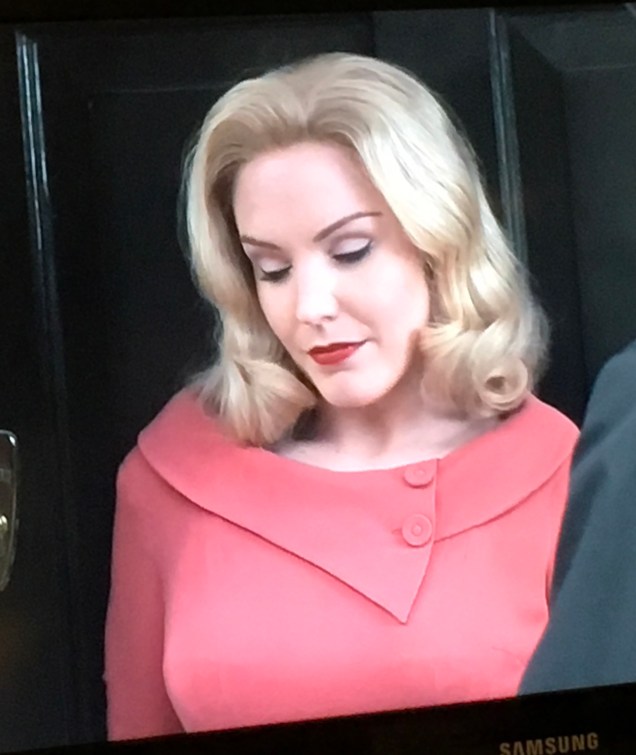
You know how one detail can make an outfit? My latest completed project isn’t something that required great leaps from what I’ve done before. It started with a collar I saw on a red dress worn by a minor character in an episode of Father Brown Murder Mysteries. I love the 1950s fashions in that show and I often rewind to take a picture or sketch something one of the characters is wearing.

fullsizeoutput_1ad3.jpeg

I filed this image in my inspiration album and forgot about it until one day last spring when I was looking through my fabric collection for something else entirely and I came across this fabulous wool and linen blend that I had bought from A Fabric Place in Baltimore. The next thing that occurred to me is that I could make this as a two-piece dress, using my master patterns for bodice and skirt. Suddenly, I could see myself in this dress at court, at a luncheon, at anything that calls for business dress.

fullsizeoutput_17b8


I found the absolutely perfect buttons in my button collection, but I only had the size that was right for the sleeves. I was really bummed, but the buttons were a recent purchase from my favorite source, Soutache Buttons & Trims here in Chicago, so I emailed the proprietor, Maili Powell, a picture of the buttons and asked whether she still had the larger ones. “How many do you need? I’ll set them said for you” was the prompt response. Yay! I mean, are these buttons not meant for this fabric?

iNTXHAfUR4CXHqequ8H3GQ

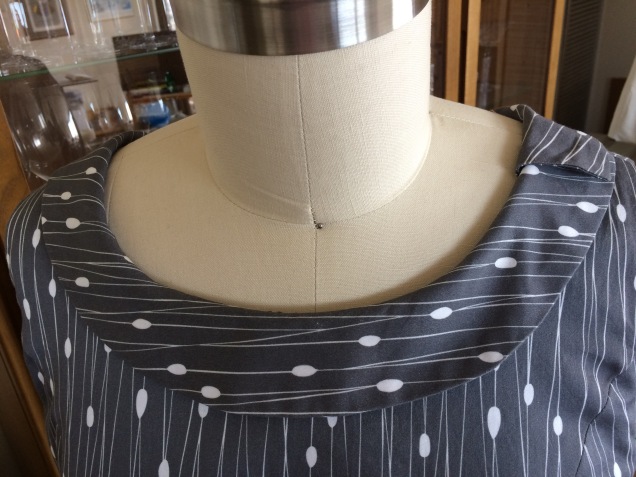
In thinking about the collar, I realized I could work from the collar on my Spoonflower dress pattern and use the neckline for that dress so there would be little or no futzing around to get the collar and neckline to work with one another. The collar I ended up with is narrower than the inspiration one, but I think it works.

bYtXh1vSTYqTOwf82iy8dA

The Spoonflower dress collar is a Peter Pan collar that overlaps and is shifted about a quarter turn around the body so the overlap happens at the shoulder.

IMG_1856

Sarah Veblen walked me through the process of converting that collar pattern so I didn’t have to redraft the pattern from scratch.

I started out by tracing the Spoonflower collar pattern and marking Center Front, Center Back and the shoulder seams. Once it was cut out, I joined the ends, eliminating the overlap and underlap. Because the collar is drafted to have a slight lift (stand), it won’t lay flat when connected.

AO7UXk%mSXS9ulidXT2rmQ

The next step was to cut the pattern where the overlap would happen and add the underlap and overlap. Then it was on to the dress form to refine the shape of the overlap and get that curve-into-a-point bit to look proportional and achieve the effect I was going for.

Once it looked right to me in paper on the dress form, I cleaned up the pattern, added seam allowances and was ready to cut it in fashion fabric. Whenever I make anything asymmetrical, I have to go to great lengths to make sure the finished product is going to be placed on the side I intended for it to end up on. Layer on top of that the fact that I tend to get lost when doing collars because they are sewn wrong side/undercollar to the right side of the bodice and I end up rechecking what I’m doing several times before fusing the interfacing.

I’ve started a notebook with machine settings and presser feet that I use for different tasks on my new machine. I had been experimenting with different approaches for understitching, and for this project the third presser foot I tried was the skinny zipper foot. Instead of sewing with the needle off to the side the way you do when you insert a zipper, I sewed with the needle in the center hole. Because my seam allowances are ⅜” it worked out very well.

Once I got the collar attached, it occurred to me that it might be nice to have turned-back cuffs that echo the collar shape. So, I traced the turned-back cuff pattern from my shirtdress and to achieve the curved pointy detail I took a wild guess and made a photocopy of the overlap portion of the collar reduced to 70%. I had expected to need to try different percentages, but that guess was spot on.

fullsizeoutput_18cc

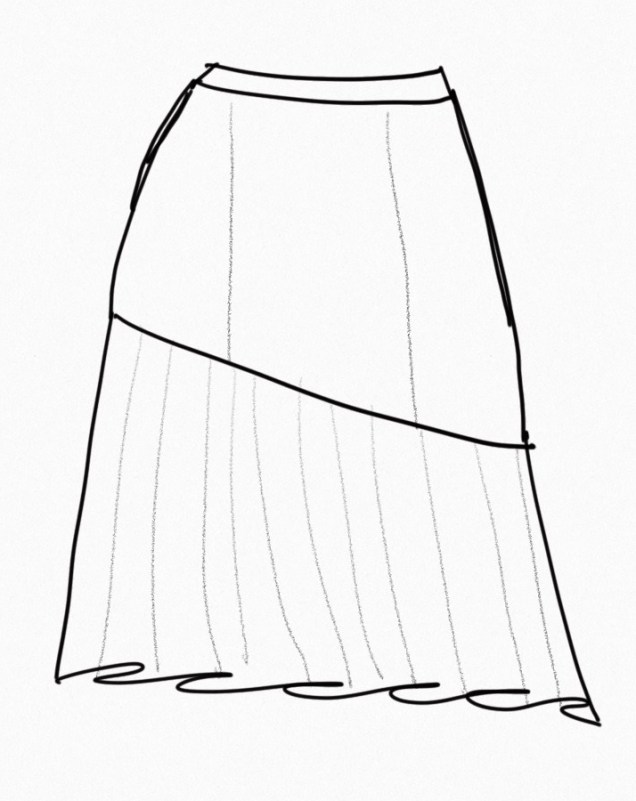
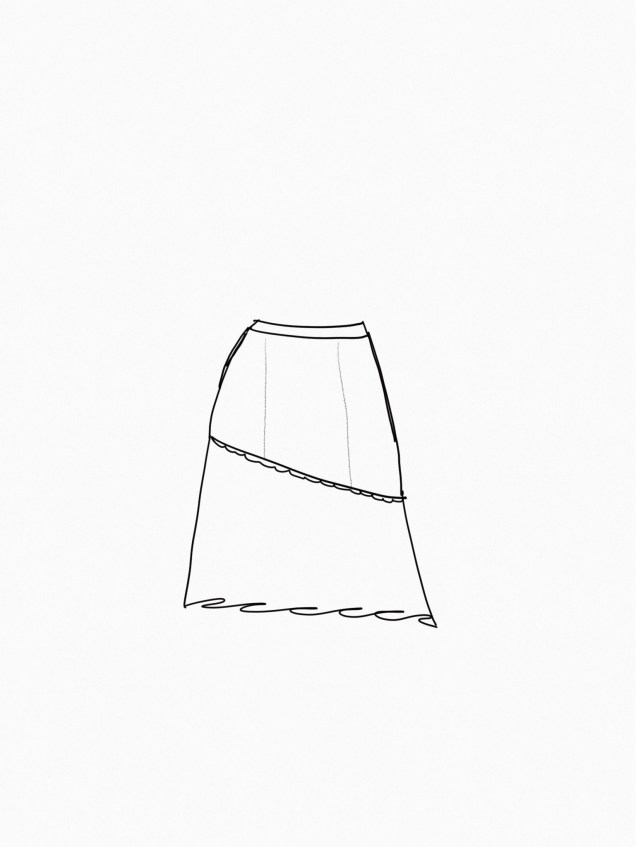
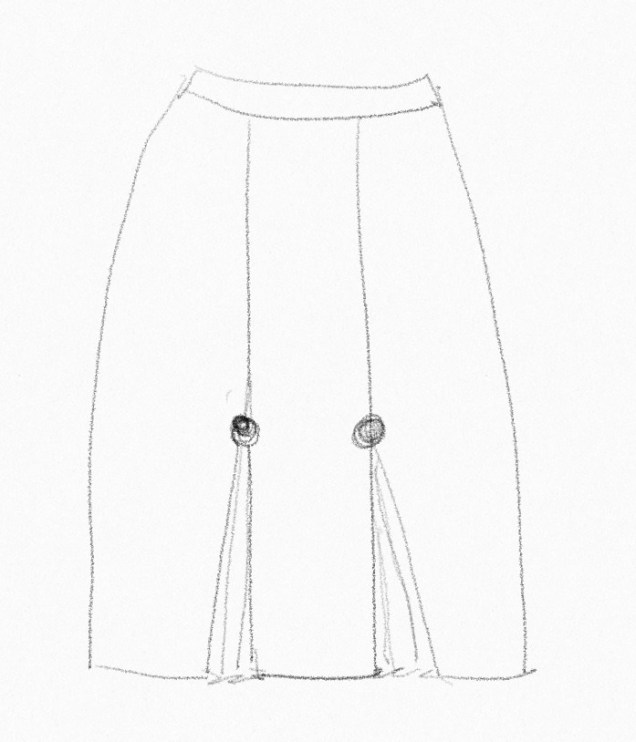
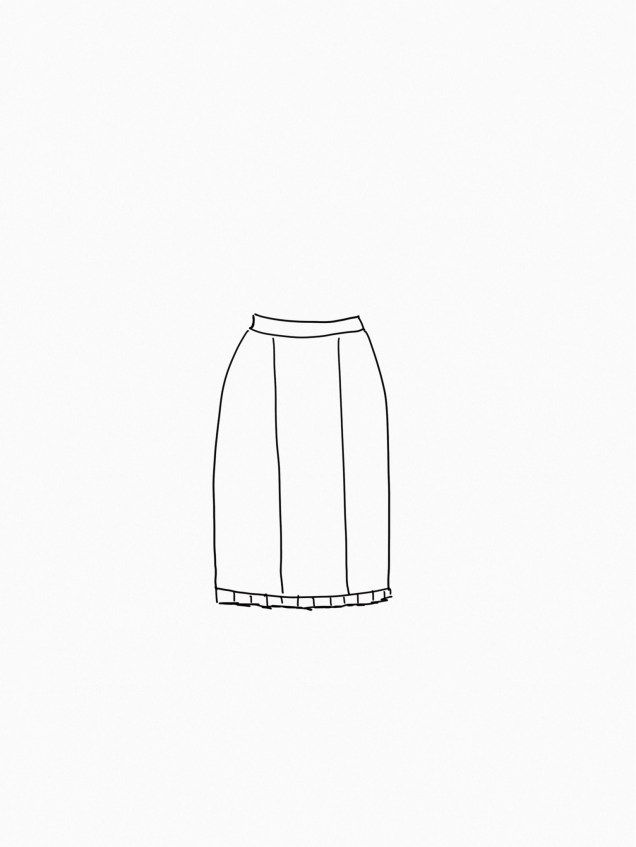
My intention had been to try something new with the skirt, but I ran into an obstacle and so the skirt variation had to be put on hold. The skirt ended up being another pencil skirt from my master pattern. Both pieces are lined in China silk.

I absolutely love wearing this dress.


In the Sketchbook – March 2018

Welcome to In the Sketchbook, a monthly look at fashion design sketches that we are working on for ourselves. Sketching garments on a personal croquis is a great way for the individual couture enthusiast to move beyond the use of commercial patterns and into a world of personalized design! It can be intimidating at first, but with a little bit of practice it becomes something you look forward to. Join us for a look of what we have going on In the Sketchbook! Brought to you by Wendy Grossman of Couture Counsellor and Steph King from Siouxzeegirl Designs.

It has been almost two years since I attended Sarah Veblen’s Class Exploring Fashion Design: Design 1. That was what inspired our In the Sketchbook series. We are getting ready to participate in Sarah’s Design 2 class next week and I’m excited to see what new ideas come out of that experience.

This month, I’ve been thinking about skirts. Mostly because I’m once again mired in a seemingly endless series of pants mock-ups and skirts are something I consider to be manageable. The other reason is that our ASG Neighborhood Group, Sew Chicago, is doing a skirt challenge for the October 2018 ASG Chicago Fashion Show. The rule is that the skirt has to incorporate two elements we covered in meeting presentations in 2017 and 2018. Not all of the skirts I want to try meet those criteria, but there are some that have possibilities.

One of the elements we can use in the challenge is bias. Some of you may remember that my attempt at an all-bias skirt did not work out. I saw a picture of a Vogue skirt pattern a few months back that got me to thinking that something like this might work if the fitted part on the top is on the straight of grain and the bottom part is on the bias.

fullsizeoutput_1657.jpeg

That might also work if the bottom part were a sheer fabric, which would qualify for the two elements for the challenge.

Edge trim is another element that would qualify for the challenged I could add that to the diagonal seam between the two parts of the skirt.

fullsizeoutput_1659

Another possibility would be to make the entire skirt out of a sheer fabric. A technique we looked at in a meeting involved finishing a hem with ribbon or trim. The ribbon is attached to the wrong side of the garment, then folded to the right side and attached at the top, encasing the cut edge in between. It’s a nice finish and it also adds some weight to a sheer garment, which would help it hang nicely.

fullsizeoutput_165d.jpeg


With the pants conundrum fresh in my mind, I’ve been thinking about casual skirts that don’t have anything to do with the skirt challenge. Here is my take on a skirt with a single pleat on either side of the center front panel. The variation on the right has reinforcement for the pleat in a decorative stitch. (I’m sure there’s a name for that, but I didn’t look it up.) I see this in a khaki twill that’s easy to wear in the spring and summer.


From there, I thought about this variation. It has two little pleated godets and buttons at the the juncture that are both decorative and functional for reinforcing that critical area.

fullsizeoutput_1654

I think I could have some fun with this one.

And I can’t think about skirts without going back to the trumpet skirt that has been in my head forever but only has the beginnings of the pattern drafted.

fullsizeoutput_1665

And I’d like to try a skirt with pleats just at the hem, either from the fashion fabric or  pleated ribbon.

fullsizeoutput_1666

Another use for ribbon peeking out of seams is to use them all the way up each princess seam to embellish a pencil skirt.

fullsizeoutput_1668

This last pair of sketches aren’t skirts, but the idea struck me as I was looking for something in my fabric collection and my eyes landed on the fabulous black ostrich feather boa I bought at Haberman’s Fabrics. It occurred to me that I could use those feathers to trim a Little Black Dress for next year’s opera season and whatever other occasions I might have. I could either use the feathers just at the hem or at both the hem and the neckline. Here are a front and back view.

Be sure to check out what fabulous designs my dear friend Stephanie King of Siouxzeegirl Designs is showing at 10 Sewing Machines & a Serger. We’d love to see and hear about what you’re sketching, so  please leave a comment.