In the Sketchbook – March 2018

Welcome to In the Sketchbook, a monthly look at fashion design sketches that we are working on for ourselves. Sketching garments on a personal croquis is a great way for the individual couture enthusiast to move beyond the use of commercial patterns and into a world of personalized design! It can be intimidating at first, but with a little bit of practice it becomes something you look forward to. Join us for a look of what we have going on In the Sketchbook! Brought to you by Wendy Grossman of Couture Counsellor and Steph King from Siouxzeegirl Designs.

It has been almost two years since I attended Sarah Veblen’s Class Exploring Fashion Design: Design 1. That was what inspired our In the Sketchbook series. We are getting ready to participate in Sarah’s Design 2 class next week and I’m excited to see what new ideas come out of that experience.

This month, I’ve been thinking about skirts. Mostly because I’m once again mired in a seemingly endless series of pants mock-ups and skirts are something I consider to be manageable. The other reason is that our ASG Neighborhood Group, Sew Chicago, is doing a skirt challenge for the October 2018 ASG Chicago Fashion Show. The rule is that the skirt has to incorporate two elements we covered in meeting presentations in 2017 and 2018. Not all of the skirts I want to try meet those criteria, but there are some that have possibilities.

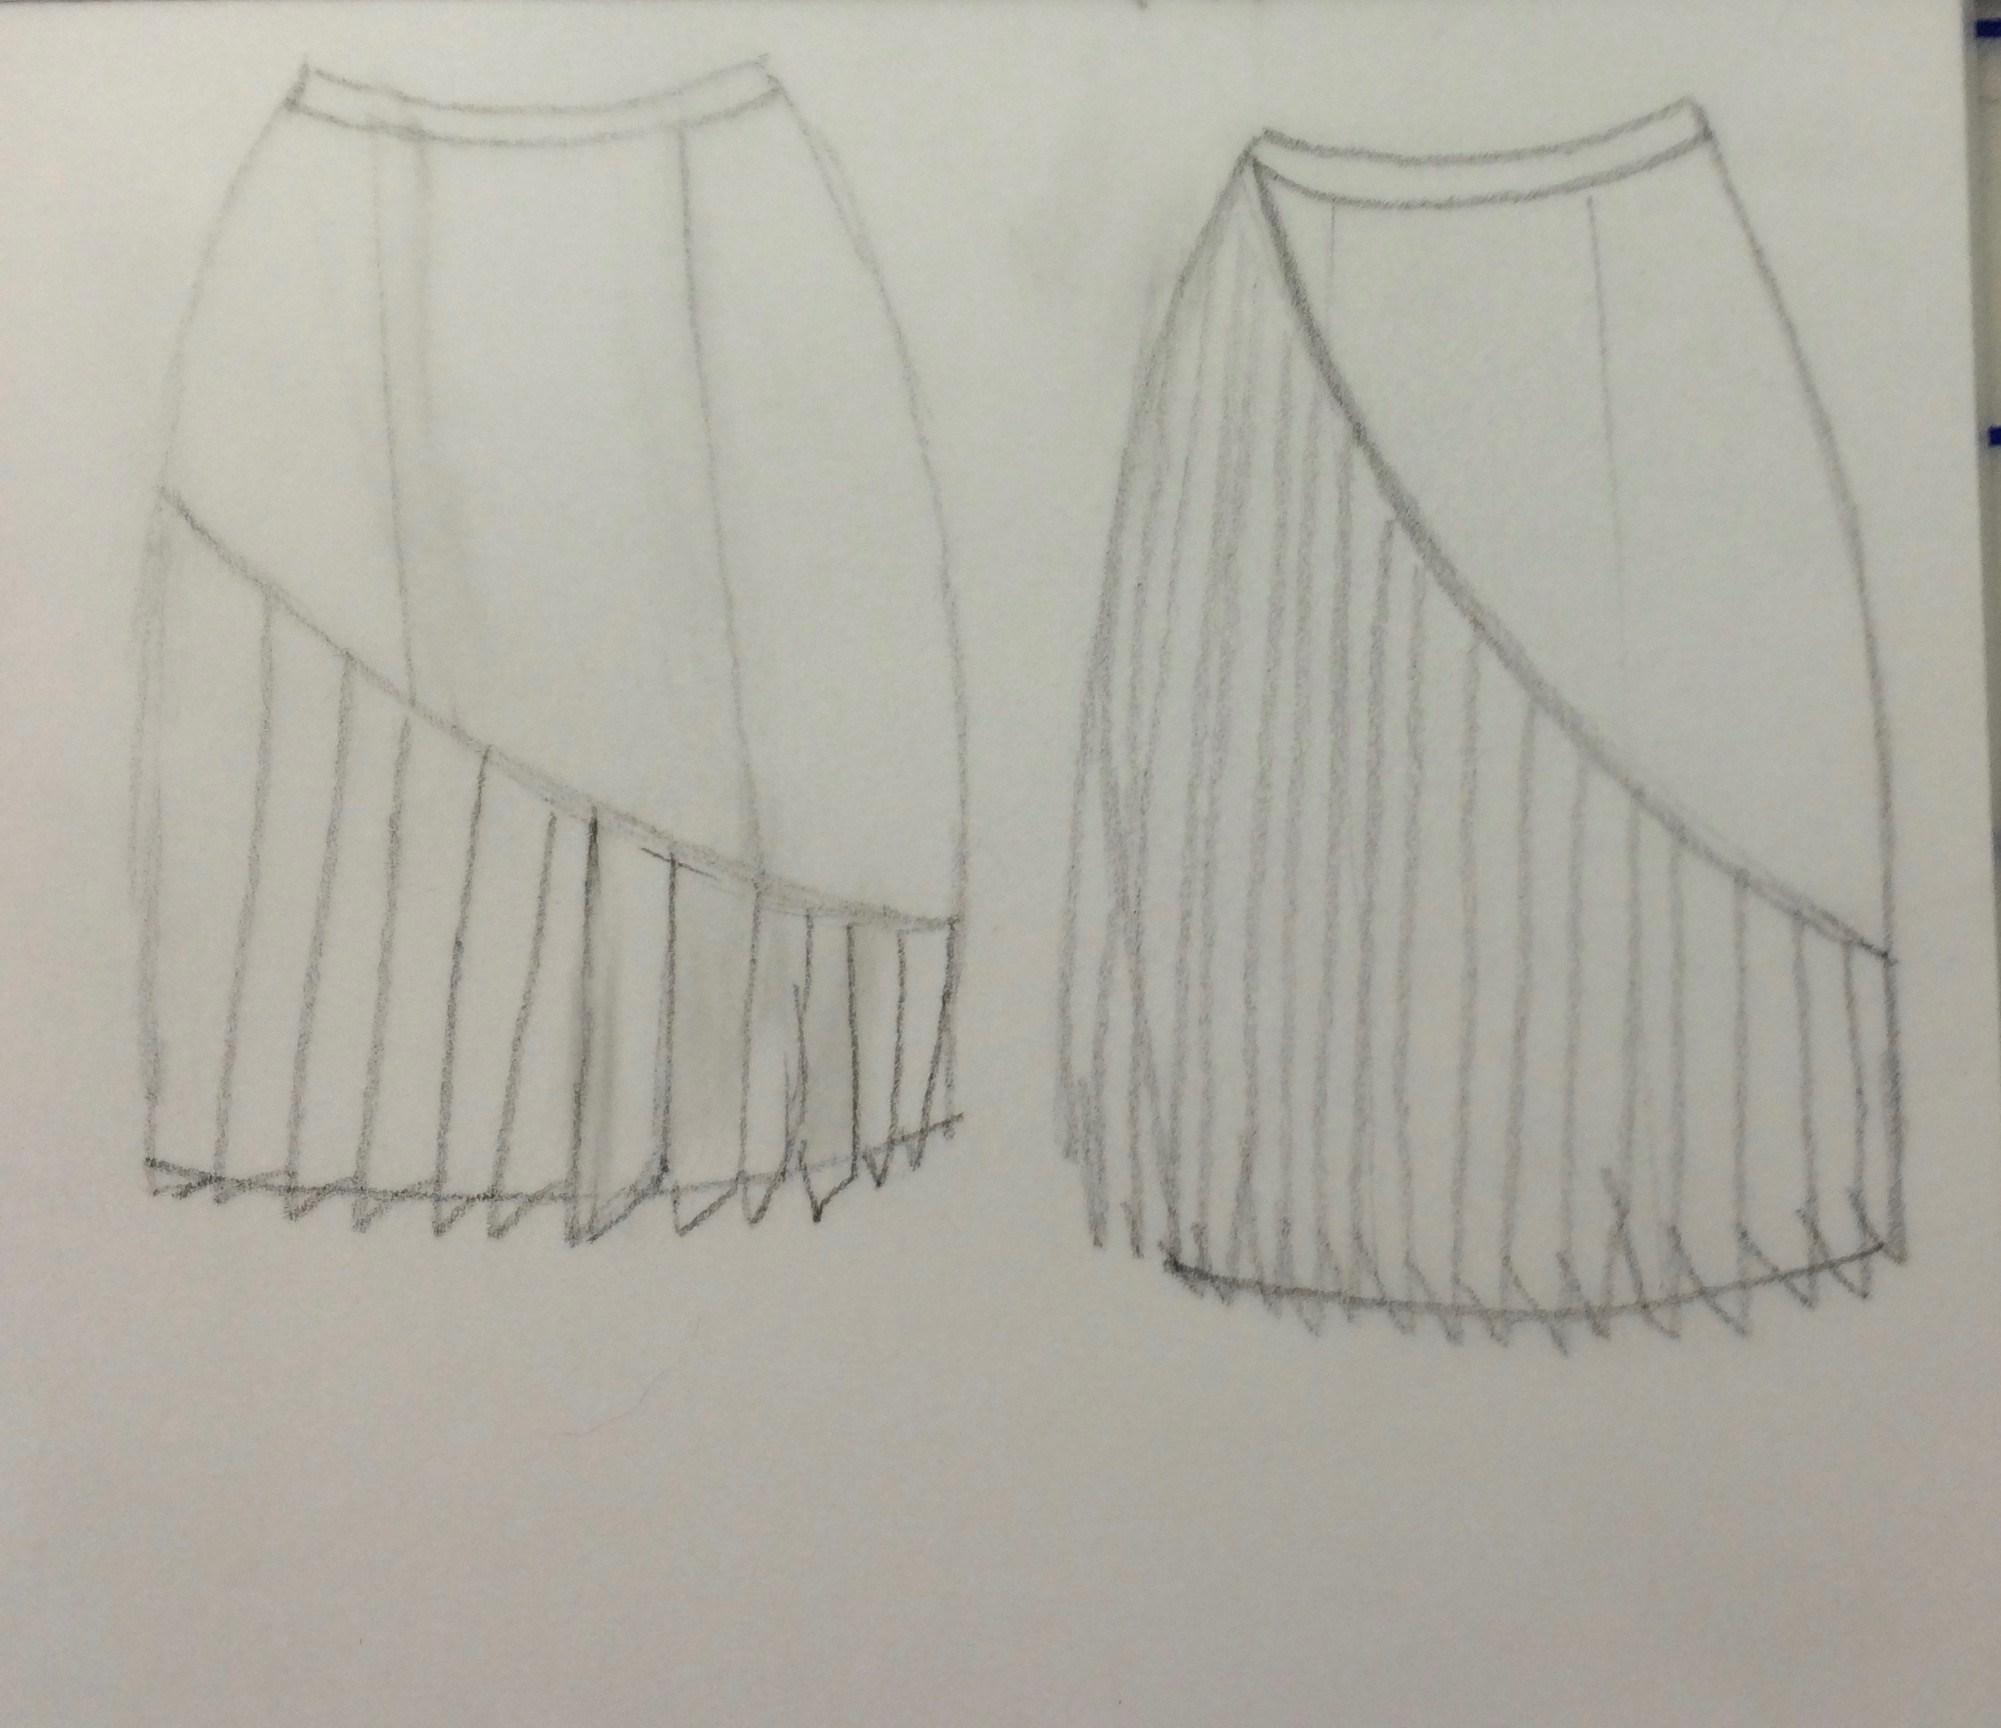
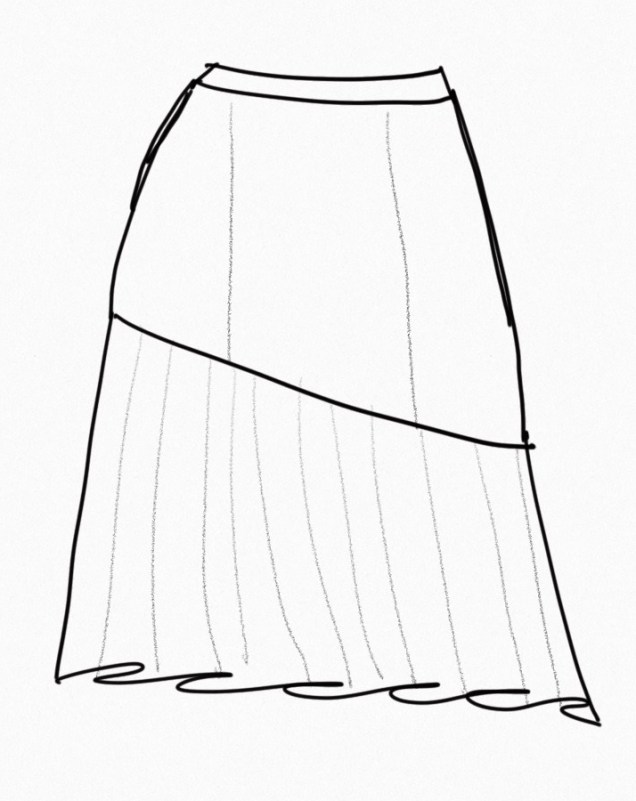
One of the elements we can use in the challenge is bias. Some of you may remember that my attempt at an all-bias skirt did not work out. I saw a picture of a Vogue skirt pattern a few months back that got me to thinking that something like this might work if the fitted part on the top is on the straight of grain and the bottom part is on the bias.

fullsizeoutput_1657.jpeg

That might also work if the bottom part were a sheer fabric, which would qualify for the two elements for the challenge.

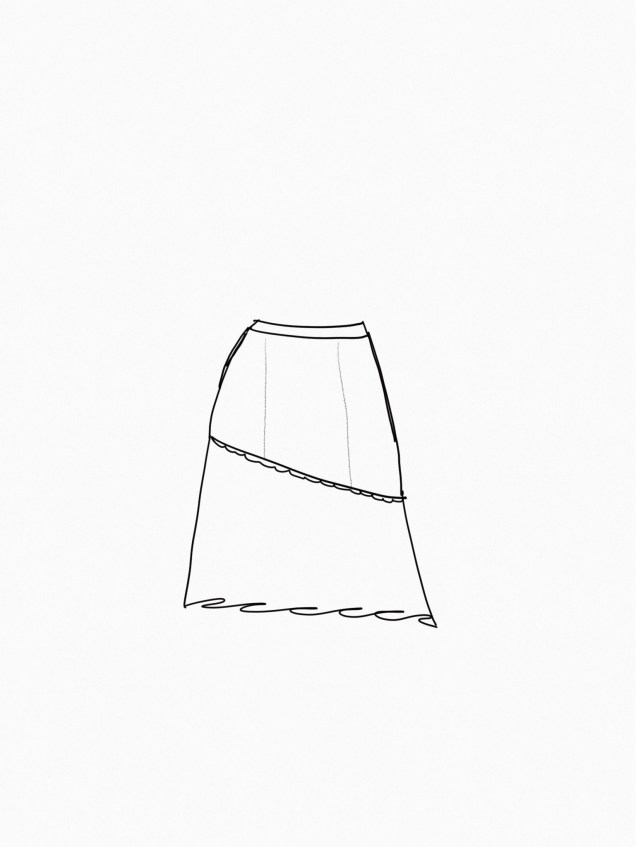
Edge trim is another element that would qualify for the challenged I could add that to the diagonal seam between the two parts of the skirt.

fullsizeoutput_1659

Another possibility would be to make the entire skirt out of a sheer fabric. A technique we looked at in a meeting involved finishing a hem with ribbon or trim. The ribbon is attached to the wrong side of the garment, then folded to the right side and attached at the top, encasing the cut edge in between. It’s a nice finish and it also adds some weight to a sheer garment, which would help it hang nicely.

fullsizeoutput_165d.jpeg


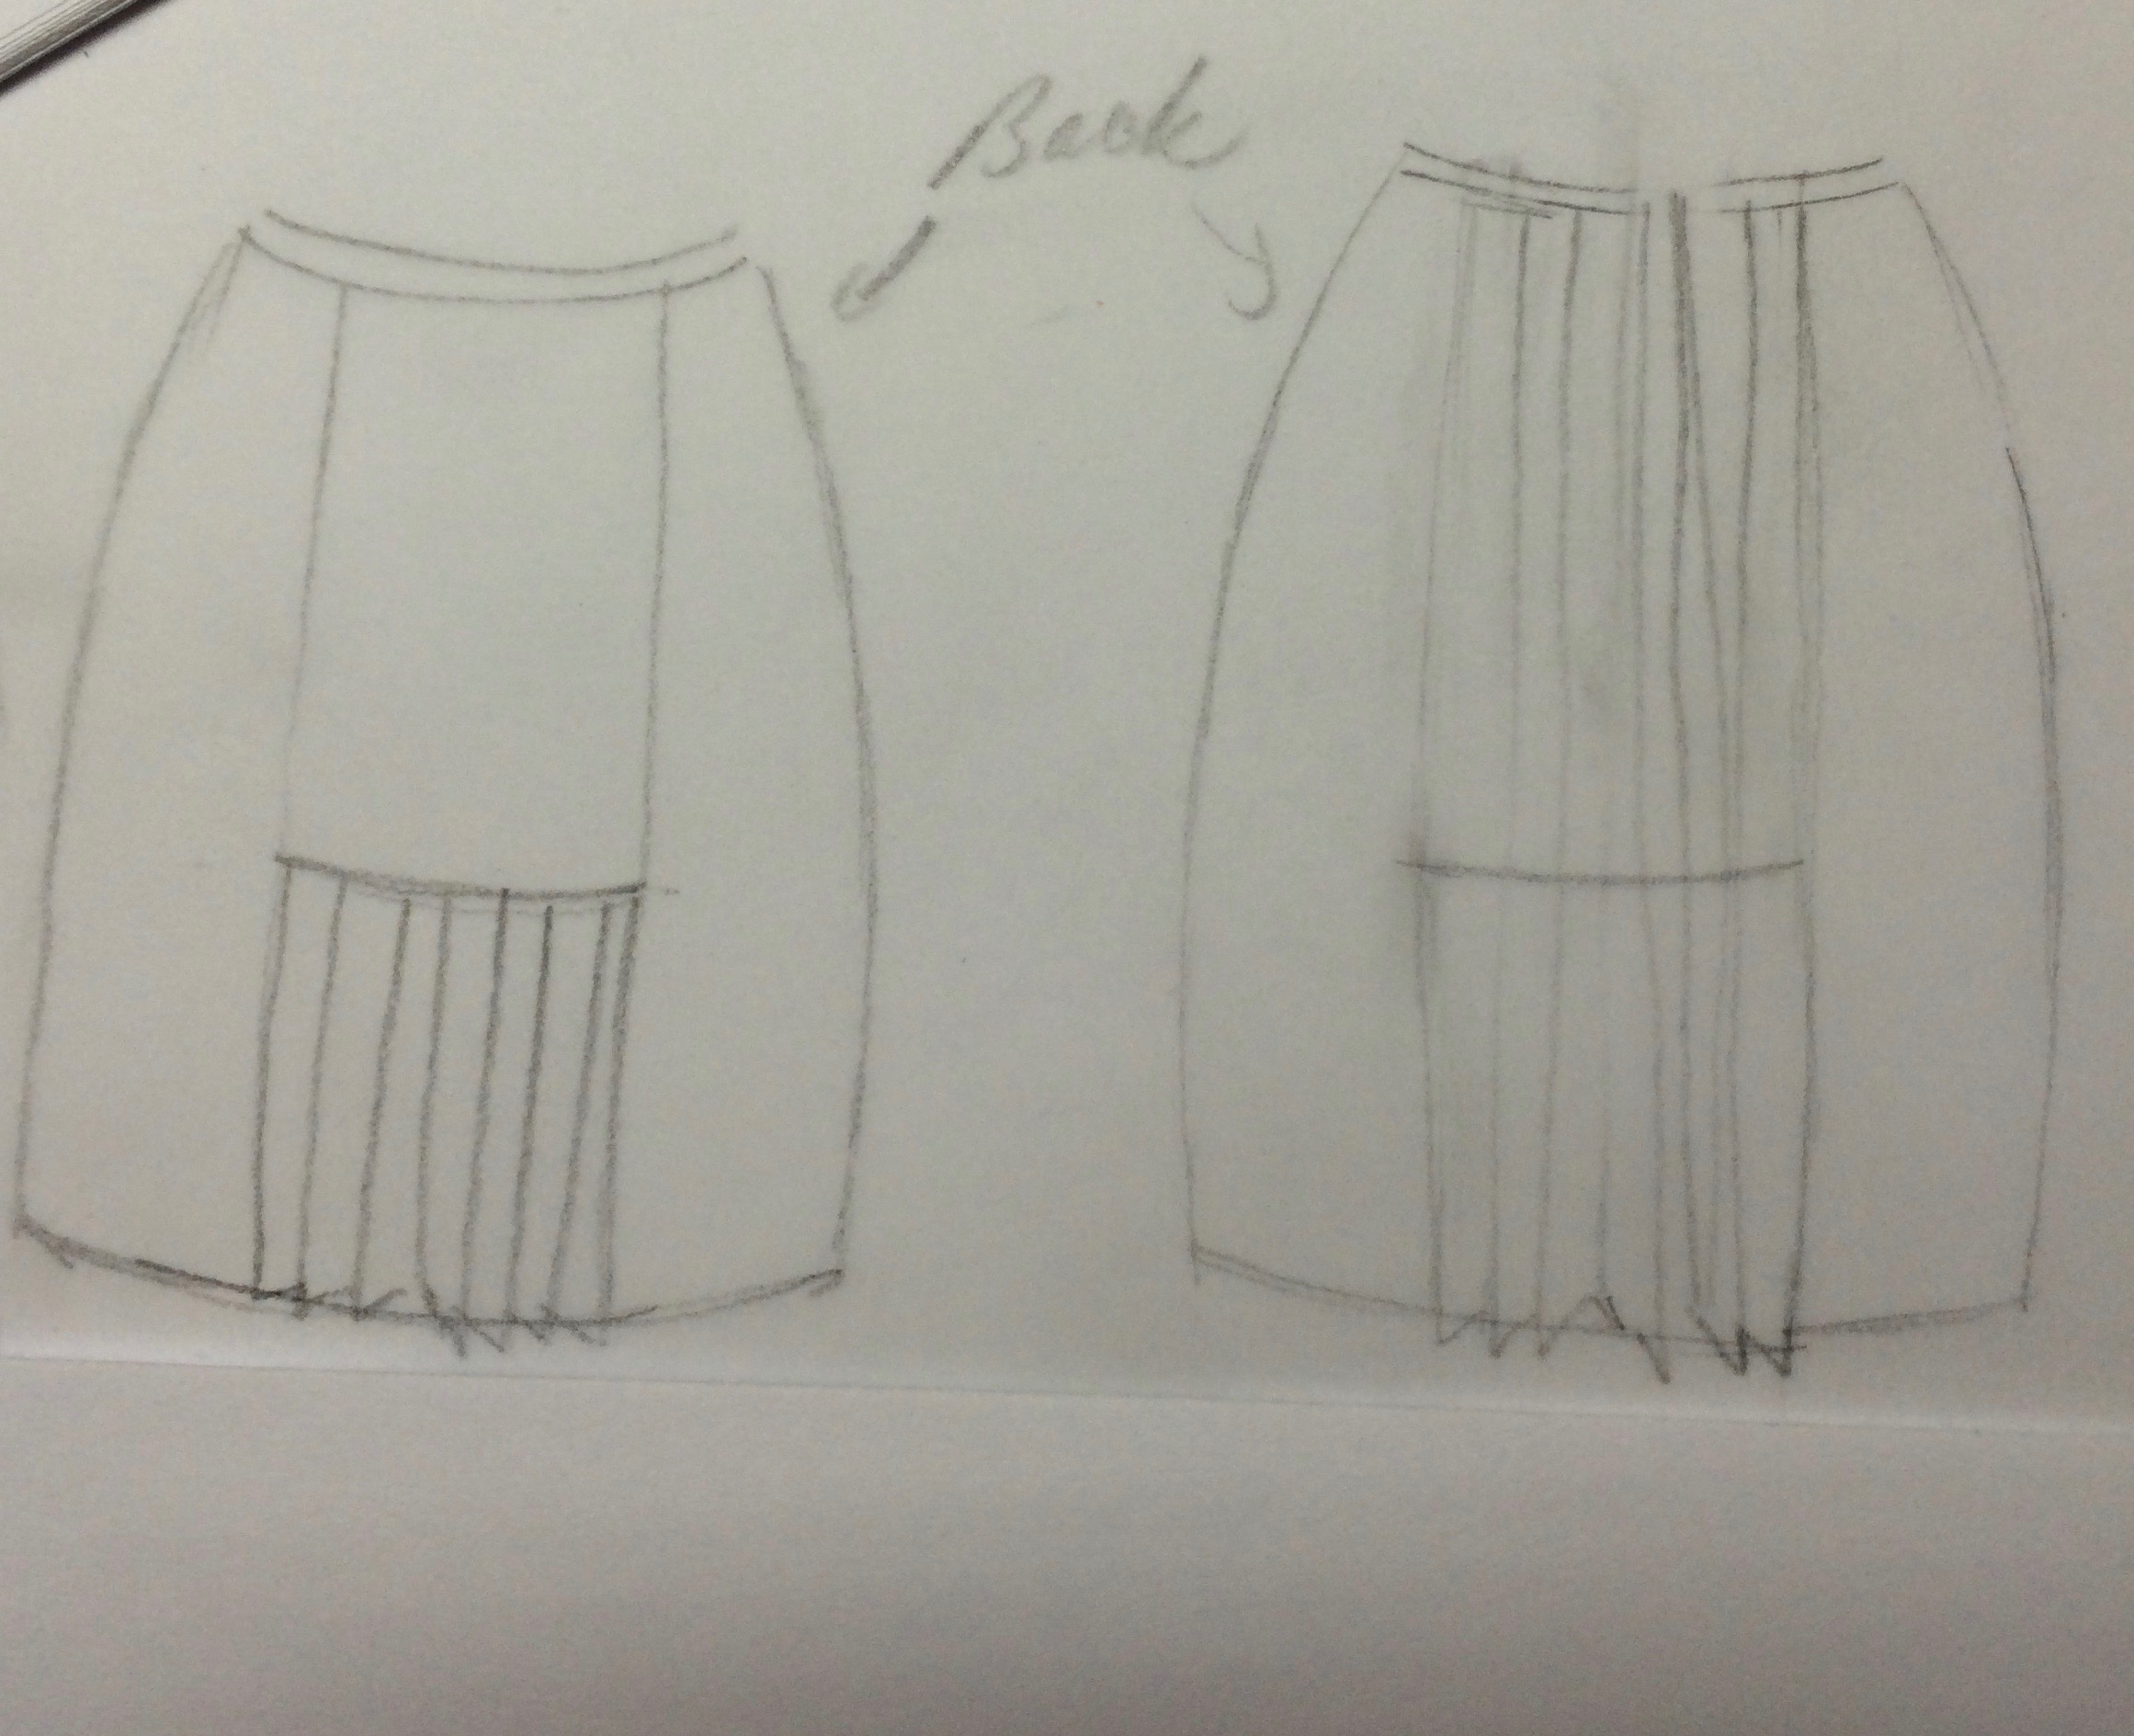
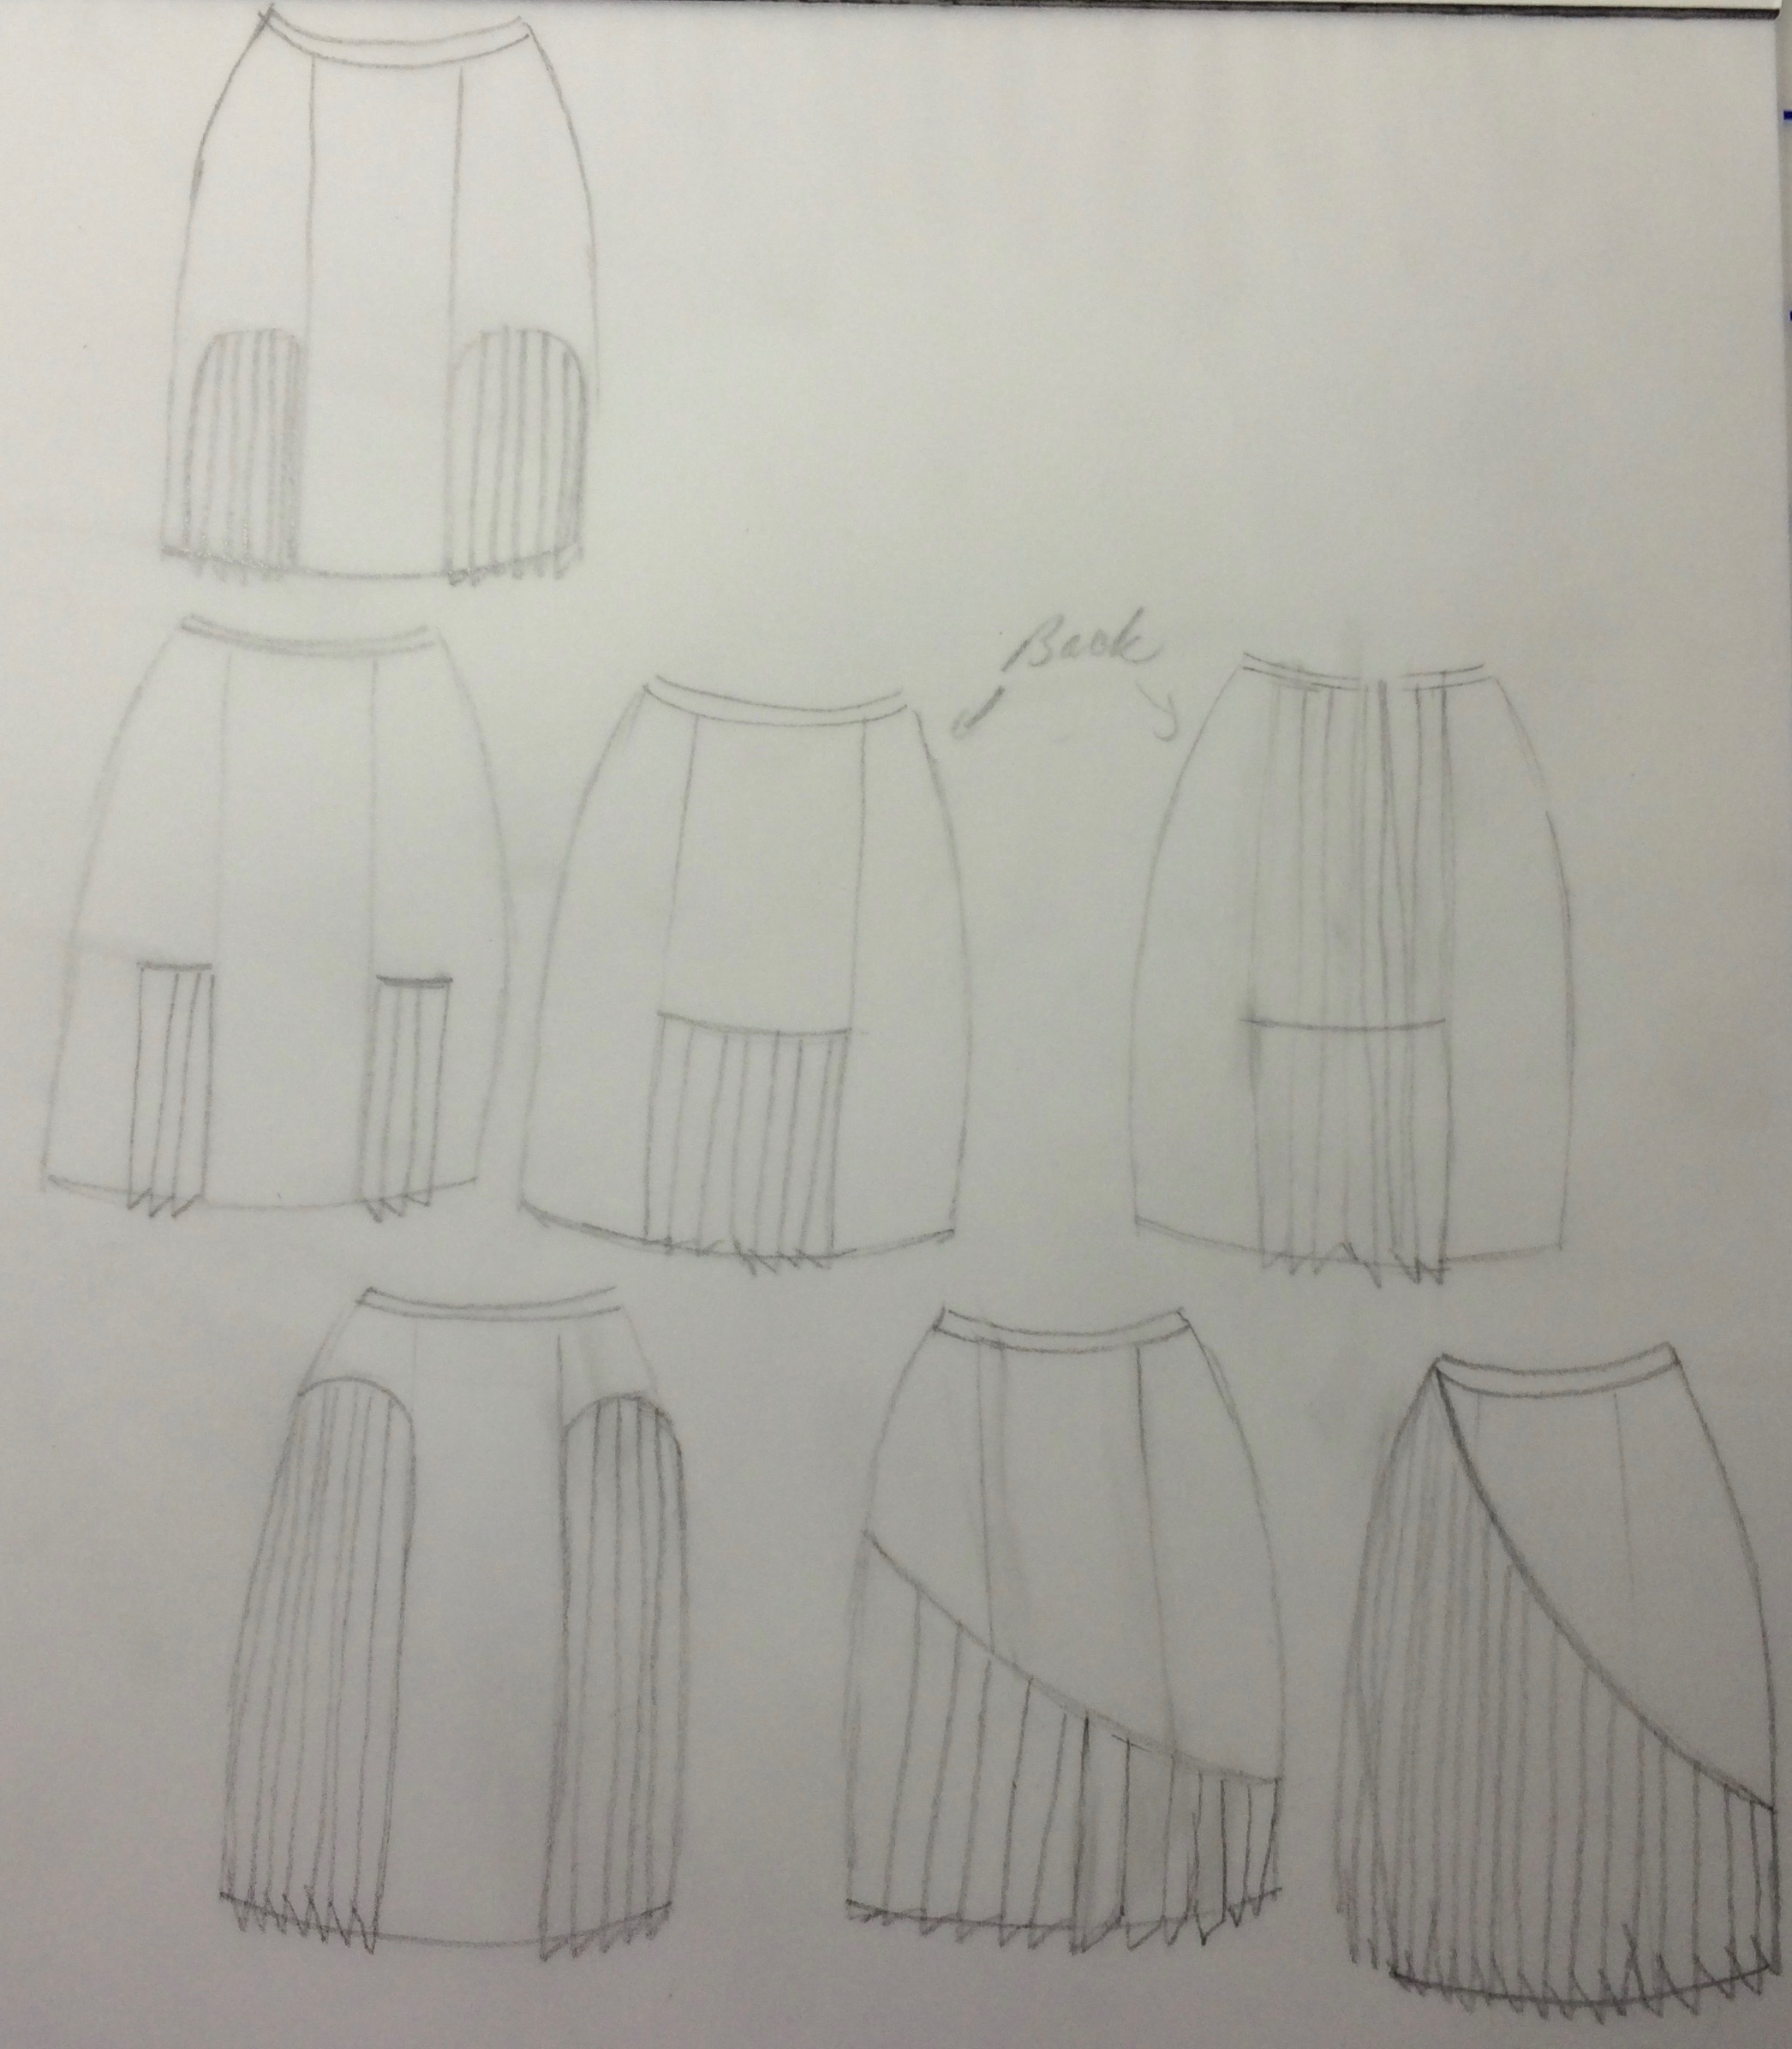
With the pants conundrum fresh in my mind, I’ve been thinking about casual skirts that don’t have anything to do with the skirt challenge. Here is my take on a skirt with a single pleat on either side of the center front panel. The variation on the right has reinforcement for the pleat in a decorative stitch. (I’m sure there’s a name for that, but I didn’t look it up.) I see this in a khaki twill that’s easy to wear in the spring and summer.


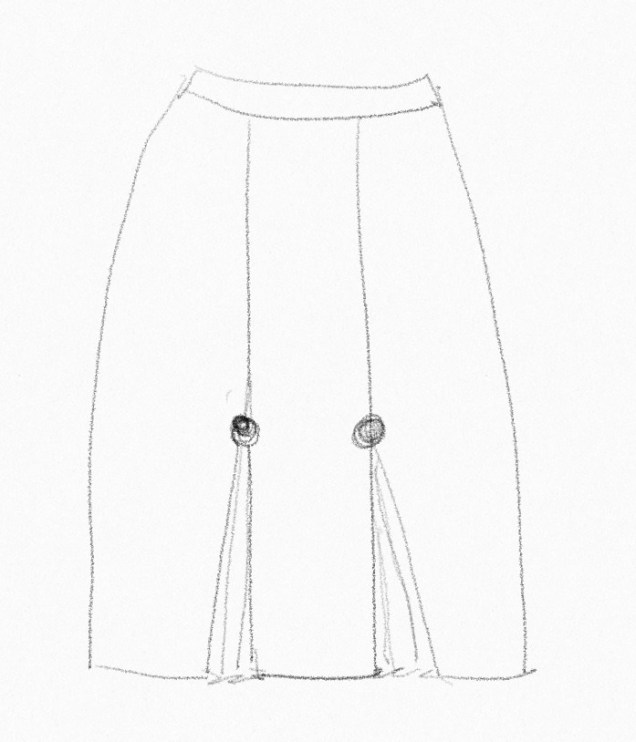
From there, I thought about this variation. It has two little pleated godets and buttons at the the juncture that are both decorative and functional for reinforcing that critical area.

fullsizeoutput_1654

I think I could have some fun with this one.

And I can’t think about skirts without going back to the trumpet skirt that has been in my head forever but only has the beginnings of the pattern drafted.

fullsizeoutput_1665

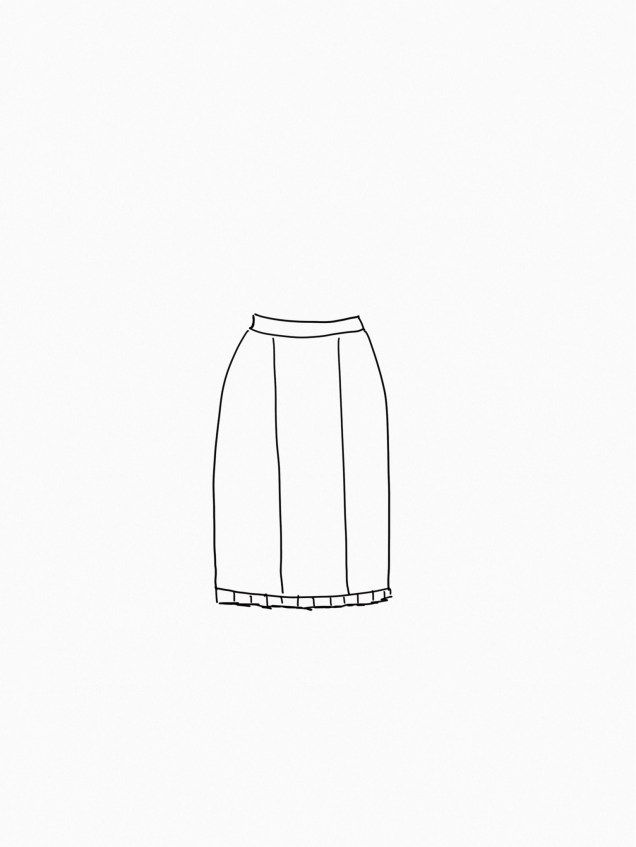
And I’d like to try a skirt with pleats just at the hem, either from the fashion fabric or  pleated ribbon.

fullsizeoutput_1666

Another use for ribbon peeking out of seams is to use them all the way up each princess seam to embellish a pencil skirt.

fullsizeoutput_1668

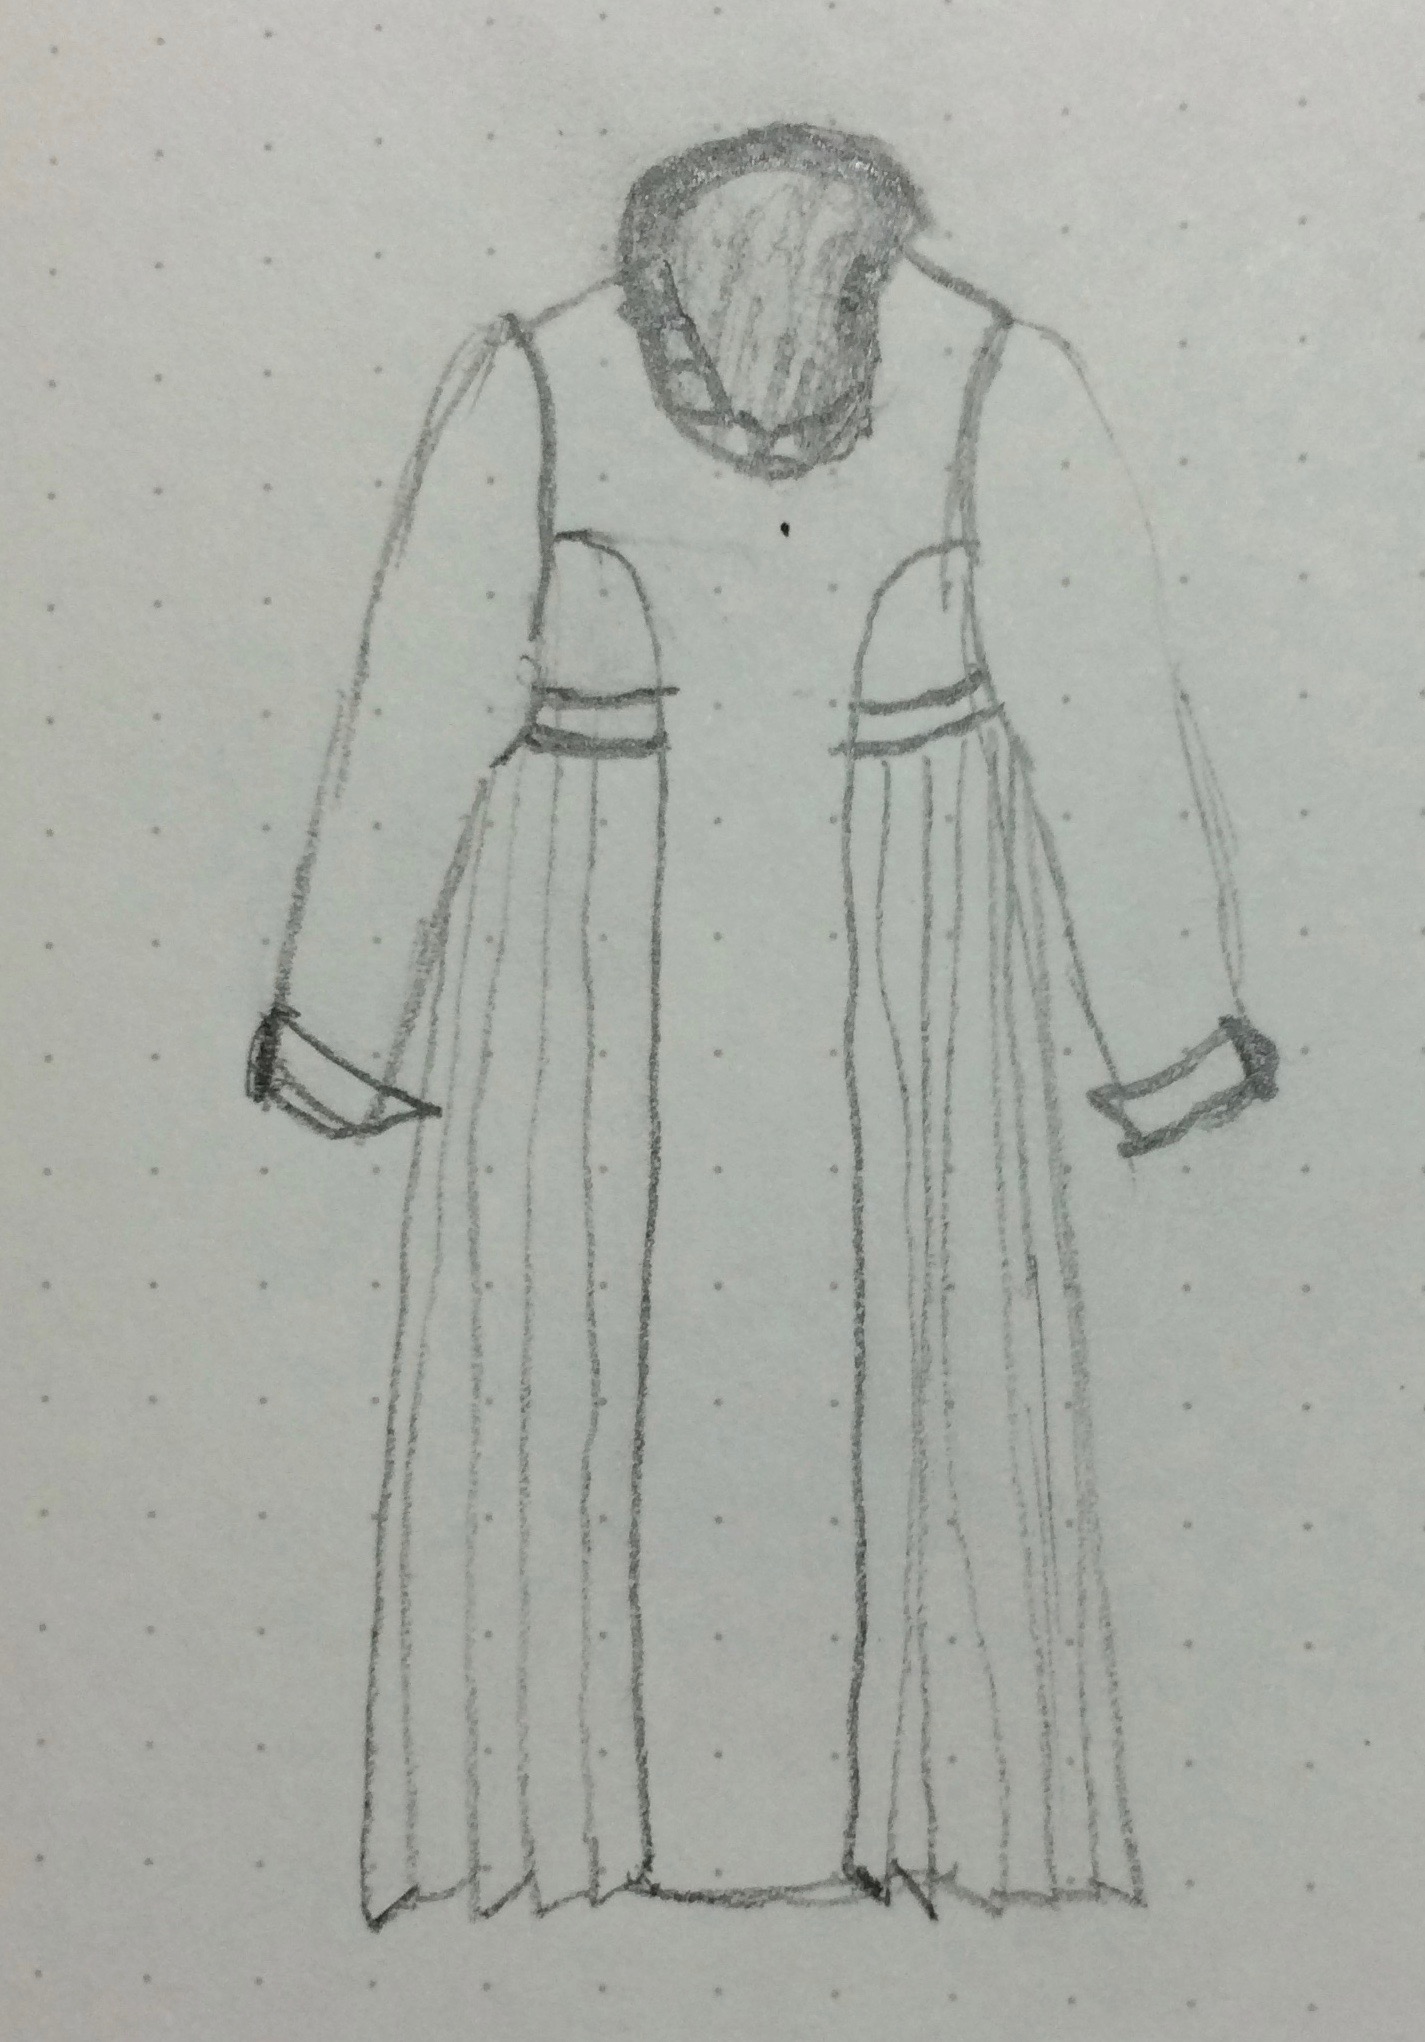
This last pair of sketches aren’t skirts, but the idea struck me as I was looking for something in my fabric collection and my eyes landed on the fabulous black ostrich feather boa I bought at Haberman’s Fabrics. It occurred to me that I could use those feathers to trim a Little Black Dress for next year’s opera season and whatever other occasions I might have. I could either use the feathers just at the hem or at both the hem and the neckline. Here are a front and back view.

Be sure to check out what fabulous designs my dear friend Stephanie King of Siouxzeegirl Designs is showing at 10 Sewing Machines & a Serger. We’d love to see and hear about what you’re sketching, so  please leave a comment.

The Peplum Blouse

A while back a friend wore a peplum blouse she had made from Simplicity pattern 1666 and it looked fabulous on her. I remembered really liking the way peplums looked on a much younger me when I had the body I wish I had appreciated more. For reasons I can’t explain, no warning buzzers went off in my head telling me that maybe this wasn’t going to be the best option for my current body.

img_2259

As the pattern envelope clearly shows, peplum = flounce. Putting a flounce on my curves is not a good idea, as I discovered when I made my first mock-up. That mock-up was dated January 2015 and there are no pictures of me in it. That said, this project wasn’t a total waste of time. I learned some interesting things I want to share with you now and I developed a neckline and collar that I’m looking forward to tweaking and using again.

I made the pattern for the first mock-up by starting out with my master bodice pattern for the shoulders, armscyes and princess seams and I tapered the pattern pieces at the bottom to conform with the corresponding area in the commercial pattern. Then I adjusted the peplum from the commercial pattern to fit to the top pieces. The peplum doesn’t go all the way around the body in this pattern. The center front panel extends to the hem and the peplum is attached at the front princess seams. I used the neckline from the Simplicity pattern and I think it’s a keeper, but I eliminated the cap sleeves.

When I showed the mock-up to Sarah Veblen, she suggested we try using inverted box pleats extending down from each of the vertical seams (princess seams, side seams and center back).  The second mock-up seemed like an improvement so I made a wearable mockup in a cotton print. I wasn’t happy with it. Sarah admitted it wasn’t a great look for me.

Peplum Wearable Mockup

One thing she suggested was eliminating the box pleats at the front princess seams. I was only too happy to do that, because getting those puppies attached with the pleats intact was nerve-racking. That was an improvement, and I’ve worn the wearable mockup with that change. I asked Sarah whether things might improve if I added a collar and she thought that might balance it out better. So, I mocked up a rolled collar, tweaked it in consultation with Sarah and set out to make a final version of the blouse.

The first thing I did was make a clean copy of the peplum pattern with the pleats clearly marked. I used color-coding and arrows to make sure I understood how they got folded.

The straight of grain is at the front princess seams and so center back is the area with the most bias. Pleats and bias don’t necessarily play well together, but I had chosen a stable cotton shirting, which helped.

img_2126

I’m pretty sure the side on the right is the “right” side of the fabric, but I like the side on the left better and so that’s what I used as the right side.

When making a pattern with pleats, it’s important to true the seamlines and then add the seam allowance. To do this, you pin or use temporary tape to hold the pleats closed, then cut away any ragged places on the line or curve at the hemline and the top seamline. If you don’t do this, you can end up with the hidden part of the pleat hanging below the rest of the hem or some other unevenness.

I thread-traced all the pleat markings so they would be exact and visible from both sides.

Another thing I learned is that pleats tend to behave better if you hem before pressing in the pleats, so I did that. I used the method Janet Pray of Islander Sewing Systems teaches in her shirtmaking class for the narrow machine hem. This consists of pressing the hem up at the hemline (this one was ⅝” from the edge) with the tip of the iron, then crimping by machine at ¼” and using the stitching line and the pressed fold line as the guides for double-folding the hem.

img_2220-1
Pressing Peplum at ⅝”

I then used Wonder Clips (Janet Pray does not use pins or anything else) to keep it all in place and sewed from the right side. I find it helpful to use the blind hem foot on my machine helped me to keep the stitching at the same distance from the edge.

img_2223

I finished all seam allowances with a three-thread serge finish and made an all-in-one facing for the neck and the armholes.

The part of construction that I thought would be tricky was attaching the peplum to the front at the princess seams. This is similar to an inset corner, so I pulled out all my sewing reference books and articles I’ve collected on inset corners and cut some scrap fabric to make samples. Almost all the techniques I’ve read about involve snipping into the inside corner and opening it up to almost a straight line, a method that’s given me mixed results. Louis Cutting’s method uses double-sided fusible web and topstitching, which works very well, but this garment wasn’t one I wanted to topstitch.  The technique I was most interested in using is one I’ve made samples of before that I learned from a class taught by Susan Khaljie.  It’s her technique for sewing a basque waist. After reviewing all my other resources, I decided this method is the hands-down winner. (Yes, I did use an Islander industrial shortcut and a couture technique in the same garment.)

You can find the technique on page 95 of Susan’s book, Bridal Couture. Even if you don’t think you’ll ever sew a wedding gown, if you have any interest in sewing with lace and making beautiful evening wear, this book should be in your library. (Hard copy is out of print, but the e-book version is excellent.) Essentially, what you do is sew two straight seams perpendicular to one another. Here are the front and back of the sample I made for this garment.

The couture method has you reinforce the inside corner with a patch of organza and for less elaborate garments you can use fusible interfacing. I had trouble getting such a small amount of fusible interfacing to stay put on this textured fabric so I ended up skipping this step. The next step in preparing the corners is to stay stitch along the stitching lines of both pieces, shortening the stitch length so that you have tiny stitches right at the corner. I used a 1.1 stitch length at the corners. That allows you to clip the inside corner, getting right up to the stitching. It also provides a guide for final stitching.

img_2234
Stay stitching the corner

The next step is to pin so that the corners match on both pieces.

img_2236

Then finish pinning one of the seams. When you stitch, part of the time you will only have one piece under the machine. That’s where my finger is in the picture below.

img_2237

After sewing both seams, this is what it looks like.

And this is what it looks like when completed. Whew!

img_2241
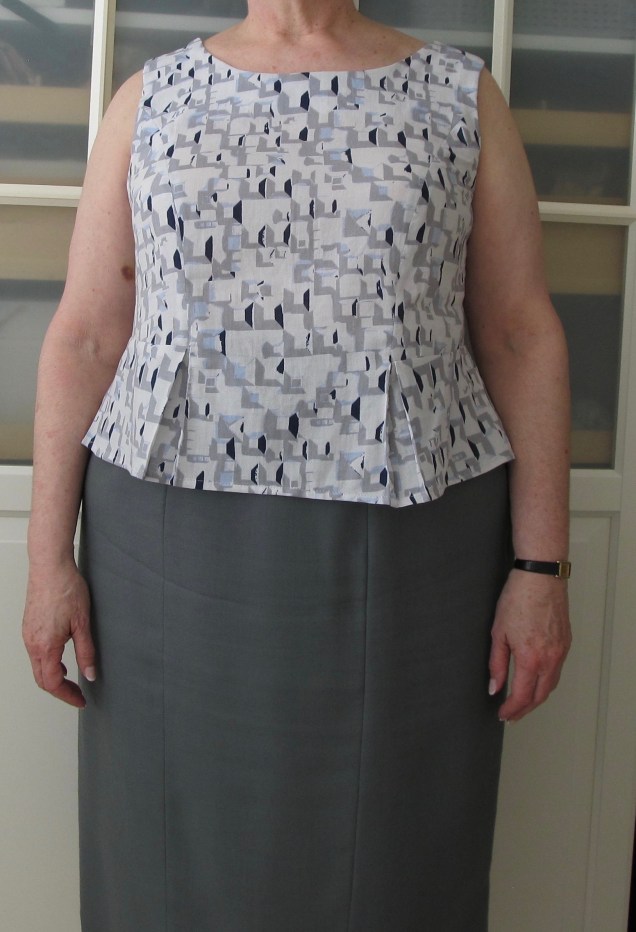
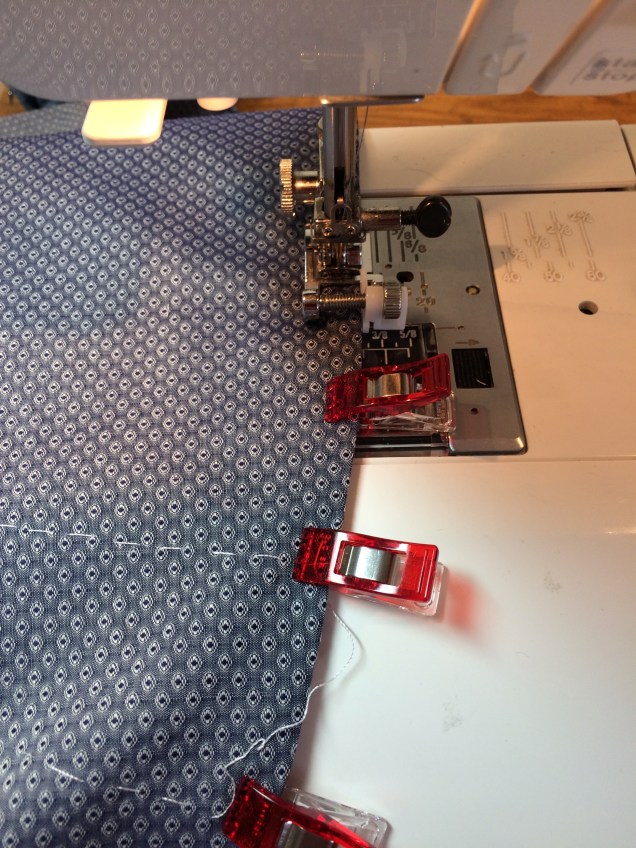
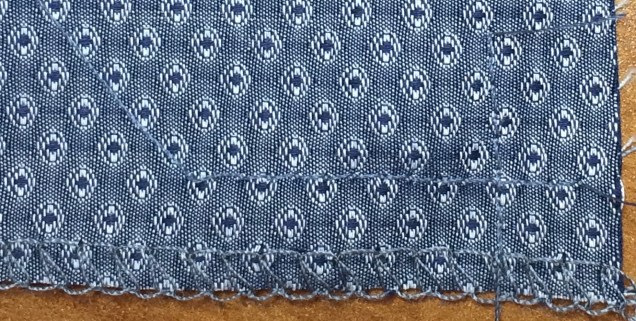
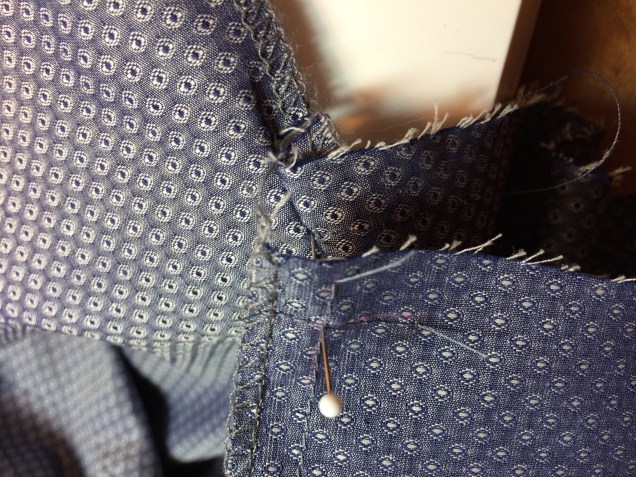
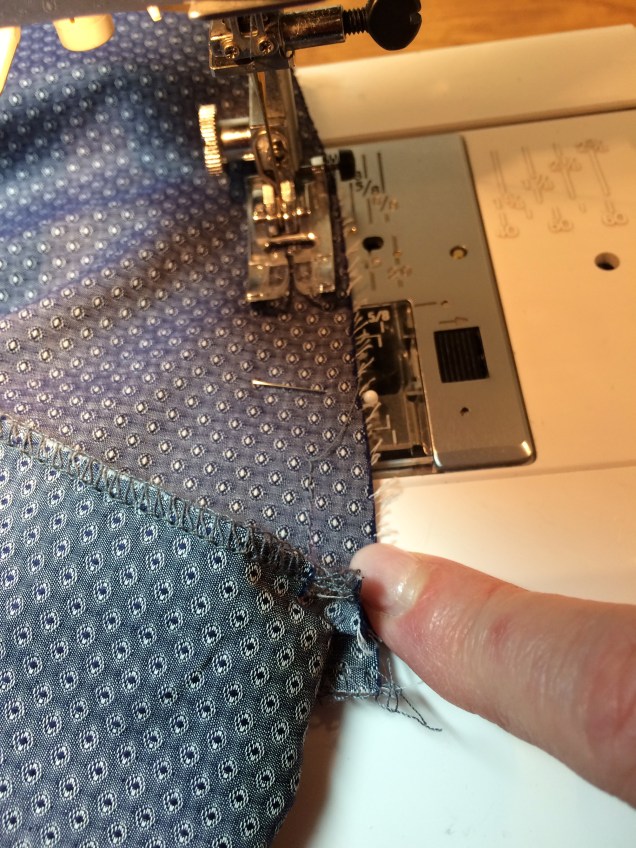
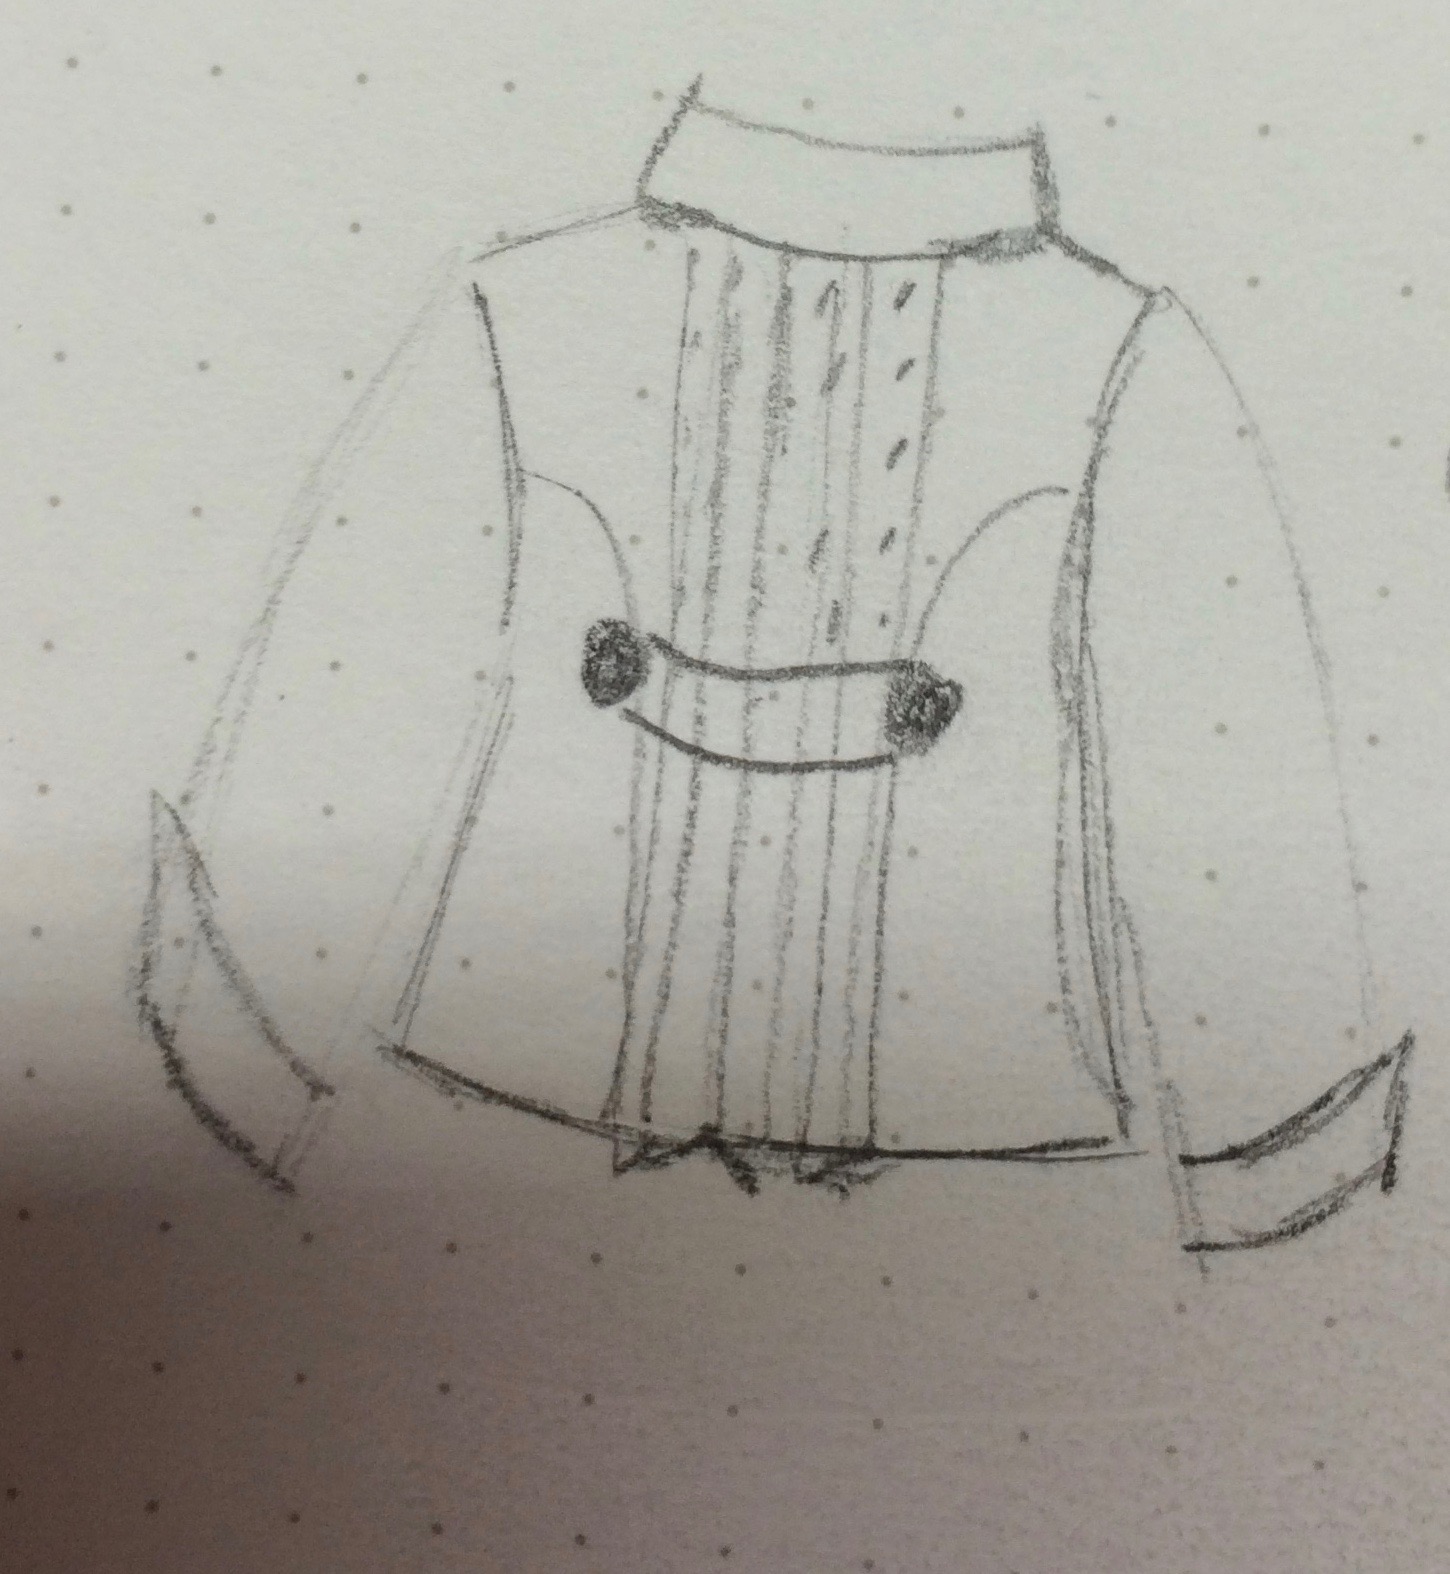
So, here’s the finished blouse.

img_0003

In the Sketchbook – November 2016

Welcome to In the Sketchbook, a monthly look at fashion design sketches that we are working on for ourselves. Sketching garments on a personal croquis is a great way for the individual couture enthusiast to move beyond the use of commercial patterns and into a world of personalized design! It can be intimidating at first, but with a little bit of practice it becomes something you look forward to. Join us for a look of what we have going on In the Sketchbook! Brought to you by Wendy Grossman of Couture Counsellor and Steph King from Siouxzeegirl Designs.

I’m pretty sure everyone who undertakes creative projects hits a wall or goes through a dry patch from time to time. I’m painfully familiar with writer’s block, and so it shouldn’t come as a surprise that something similar has been happening with my sewing and personal design efforts.

While working my way out of this slump with a project that should be completed in a few days, I’ve been giving some thought about the French jacket that I started in a workshop more than three years ago. When something has been sitting untouched for that long and the only emotion it evokes is guilt, you have to wonder what’s going on. The fabric is very nice, the fit is great. So what’s the problem?

One thing may be that these jackets are all about the embellishments and I’m not much of an embellisher. Another possibility is that I’ve come to see that collars are an important element of garments for me and French jackets are usually collarless. Usually. Not always. When I mentioned this to Sarah Veblen, she immediately started playing around with the spare fabric I have and suggested a collar for my unfinished jacket. I’m not convinced about putting a collar on this one, partly because I’m not sure it will hold up well when the jacket itself has so little structure and it’s progressed beyond the point where I could build something supportive into it. But that did get me thinking about adding a collar to a future French jacket made from some fabric in my collection that I absolutely adore.

It also got me to thinking about the skirt I’d make to go with the unfinished jacket. The designs I sketched earlier have a lot of pleats and seem to be too heavy or too bulky, but a small pleat inset lower down might be just what I need. Here is that skirt with some possibilities for collared French jackets.


I haven’t decided whether I like them better with self-fabric or contrasting fabric.

6
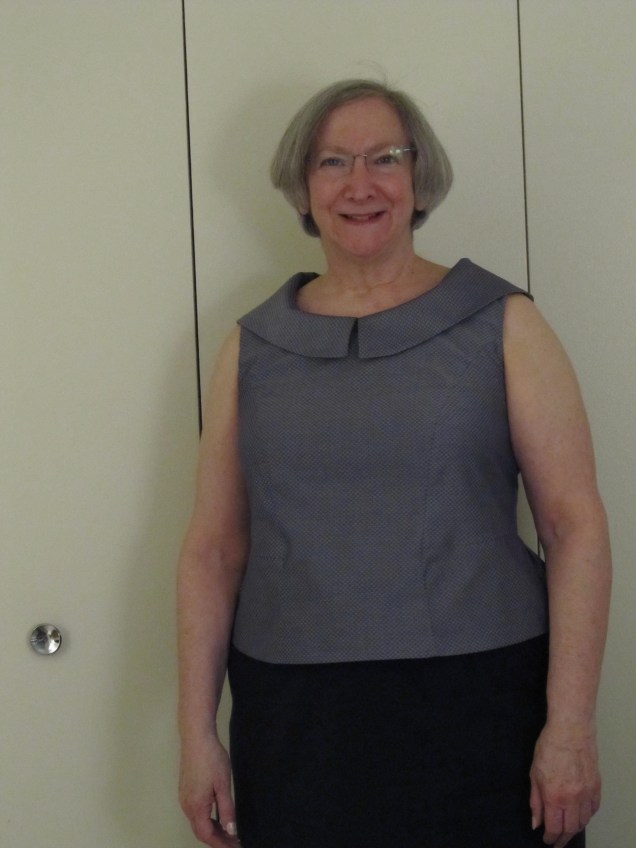
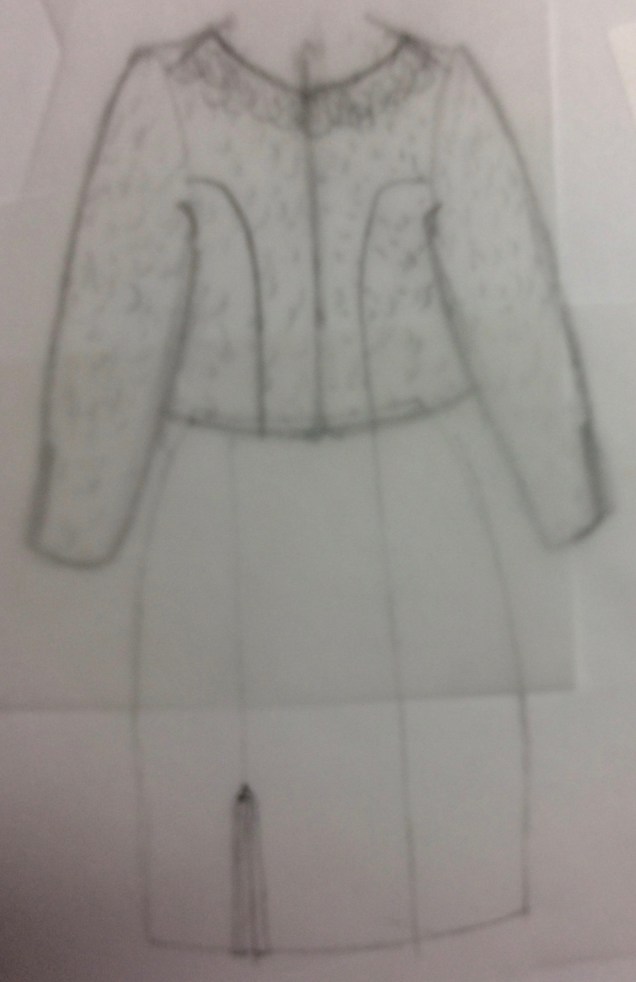
Then there’s the possibility of using lace as a collar.

None of these ideas have embellishments yet, but they might be a start.

Be sure to check out what my dear friend Steph King of Siouxzeegirl Designs is up to at 10 Sewing Machines & a Serger. And, we’d love to see and hear about what you’re sketching too.

In the Sketchbook – June 2016

Welcome to In the Sketchbook, a monthly look at fashion design sketches that we are working on for ourselves. Sketching garments on a personal croquis is a great way for the individual couture enthusiast to move beyond the use of commercial patterns and into a world of personalized design! It can be intimidating at first, but with a little bit of practice it becomes something you look forward to. Join us for a look of what we have going on In the Sketchbook! Brought to you by Wendy Grossman of Couture Counsellor and Steph King from Siouxzeegirl Designs.

This month, I’ve been playing with pleats. I like the idea of pleats in only part of a garment as an accent. In sketching on my croquis I’ve discovered that ideas that seem good in my head would look terrible on my body. Here’s an example:

IMG_1672

It’s so nice to be able to see what a mistake a design would be without investing more than a couple of minutes to sketch it out.

Here’s the back of a jacket that I think has some potential. The pleats would be stitched down with topstitching above the belt detail.

IMG_1673

I tried out several different skirt designs to go with the jacket and erased them all. Then I tried out these  for the back of the skirt only.

IMG_1678

I need to let this percolate through my brain some more before deciding about the skirt.

I added other skirts that have nothing to do with the jacket design.

IMG_1671

I think I’d like to try one of these:

IMG_1674

I’d love to hear what you think about these and about what you’re sketching. Be sure to check out what’s in Steph’s sketchbook at 10 Sewing Machines & a Serger.