A Festive Top Direct From Paris

Happy New Year!

So, 2018 was the year I moved and 2019 was the year I finally went to Paris (!!!) and both years were overflowing with crazy work hours. In this week before 2020 begins I’m working on ways to make more time to sew and renewing my commitment to blogging. Here’s hoping I can turn intention into reality.

Of course, Paris was absolutely magical. How could it not be? I tried keeping a journal, which only lasted two days. I started drafting a blog post about the trip. That didn’t get very far.  I’m finding that I can’t seem to do the experience justice with mere words. There is, quite literally, nothing I can say about it that hasn’t been said so much better by the most extraordinarily talented people who have ever lived. Who am I to think I have anything to add to that?

B87EAE6B-2B8B-4438-9A3A-A84C607B9E32_1_201_a

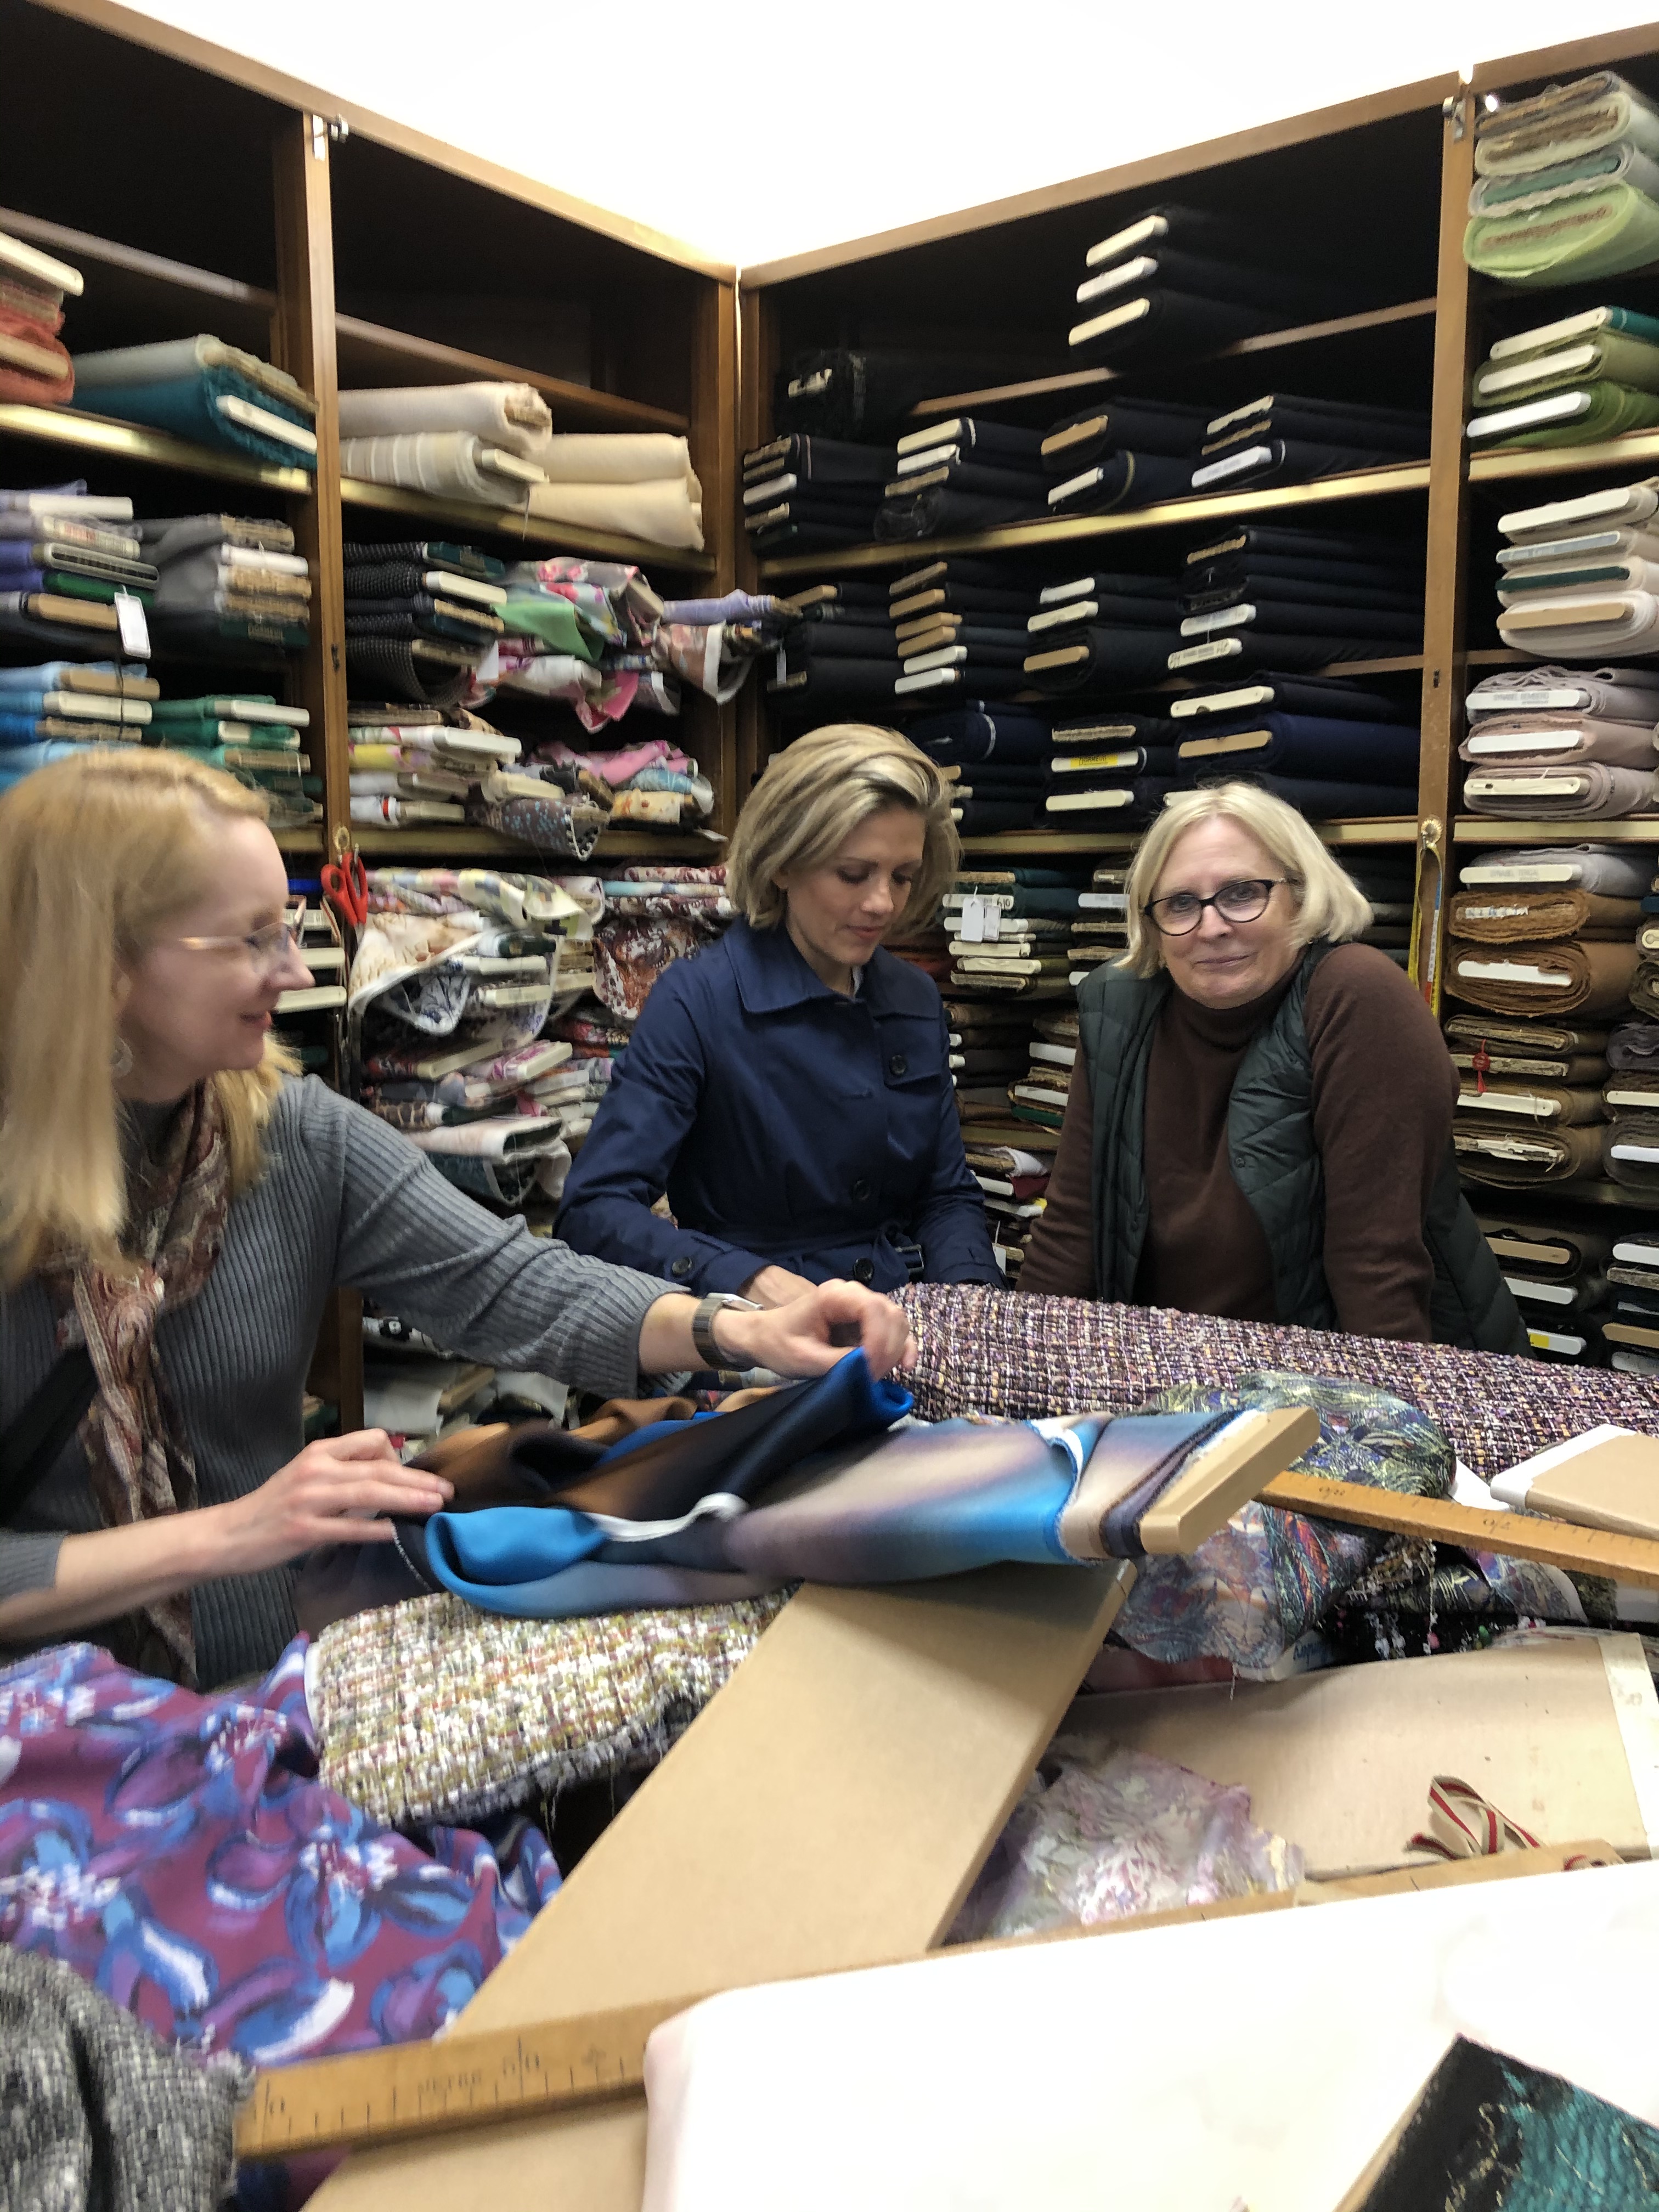
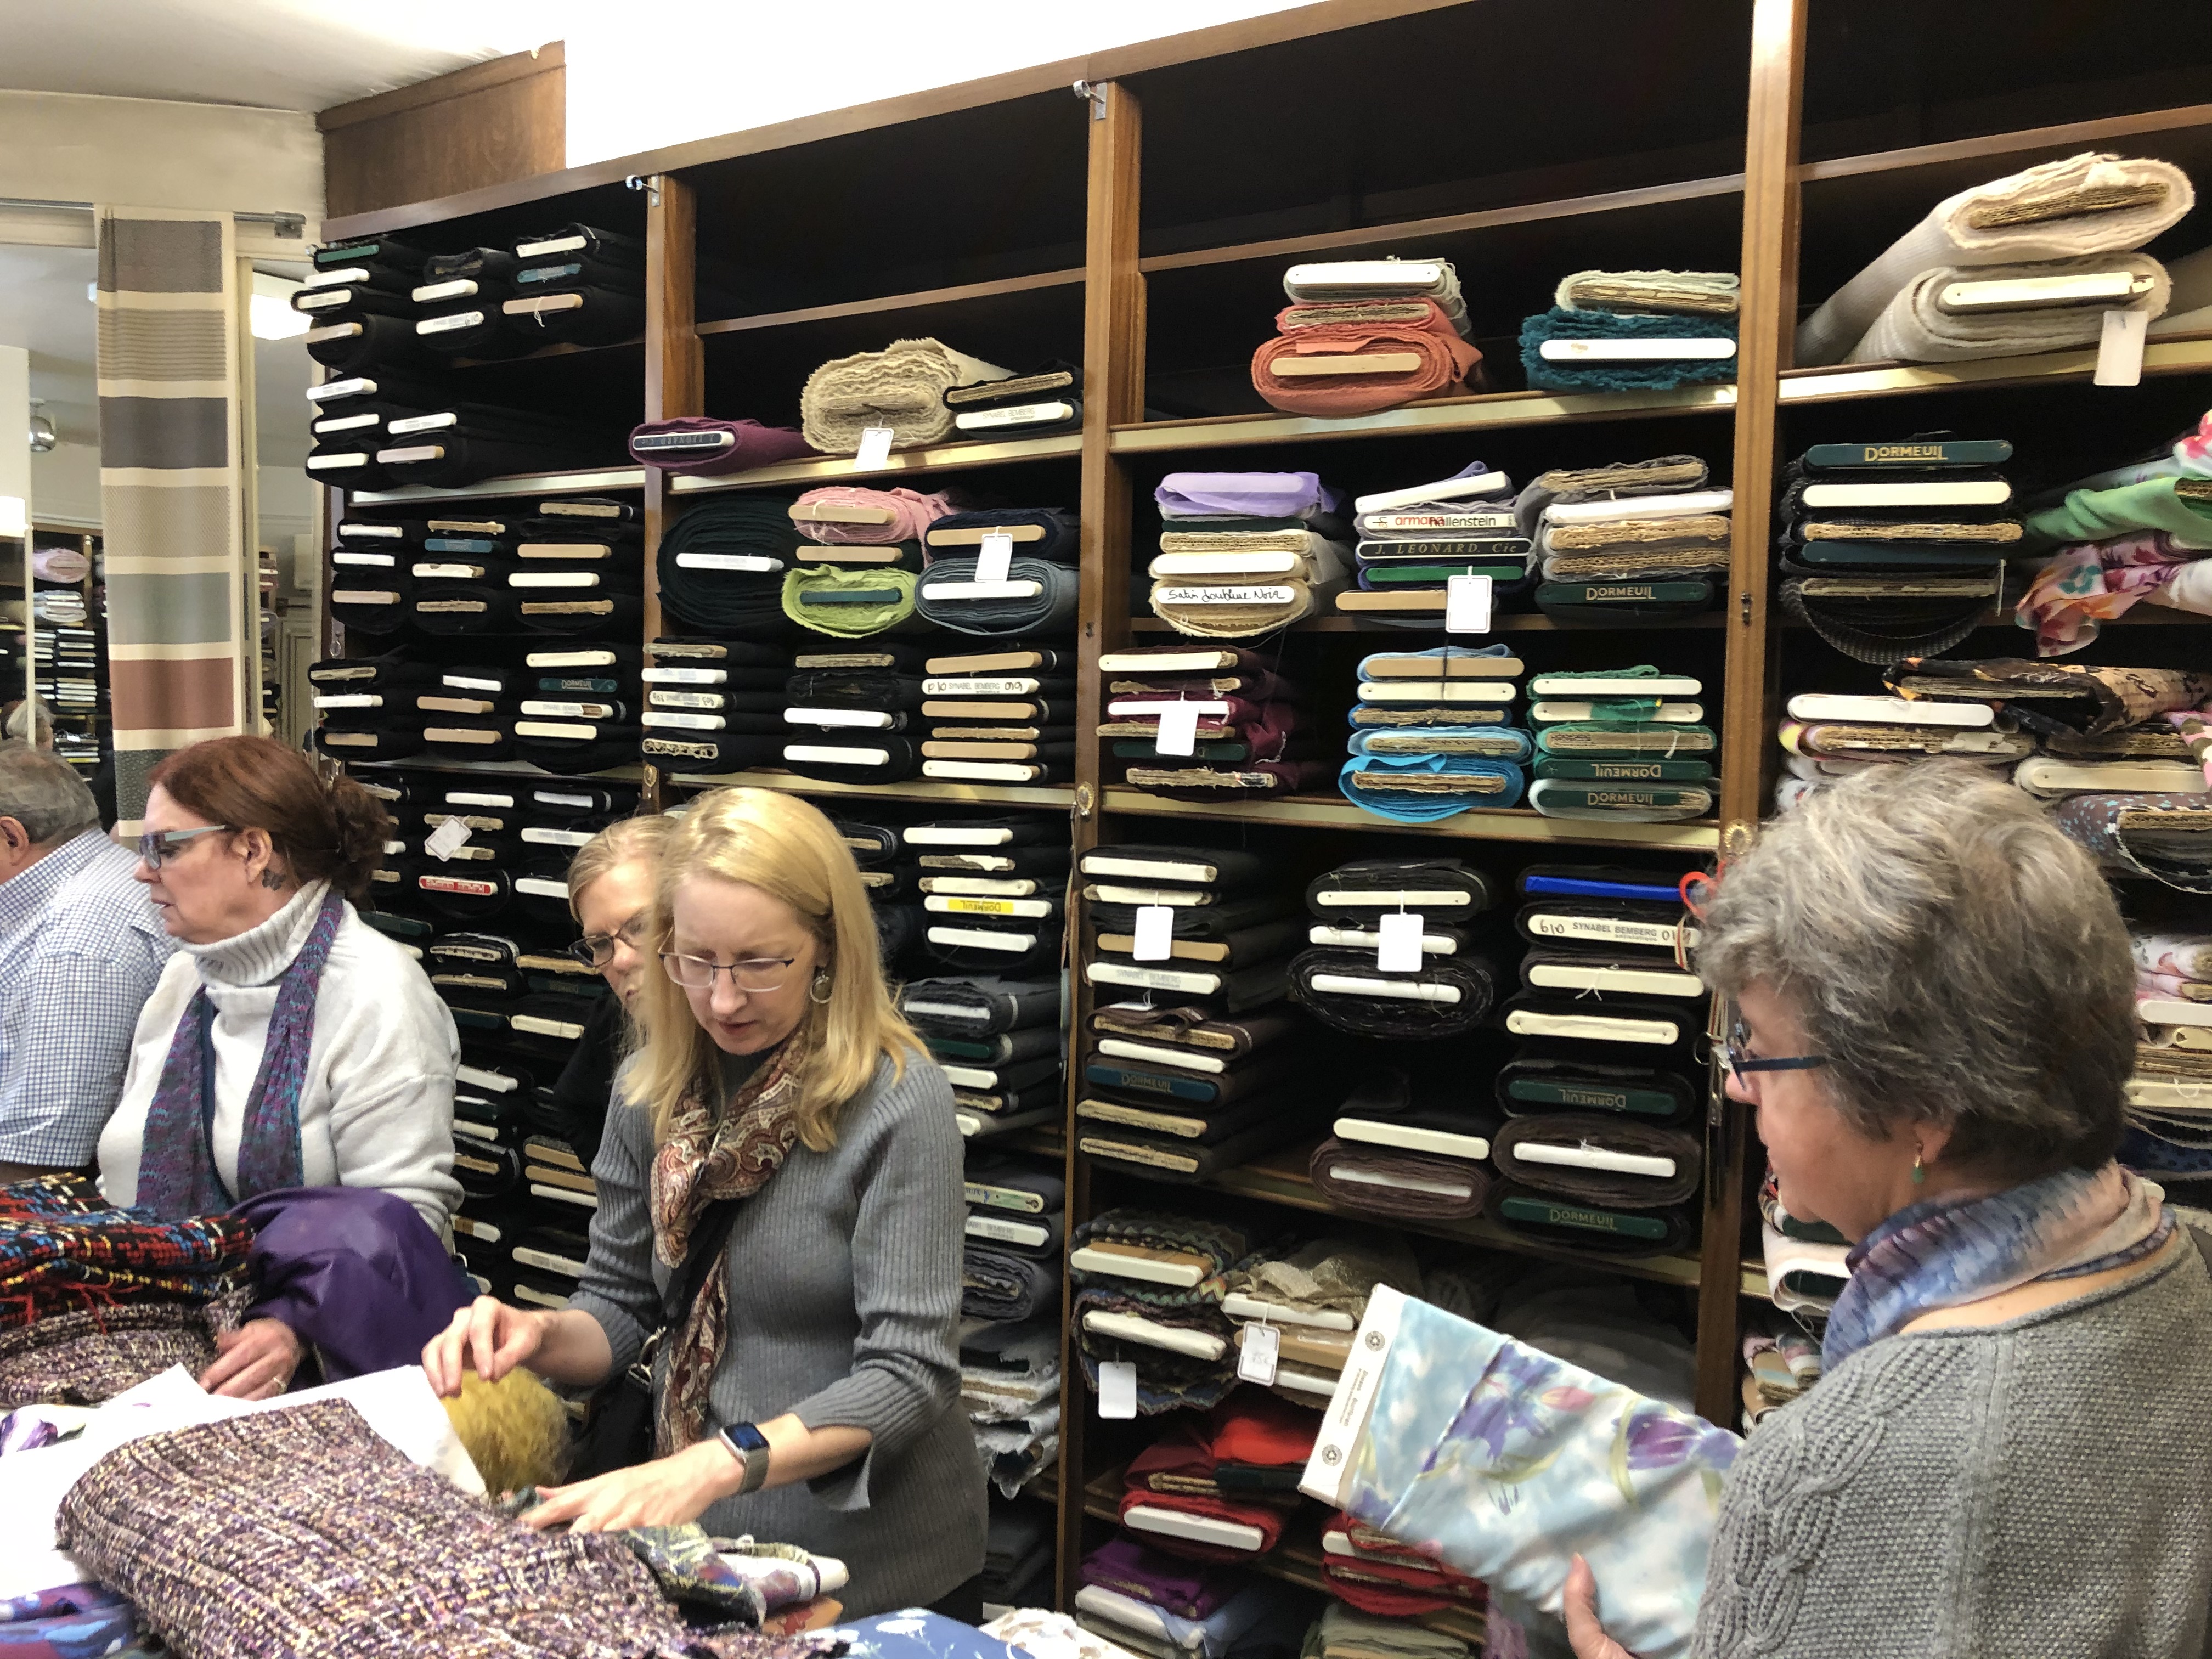
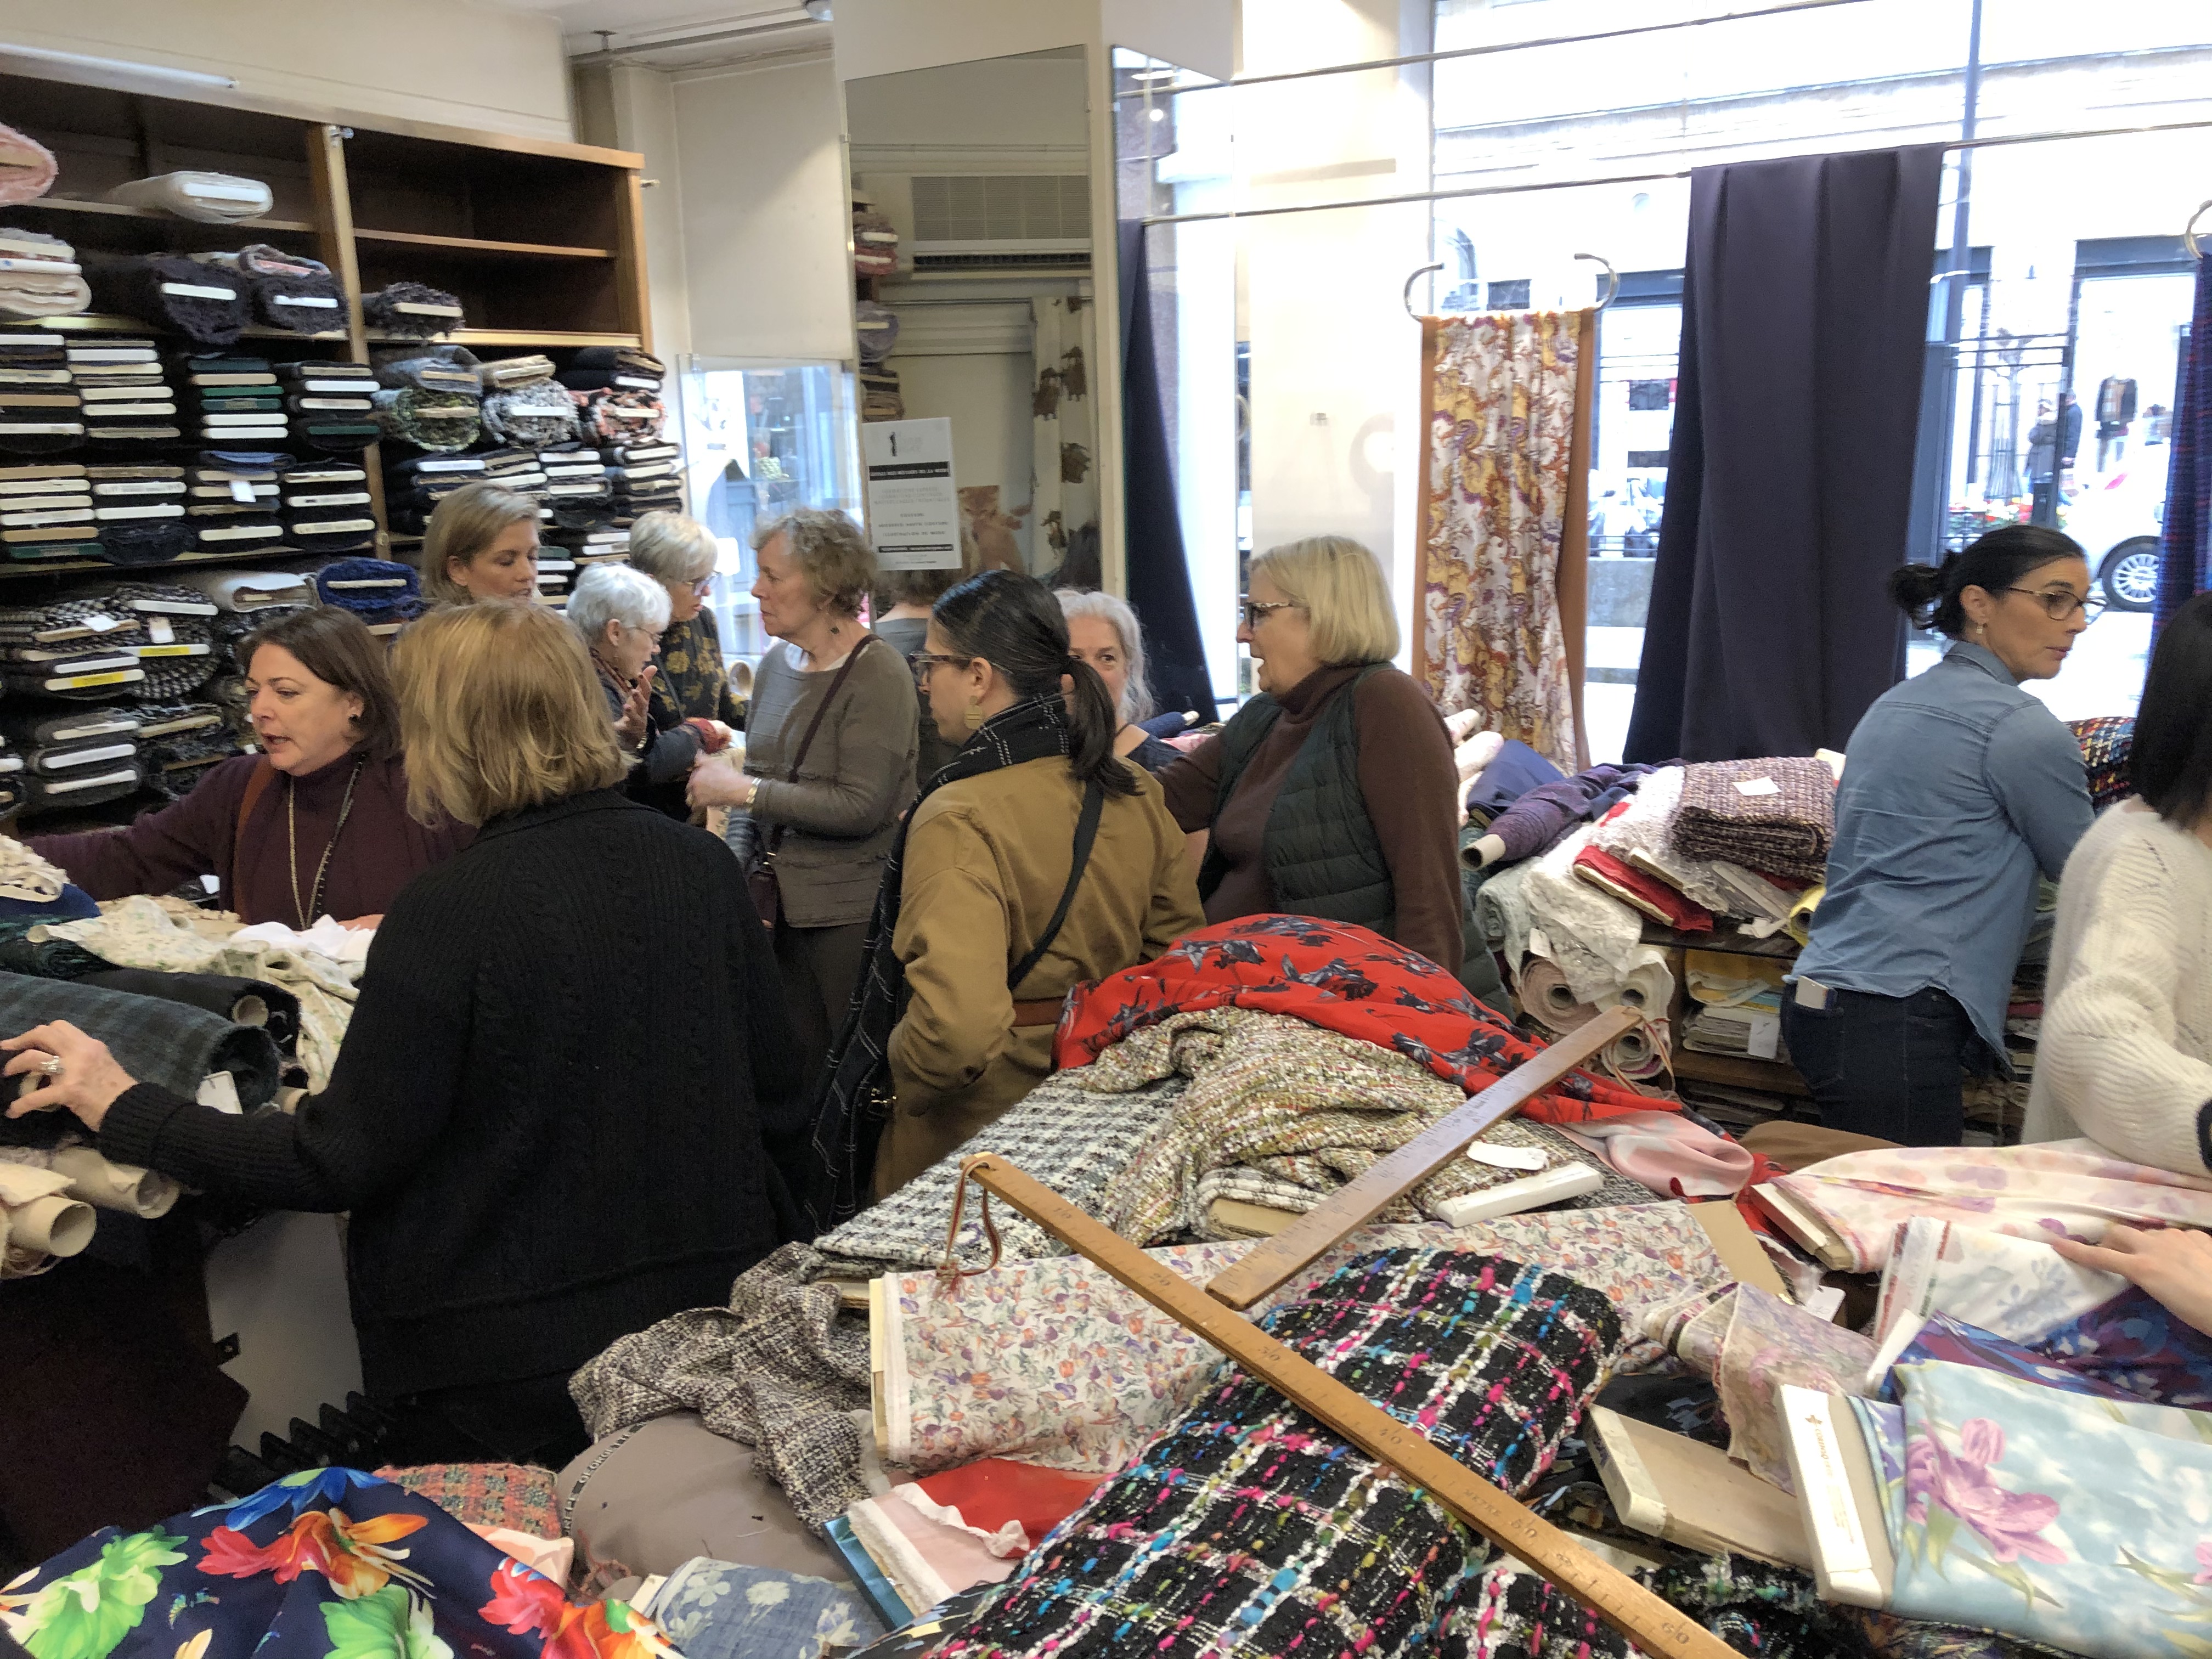
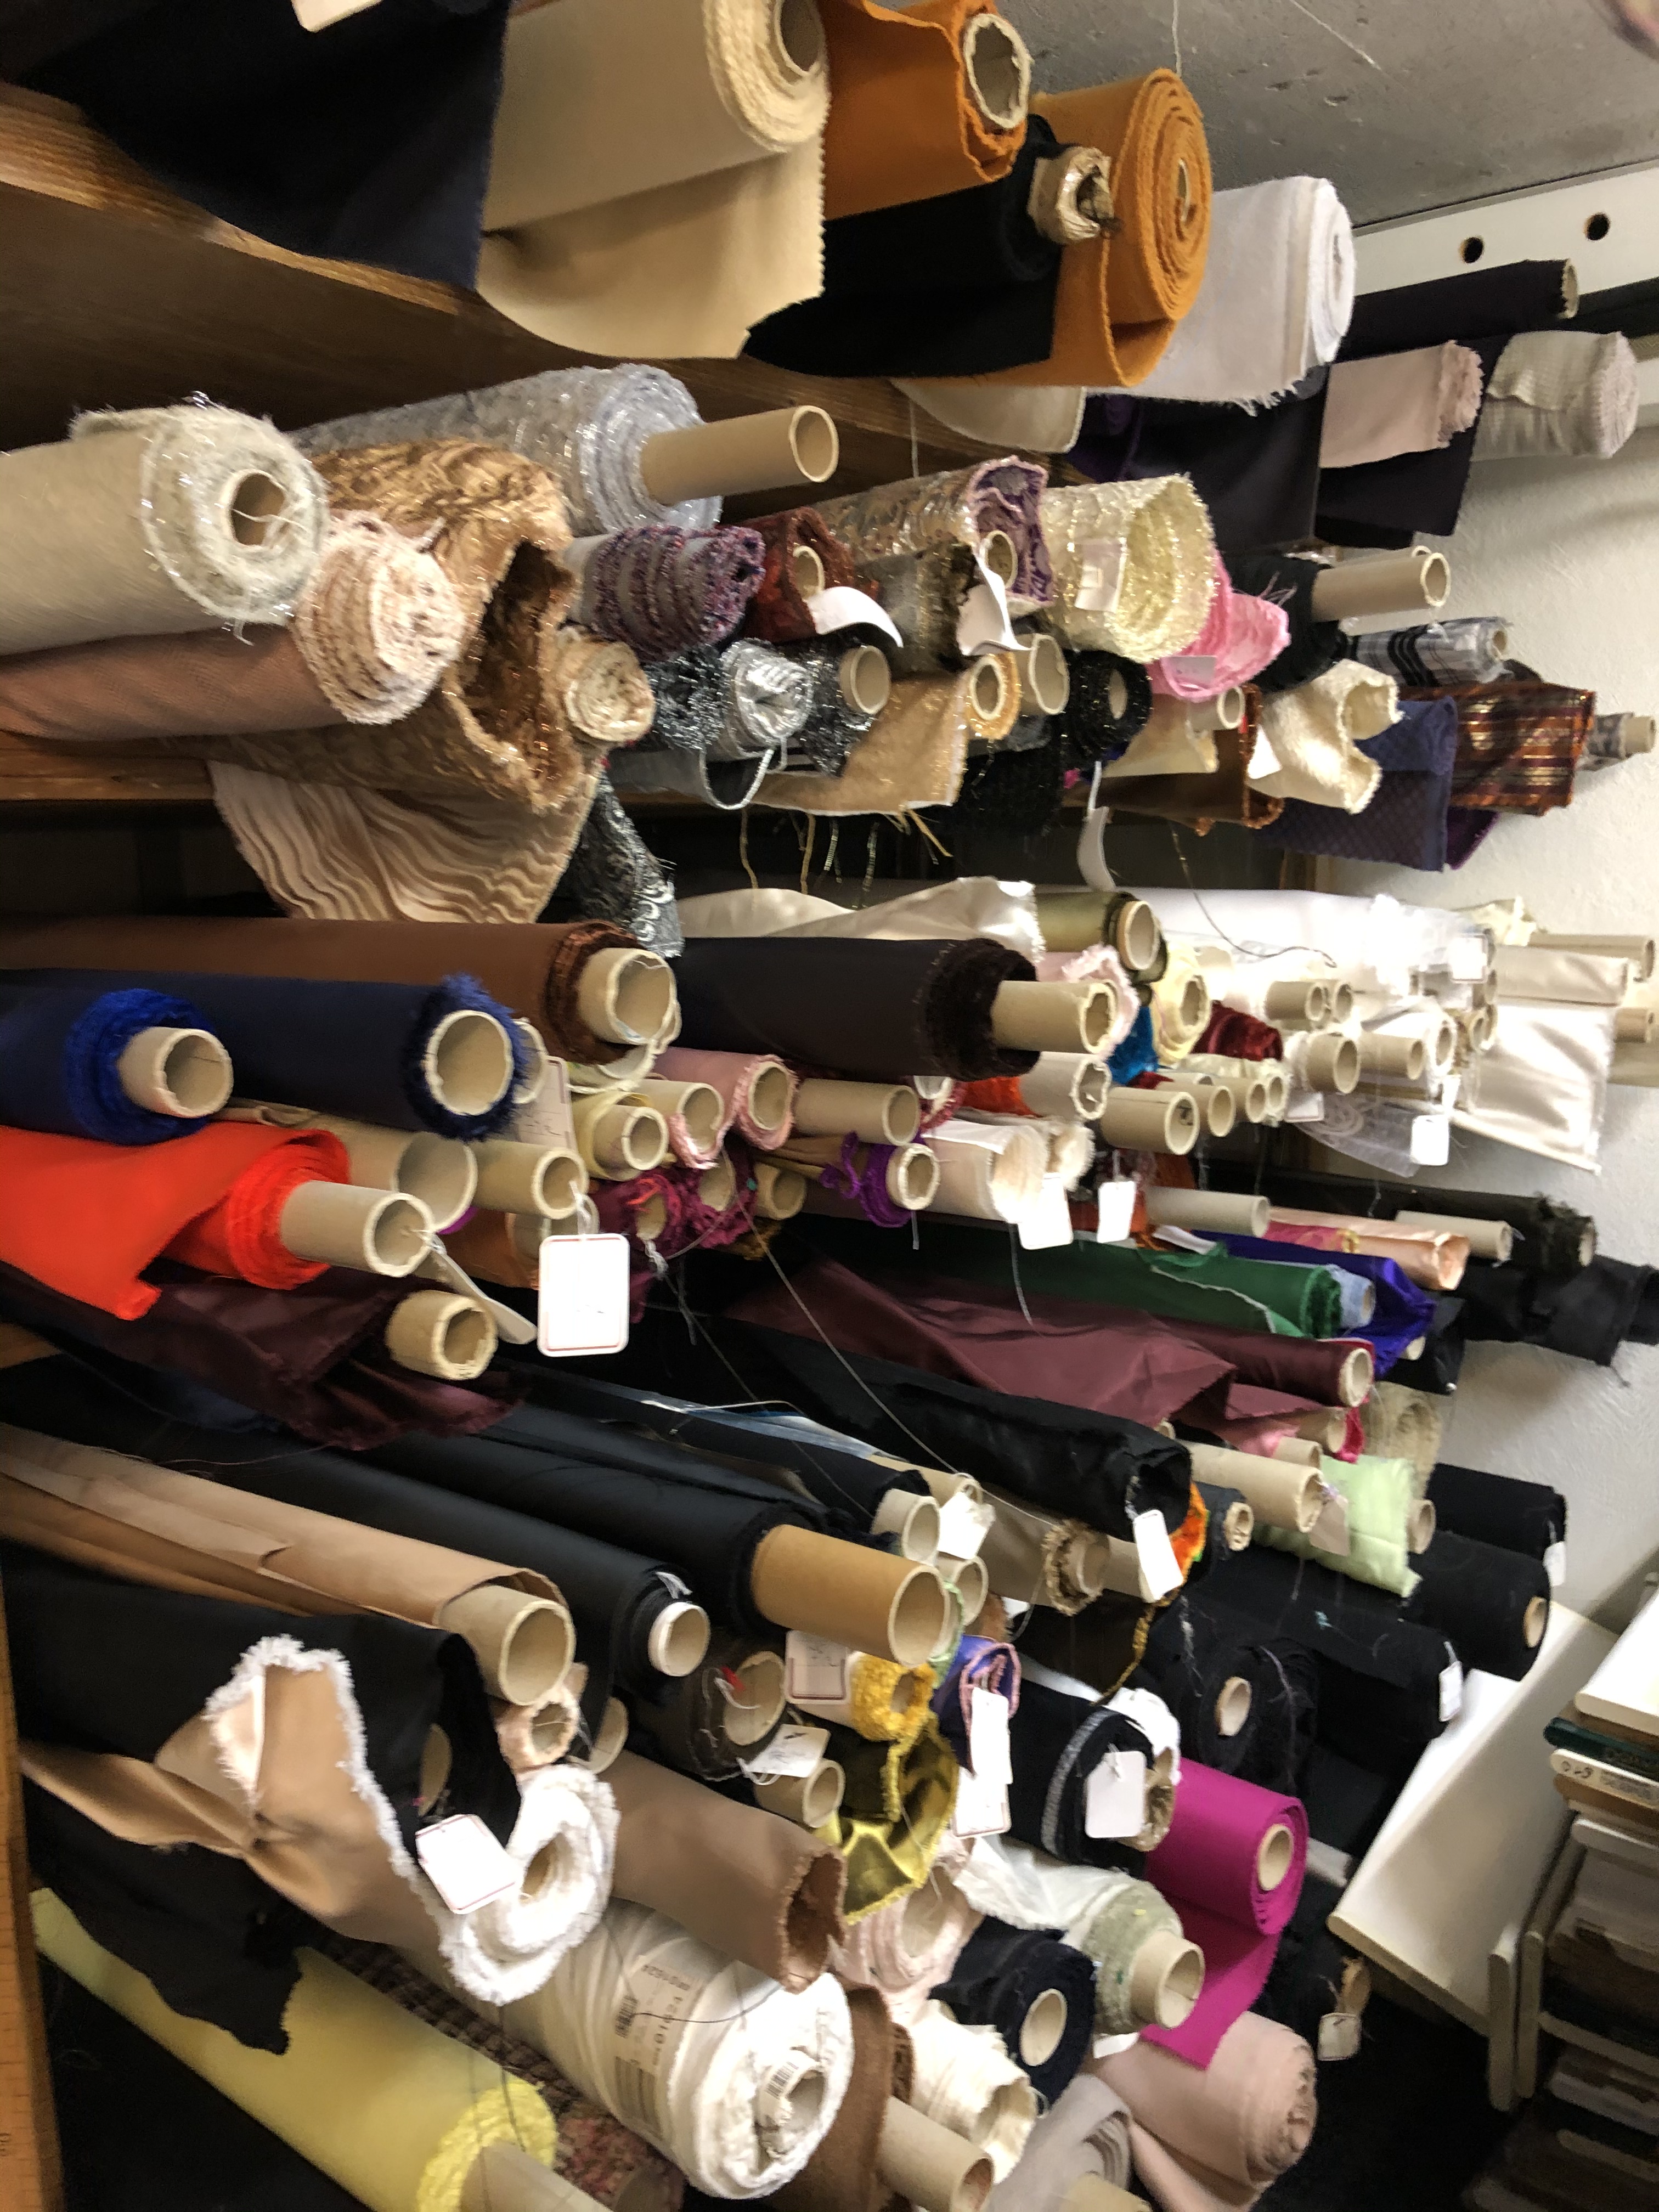
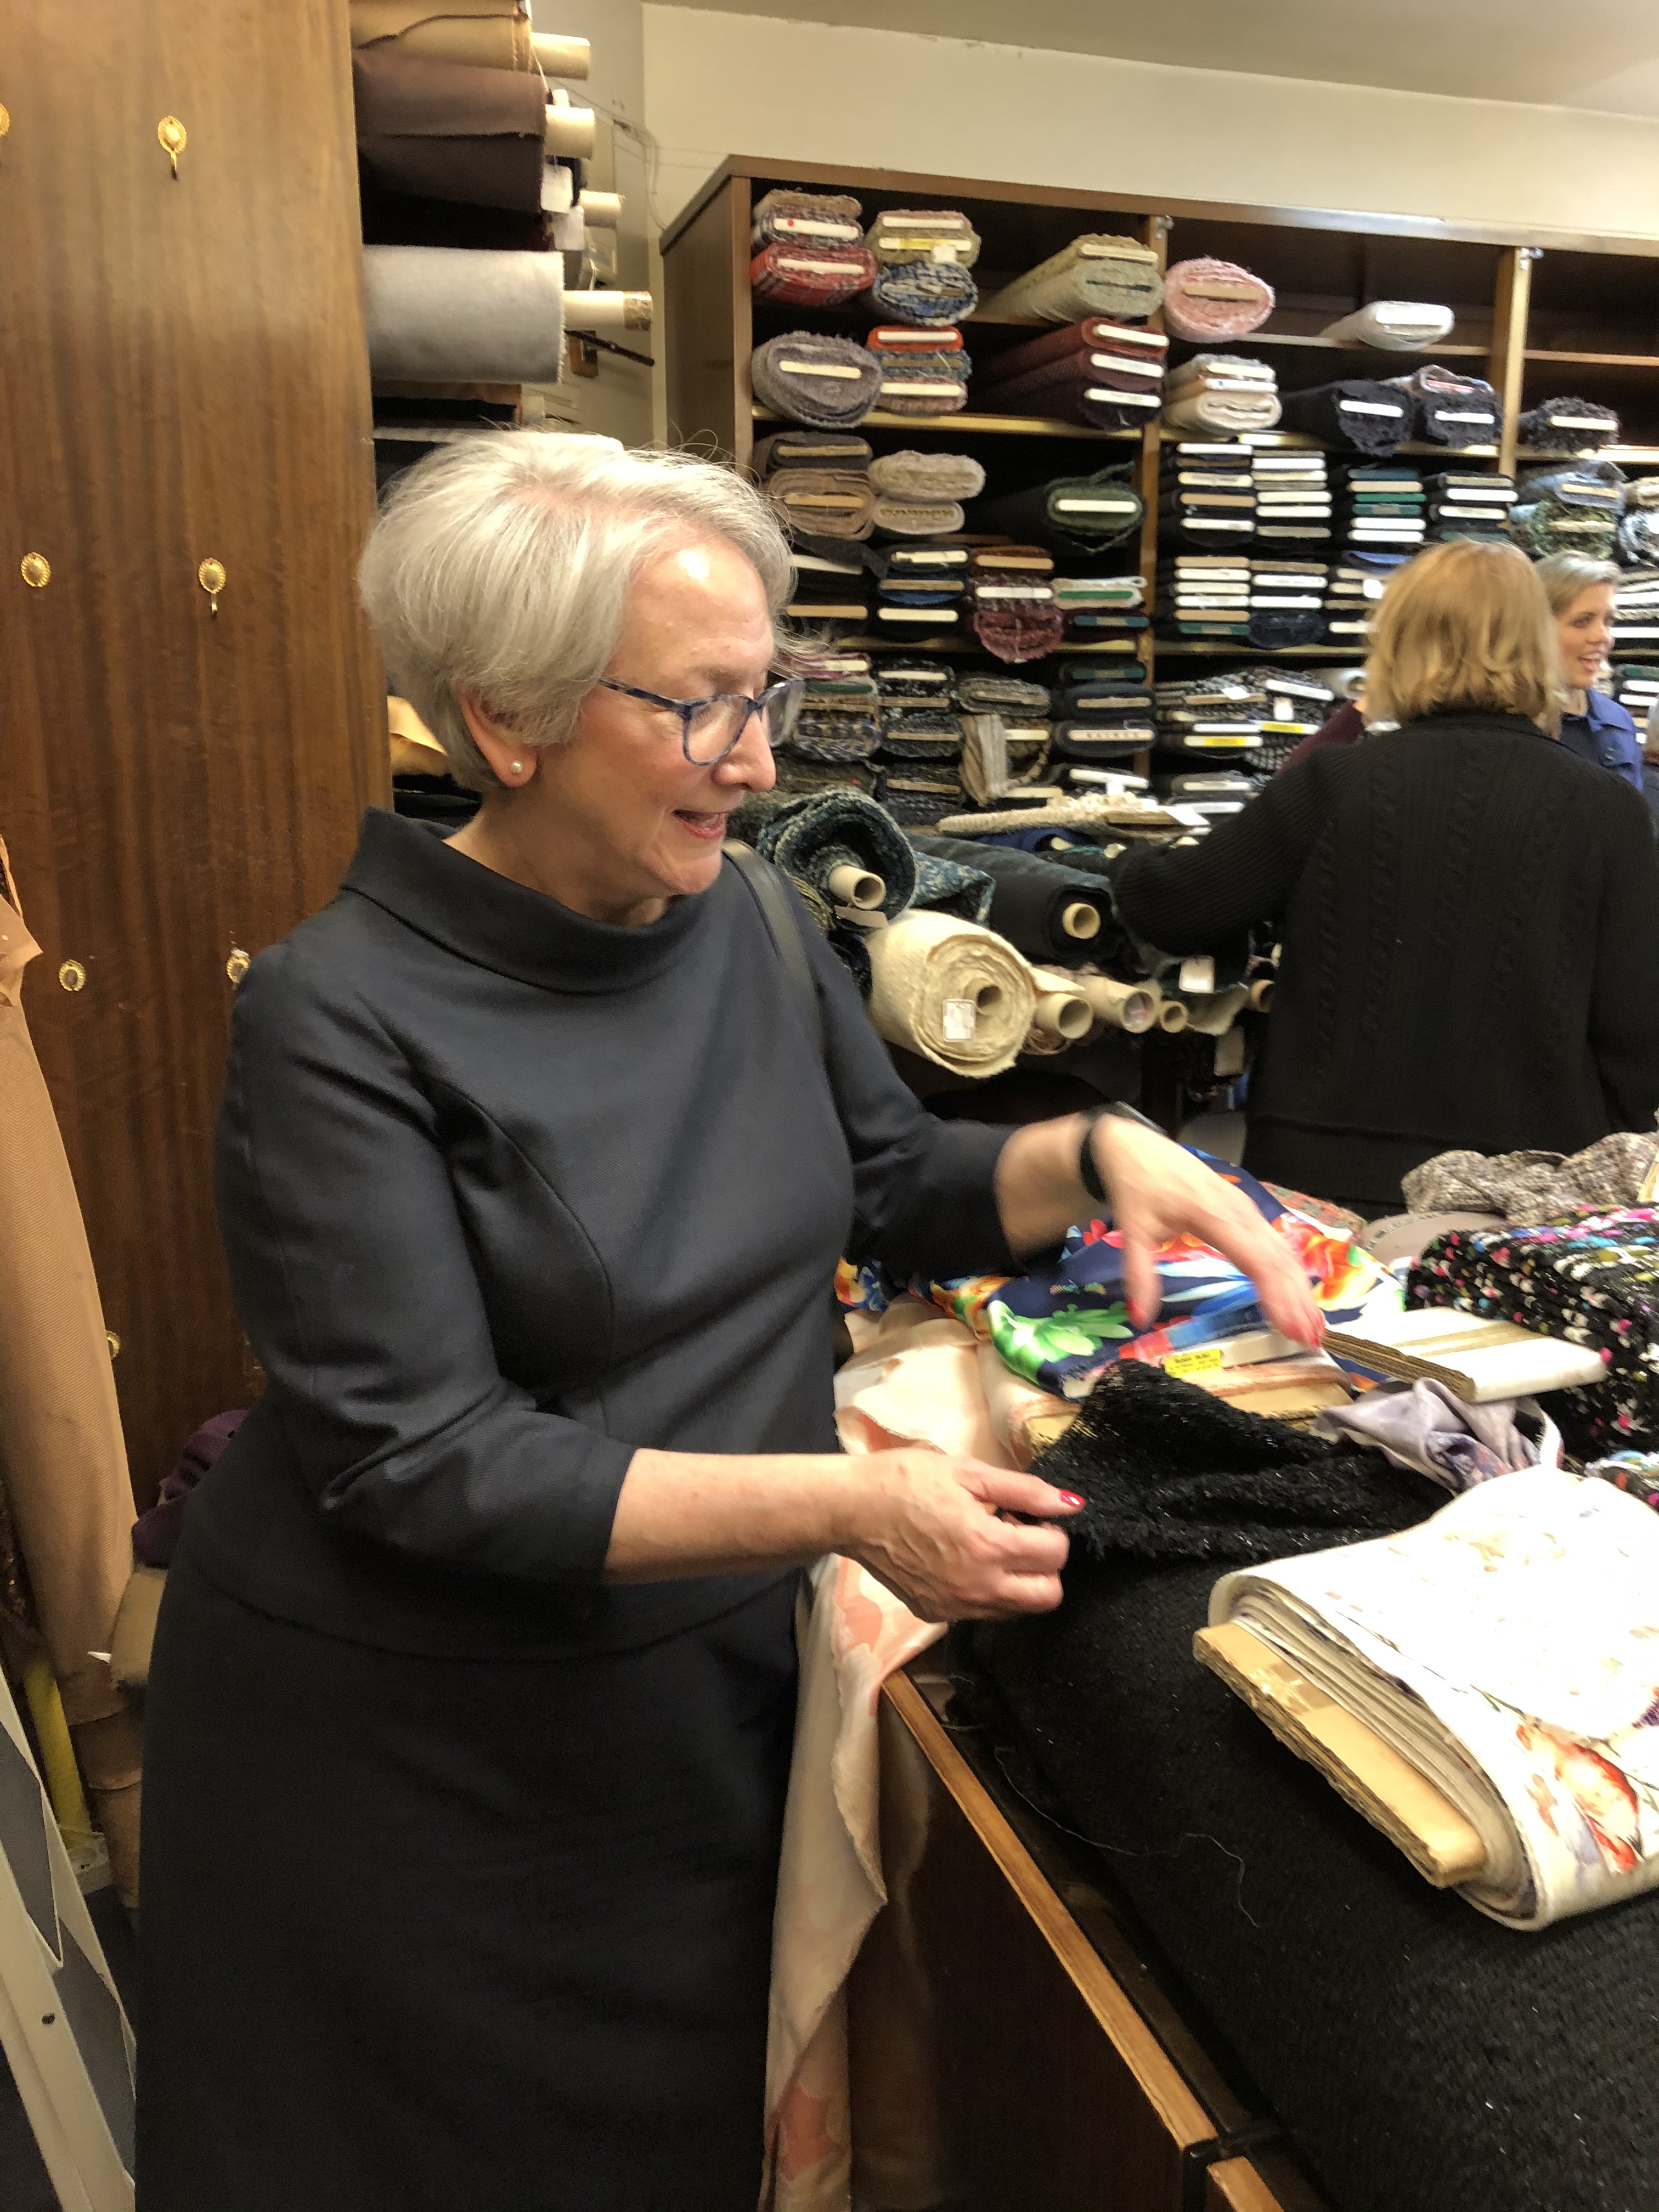
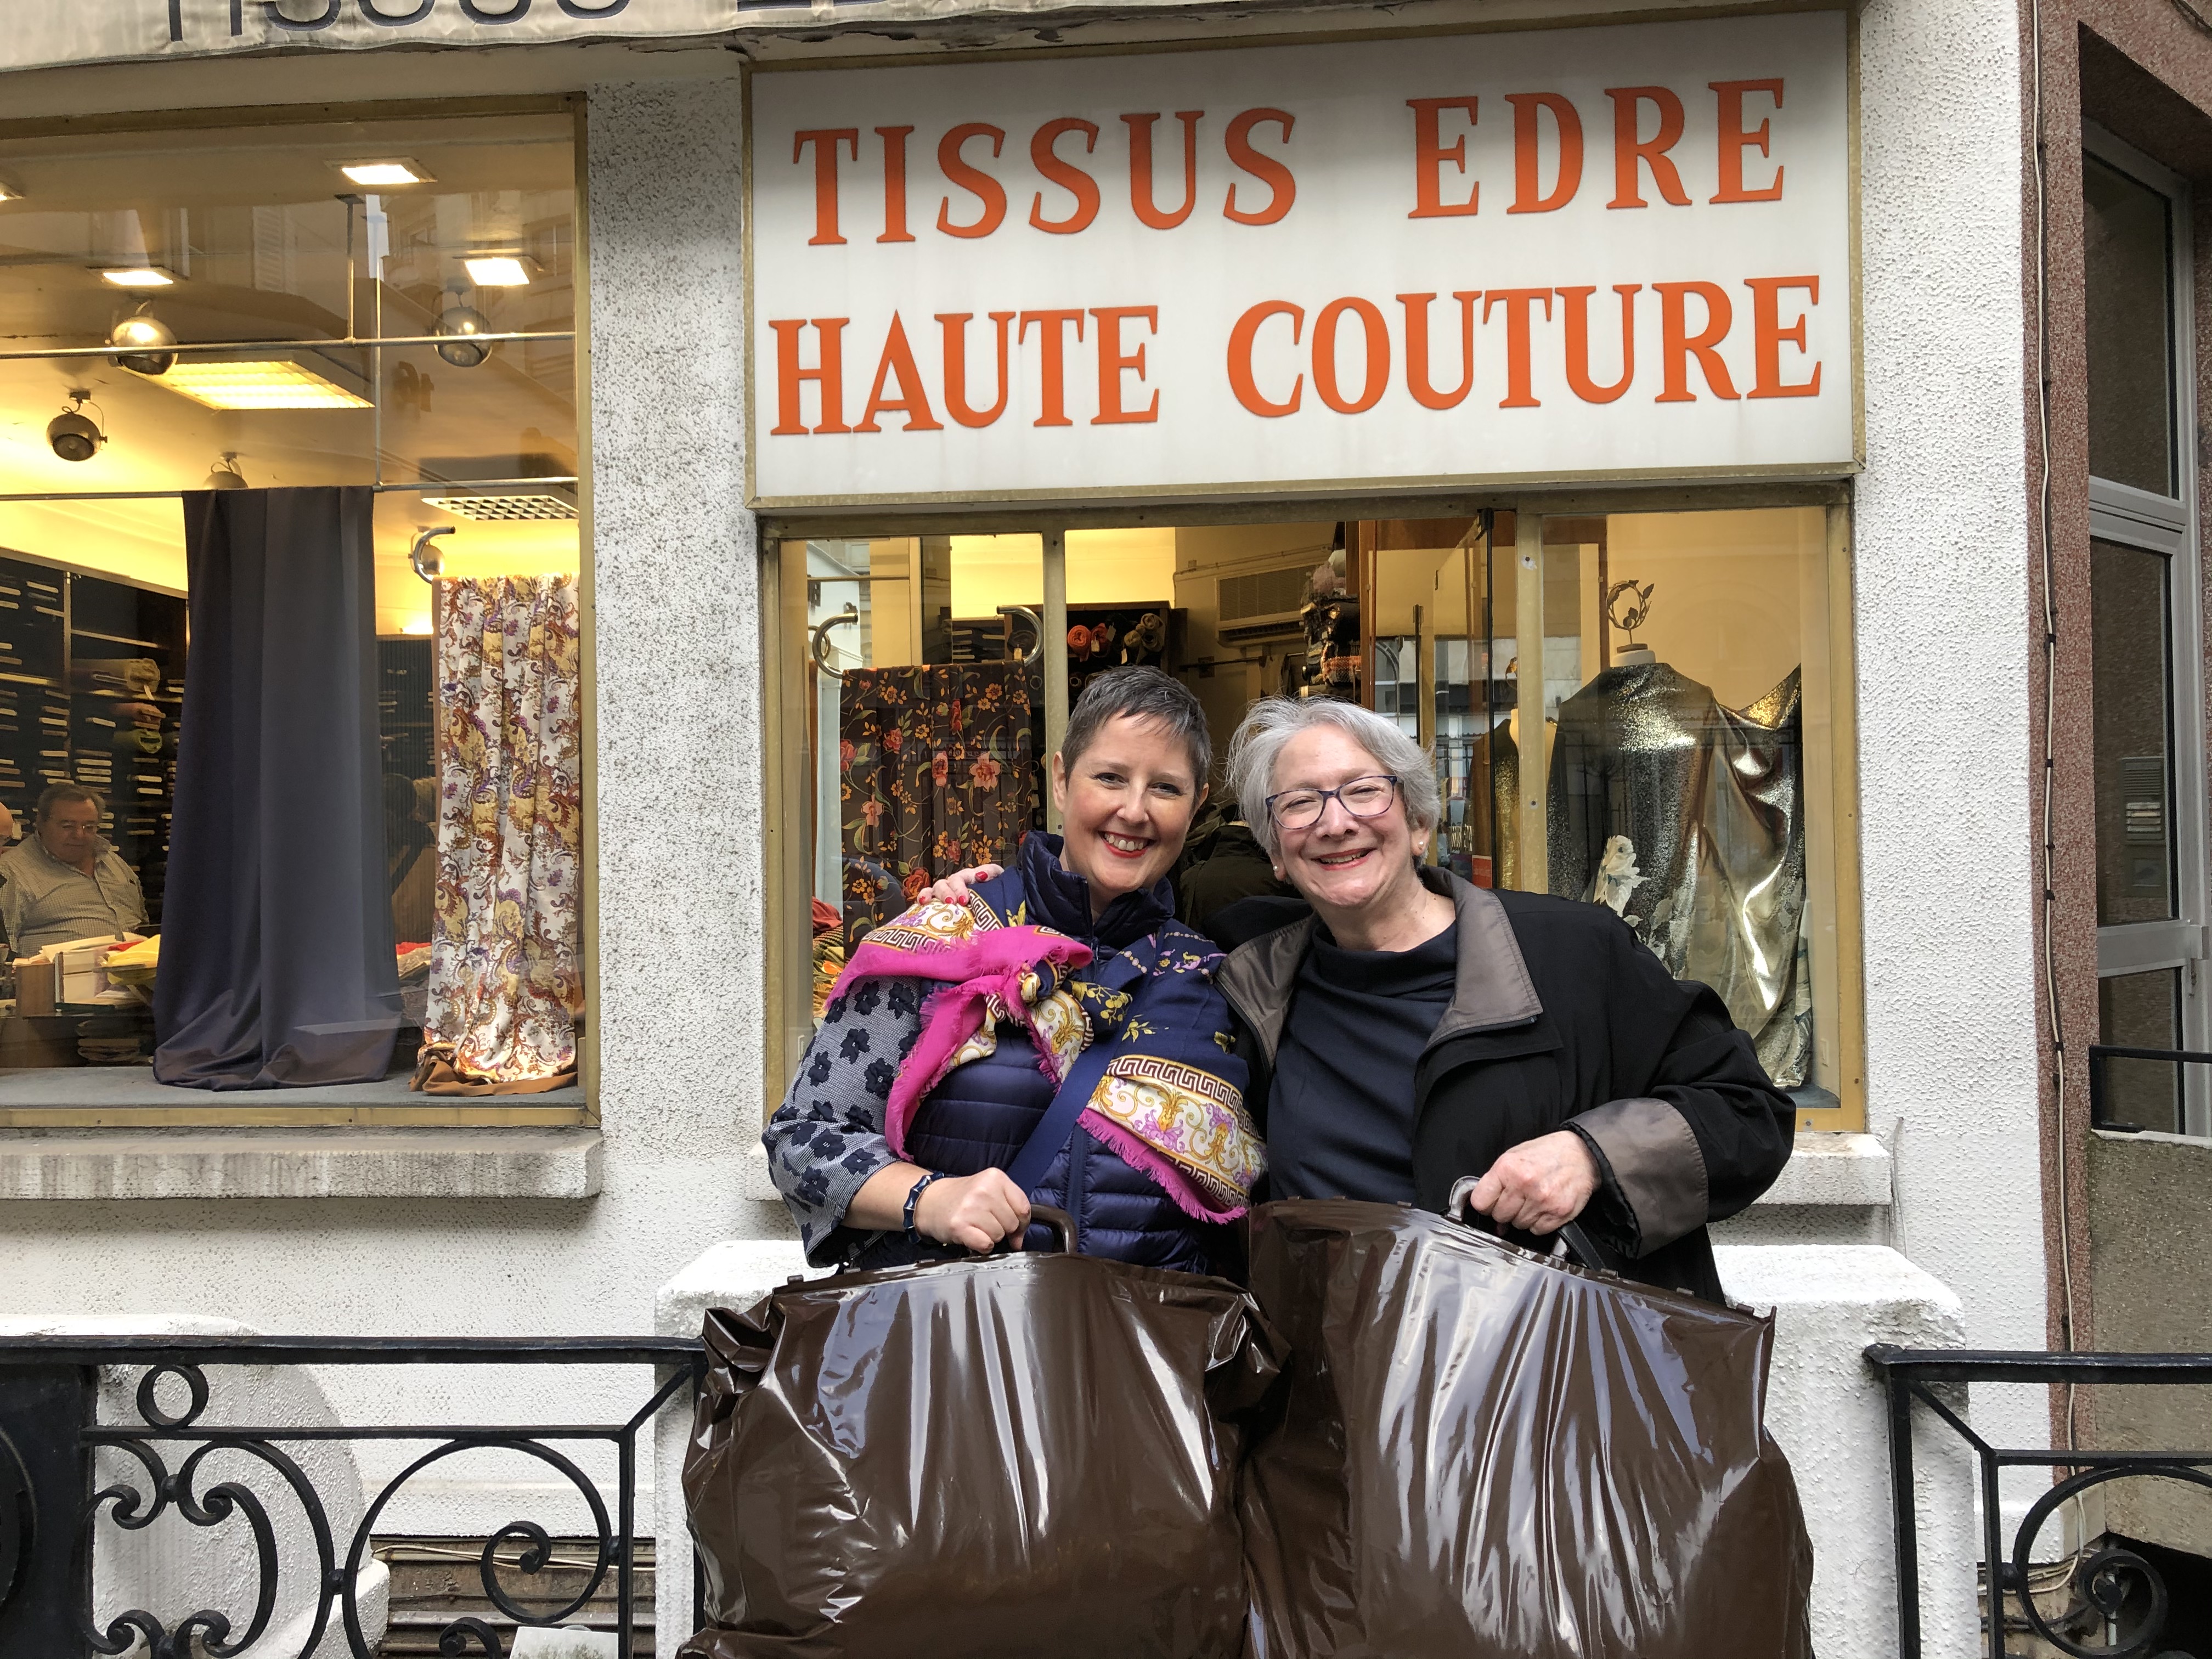
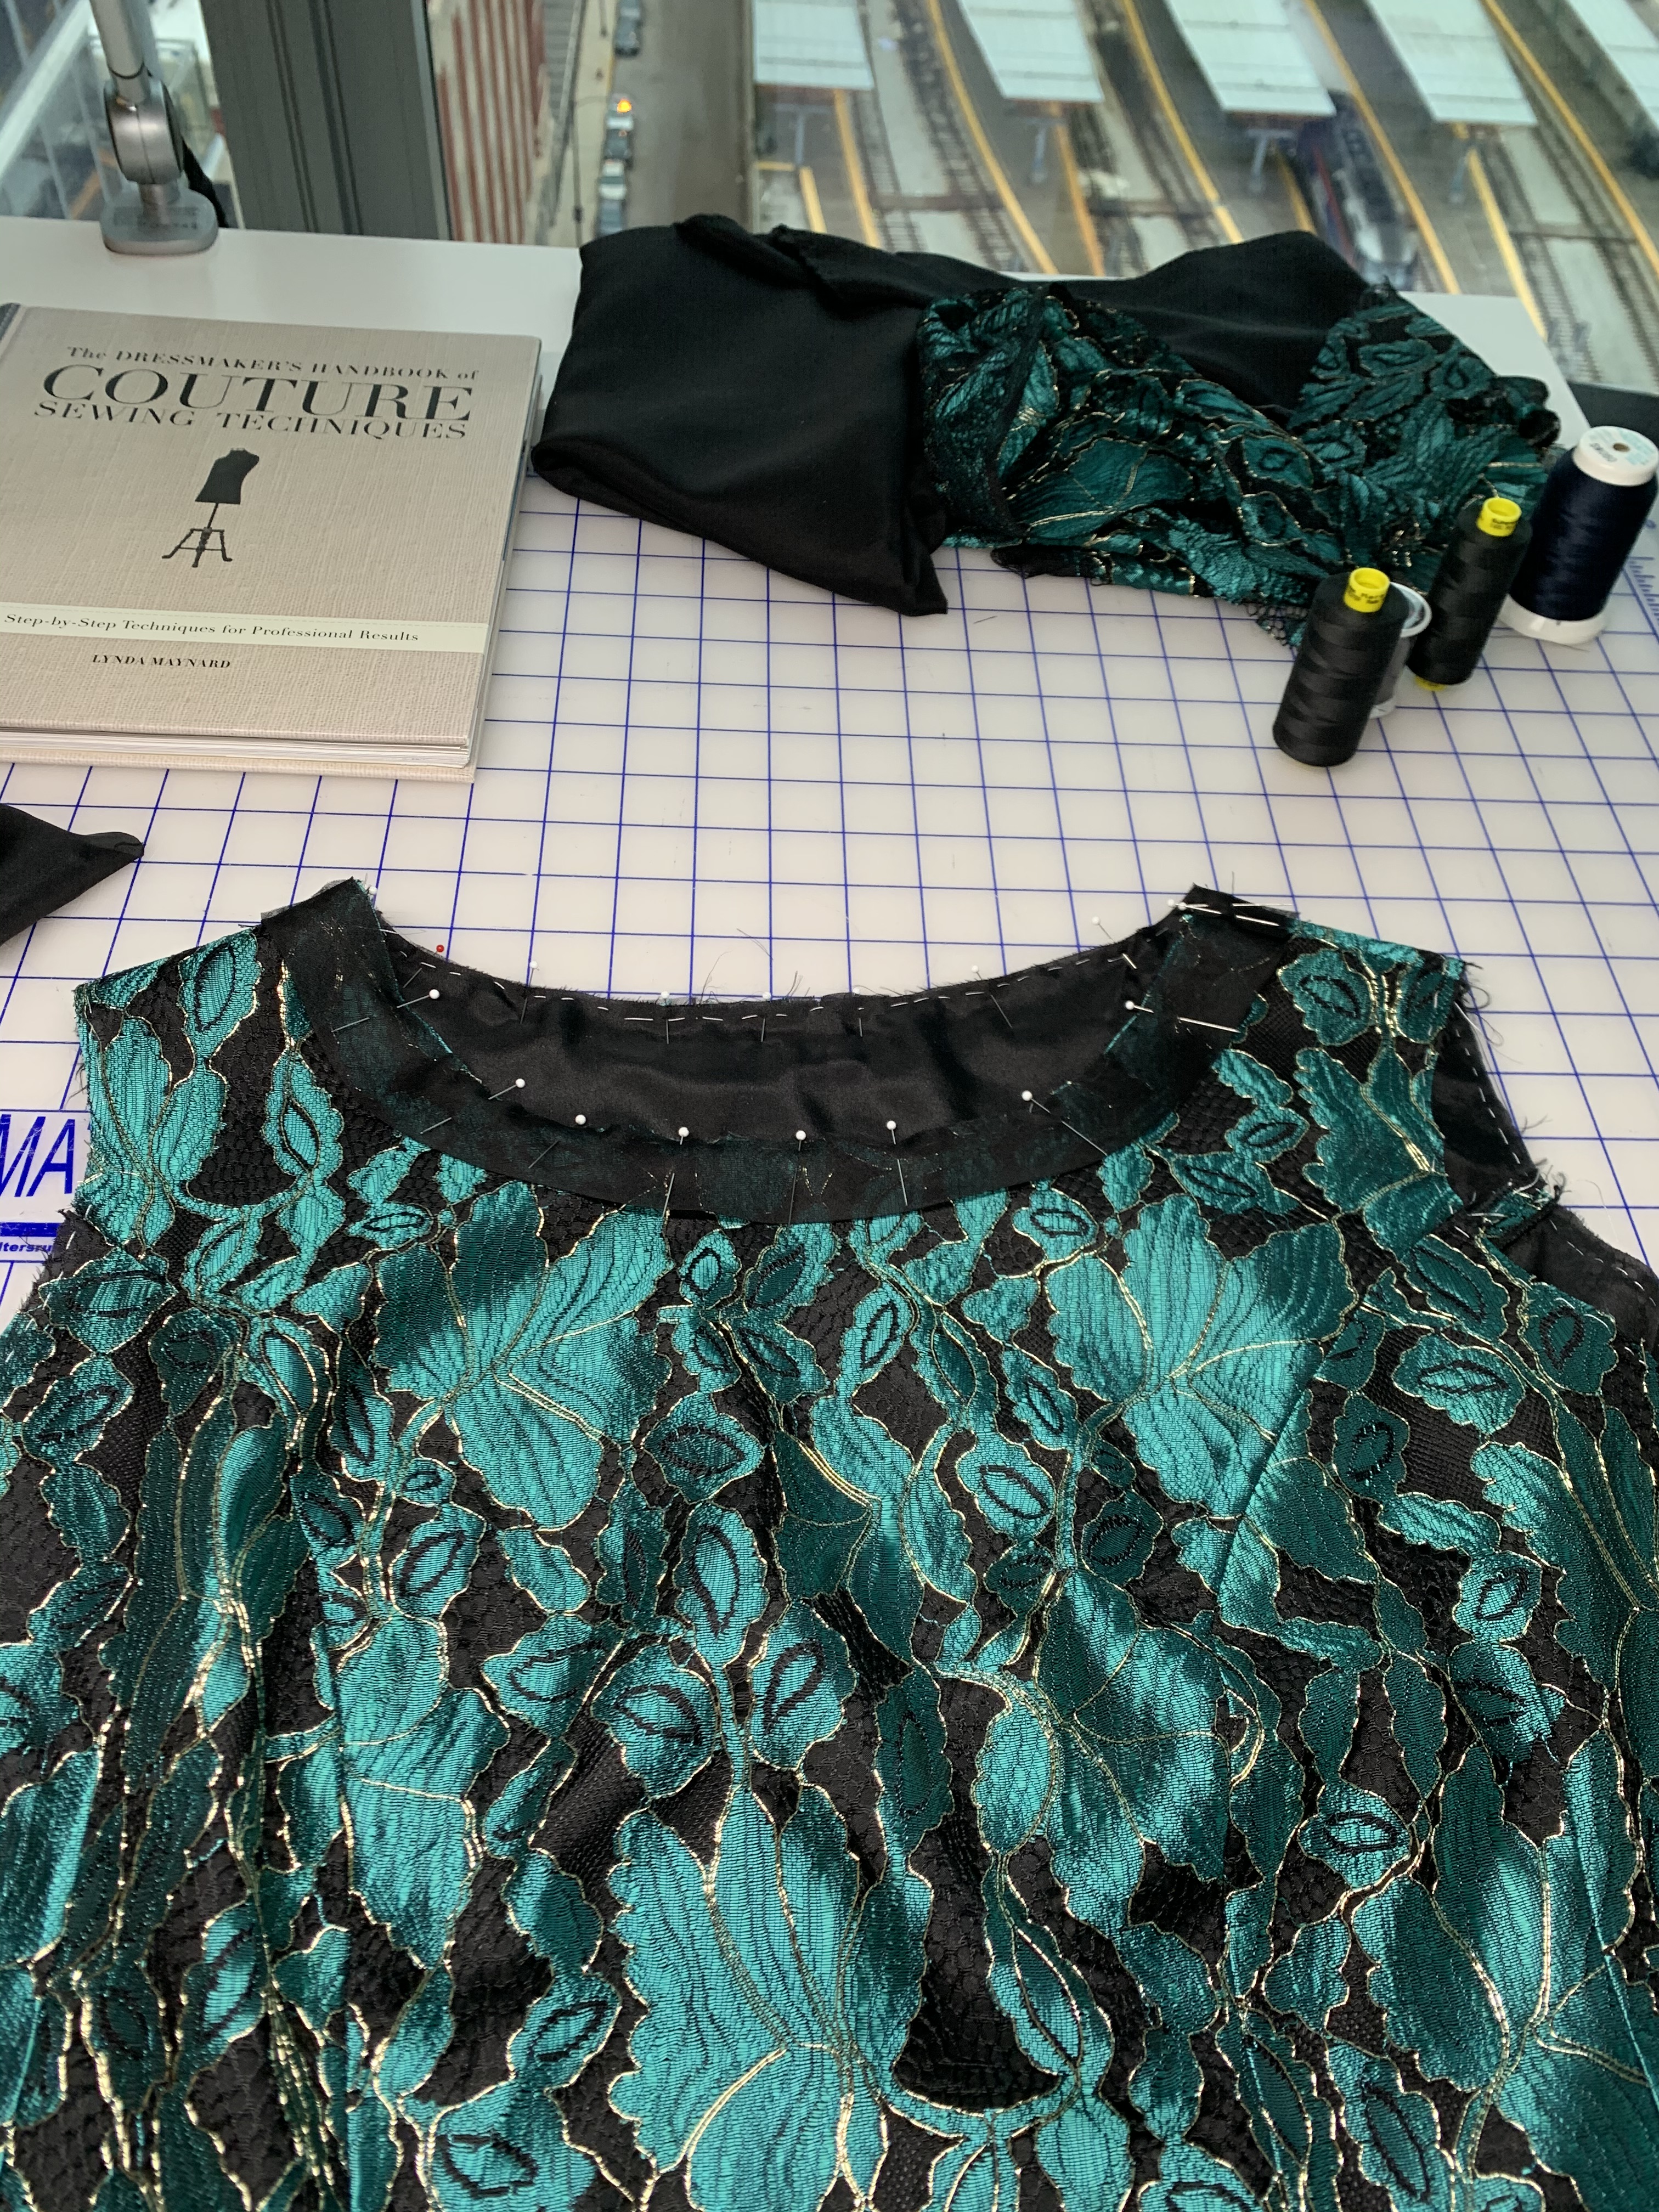
Of course, there are some tangible things I brought home from Paris, primarily fabric. (As if that’s surprising!) The extraordinary fabric you see here is from Tissus Edré. It went (almost) directly from my suitcase to my cutting table. It was the first thing that caught my eye when I arrived with Susan Khalje’s Paris Tour group, and my BFF Stephanie from 10sewingmachines.blogspot.com had to remind me about it when it was time to check out because my head was filled with so many other treasures that surrounded us.


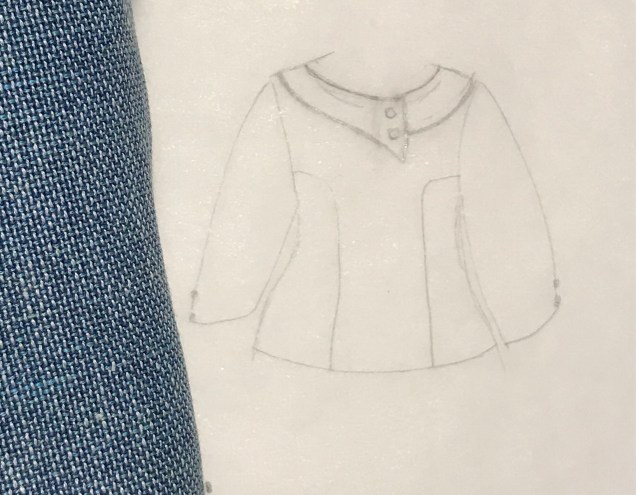
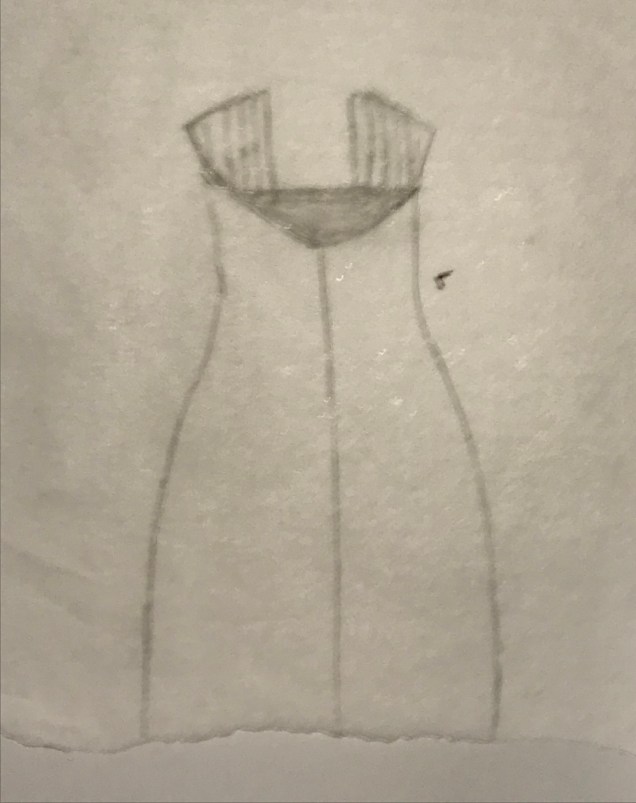
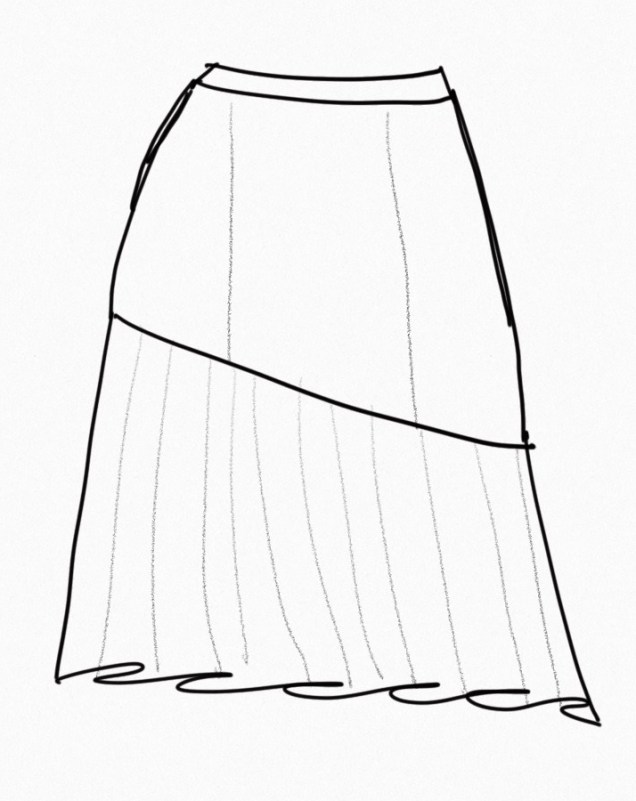
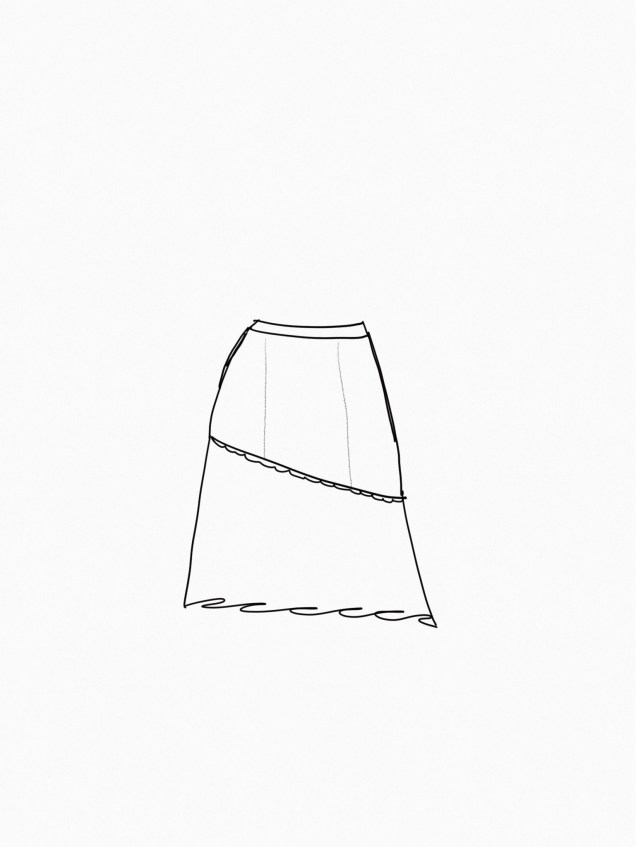
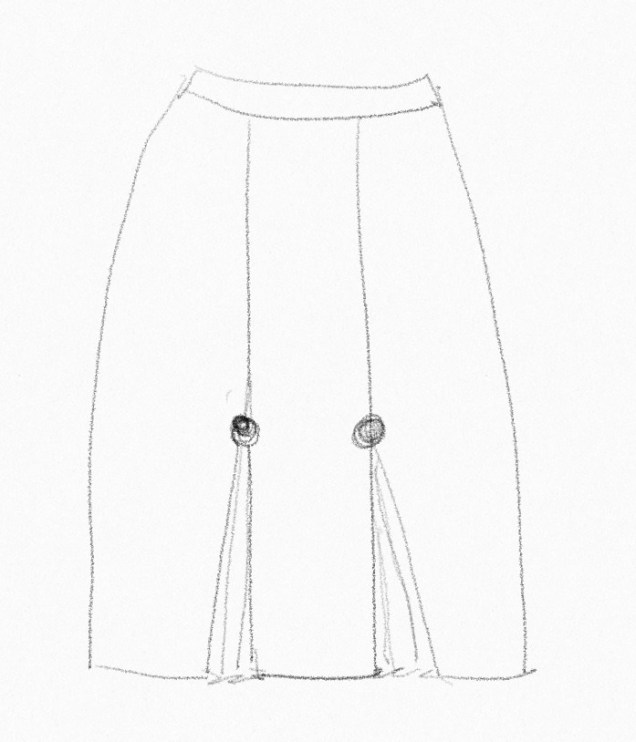
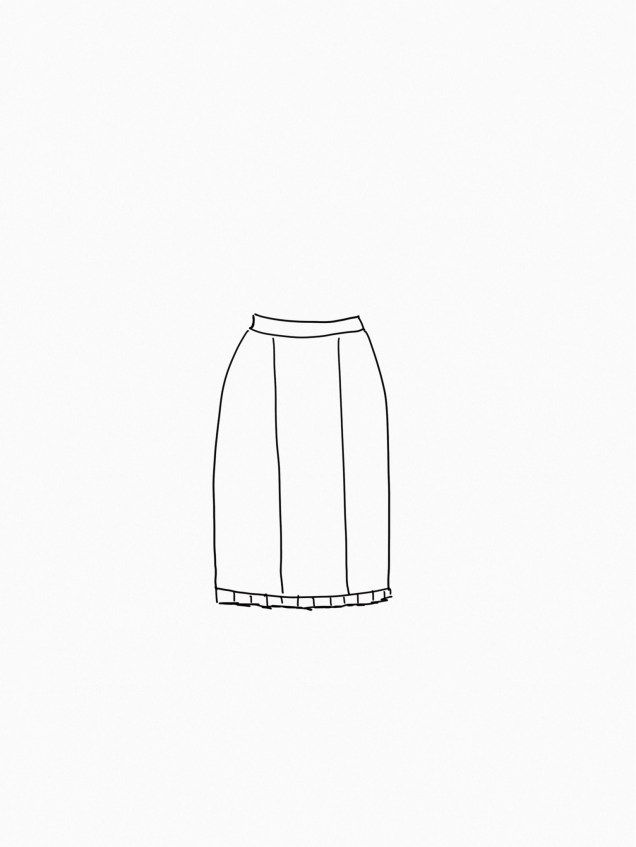
I bought three meters, plenty for a dress, but then decided what I wanted to do was make a top and use the rest for a bodice on a cocktail dress at some unspecified point in the future. When I started the project I planned to wear it with a black wool skirt to a holiday luncheon and later make a skirt in black silk to go with it. I never made it to the luncheon because I succumbed to a nasty bug that was going around. By then I realized that what this top really needs is a pair of black silk evening pants with pleats going all the way down the front that move like a long skirt when I walk. Steph and I are seeing Madame Butterfly at the end of February. It’s the last opera in our subscription for this season and it’s on a Saturday night, so this will be perfect to wear then. I wish I had the ability to convey this particular design in a sketch, but that’s beyond my capabilities.

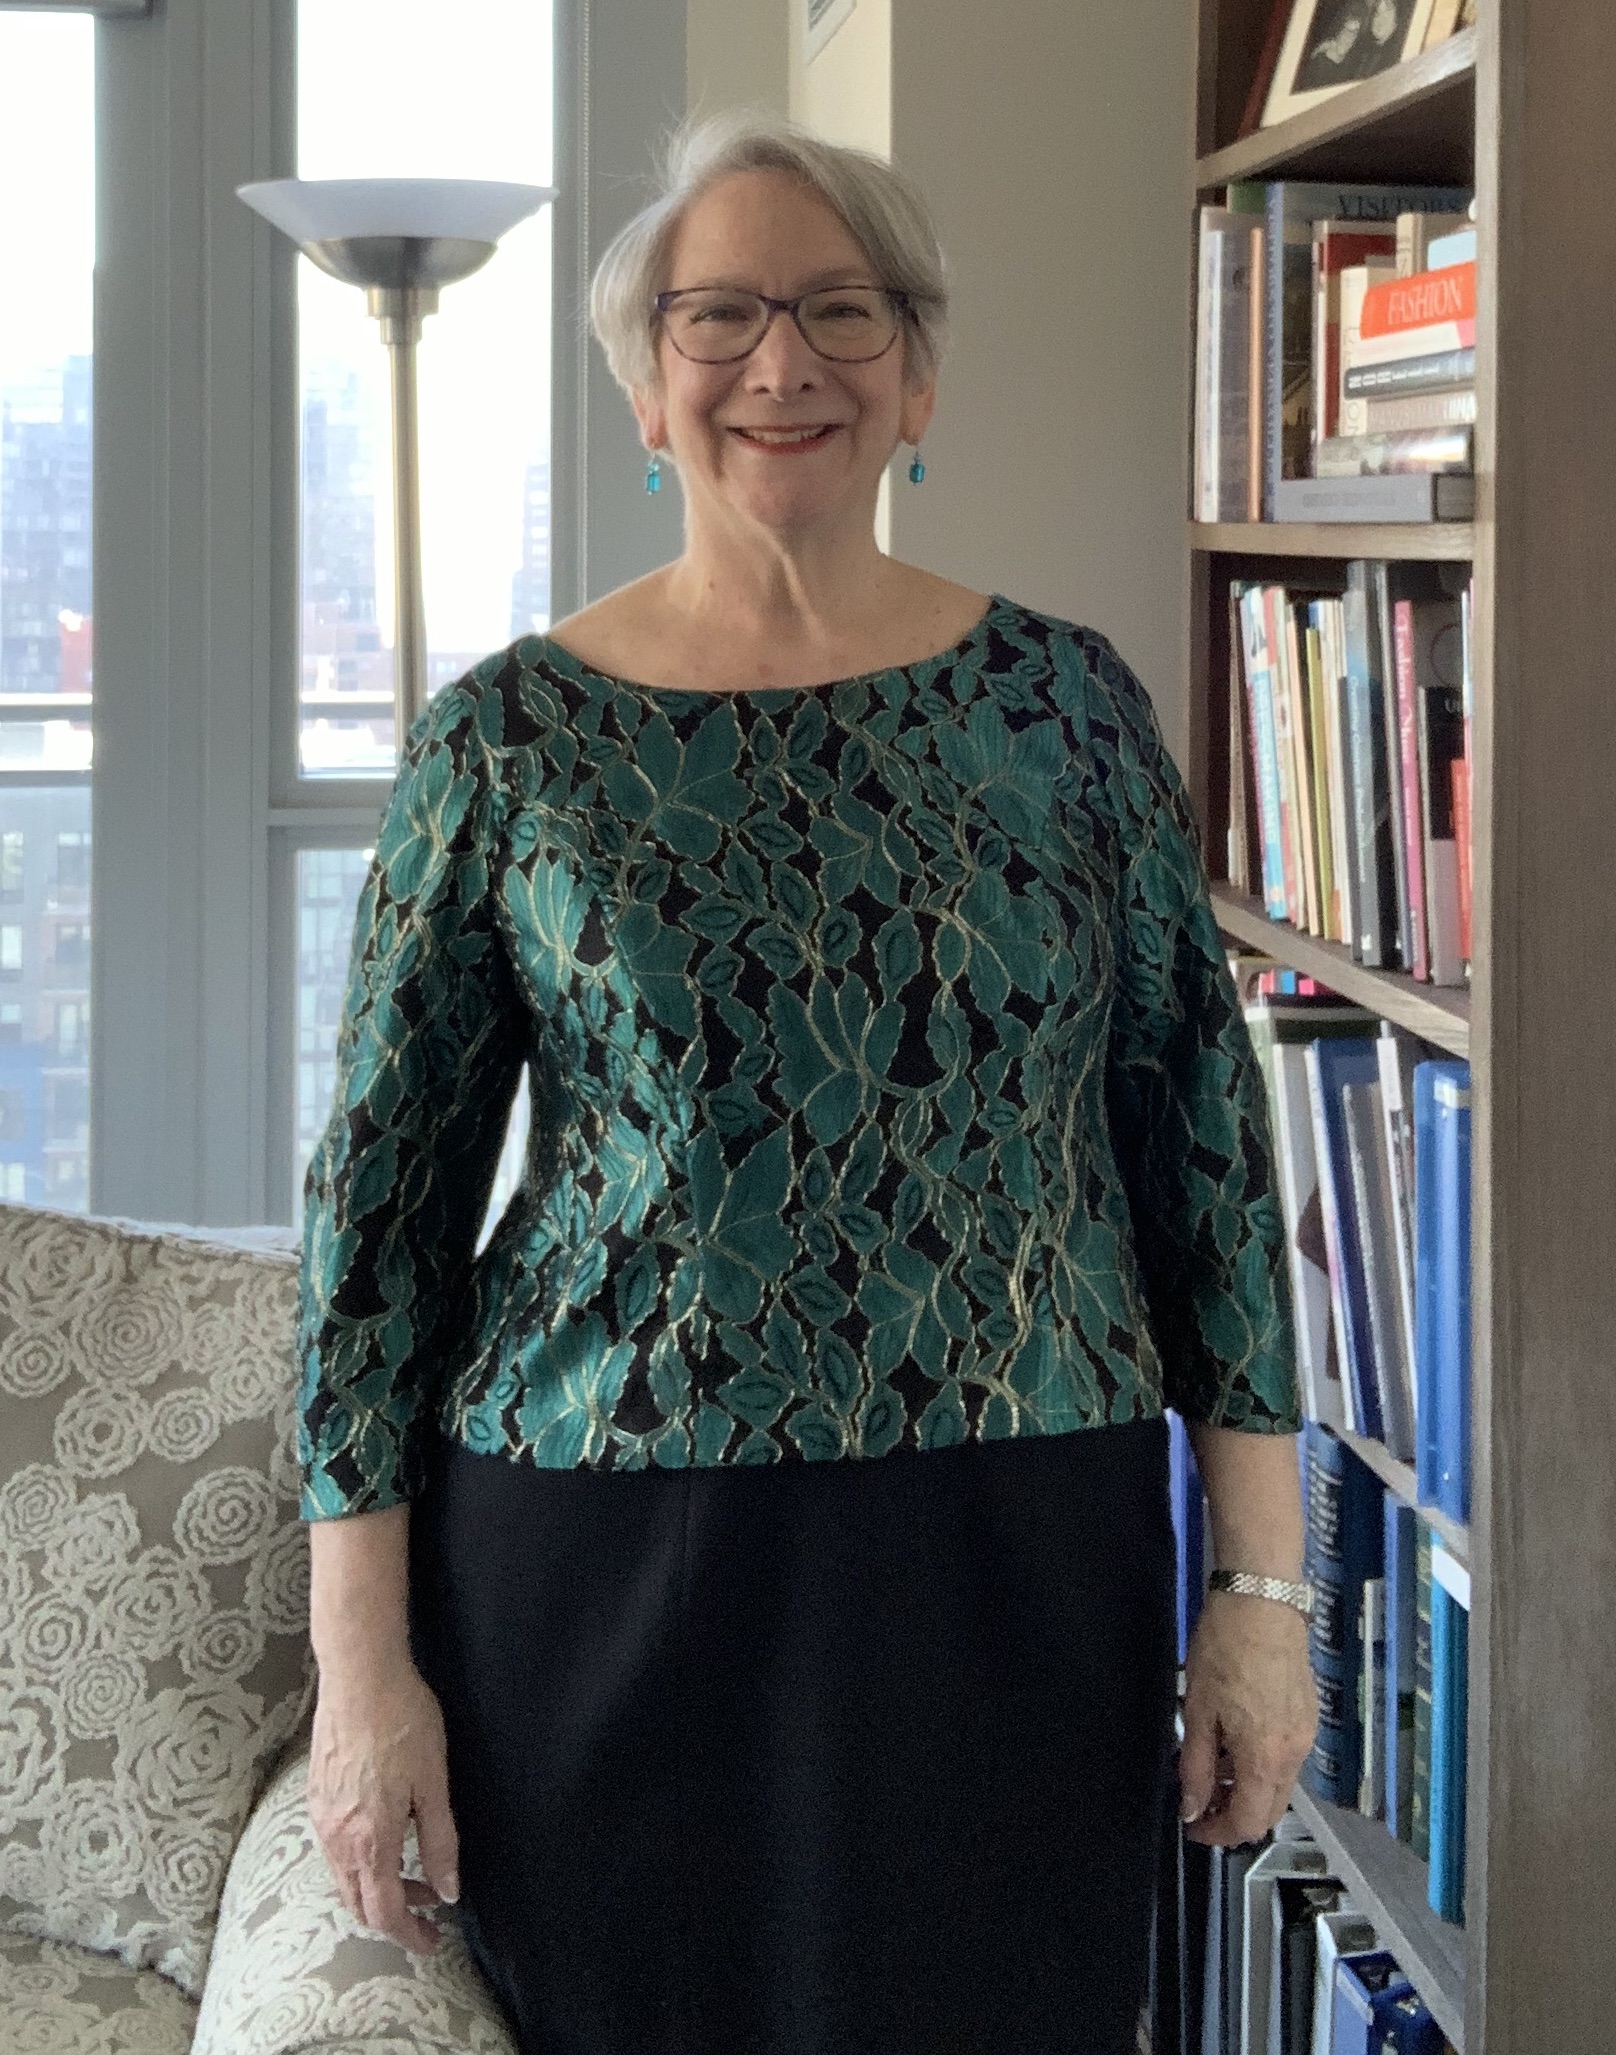
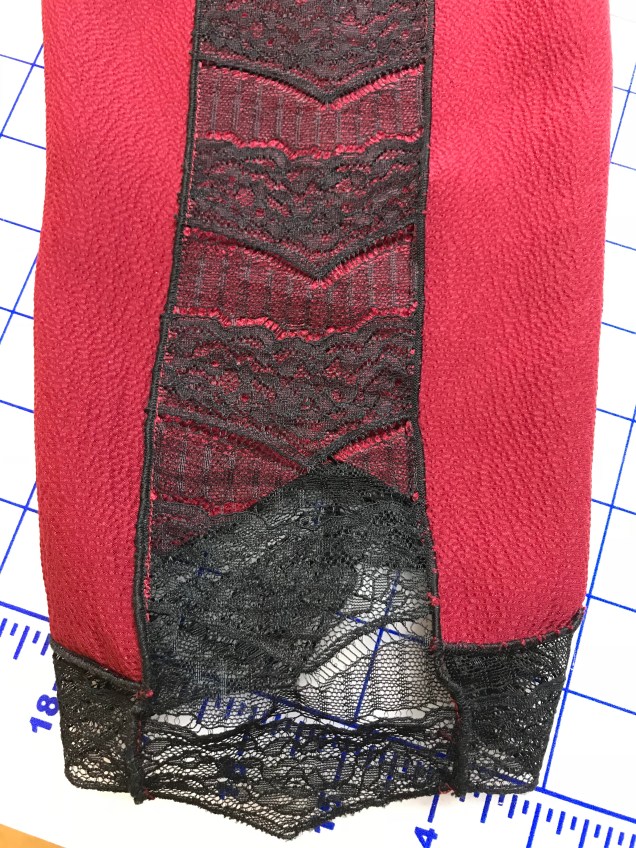
This fabric is an interesting combination of green silk (which looks more like teal in some pictures), gold thread and black netting that connects everything. The netting isn’t only functional. It is thicker than what you find in most lace – almost the consistency of what you would use for cording. And it has variations in the pattern used in different places, with some areas more dense than others.

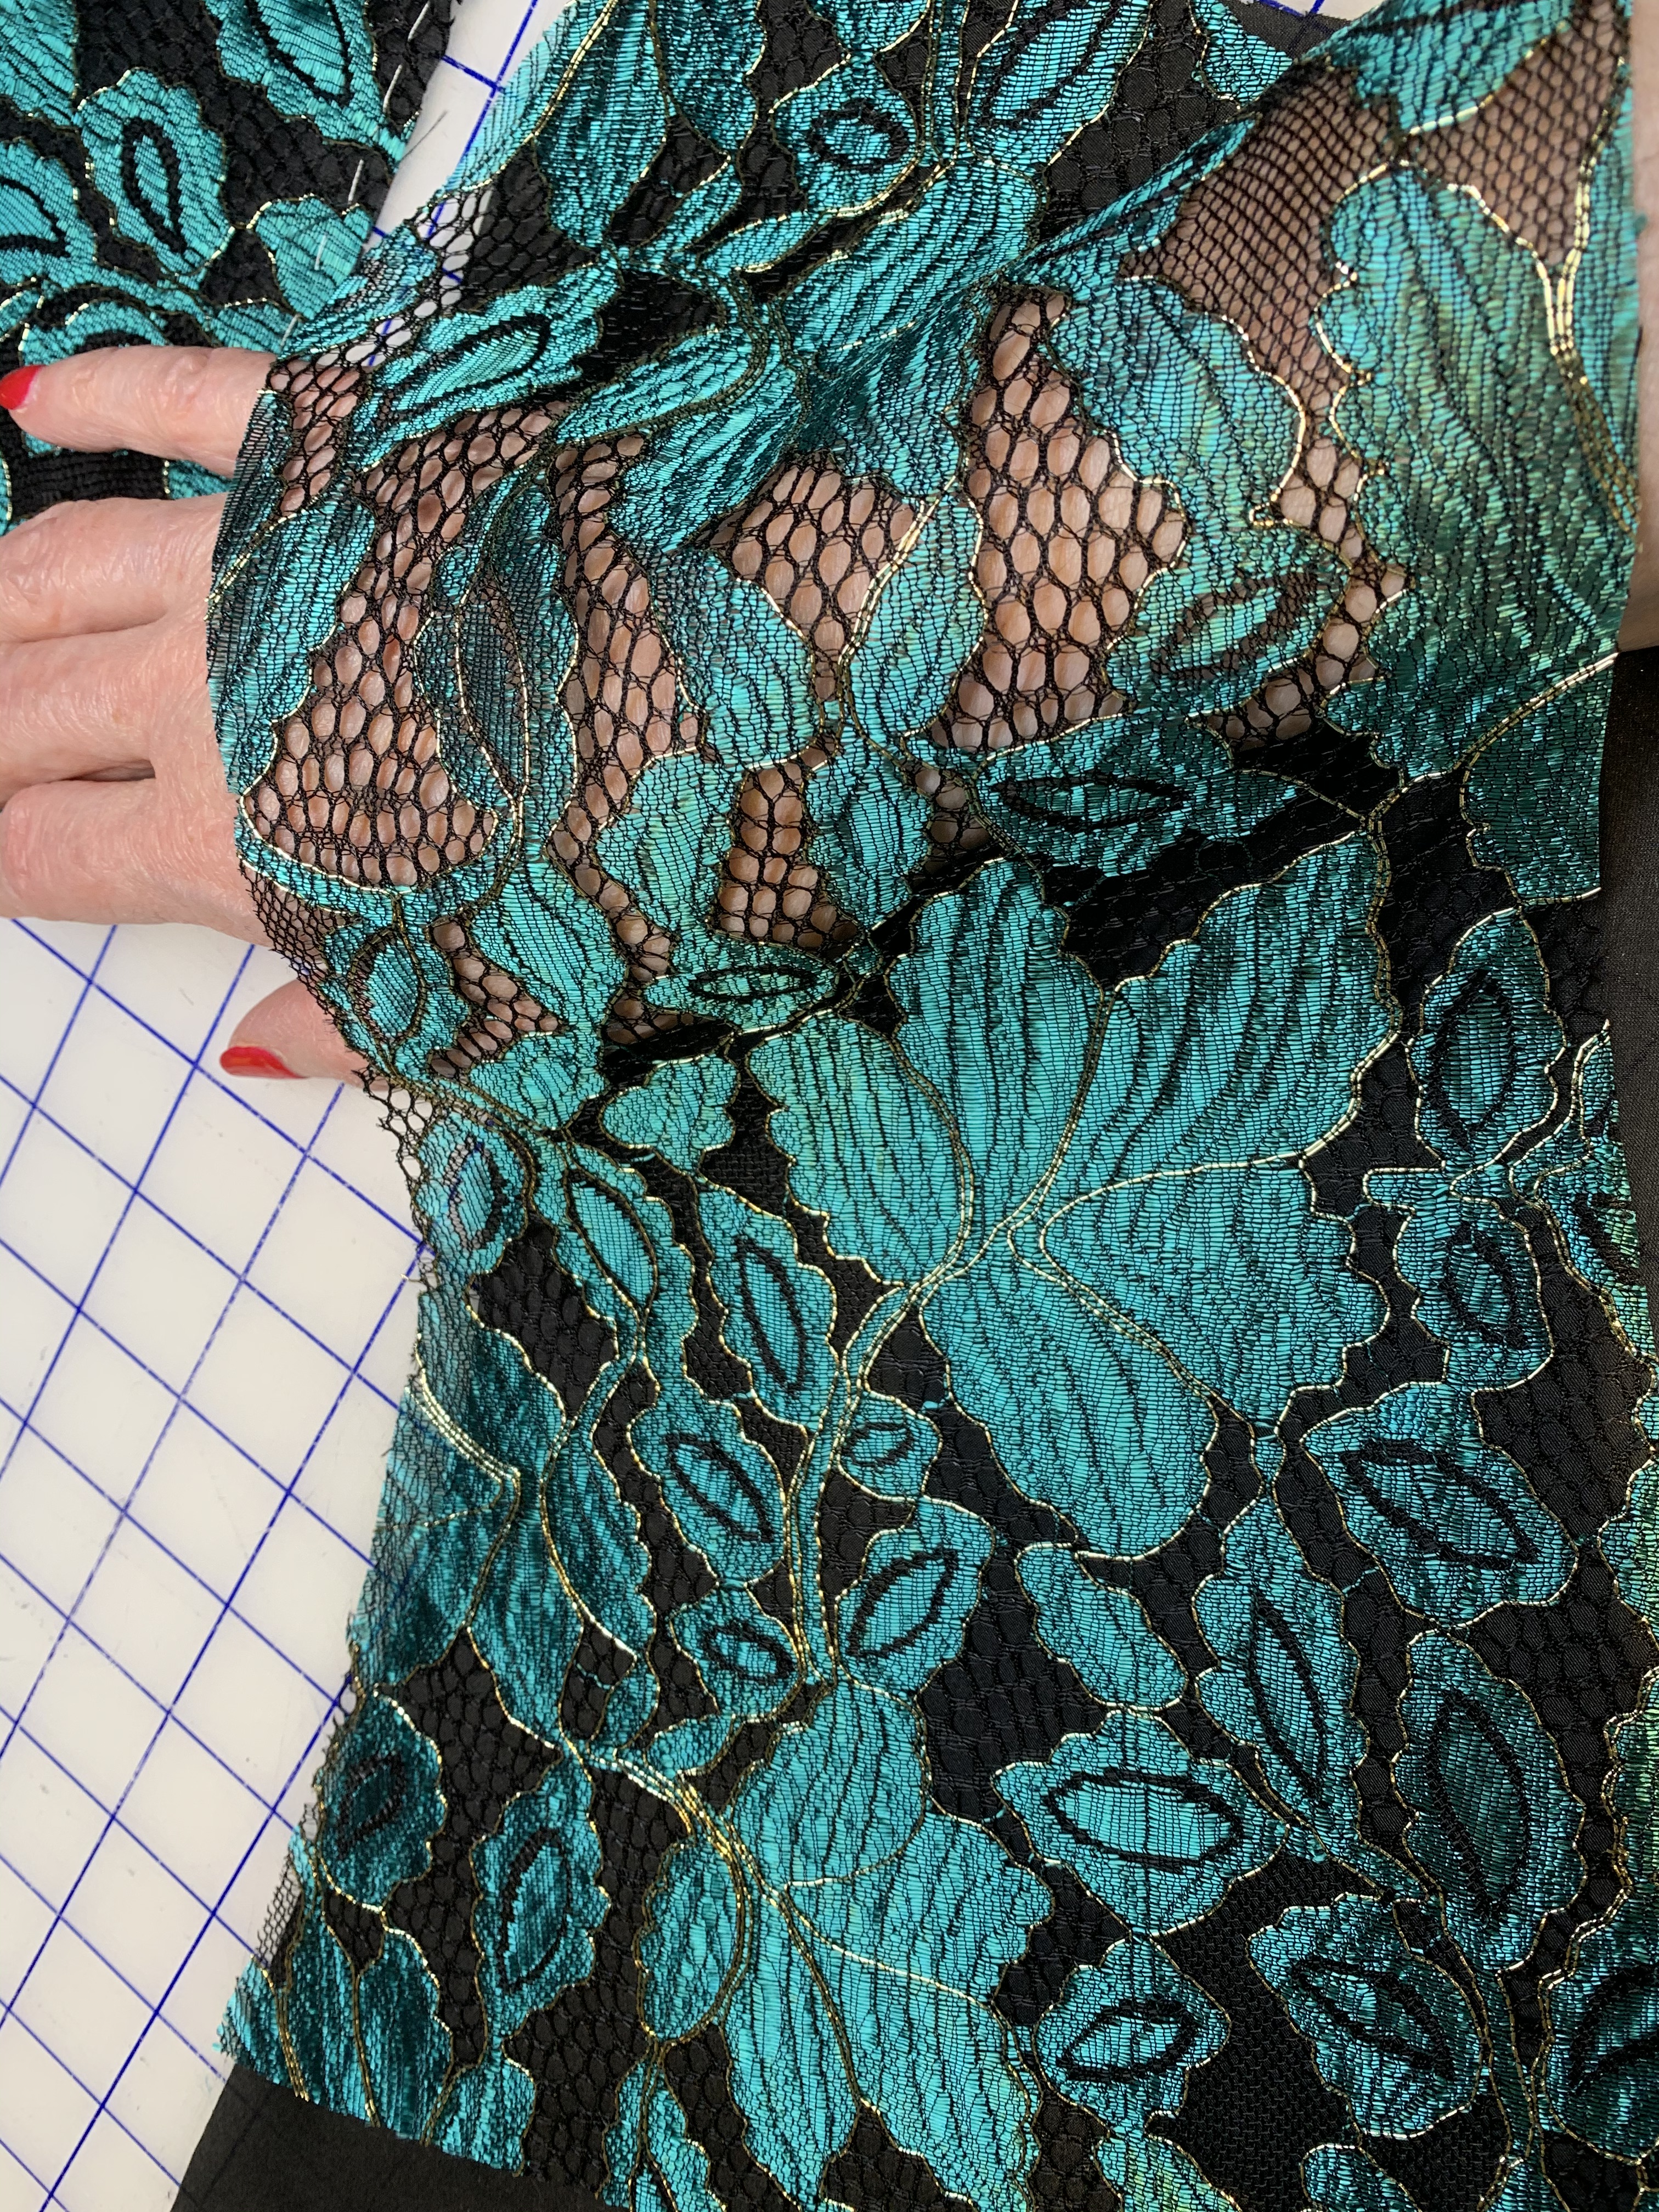
At first I thought I wanted to use a lining or underlining that matches my skin tone. But in testing I changed my mind. I think using a black underlining makes the green more vibrant.

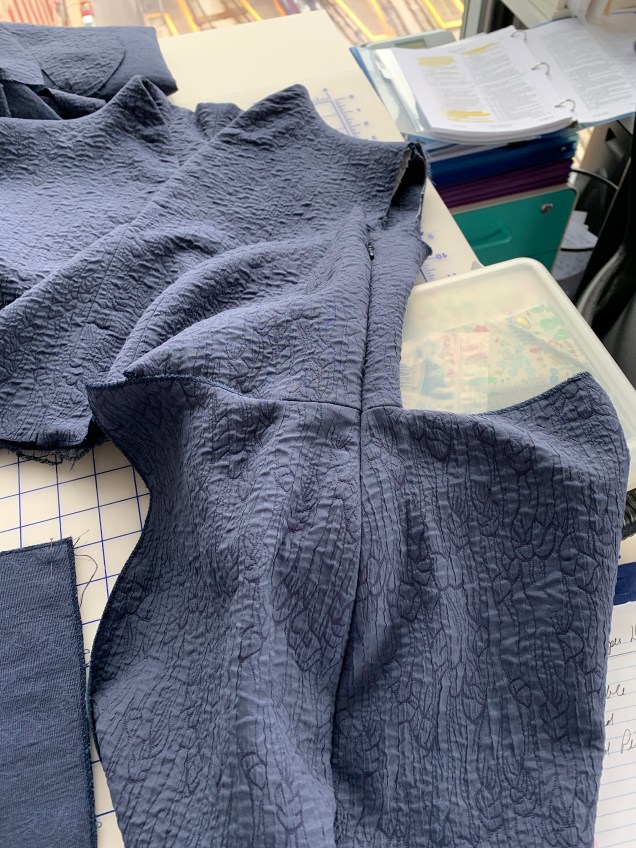
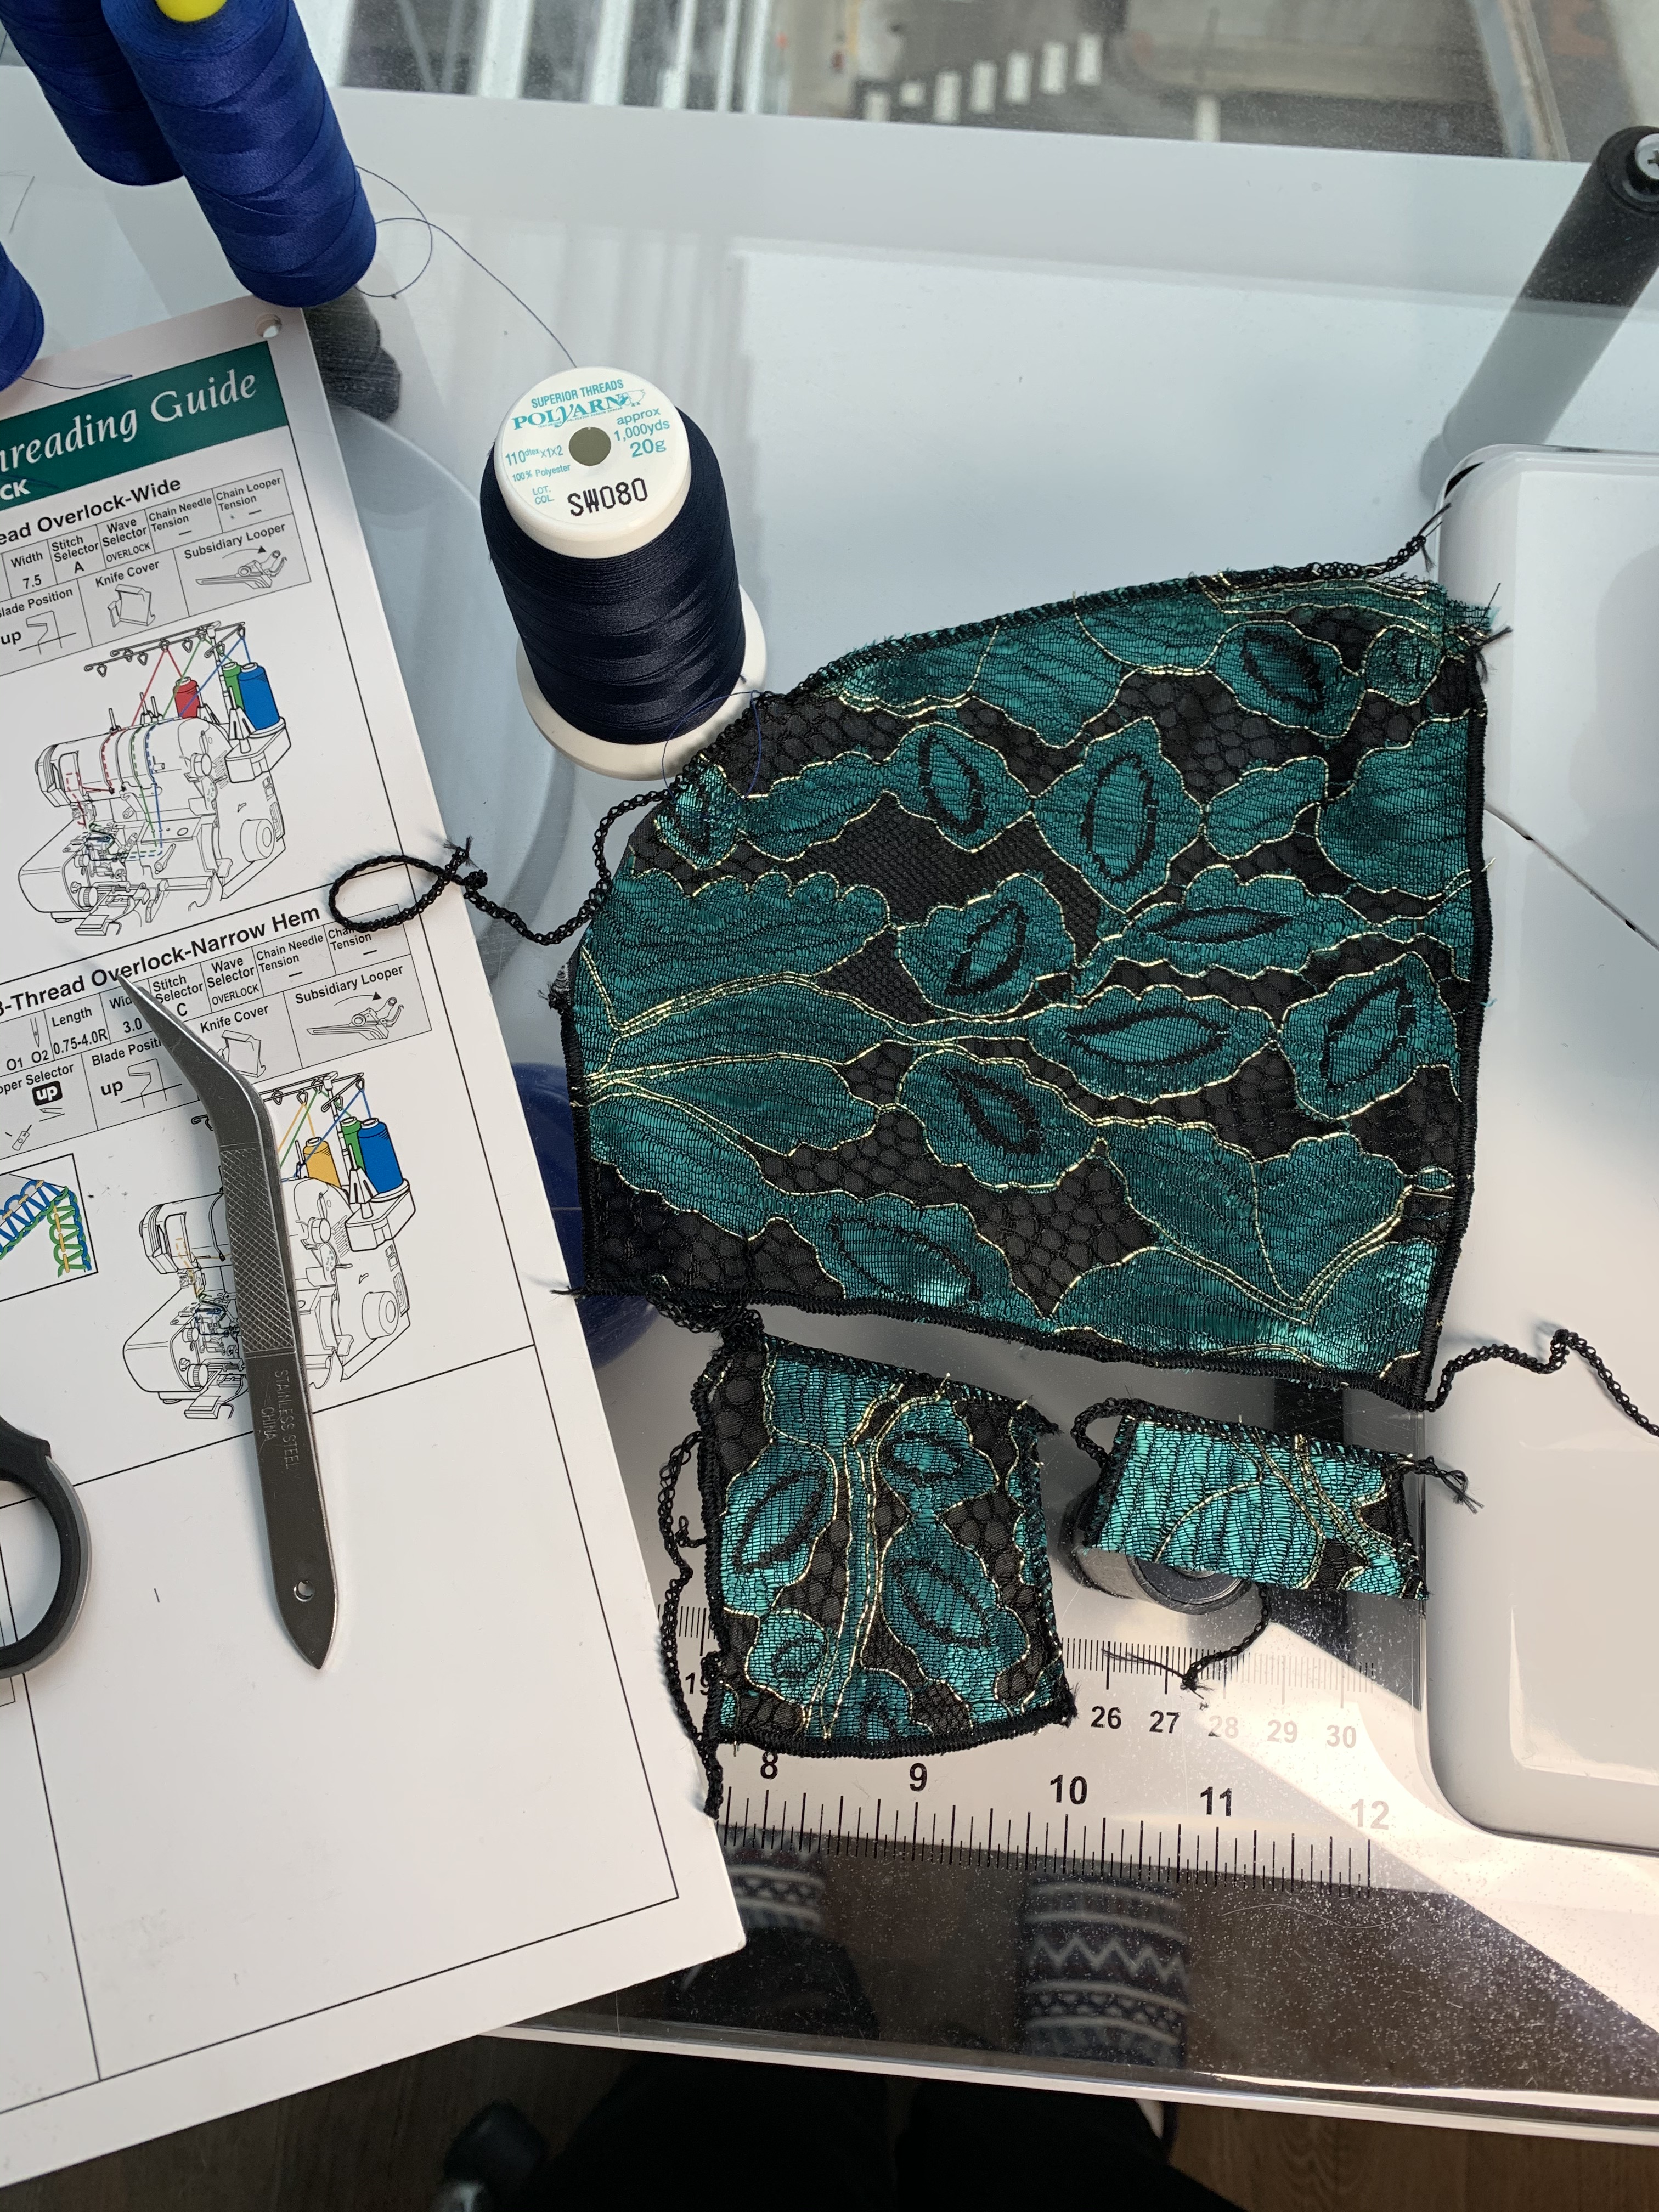
The fabric was surprisingly easy to work with. To avoid adding excessive weight, I chose China silk for the underlining.

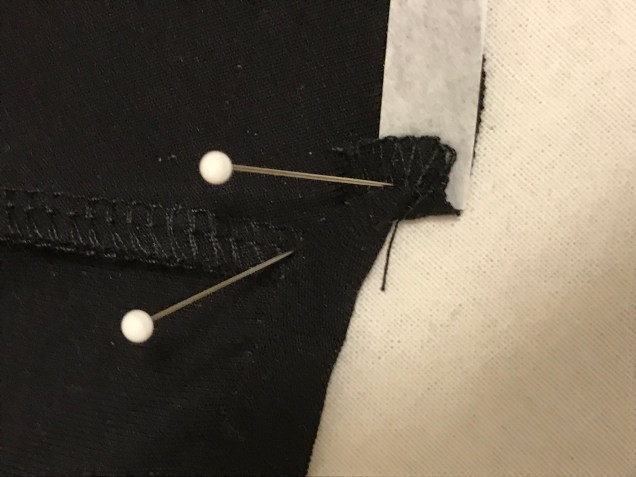
For seam finishes, I made some tests on the serger, using Polyarn from Superior Threads in the loopers to keep it soft. I tried using a narrow hem, but found that was too dense and ended up using a 3-thread overlock with a narrow width and fairly short stitch length.

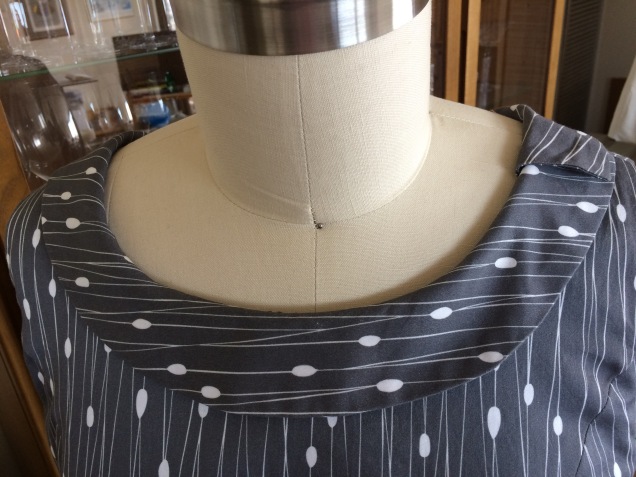
I thought about using a hand rolled narrow hem, but with the underlining a regular hem by hand worked great. For the neckline finish, I made a narrow facing out of silk organza cut on the bias that I steamed to the shape of the patter pieces, then trimmed to size and stitched together at the shoulders. Once it was sewn in place, pressed and understitched, I sewed the bottom edge to the underlining by hand.

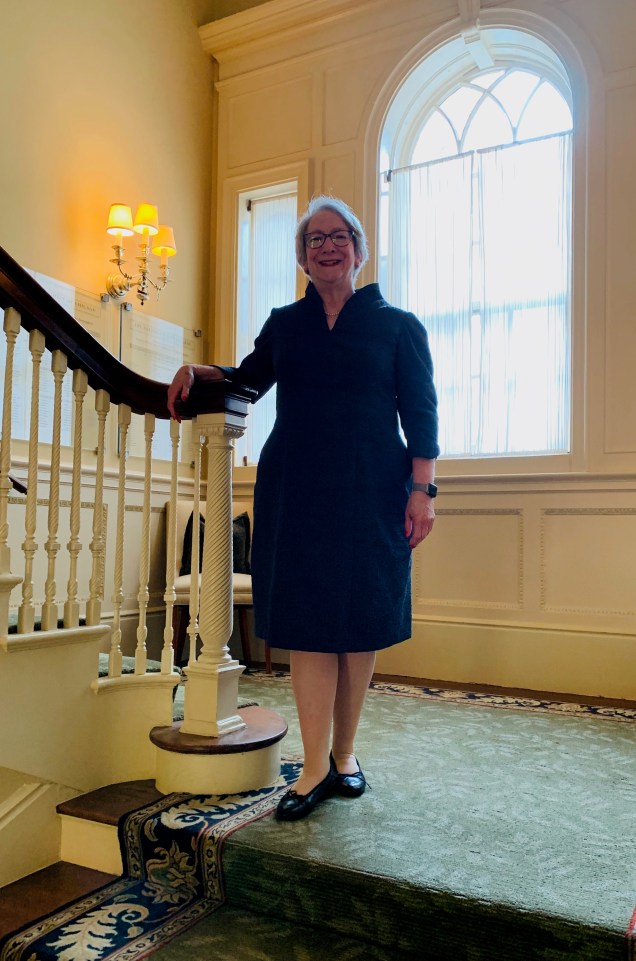
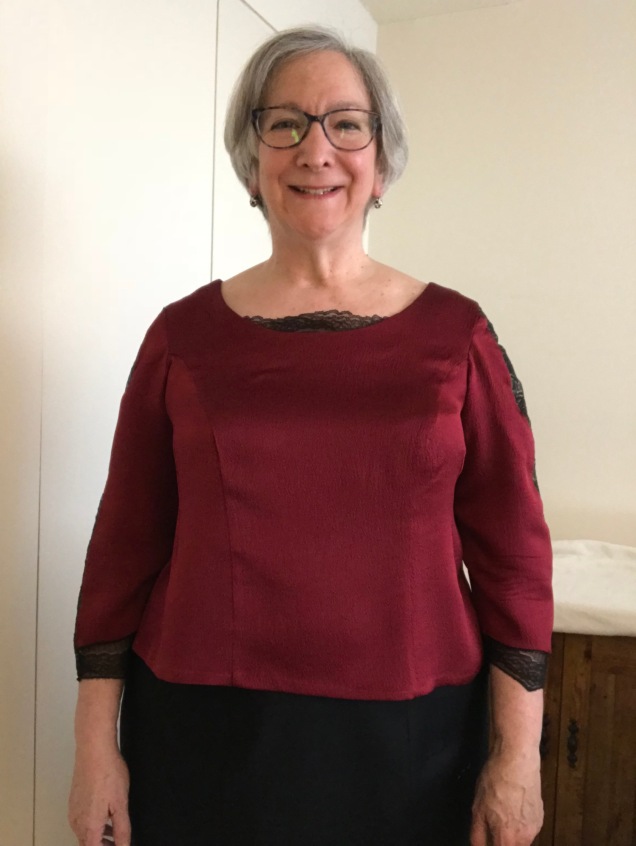
Here I am trying on the finished garment. I just threw it on and didn’t realize I hadn’t gotten it straight before taking the picture. I’ll take a better picture when I have the complete ensemble.


A Batch of J. Stern Design Tees

I feel like I should pay the fabulous Jennifer Stern Hasemann of J. Stern Designs royalties already. Her Women’s Tee is just about the only knit top I make and it never fails to get compliments. I didn’t do much sewing this past summer, but toward the end I made an entire batch of short sleeve J. Stern tees – 5 of them!

On one I tried foldover elastic at the neck. I like the way it looks with that navy and black dot rayon from Emma One Sock, but it’s not my favorite neck finish. For the others I did what I usually do, which is cut duplicate pieces of the top back, front and side panels and use them as a facing. The result is a clean, bulk-free finish.

I got into the groove of production sewing with these. I used white thread on four of the tops with woolly poly in the lower looper. I went from serger to ironing board to sewing machine (for the neckline seam and understitching), then back to the serger and ironing board to finish construction. The only time I had to change thread on the sewing machine was to put on the foldover elastic. Then I rethreaded the serger for the light gray workout tee and saved the coverstitching of the hems for the end.

Converting from serging to coverstitching has gotten easier with practice (like everything else about sewing). I’m almost always using lightweight knits so I like to use Gail Yellen’s method of prepping the areas to be hemmed with fusible web so nothing shifts under the machine. It’s a tad fussy, but listening to a podcast while I work at the ironing board helps.

This gave me a nice casual wardrobe refresh. Thanks Jen!

Storm Blue Dress

IMG_0126

Let’s not dwell on how long it’s been since I’ve completed a project or how long since I’ve blogged. Instead, I’d like to celebrate the latest addition to my handmade wardrobe. It’s a dress that incorporates the raise V neckline I adore and fabulous crinkly rayon in an intriguing shade I’m calling Storm Cloud Blue. This fabric has been aging in my fiber collection for a long time. I’ve lost track of how long ago I bought it at EmmaOneSock. It’s actually a double cloth and the texture is achieved with stitching.

IMG_0128

My original vision was to make this into a dress using this particular neckline, and then I veered off into other directions before coming back to this. I’m glad it took me a long time to start this project because I’ve refined the neckline pattern and found the perfect interfacing to make it work and because I decided to make the body of the dress the same as my LBD. I also decided to echo the tulip-like shape of the neckline with a curved faced hem on the sleeves. I think the combination is just right.

MAFTeQe5R9q8aD4W%X0Qiw

The neckline has been through a couple of revisions since I put it in a lightweight silk blouse that never stayed put and ultimately had to be cut down and then used successfully in my linen Tulip Dress, which is two pieces.


For the white double gauze cotton top I cut the back a bit and discovered that Shirtmaker’s Choice from Islander Sewing Systems (now called Shirtmaker’s Choice Medium) is the perfect interfacing for this design. It gives the neckline enough body to hold its shape without turning it into a stiff board.

IMG_2062

The additional refinement I made to the pattern for this iteration was to do a better job of squaring it off at Center Back so it doesn’t dip at the Center Back seam. The next step was to graft the neck and shoulder onto my bodice master pattern and then to incorporate the curved Empire seam of the Little Black Dress. I also took my master pattern for 2-piece sleeves and incorporated a curved hem and made two hem facing pattern pieces.

With the pattern work done, construction was relatively straightforward after making one more decision. I didn’t line this dress so the question for the bodice was do I make neck facings or simply self-face the entire bodice. I was concerned about the bulk of the fabric, but I tested and decided it was okay to mak a full self-facing so there are no worries about slippage. With this neckline it’s only possible to understitch part of the way because the stitching would be visible about half-way up. The fabric sewed and pressed beautifully. I finished the seam allowances with 3-thread serging.

IMG_0116

When it came to installing the invisible zipper in a side seam, I stitched the first side by machine, hand basted the second side to be sure I got the Empire seam to line up and everything was even at the top and then sewed over it by machine.

IMG_0119

Getting the seam in the two-piece sleeves to line up with the shoulder seam was a bit fussier, so after one attempt to sew it all in by machine failed I sewed in the lower part of the sleeves (princess seam to princess seam) by machine, then pinned the sleeve cap on over a pressing ham for the right shape and attached the caps by hand using a fell stitch.

After attaching the sleeve hem facings (and finding I’d cut two the same and needed to recut the second one), pressing and pinning, I got to work with the hand sewn finishes at the sleeve hem facings and skirt hem.

The result is a dress I feel great in.

IMG_0394


It Started With The Collar

You know how one detail can make an outfit? My latest completed project isn’t something that required great leaps from what I’ve done before. It started with a collar I saw on a red dress worn by a minor character in an episode of Father Brown Murder Mysteries. I love the 1950s fashions in that show and I often rewind to take a picture or sketch something one of the characters is wearing.

fullsizeoutput_1ad3.jpeg

I filed this image in my inspiration album and forgot about it until one day last spring when I was looking through my fabric collection for something else entirely and I came across this fabulous wool and linen blend that I had bought from A Fabric Place in Baltimore. The next thing that occurred to me is that I could make this as a two-piece dress, using my master patterns for bodice and skirt. Suddenly, I could see myself in this dress at court, at a luncheon, at anything that calls for business dress.

fullsizeoutput_17b8


I found the absolutely perfect buttons in my button collection, but I only had the size that was right for the sleeves. I was really bummed, but the buttons were a recent purchase from my favorite source, Soutache Buttons & Trims here in Chicago, so I emailed the proprietor, Maili Powell, a picture of the buttons and asked whether she still had the larger ones. “How many do you need? I’ll set them said for you” was the prompt response. Yay! I mean, are these buttons not meant for this fabric?

iNTXHAfUR4CXHqequ8H3GQ

In thinking about the collar, I realized I could work from the collar on my Spoonflower dress pattern and use the neckline for that dress so there would be little or no futzing around to get the collar and neckline to work with one another. The collar I ended up with is narrower than the inspiration one, but I think it works.

bYtXh1vSTYqTOwf82iy8dA

The Spoonflower dress collar is a Peter Pan collar that overlaps and is shifted about a quarter turn around the body so the overlap happens at the shoulder.

IMG_1856

Sarah Veblen walked me through the process of converting that collar pattern so I didn’t have to redraft the pattern from scratch.

I started out by tracing the Spoonflower collar pattern and marking Center Front, Center Back and the shoulder seams. Once it was cut out, I joined the ends, eliminating the overlap and underlap. Because the collar is drafted to have a slight lift (stand), it won’t lay flat when connected.

AO7UXk%mSXS9ulidXT2rmQ

The next step was to cut the pattern where the overlap would happen and add the underlap and overlap. Then it was on to the dress form to refine the shape of the overlap and get that curve-into-a-point bit to look proportional and achieve the effect I was going for.

Once it looked right to me in paper on the dress form, I cleaned up the pattern, added seam allowances and was ready to cut it in fashion fabric. Whenever I make anything asymmetrical, I have to go to great lengths to make sure the finished product is going to be placed on the side I intended for it to end up on. Layer on top of that the fact that I tend to get lost when doing collars because they are sewn wrong side/undercollar to the right side of the bodice and I end up rechecking what I’m doing several times before fusing the interfacing.

I’ve started a notebook with machine settings and presser feet that I use for different tasks on my new machine. I had been experimenting with different approaches for understitching, and for this project the third presser foot I tried was the skinny zipper foot. Instead of sewing with the needle off to the side the way you do when you insert a zipper, I sewed with the needle in the center hole. Because my seam allowances are ⅜” it worked out very well.

Once I got the collar attached, it occurred to me that it might be nice to have turned-back cuffs that echo the collar shape. So, I traced the turned-back cuff pattern from my shirtdress and to achieve the curved pointy detail I took a wild guess and made a photocopy of the overlap portion of the collar reduced to 70%. I had expected to need to try different percentages, but that guess was spot on.

fullsizeoutput_18cc

My intention had been to try something new with the skirt, but I ran into an obstacle and so the skirt variation had to be put on hold. The skirt ended up being another pencil skirt from my master pattern. Both pieces are lined in China silk.

I absolutely love wearing this dress.


My Sketchbook is in a Moving Box!

I’ve been asked whether I gave up blogging. One might even wonder whether I gave up sewing. Perish the thought! Since my last post, I’ve found a new apartment, moved in and have been dealing with the fact that work hasn’t let up for a minute. And other stuff. I’ve finally gotten to the point where I can unpack my sewing supplies, take my machine out of its box (which I kept after I bought it a year ago because I knew I wanted to move), retrieve my serger from my dear friend Stephanie King’s living room and organize my fabric collection.

I’ve been in the new place for just under three weeks and whenever I find myself getting frustrated with the pace of the unpacking I remind myself that not only did I move my home, but I also moved my office and my sewing studio and they are all in the same place. Then there’s the whole organization project. I made lots of changes with this move and I’m about as obsessive about organizing stuff as I am about sewing, so I’ve made A LOT of trips to The Container Store.

I promise to finish a post on my latest project in a few days. Until then, enjoy whatever fabulous  creations the lovely and talented Stephanie King of Siouxzeegirl Designs has to share.


In the Sketchbook – April 2018

Welcome to In the Sketchbook, a monthly look at fashion design sketches that we are working on for ourselves. Sketching garments on a personal croquis is a great way for the individual couture enthusiast to move beyond the use of commercial patterns and into a world of personalized design! It can be intimidating at first, but with a little bit of practice it becomes something you look forward to. Join us for a look of what we have going on In the Sketchbook! Brought to you by Wendy Grossman of Couture Counsellor and Steph King from Siouxzeegirl Designs.

I spent the first week of this month in Baltimore, most of the time in Sarah Veblen’s class, “Exploring Fashion Design – Design II.” So I thought I’d show you some of the sketches I made in class.

fullsizeoutput_17b8

This collar is from an inspiration picture from the ’50s. I’ve decided to use it for another version of my two-piece dress and I think this lightweight wool from A Fabric Place would be perfect for it.

fullsizeoutput_17ba

Even though I’m not really in the mood to think about winter coats right now, I think I’ve finally found a collar that works.

fullsizeoutput_17bc

This neckline detail was based on something I saw in one of Sarah’s designer books – of course it was Dior! I’m thinking about what direction to take this in, but I really like it.

I decided I’d like to experiment with some detail in my sheath dress. I like the idea of channel stitching, inset pieces, maybe pin tucks. Sarah got me started when I told her what I had in mind but felt stuck and I took it from there. Now I need to sew up some samples.

fullsizeoutput_1775IMG_0299

And this is a dress I sketched after I got home. I want to use this fabulous fabric combination. The sage green wool crepe is a gift from my dear friend Steph King and the charmeuse is from A Fabric Place. I was sure it would be no problem to have this dress ready in time for the Haute Couture Club of Chicago fashion show luncheon, but then the days on the calendar disappeared and now that luncheon is only a week away. Yikes!

Be sure to check out what fabulous designs my dear friend Stephanie King of Siouxzeegirl Designs is showing at 10 Sewing Machines & a Serger. We’d love to see and hear about what you’re sketching, so  please leave a comment.

In the Sketchbook – March 2018

Welcome to In the Sketchbook, a monthly look at fashion design sketches that we are working on for ourselves. Sketching garments on a personal croquis is a great way for the individual couture enthusiast to move beyond the use of commercial patterns and into a world of personalized design! It can be intimidating at first, but with a little bit of practice it becomes something you look forward to. Join us for a look of what we have going on In the Sketchbook! Brought to you by Wendy Grossman of Couture Counsellor and Steph King from Siouxzeegirl Designs.

It has been almost two years since I attended Sarah Veblen’s Class Exploring Fashion Design: Design 1. That was what inspired our In the Sketchbook series. We are getting ready to participate in Sarah’s Design 2 class next week and I’m excited to see what new ideas come out of that experience.

This month, I’ve been thinking about skirts. Mostly because I’m once again mired in a seemingly endless series of pants mock-ups and skirts are something I consider to be manageable. The other reason is that our ASG Neighborhood Group, Sew Chicago, is doing a skirt challenge for the October 2018 ASG Chicago Fashion Show. The rule is that the skirt has to incorporate two elements we covered in meeting presentations in 2017 and 2018. Not all of the skirts I want to try meet those criteria, but there are some that have possibilities.

One of the elements we can use in the challenge is bias. Some of you may remember that my attempt at an all-bias skirt did not work out. I saw a picture of a Vogue skirt pattern a few months back that got me to thinking that something like this might work if the fitted part on the top is on the straight of grain and the bottom part is on the bias.

fullsizeoutput_1657.jpeg

That might also work if the bottom part were a sheer fabric, which would qualify for the two elements for the challenge.

Edge trim is another element that would qualify for the challenged I could add that to the diagonal seam between the two parts of the skirt.

fullsizeoutput_1659

Another possibility would be to make the entire skirt out of a sheer fabric. A technique we looked at in a meeting involved finishing a hem with ribbon or trim. The ribbon is attached to the wrong side of the garment, then folded to the right side and attached at the top, encasing the cut edge in between. It’s a nice finish and it also adds some weight to a sheer garment, which would help it hang nicely.

fullsizeoutput_165d.jpeg


With the pants conundrum fresh in my mind, I’ve been thinking about casual skirts that don’t have anything to do with the skirt challenge. Here is my take on a skirt with a single pleat on either side of the center front panel. The variation on the right has reinforcement for the pleat in a decorative stitch. (I’m sure there’s a name for that, but I didn’t look it up.) I see this in a khaki twill that’s easy to wear in the spring and summer.


From there, I thought about this variation. It has two little pleated godets and buttons at the the juncture that are both decorative and functional for reinforcing that critical area.

fullsizeoutput_1654

I think I could have some fun with this one.

And I can’t think about skirts without going back to the trumpet skirt that has been in my head forever but only has the beginnings of the pattern drafted.

fullsizeoutput_1665

And I’d like to try a skirt with pleats just at the hem, either from the fashion fabric or  pleated ribbon.

fullsizeoutput_1666

Another use for ribbon peeking out of seams is to use them all the way up each princess seam to embellish a pencil skirt.

fullsizeoutput_1668

This last pair of sketches aren’t skirts, but the idea struck me as I was looking for something in my fabric collection and my eyes landed on the fabulous black ostrich feather boa I bought at Haberman’s Fabrics. It occurred to me that I could use those feathers to trim a Little Black Dress for next year’s opera season and whatever other occasions I might have. I could either use the feathers just at the hem or at both the hem and the neckline. Here are a front and back view.

Be sure to check out what fabulous designs my dear friend Stephanie King of Siouxzeegirl Designs is showing at 10 Sewing Machines & a Serger. We’d love to see and hear about what you’re sketching, so  please leave a comment.

As the Fabric Ravels

I started off the year promising myself I would sew wardrobe-building pieces from patterns I’ve already developed. For some variety, I’d change one or two design details and not attempt any quantum leaps. So in January I took a fabulous cotton tweed (yes, cotton tweed!) fabric that I bought from Sawyer Brook a few years ago and a dress pattern I’ve used before.  It’s the pattern I developed for my ASG Neighborhood Group’s Spoonflower fabric challenge.

IMG_1761

I also used the pattern for last year’s bias challenge.

IMG_1601

Those two dresses are sleeveless and the first one has a collar, so the only changes I made to this dress were to add ¾ length sleeves and omit the collar. I planned to make it an easy, casual dress with no lining. What could go wrong?

Two months, later, I can give you an answer to that question.

MpqGJSau3MQaovOpKGw

This fabric raveled so much the serging fell off in places and threatened to fall off everywhere else. And, the problem might not have been quite so bad if it weren’t for the fact that I use ⅜” seam allowances. The lesson for future projects: test the fabric before cutting and if it looks like raveling might be a problem, add wider seam allowances to the pattern and clean finish all edges immediately after cutting the pattern pieces.

So, what to do for this dress? (Besides abandon it, which I seriously considered doing, along with abandoning sewing altogether and taking photography lessons.) I turned to fusible bias tape to literally glue the cut edges.

c4HLuIPCRMyNWLGRea7NOQ

I then serged and, in some places, serged for a second time.

fullsizeoutput_15bb

Then I decided that the seam allowances might hold up through a few more wearings if I cut down on the friction by installing a lining. So, I cut Bemberg Ambiance and my quick and easy dress became a bigger deal than I had anticipated.

I also had to deal with the fact that the worst fraying was in the Empire seam in the back, which meant that my hemline was way off. I’d lost so much length in the back that I had to opt for a hem faced with stretch lace and trimmed the excess in the front and at the sides. The overall length is ¾” shorter than I usually wear my skirts and dresses, but I figured with opaque tights it would be fine.

fullsizeoutput_15fc

I really like the shape of the dress and the the way the fabric looks and feels when I’m wearing it. I’m glad I finished it. I’m just hoping my next project is less of a challenge.


A Layering Piece for My Bias Dress

Both my Spoonflower dress and my bias challenge dress are sleeveless, so an extra layer to extend them into 3-season wear is nice to have. I filled this wish list item with a black rayon knit cardi that follows the curve of the Empire seam on the dress.

For the pattern, I used my no-closure topper. I thought I would use the pattern I had made for the white piqué jacket as a guide for the hemline, but I quickly learned that translating the princess seams pieces to a pattern that gets its shaping from pleats and darts is not a straightforward process. Then again, it wasn’t rocket science either. A little draping on my dress form got the job done.

As I said, the pattern uses pleats at the shoulders, along with darts for shaping.  It also has pleats at center back where I rotated out the princess seams. So, getting pleats into the knit was my first construction challenge.

It occurred to me that I could hold the shoulder pleats in place and stabilize the shoulder seam in one fell swoop if I used fusible stay tape. (What did we do before all these fabulous fusible products came on the market?) My favorite brand is Design Plus. I used the straight version for the shoulder seams, then sewed the seams together. This had the added benefit of stabilizing the shoulder seams, which I probably should do all the time in knits but don’t. For the pleats in the center back at the neck, I used the bias version of the same product.


I used this project as an opportunity to get comfortable with the cover hem function of my new-to-me Babylock Evolution. I practiced on multiple samples, following tips from Gail Yellen’s Craftsy Class and Pamela Leggett’s Threads video and book.

I snipped the seam allowance at the point where the hem would turn under so I could have the hem allowance seam allowance face the opposite way from the garment seam allowance, thus reducing the number of layers the machine had to deal with when it crossed a seam. It also made the finished product look and feel nice and flat.

VBK+9MTCQjq1QrdAq26YQQ

To stabilize the hem, I used Ultra Soft fusible web at the cut edge, first pressing what Gail Yellen calls a “memory crease” with the backing paper still on. The curves required lots of snips, pins and patience as I worked my way around the entire periphery of the garment.

The next steps were to remove the paper backing, pin where needed and press to glue the layers together. This ensured that I wouldn’t get any fabric creeping and bunching or twisting as I sewed the cover hem.

I’m glad I prepped multiple samples for the coverstitching because I found that things went great on the first sample and the left needle came unthreaded on the second. After rethreading the machine a few times and having the same issue, I found a more detailed threading diagram in the machine manual and discovered that I was missing one piece of the needle thread path. Problem solved.

Except that wasn’t my only problem. I made what all the serger teachers say is the most common mistake made on serger/coverstitch machines multiple times, which is stitching when the presser foot is in the up position. I kept forgetting that lifting up the presser foot to its highest position so I could position the fabric under the needles and then letting go still leaves it in the up position. The lever has to be lowered to get the foot all the way down. I got to the point where I said out loud “remember to put the presser foot all the way down” whenever I had to start a new line of stitching.   My cat didn’t get annoyed and I got the job done on the entire body of the garment as well as the two sleeve hems.

So, now I’m not intimidated by the coverstitch function of my serger, plus I have a nice new layering piece to wear.


Lace Inset Blouse

I had planned to complete three new garments by early this month, a black wool skirt and two festive silk blouses to wear to an annual luncheon and brunch with two different sewing organizations.  I finished the skirt in time for the luncheon and never started the second blouse. The first blouse, which has lace insets, is one I designed, made the pattern for and cut out months ago. It was completed in time to wear to a Christmas Eve brunch.

When I was preparing for a presentation on using lace in garments for my ASG neighborhood group, Sew Chicago, I decided to try out an idea for a lace inset sleeve that I had seen in a catalogue.

Image

My original idea was to use fabric for the full length of the outer panels and just have the one panel of lace. This required converting my master sleeve pattern, which is two pieces, into a three-piece pattern. The conversion wasn’t quite as straightforward as I had anticipated, but I started the process and Sarah Veblen got me the rest of the way there.

DCg%KkwmQYOKzxx%tda1iw

Unfortunately, I ran into a problem when I was cutting the fabric. I wanted to use this nice hammered silk that I had originally planned to make into a sleeveless shell to wear under a suit jacket. It was the end of the bolt, but enough for that project. When I got the idea to use the silk on this project, I laid out my patten and had just enough to make the blouse according to my original design. But, when I refolded the fabric to cut out the very last pattern piece, the second outer panel of the sleeves, I didn’t realize that the fabric under the fold had a piece missing from it. Of course I didn’t discover the problem until after I cut out the pattern piece, and I didn’t have a large enough piece of fabric left to cut out a new panel. The solution I came up with was to cut the other panel pieces shorter than I had intended and fill in with lace going all the way around.

I used a narrow rolled hem on my serger to finish the seams attaching lace to lace and silk to lace.

j7o9xOCtQNqj7kks54OPmw

I also wanted to have a little bit of lace set into the neckline.

UkxeEYi6SfGd7THjC4f3ZA

I had it in my head that I could sandwich the lace in between the fashion fabric and the facing, attaching it the way a collar would be attached. I was wrong. It took me several failed attempts and a quick muslin mock-up to figure that out. In the end, I attached the lace to the facing by hand.

I was concerned about over-pressing the hammered silk, so just about all the pressing was done by hovering the iron over the fabric and using lots of steam.

I decided to hem by attaching ⅜” fusible web at the cut edge, pressing it up before removing the paper, then fusing it and folding it again for a total hem of ¾” with the raw edge concealed. After pinning the second fold in place, I steamed the hem by hovering the iron and using a press cloth, a process I repeated after sewing in the hem. The great thing about the texture of the fabric is that the pick stitches are almost undetectable.

RAilosdQRseZ3SR7Dn0MQg

This blouse is a joy to wear and a nice addition to my wardrobe.