

Here is a story – more of a saga – about a project that explains why the subtitle of this blog includes the word misadventures. At the beginning, it didn’t seem like it was going to be that big of a deal. My ASG Neighborhood Group, Sew Chicago, decided to make a tailored shirt the group project for the ASG Chicago Chapter fashion show that was held on October 22nd. The shirt had to have a collar, cuffs and at least one embellishment. It seemed like a fairly straightforward project and a chance to polish some essential skills. I was half-right in my assessment.
When I discussed the project in a mentoring session with Sarah Veblen, she described the features she likes to put into a woman’s shirt. We were on the same wavelength. Not only did her concept match my vision, but I had an earlier project to use as a starting point.


I made a white-on-white shadow striped shirt from New Look 6407 several years back. I drove my ASG group crazy with my obsession over trying to learn how to attach the collar/collar stand assembly, but otherwise did okay with it. I wanted to use my armscye princess master bodice pattern instead of the darted bodice from the earlier shirt, but I also wanted to add a yoke. Sarah convinced me that I should skip the yoke.
I slipped the shirt on for Sarah and the first thing she did was reach for my pins to reshape the collar. She then drew in a curved neckline, which is much better on me than a straight v-neck. These changes didn’t seem beyond my capability, but I wanted to make a test shirt to make sure that the pattern changes were right. Because those changes were in the details rather than the body of the pattern, I decided to make a wearable mock-up. Why go to all the trouble of making a collar with collar stand on a muslin, right? Besides, the practice would give me confidence and I’d end up with two new shirts in my wardrobe instead of one.
I have quite a selection of cotton and linen shirtings in my fabric collection, so no new purchases were required. I pulled out several and these two just happened to be next to each other.

The cotton wood-cut print is from Emma One Sock. The lighter blue in the print doesn’t match the blue of the other fabric, but these two fabrics kept telling me they belonged together. The fabric in the background isn’t a solid. It’s a cross-weave of blue and white that gives it a bit of visual texture. It occurred to me that combining two fabrics, which I almost never do, would meet the embellishment requirement for the group project. That sealed the deal. I wasn’t aware of it at the time, but the light blue cotton actually had a tiny it of Lycra in it. That was not happy news and it caused some minor issues, but I was committed to the fabric combination.
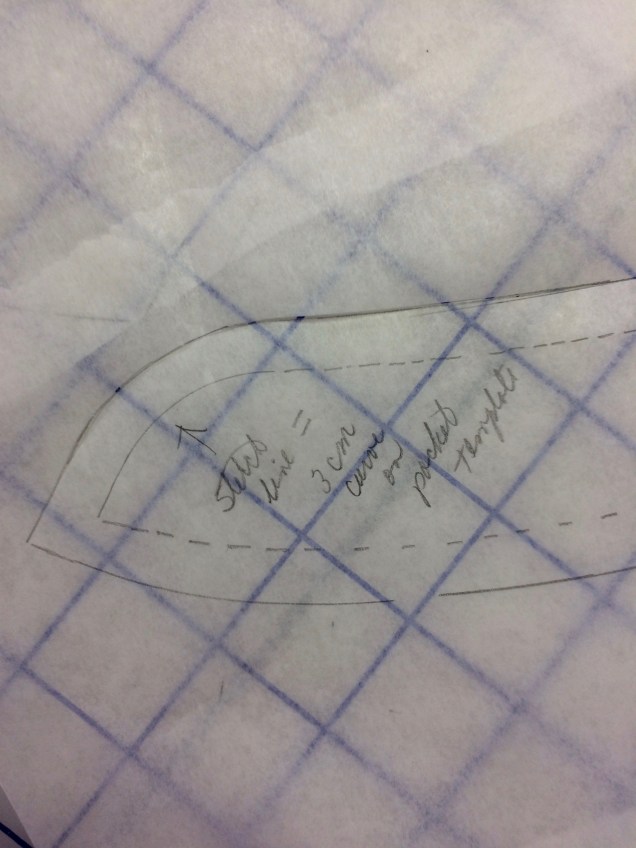
The changes I had to make the pattern gave me more trouble than I had anticipated. Most tailored shirt patterns have a curved edge on the front of the collar stand, but this one had a straight edge that slanted inward. I went through a few different iterations trying to get the collar stand right, then ended up curving it. You may remember that in my Tulip Dress, I forgot what template I used for the curves in the hem, so I wrote myself a note on the pattern piece this time.
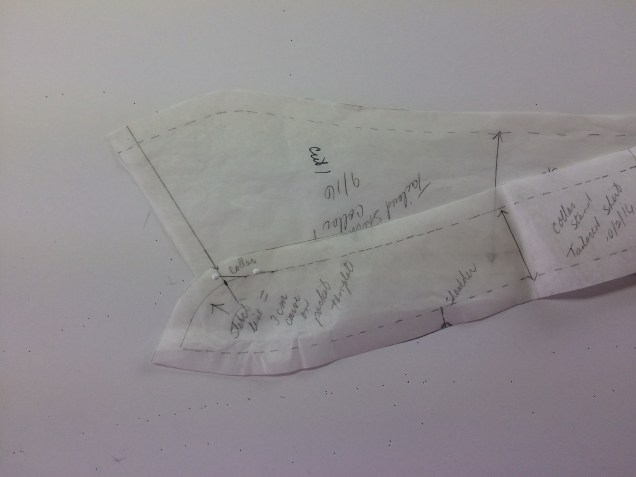
It’s good to learn from our mistakes. Here’s another lesson I learned in this project. Drafting a pattern piece on folded paper so you can have a full piece doesn’t always mean that both sides will be identical. The paper can shift if you’re not careful. Grrrr!!! This happened with the collar stand, which is a skinny little piece and so it really does make sense that the paper might shift. Thank goodness I have one of those inexpensive light boxes for those times in pattern work when it’s hard to see the lines I’m trying to trace (usually when I’m making a fresh pattern because the original has too many changes taped on top of one another).


Still, I was struggling with getting the collar stand right. One of the things Sarah suggested that I try was to “drape” the neckline/collar stand assembly on my dress form to see where the collar stand should end. That worked great.
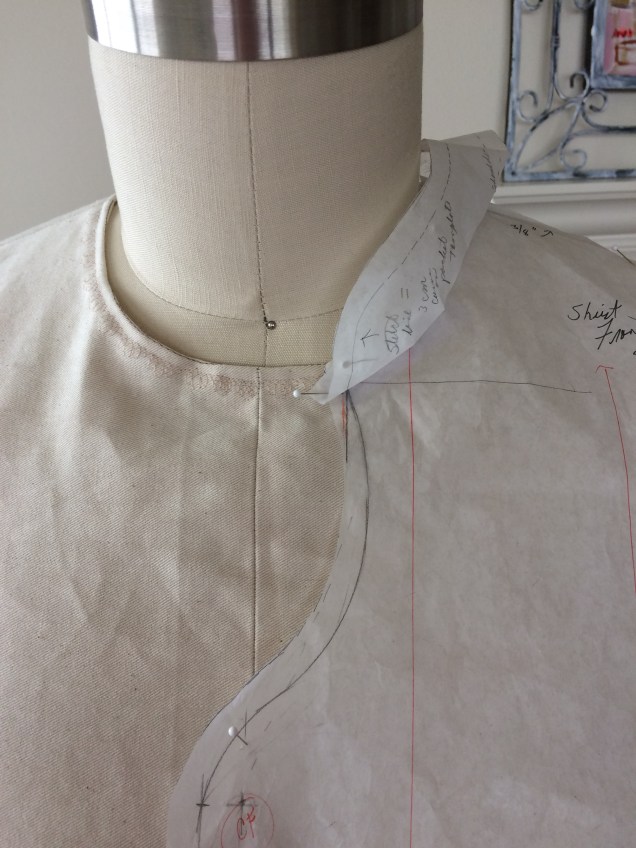
Then I walked the stand to the collar and got those two pieces just where I wanted them.
With my pattern ready, I was feeling confident. I’ve made a lot of garments since I made that first shirt so I was expecting things to go much more smoothly than they did before. Also, I watched Janet Pray’s fabulous shirtmaking class on Craftsy and went over the collar assembly several times. What could go wrong, right?
The weave of the fabric for the practice shirt is a twill, but it is is still shirt-weight. The only twills I had worked with before were bottom weight for pants.
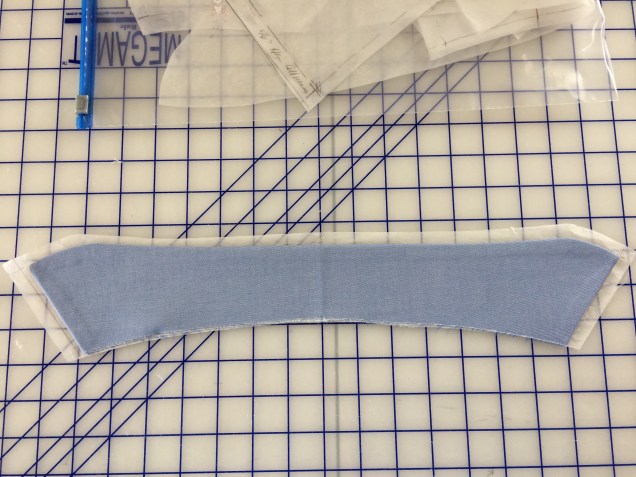
I didn’t think the fabric would give me any problems, but it did. This is the collar on the collar pattern piece. The distance from center back to the right edge (left as worn) is just fine. Look how not fine it is on the opposite end. I made three of these suckers, each one with different degrees of imbalance.
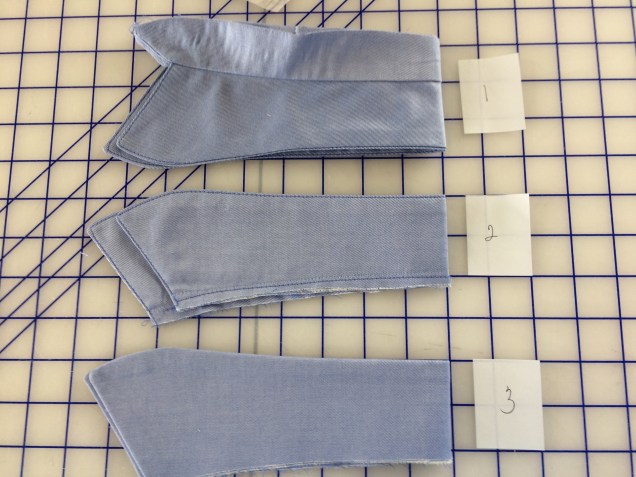
After I took this photo to send to Sarah Veblen so she could pull me out of my tailspin in a mentoring session, it occurred to me that the numbered stickies make it look like crime scene photos I’ve seen on TV. As you can see, number 2 is the worst offender. It’s about ½ inch off on one end. By the time I cut number 3, I carried it to the ironing board as if it were a baby, futzed with it to get it to match the pattern piece perfectly on the ironing board, them after I fused the interfacing I left it to cool and dry overnight. I wasn’t taking any chances. Still, it wasn’t perfectly symmetrical, but I was done with this step!
You might be able to tell that my topstitching technique improved between collars one and two. After I topstitched the first collar, I remembered the tip about placing folded fabric or cardboard under the “heel” of the presser foot to even out the foot so it doesn’t have to climb any hills at places like corners. I used my stitch-in-the-ditch foot (edge joining foot to a quilter) with a stitch length of 3.0 and the needle a couple of clicks to the right to get a decent edge stitch.
The thread looks darker than the fashion fabric, but it’s actually an exact match for the darker of the two threads that comprise the fabric. When you lay a strand of it directly on top of one of those lines, it disappears.
Are you imagining how much quality time I spent with Mr. Seam Ripper on this project? And this was just the practice shirt. I had to make another one for the runway and my time was disappearing.
I’m happy to report that the Islander Sewing System “burrito method” for attaching a collar stand or waistband works beautifully. It’s hard to wrap your mind around (no pun intended), but once you try it a few times it’s not that difficult.It solves the problem of getting all those pesky edges tucked in and out of sight. I first learned the method watching Islander DVDs. Last summer at ASG National Conference I took a class with Janet Pray and felt it all clicked for me when she walked us through the method for waistbands. I reinforced that with the Craftsy shirt class and now I feel like I’ve got it.
What I didn’t understand was that the turned-back cuffs I was putting on my shirt could not be attached with the “Burrito Method” without a placket. It took me several attempts to realize that. By this point, I was so sick of tailored shirts I could scream.


I didn’t even put the cuffs on the practice shirt, but instead switched over to sewing the shirt for the runway. The solution for the cuffs was to attach them and then hide the raw edges under bias-cut strips that I attached pretty much like a Hong Kong finish. I topstitched them to the sleeves because the stitching is hidden when the cuffs are turned back.
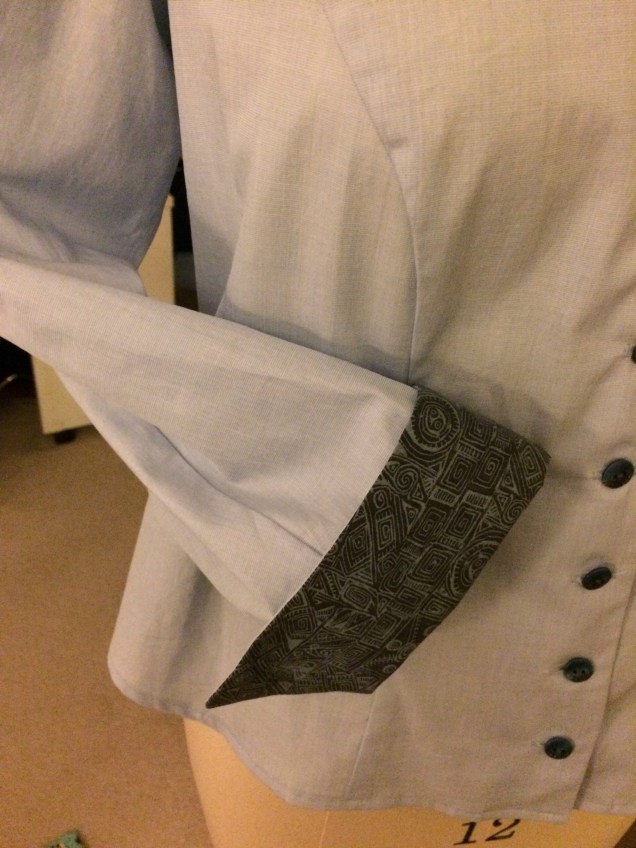
FYI, pinning the cuffs to the outside of the sleeve doesn’t work. There are gaps. The only way to avoid a zillion puckers is to turn the sleeve wrong side out and pin the cuff inside the sleeve. (And, test turning before sewing saves quality time with Mr. Seam Ripper.)
Here’s a close-up of the cute buttons I used on this shirt.
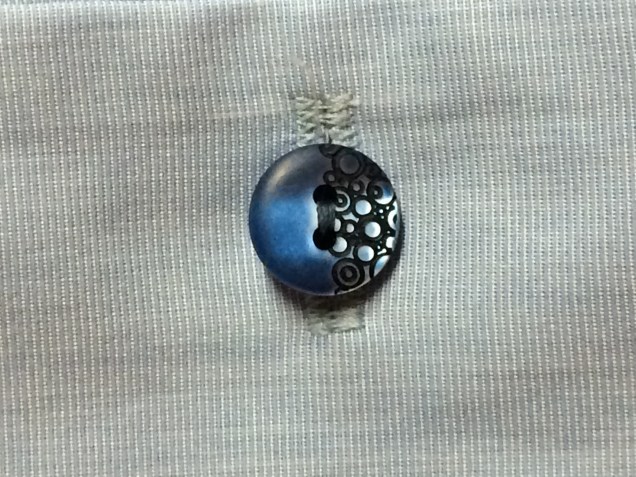
Those buttons were sewn on the morning of the runway show, even though I started this project in September, thinking I was giving myself ample time. There were more mistakes along the way, but those were mistakes that came from going on auto-pilot instead of paying close attention to what I was doing. I learned that the act of writing out every step of construction helps avoid those kinds of mistakes. Another valuable lesson.
