I was in college when Diane von Furstenberg’s wrap dress found its way into almost every woman’s closet, but when I tried it on the store I didn’t think it was for me. So, when Jenny Rushmore introduced her line of sewing patterns for curvy women, Cashmerette Patterns, with a curvy-friendly version of the wrap dress called Appleton, I bought a copy of the pattern but wasn’t sure I’d ever make one for myself. Then I saw how fabulous it looks on my lovely friend Stephanie King of Siouxzeegirl Designs and she let me try hers on. It looked really nice, so I decided to give it a try.
It may seem odd, but the biggest mental barrier I had to overcome besides my skepticism about how the dress would look on me was my past difficulties with starting from someone else’s pattern. I knew this is a very well-drafted pattern, but my experience has been that when I start with someone else’s pattern I have to make a ton of adjustments to get it to fit me. And I did have to grade across sizes to get the hips to fit without falling off my shoulders. I actually made two mock-ups and almost ended up making a third, which seems absurd for a knit dress, but I couldn’t help myself.
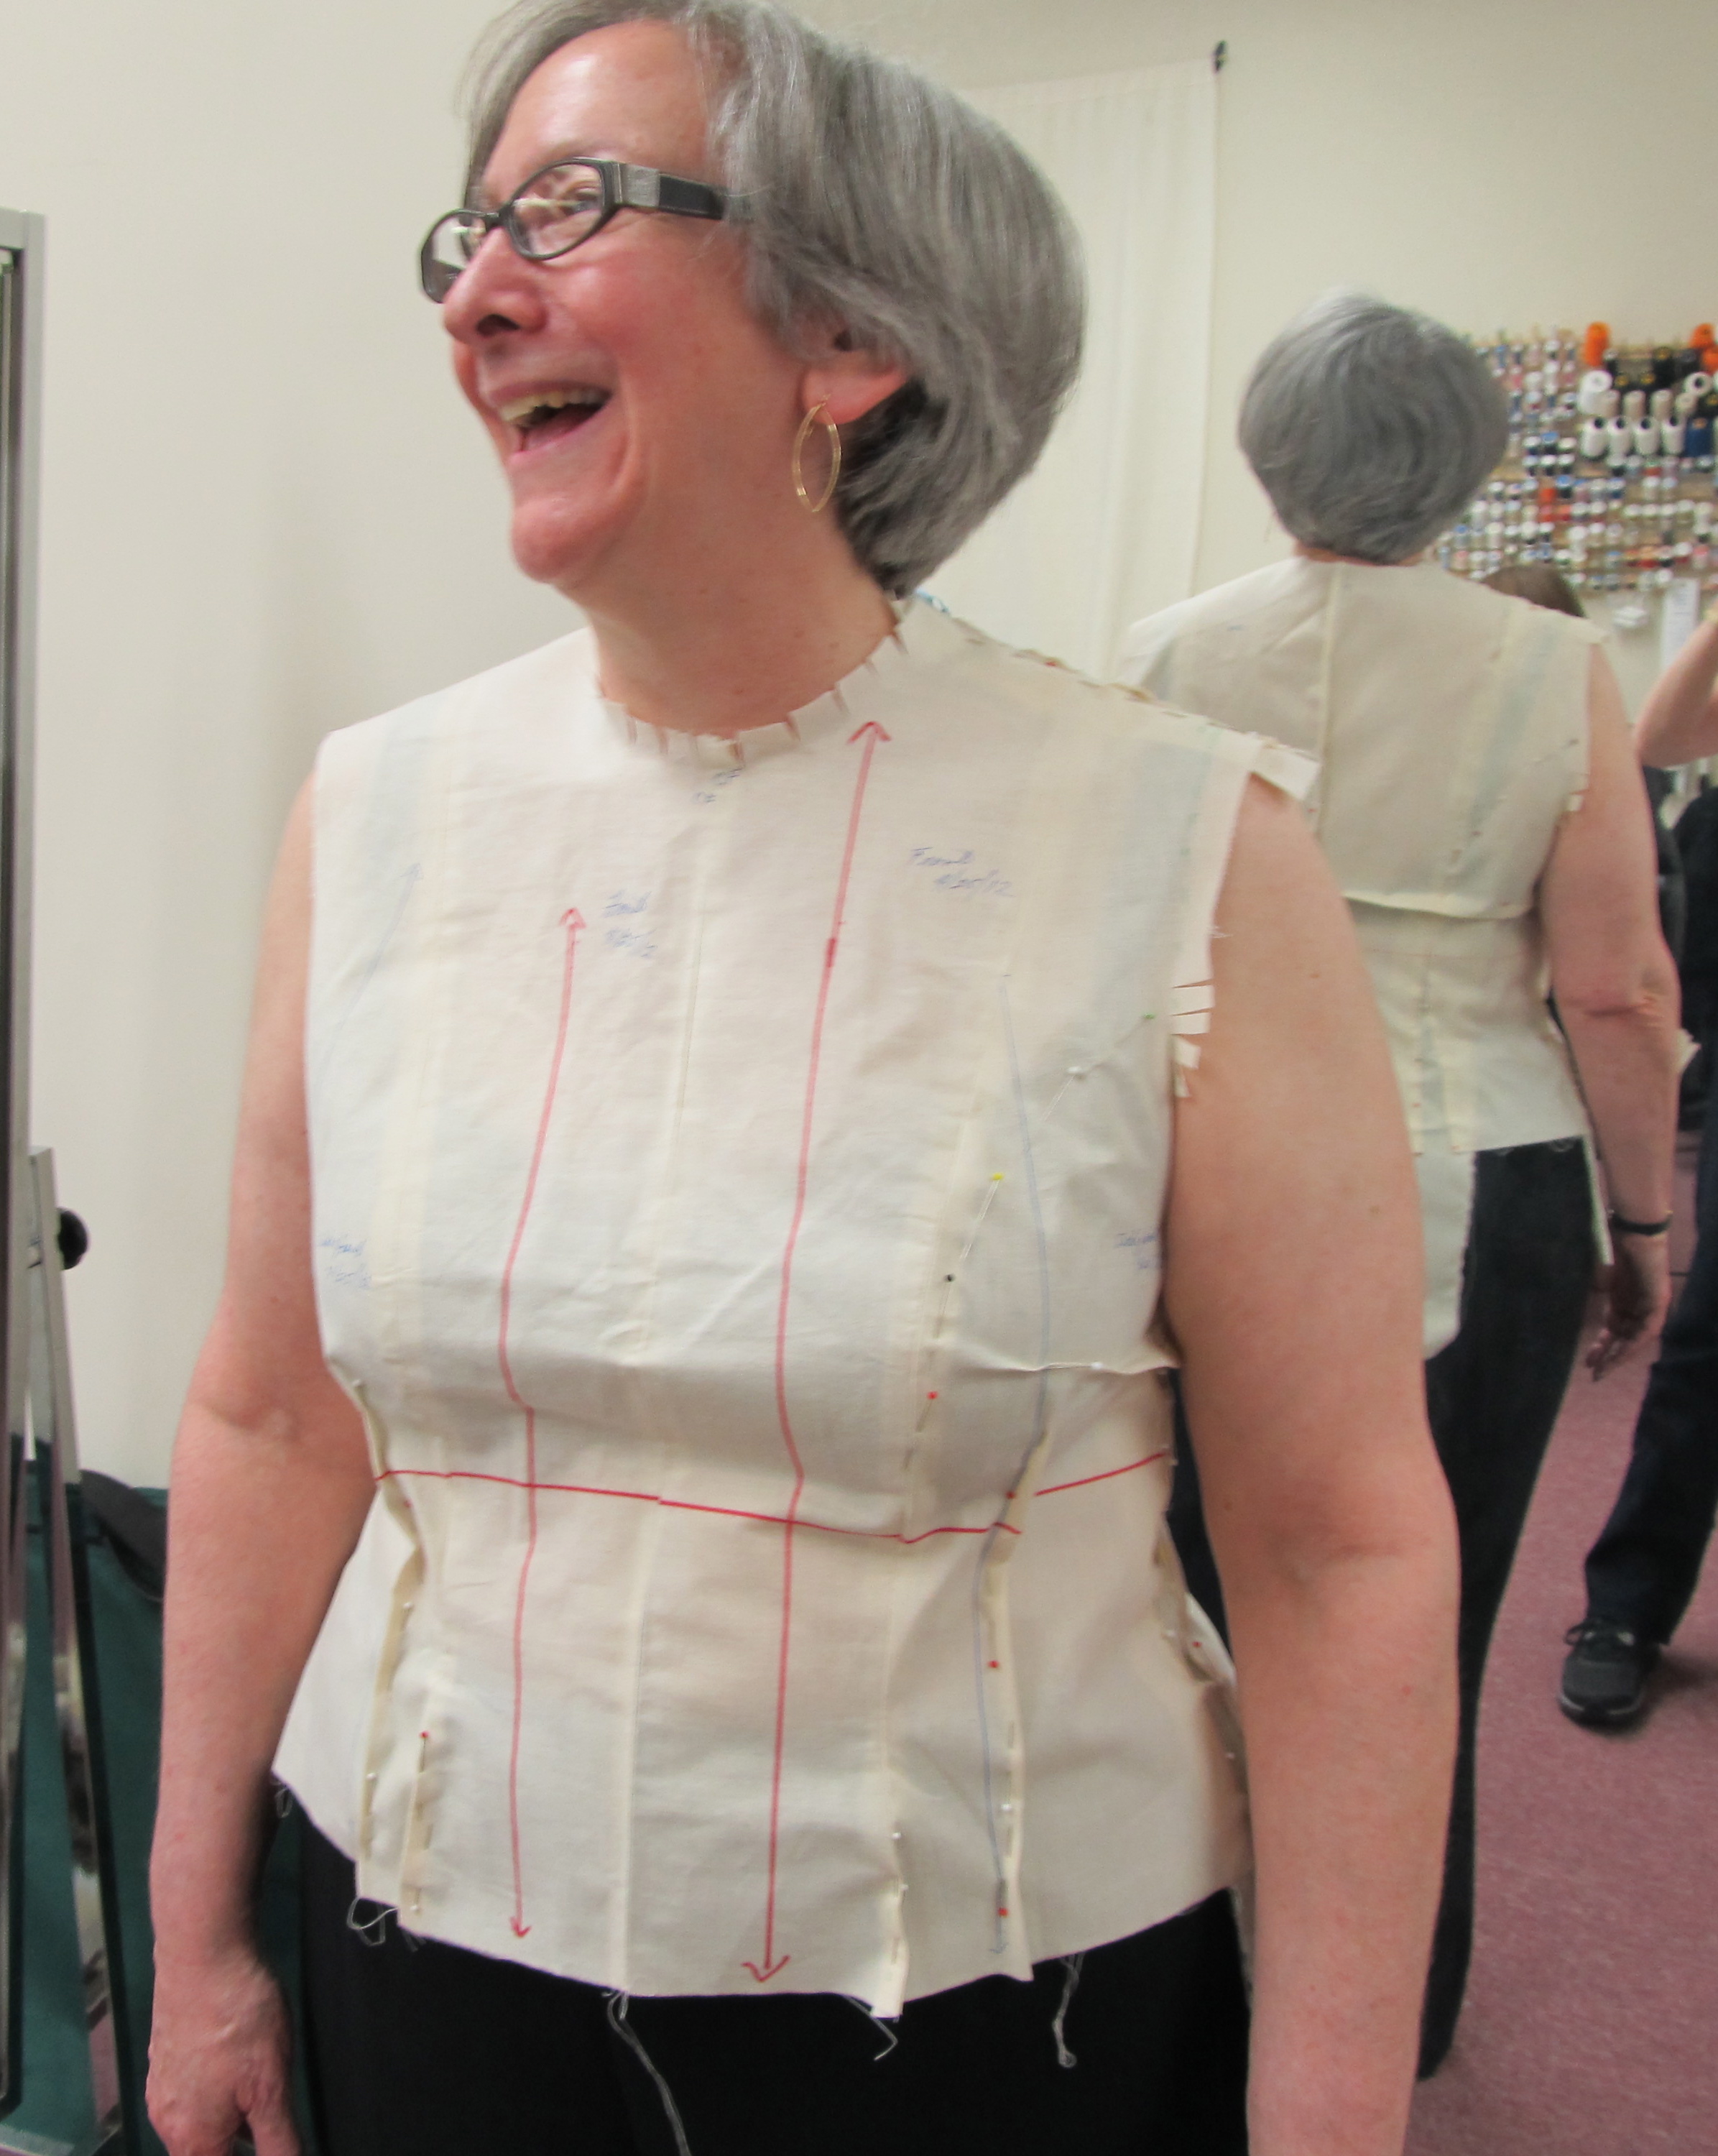
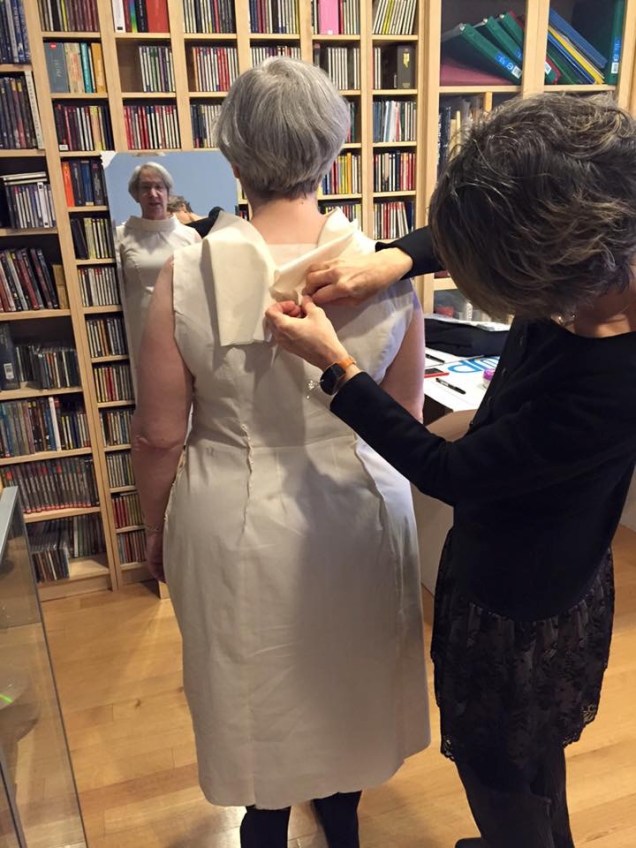
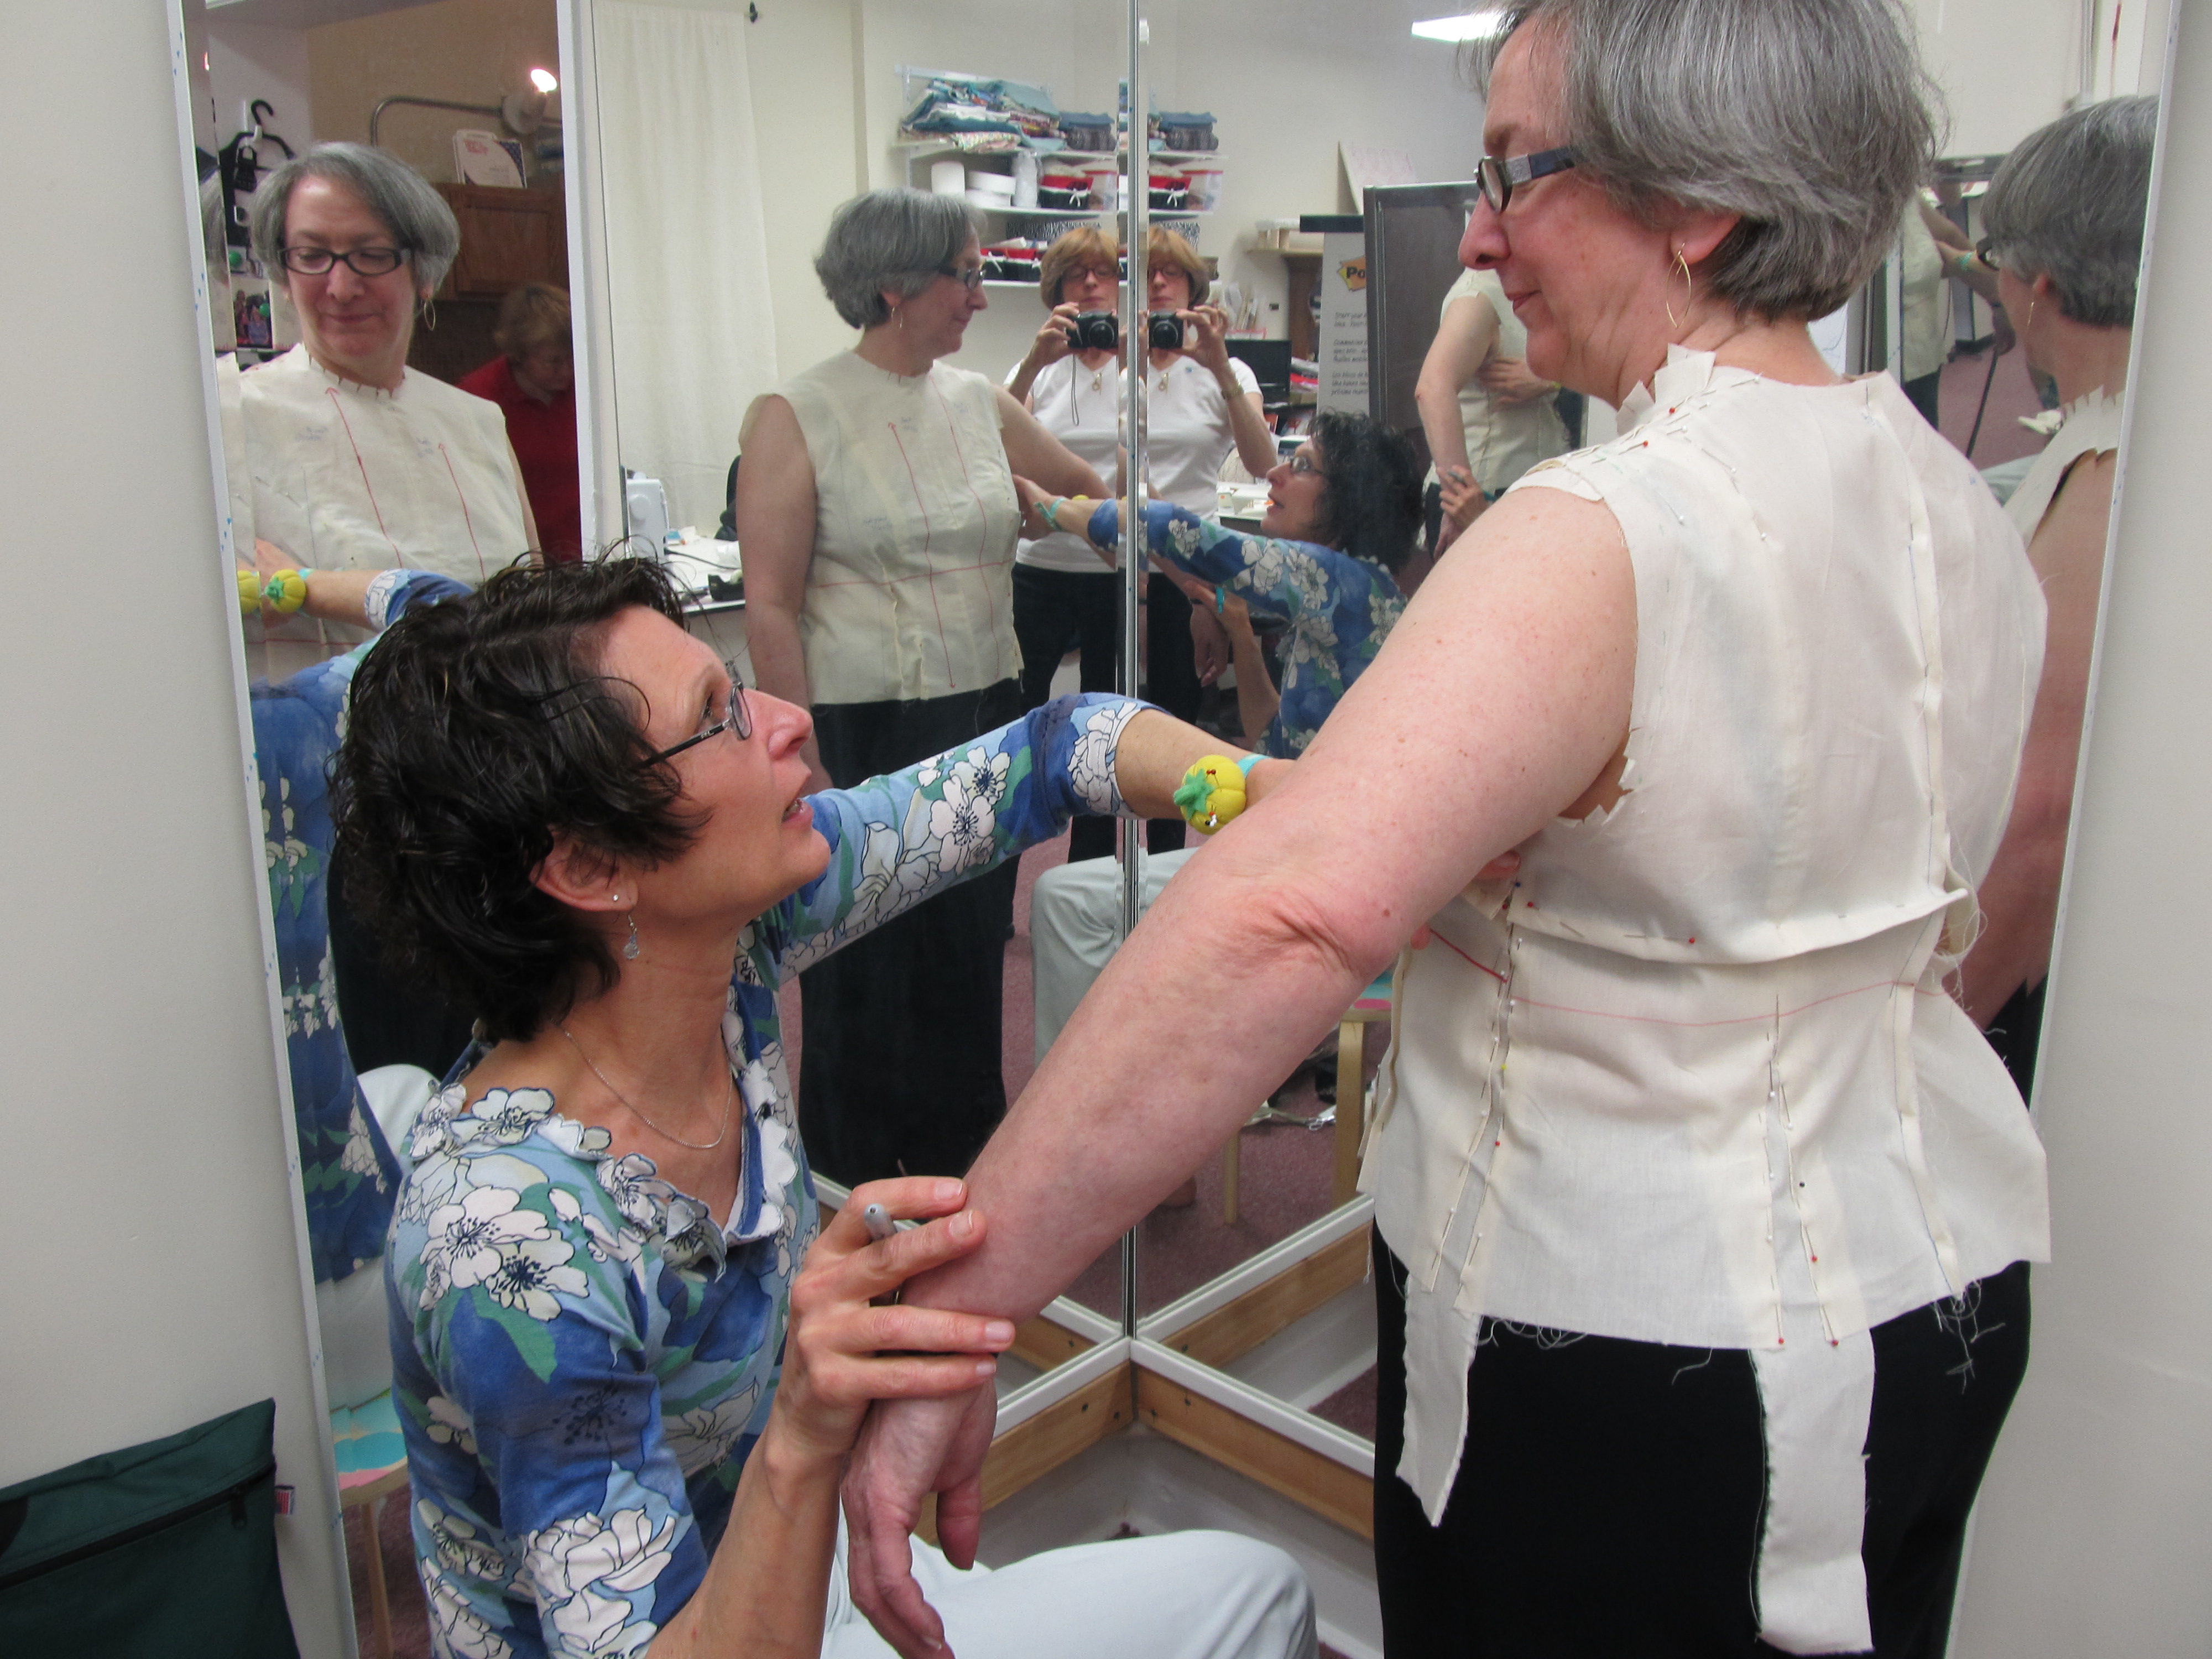
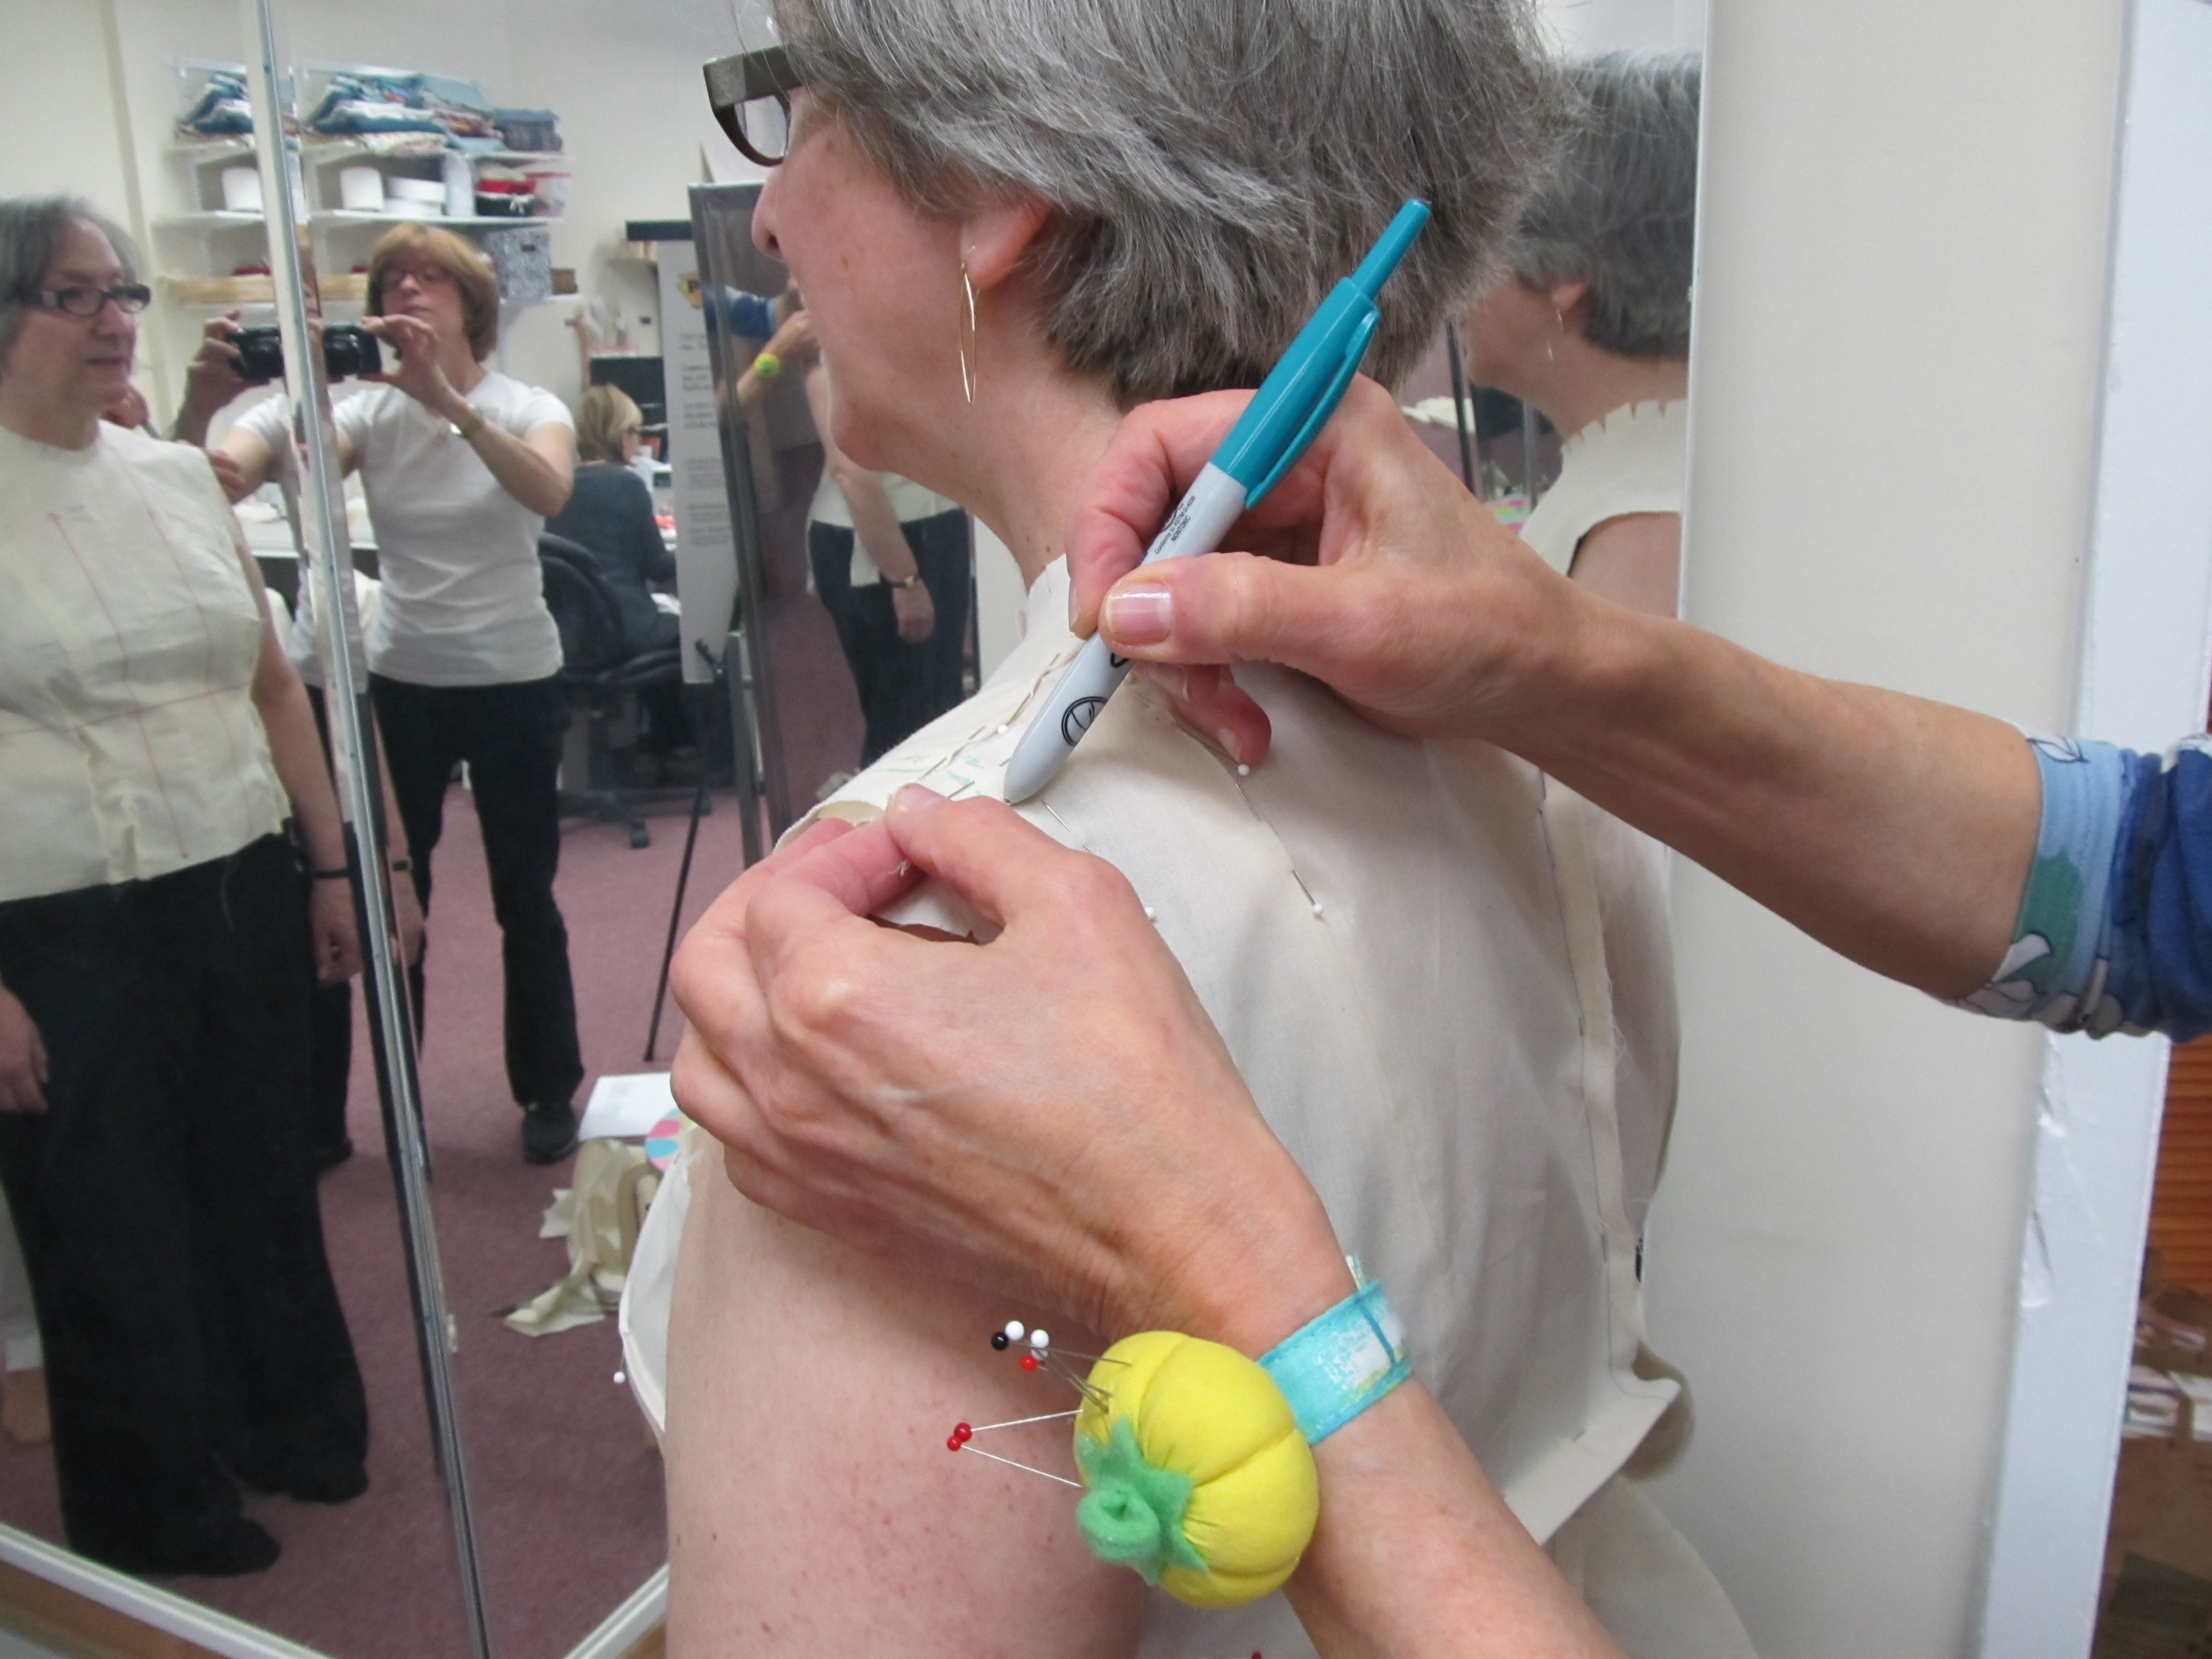
My job was made easier by the fact that my dress form is now padded to resemble my figure pretty closely. This was another thing I had resisted doing because i didn’t think I wanted to live with a reminder of the shape my body is in now. But, I agreed to participate in a pilot class on draping that Sarah Veblen was developing and so I made a basic dress sloper out of heavy weight muslin from my bodice and skirt master patterns for a workshop several months ago. Sarah draped out pretty the wearing ease until it was quite form-fitting. I installed a heavy-duty separating zipper down the back and had my new dress form cover. I then proceeded to stuff the space between the muslin and my dress form with foam pads from Fabulous Fit and batting. I got really frustrated in the draping class and convinced myself that I’m no good at draping and this entire exercise was a giant waste of time that would have been better spent sewing. Then when I was working on this project, after trying on the first mock-up, I put it on the dress form and the next thing I knew I was draping adjustments.
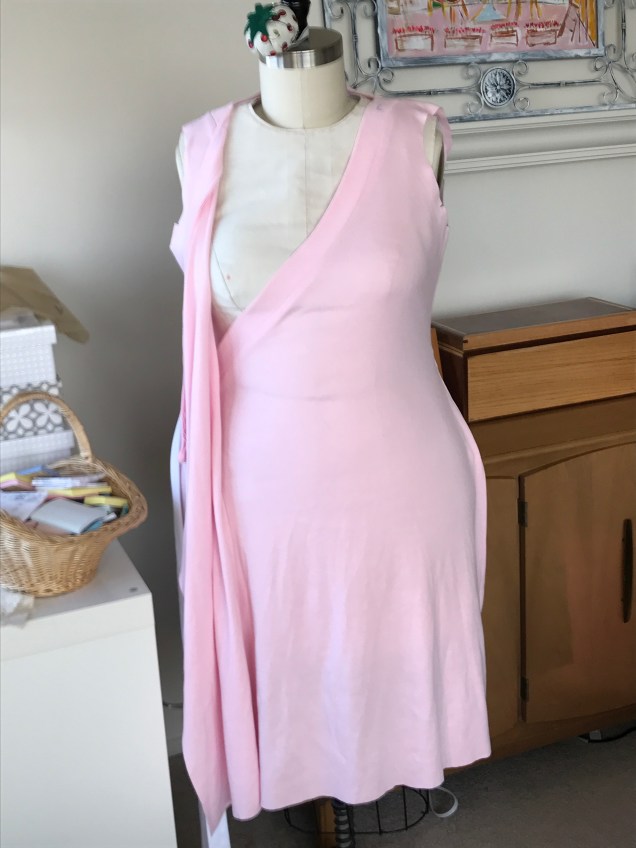
For the mock-ups, I used cotton interlock knit from Joann’s (with a coupon, of course). The first mock-up gapped at the bust and clung in all the wrong places, so those pictures will not be posted anywhere.
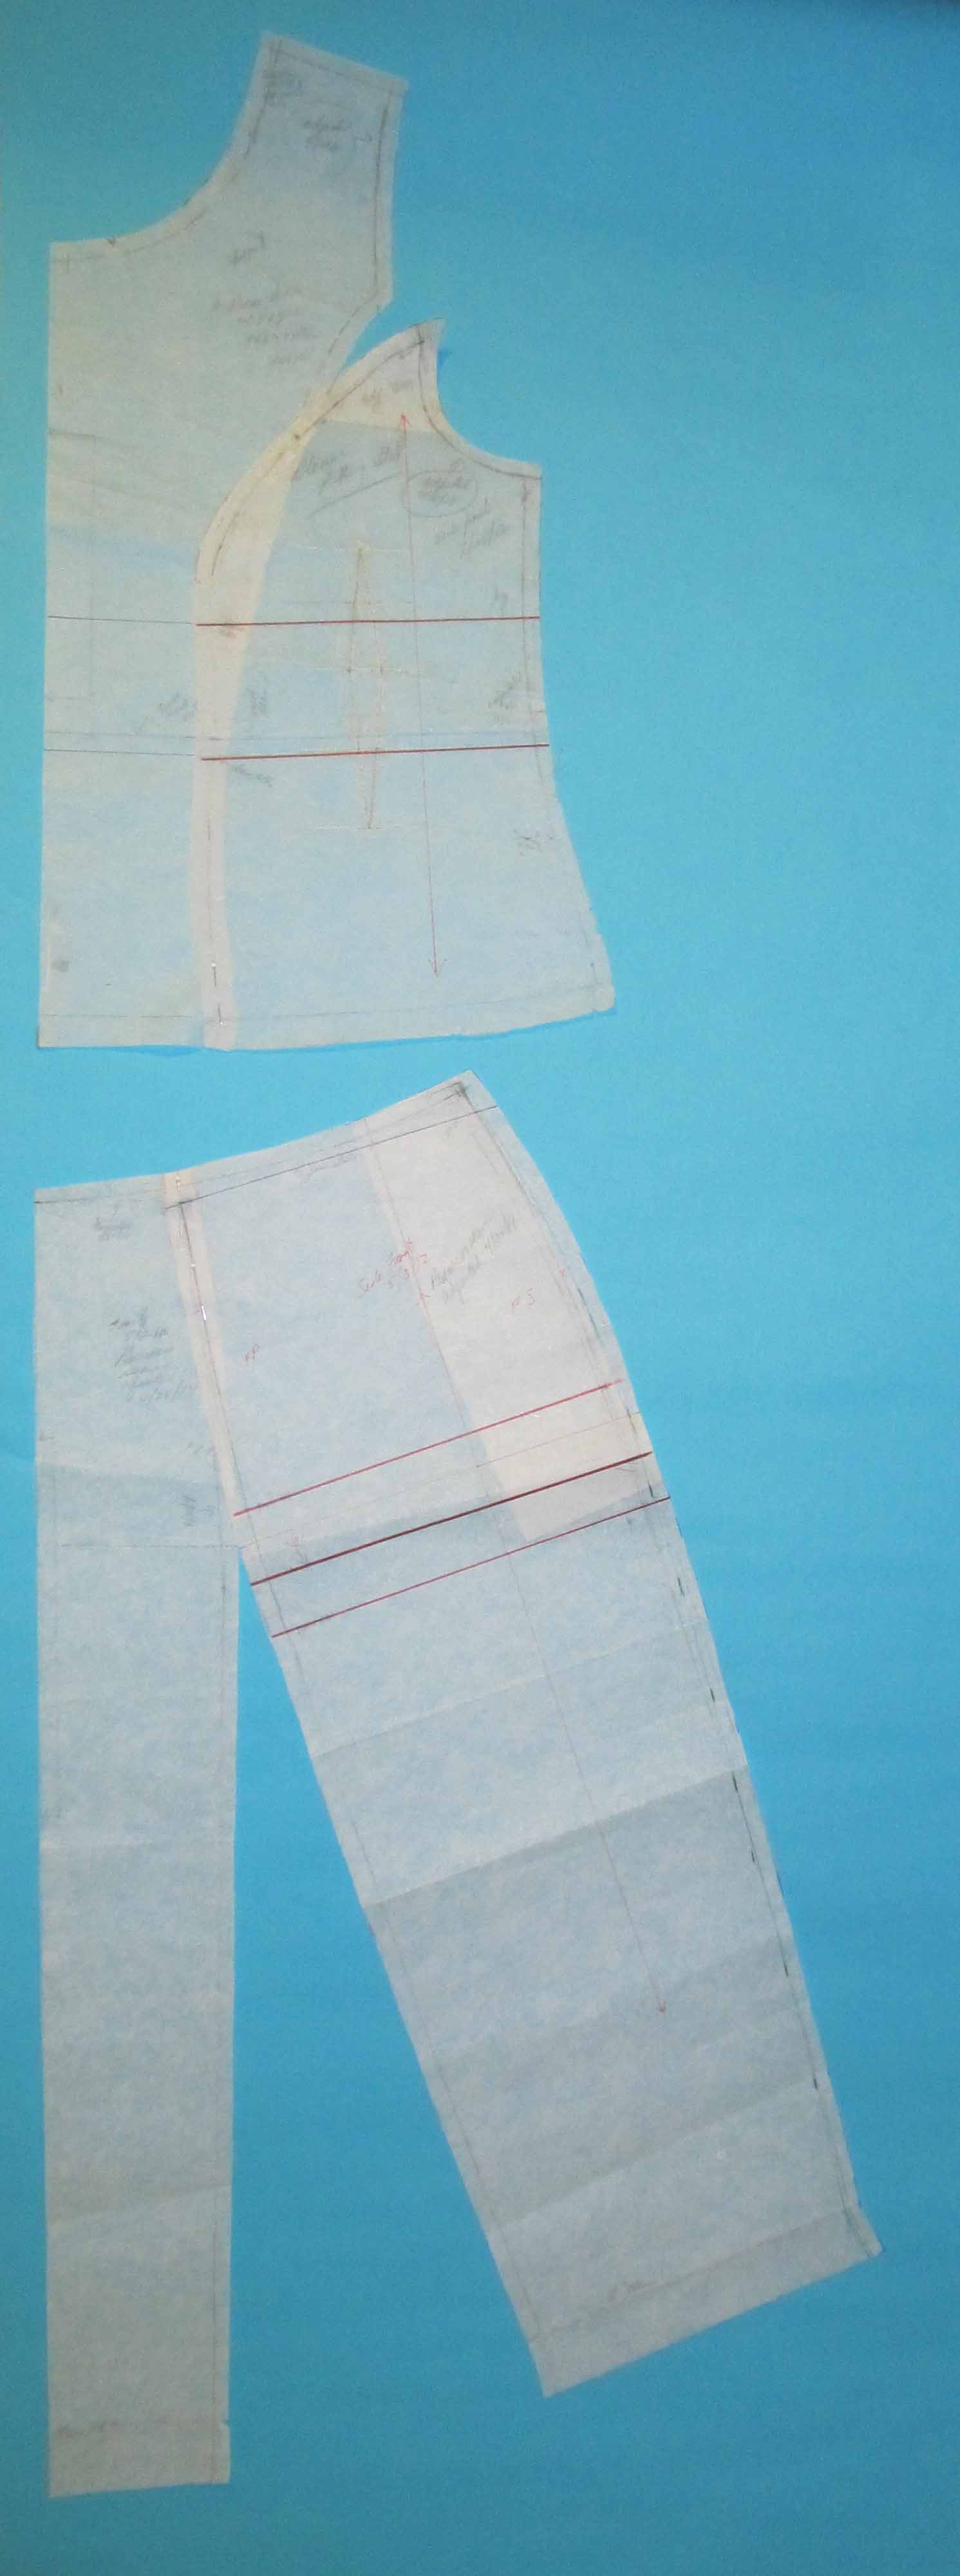
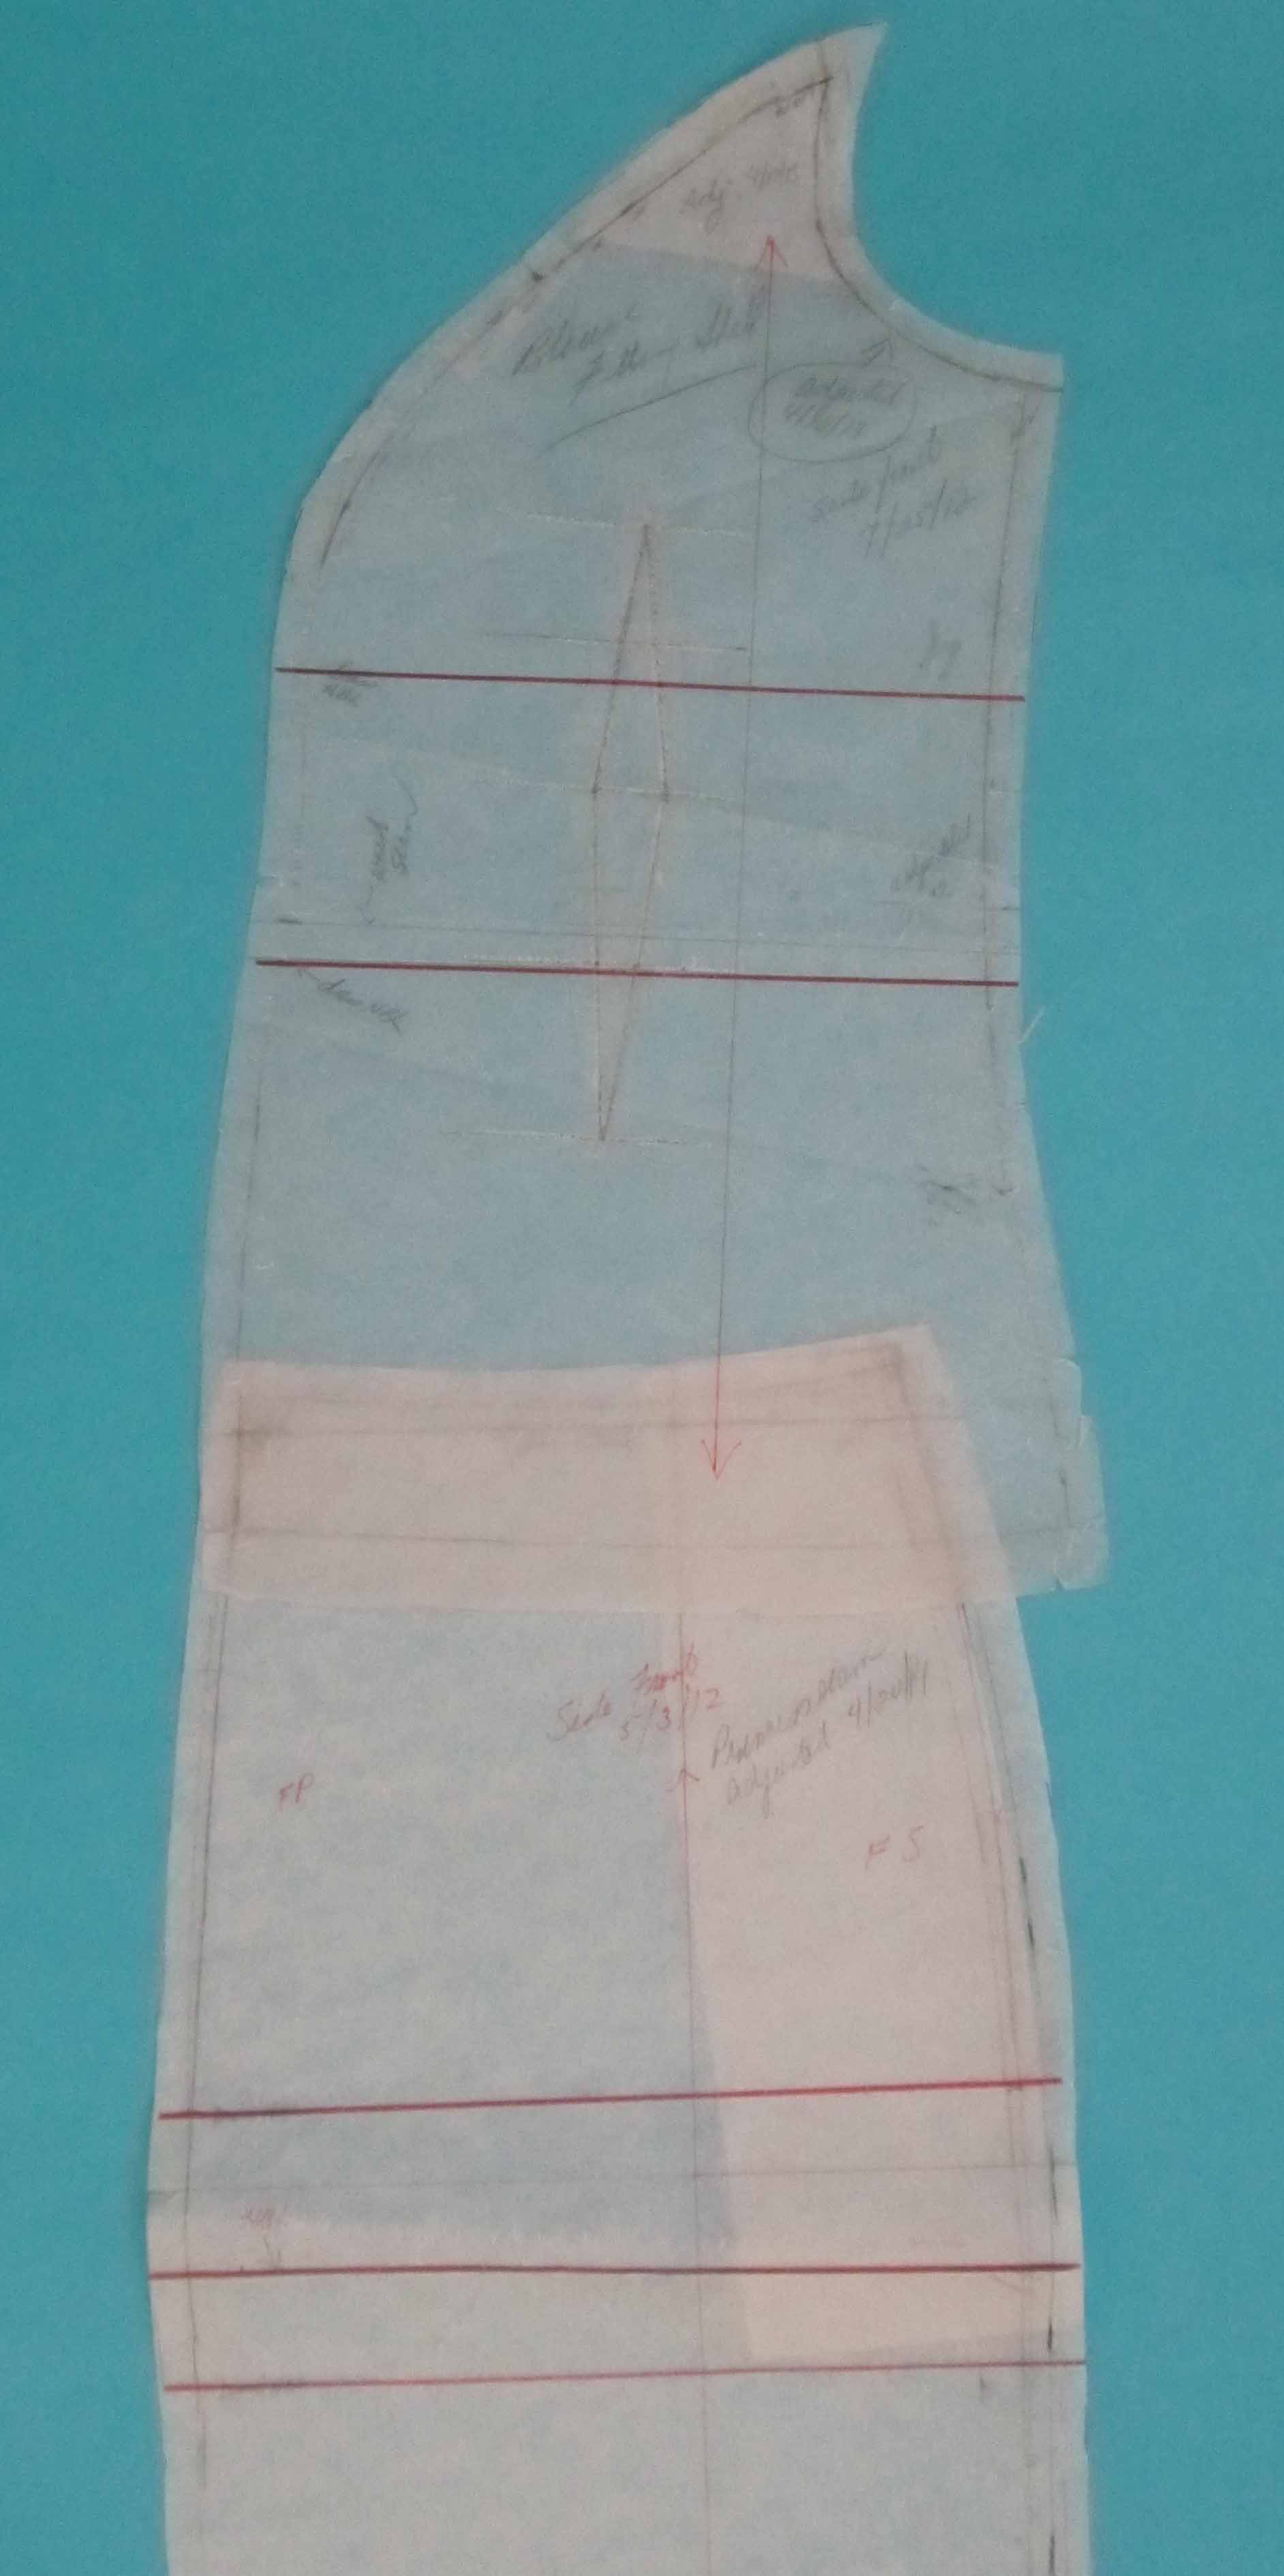
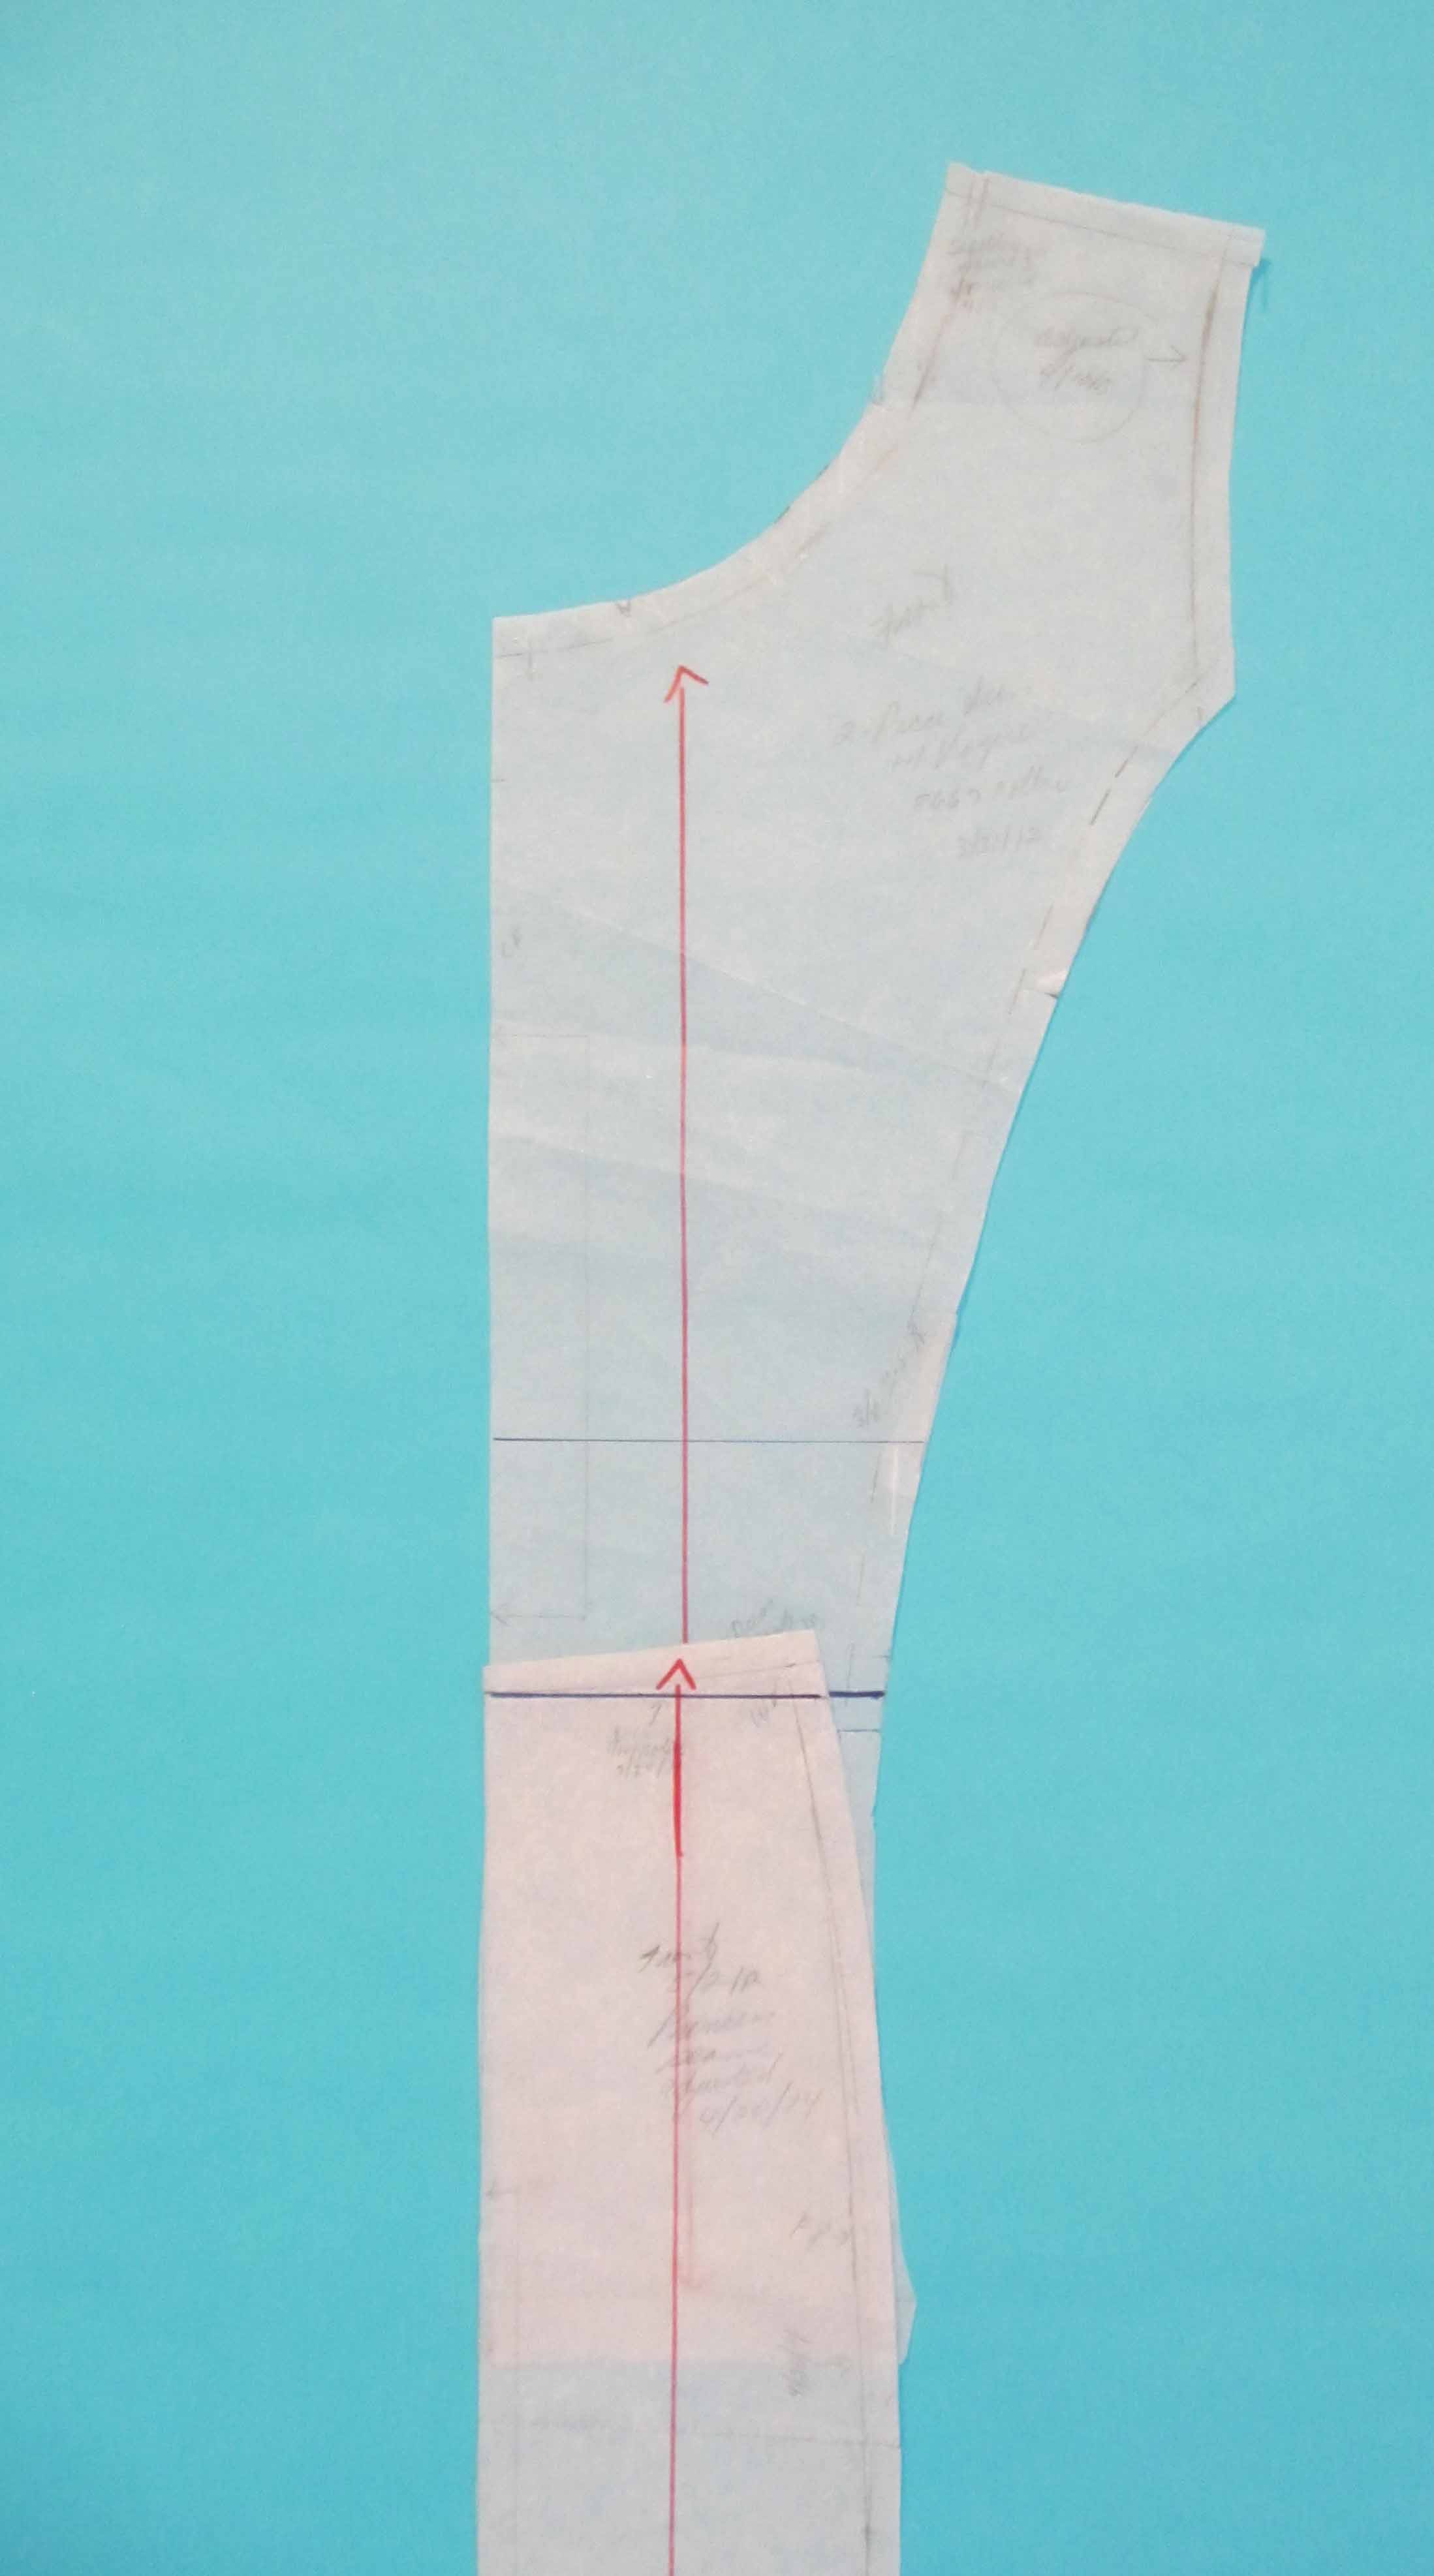
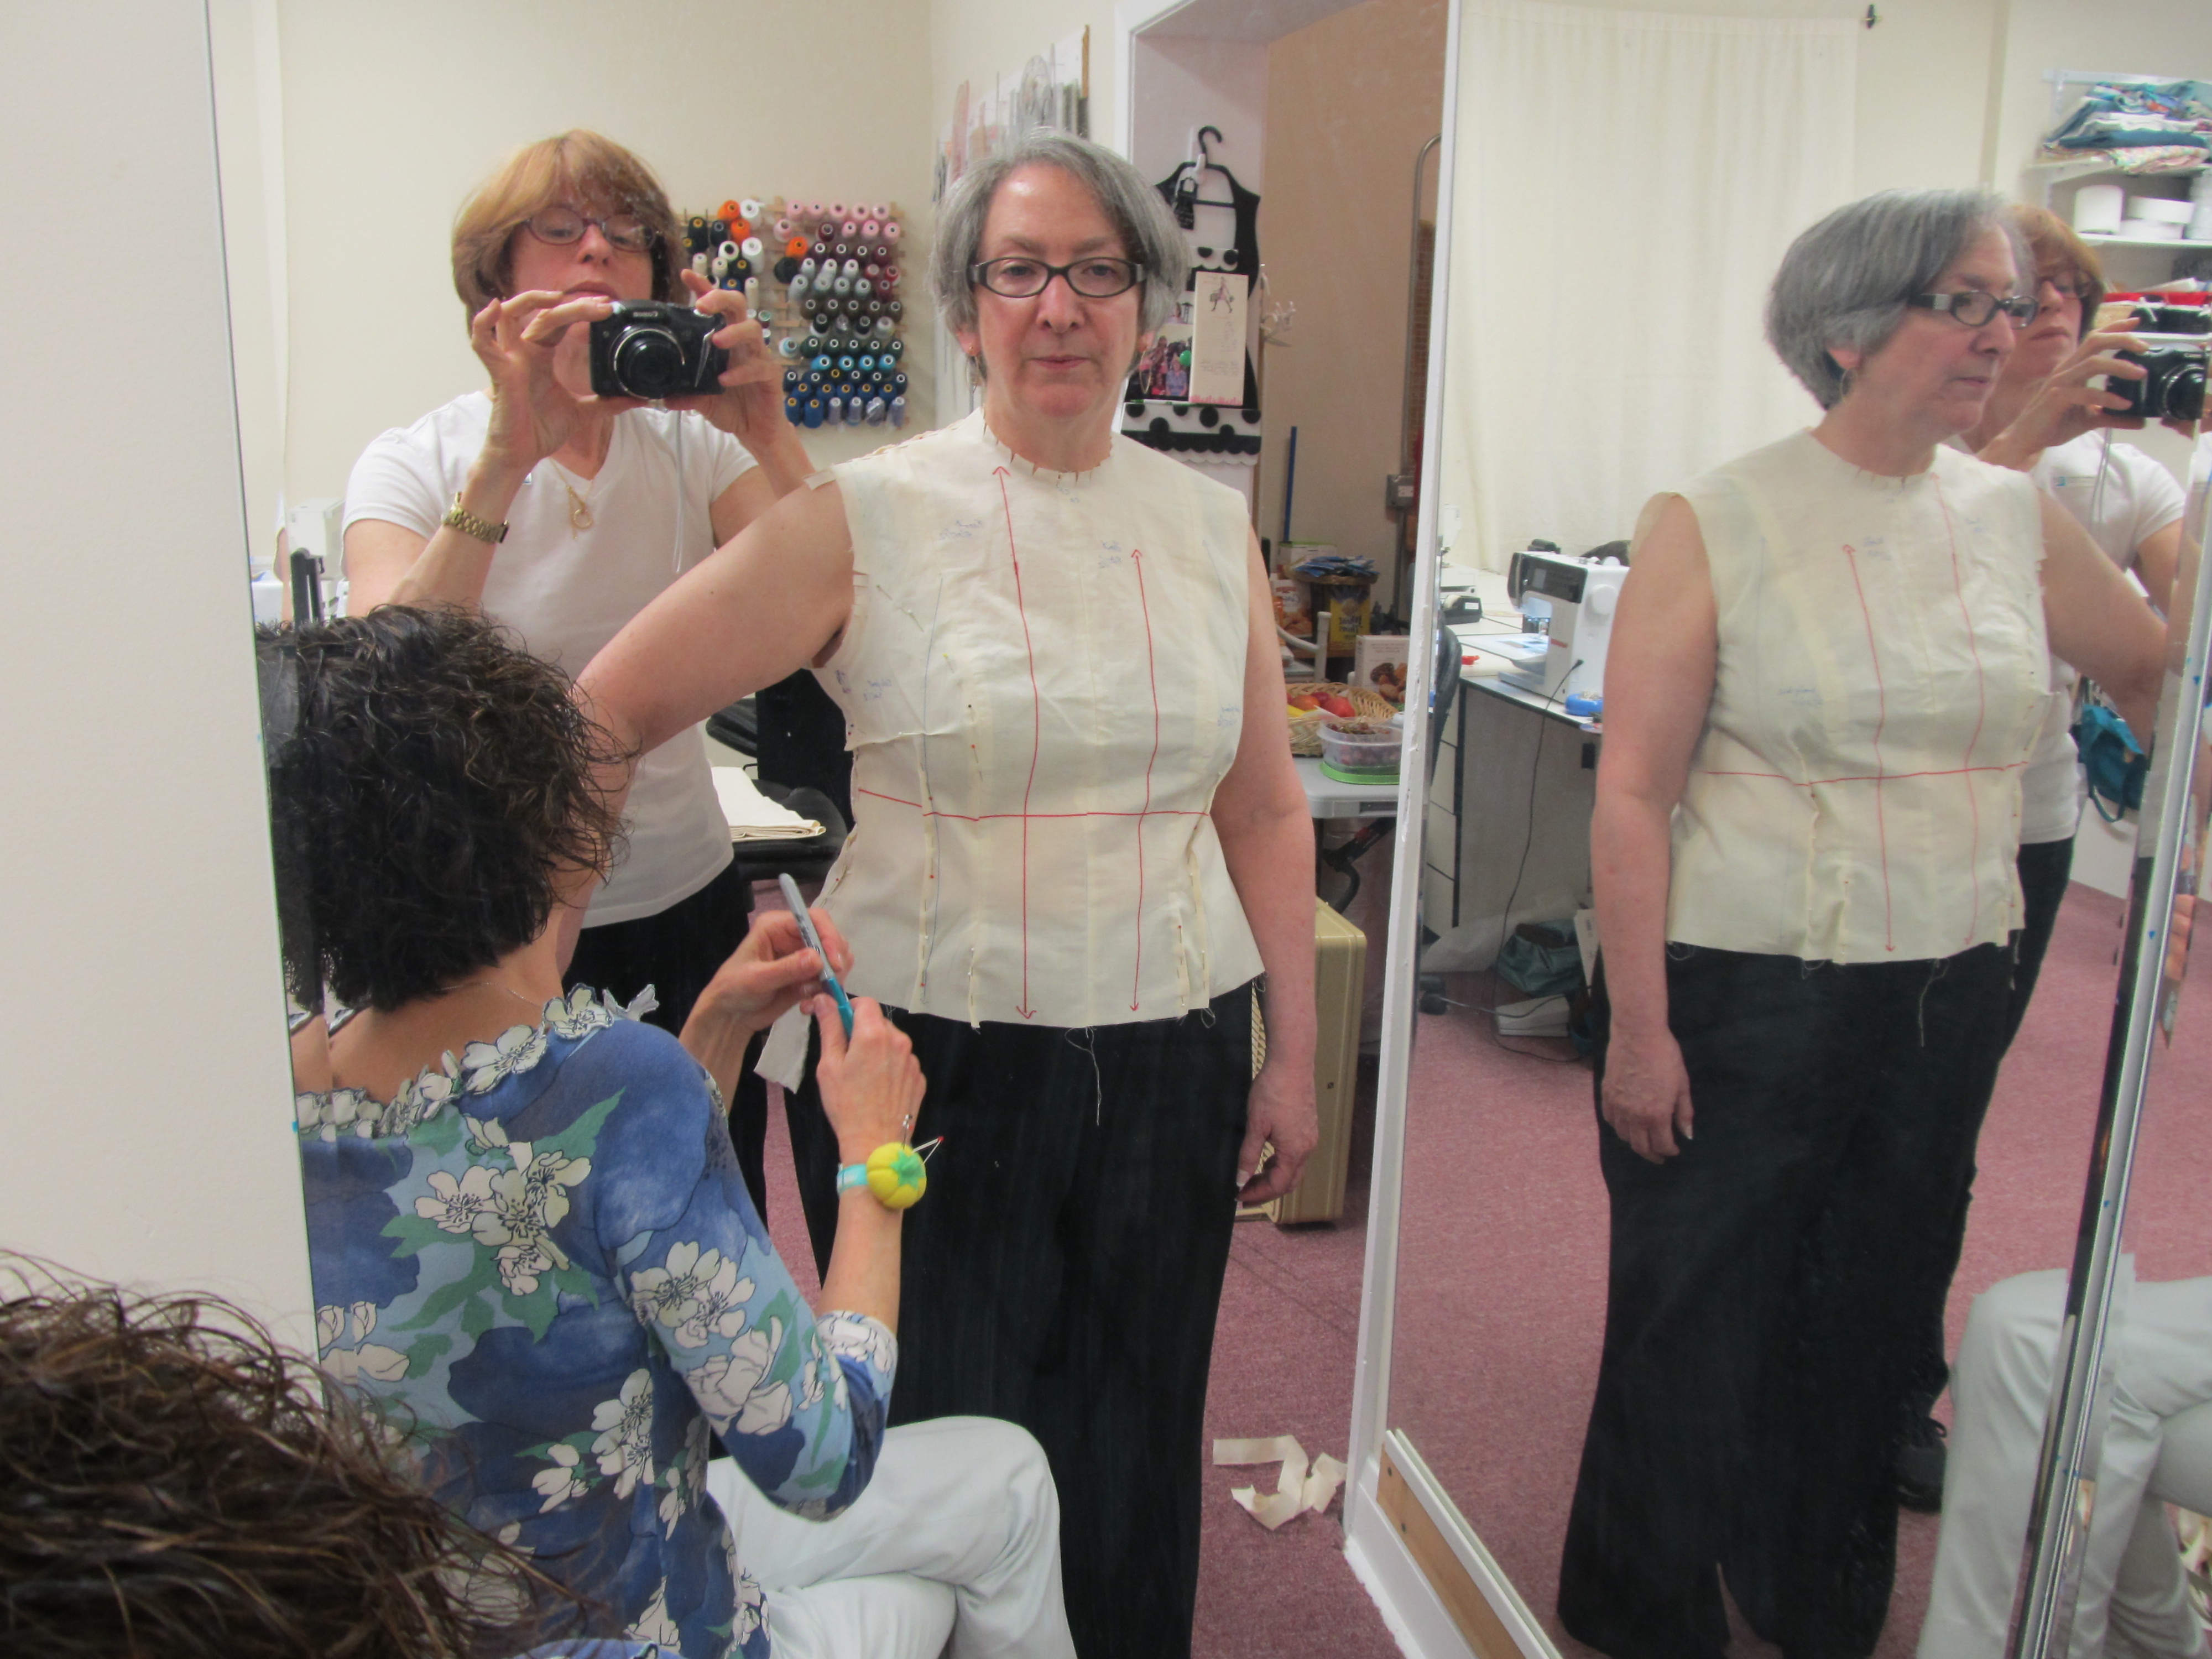
In the first mock-up, I noticed that the side seam was more toward the back than my master pattern’s side seam, plus it swung to the back at the hips. Because I needed to increase the circumference there, I decided to bring the side seam in line with the side seam on my master pattern so I could be sure the final version was hanging plumb. Here is a side view of muslin number 2.
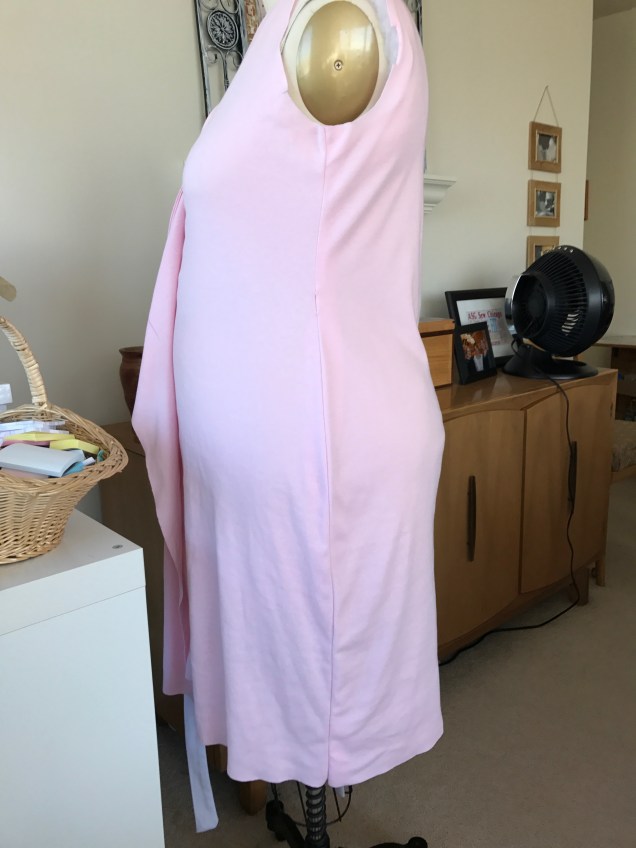
That was all well and good, but I made a mistake that is typical for me, which is to add too much to the hips and taper below that and end up with what I refer to as the jodhpur effect. One of the suggestions Sarah Veblen made in a mentoring session was to have the skirt flare out a bit instead of dropping straight from the hip. That adjustment really helped.
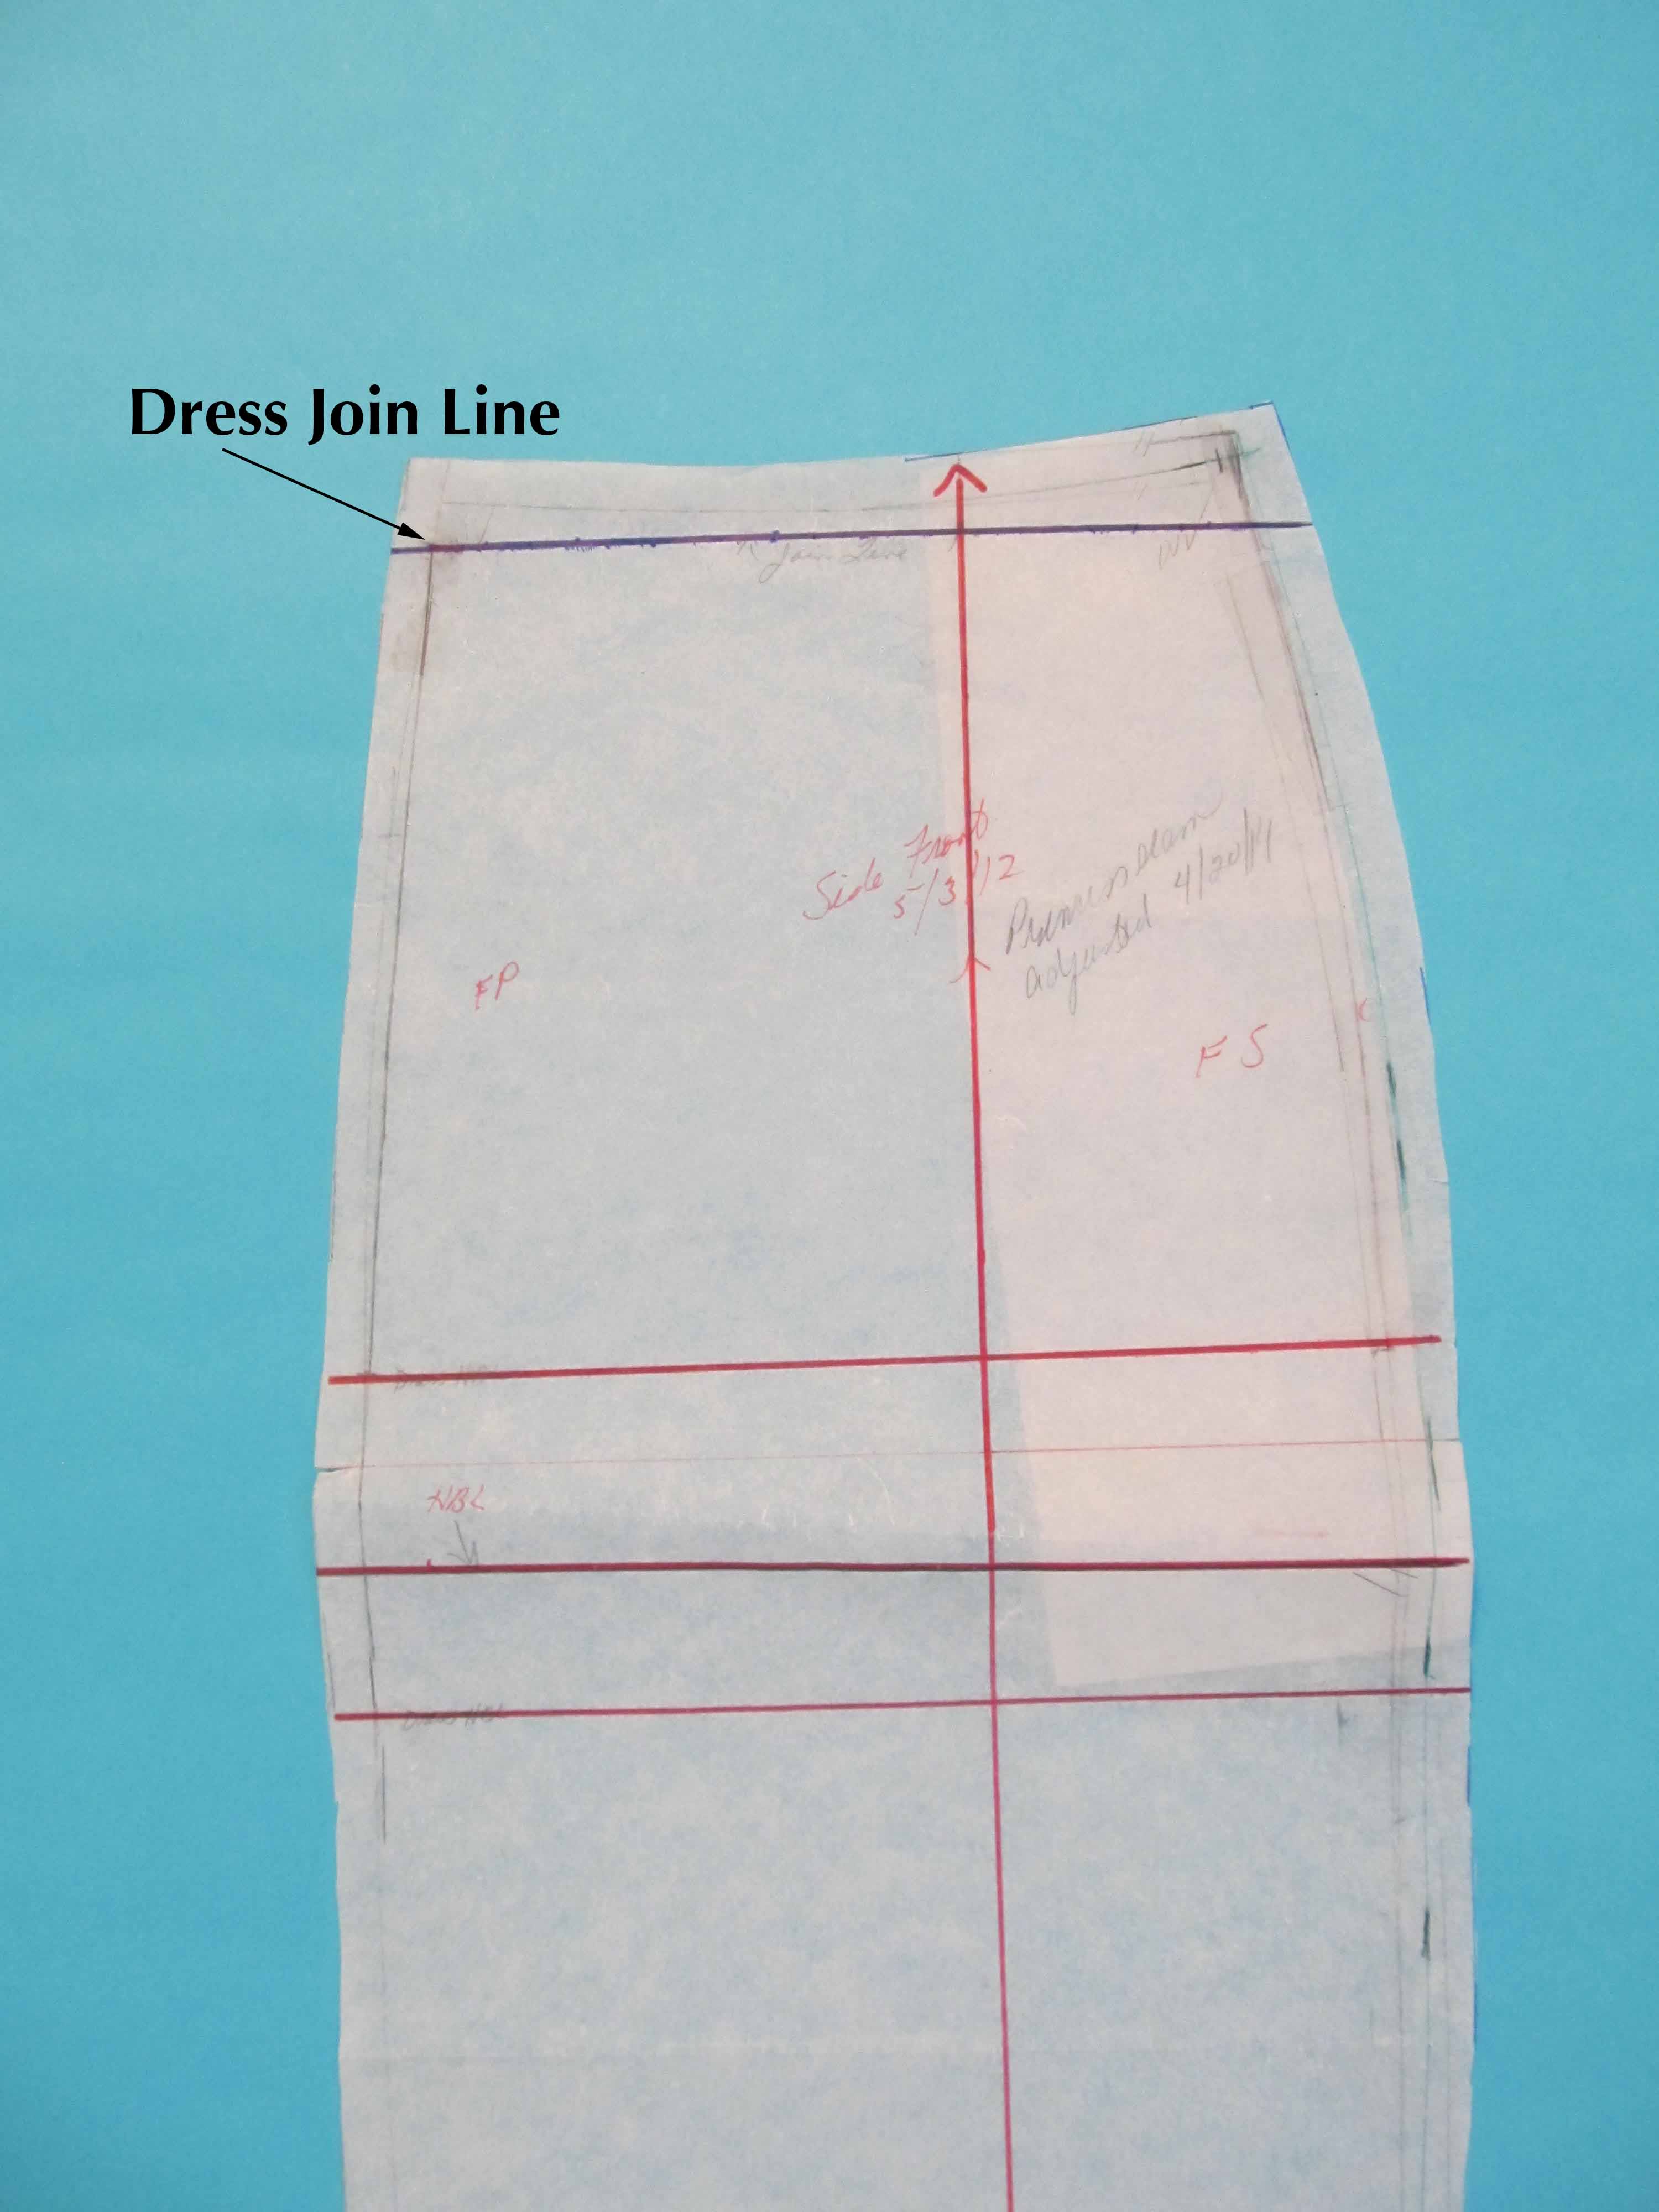
As you can see, there is no center front marking and no horizontal balance lines. The pattern does not have center front marked, which makes sense because it’s different on different types of figures. I had marked horizontal balance lines on my first mock-up but Sarah told me that wasn’t necessary in this dress, which she had fitted on other students. Still, when I was working to adjust the first muslin it helped to work with the front and back independently so I could get them to be as level as possible.
Another thing that I did early on was lower the waist so that the ties went around my waist. The pattern is drafted so that the wrap is higher than the natural waist, almost Empire height. The problem with lowering the waist was that it created gaposis at the bust. So, I put the waist back where it wanted to go.
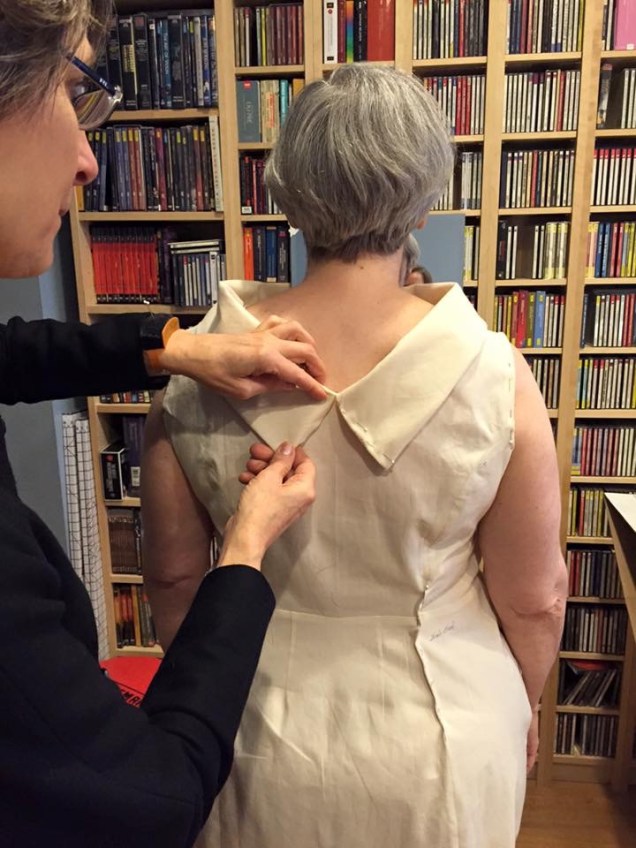
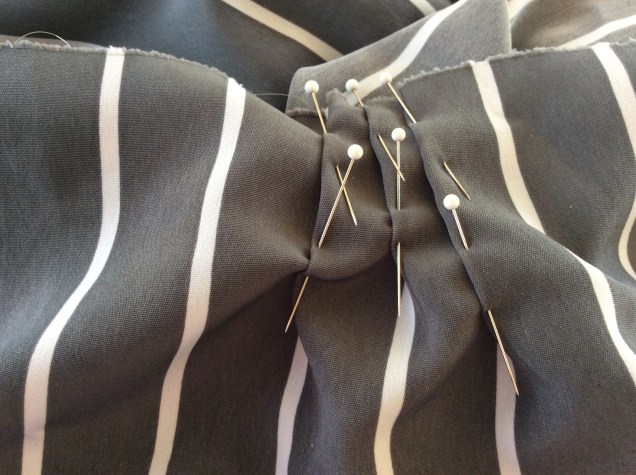
Sarah suggested that I might want to add shaping darts to the back. Darts were my nemesis during the draping class, but I could see how the fabric really “wanted” to have them added.


As you can see, I pinned the darts to the outside, which is not what I was supposed to do. It got the job done here, but I’m trying to learn to make my fingers manipulate the fabric so that the dart intake is toward the dress form. I’ll get there. Eventually.
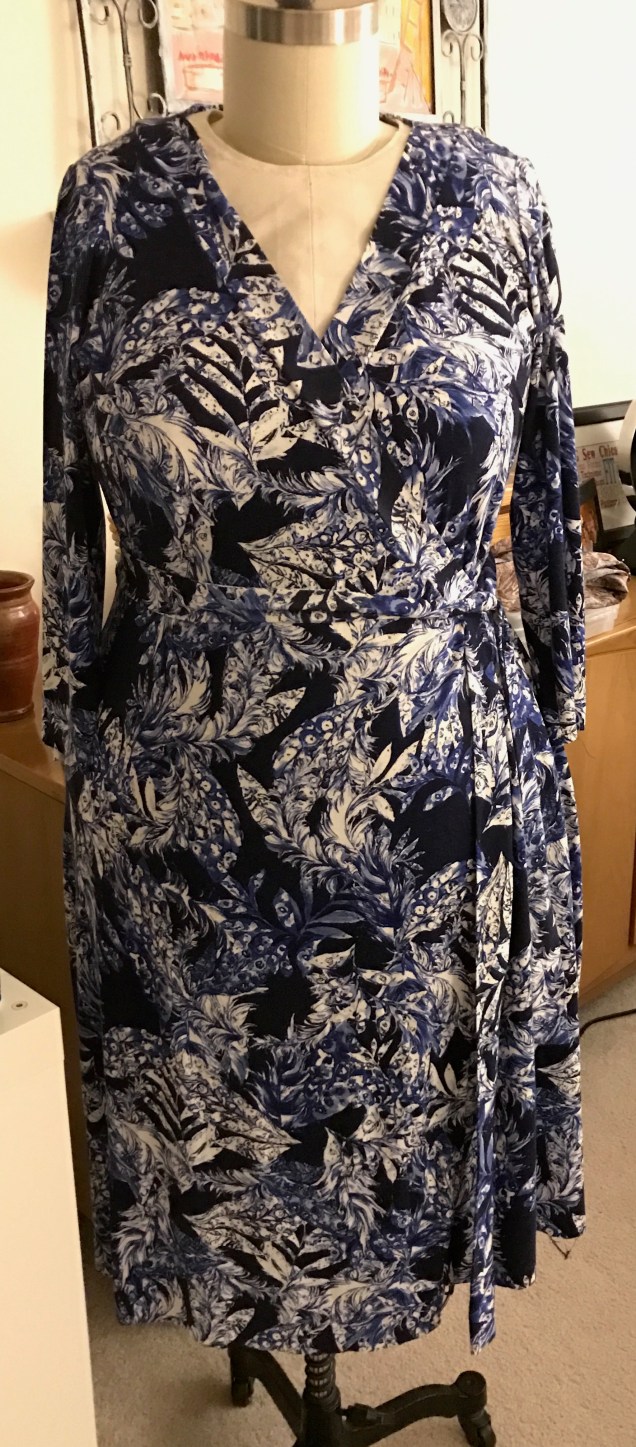
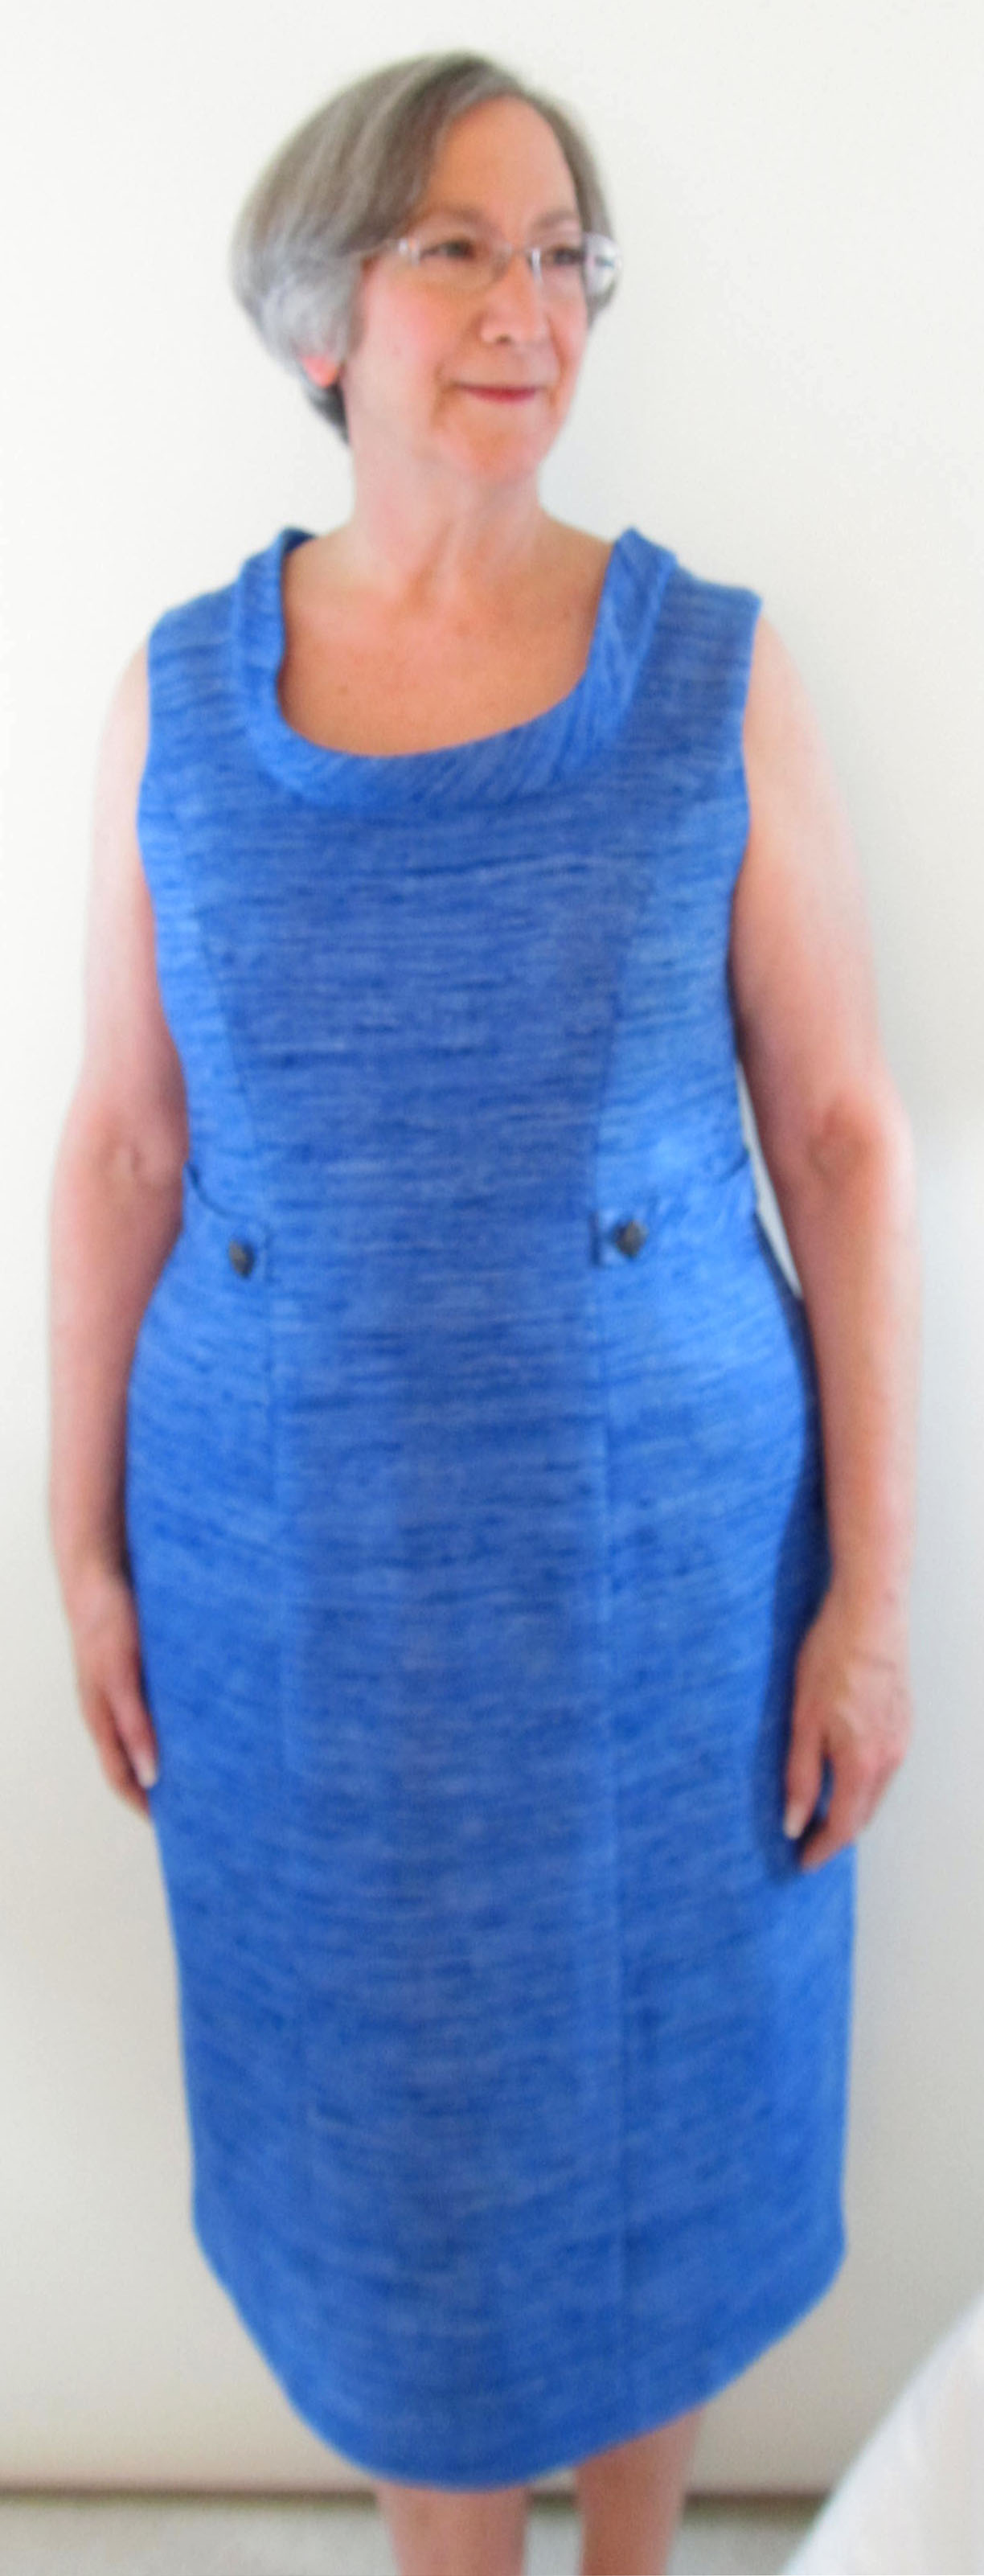
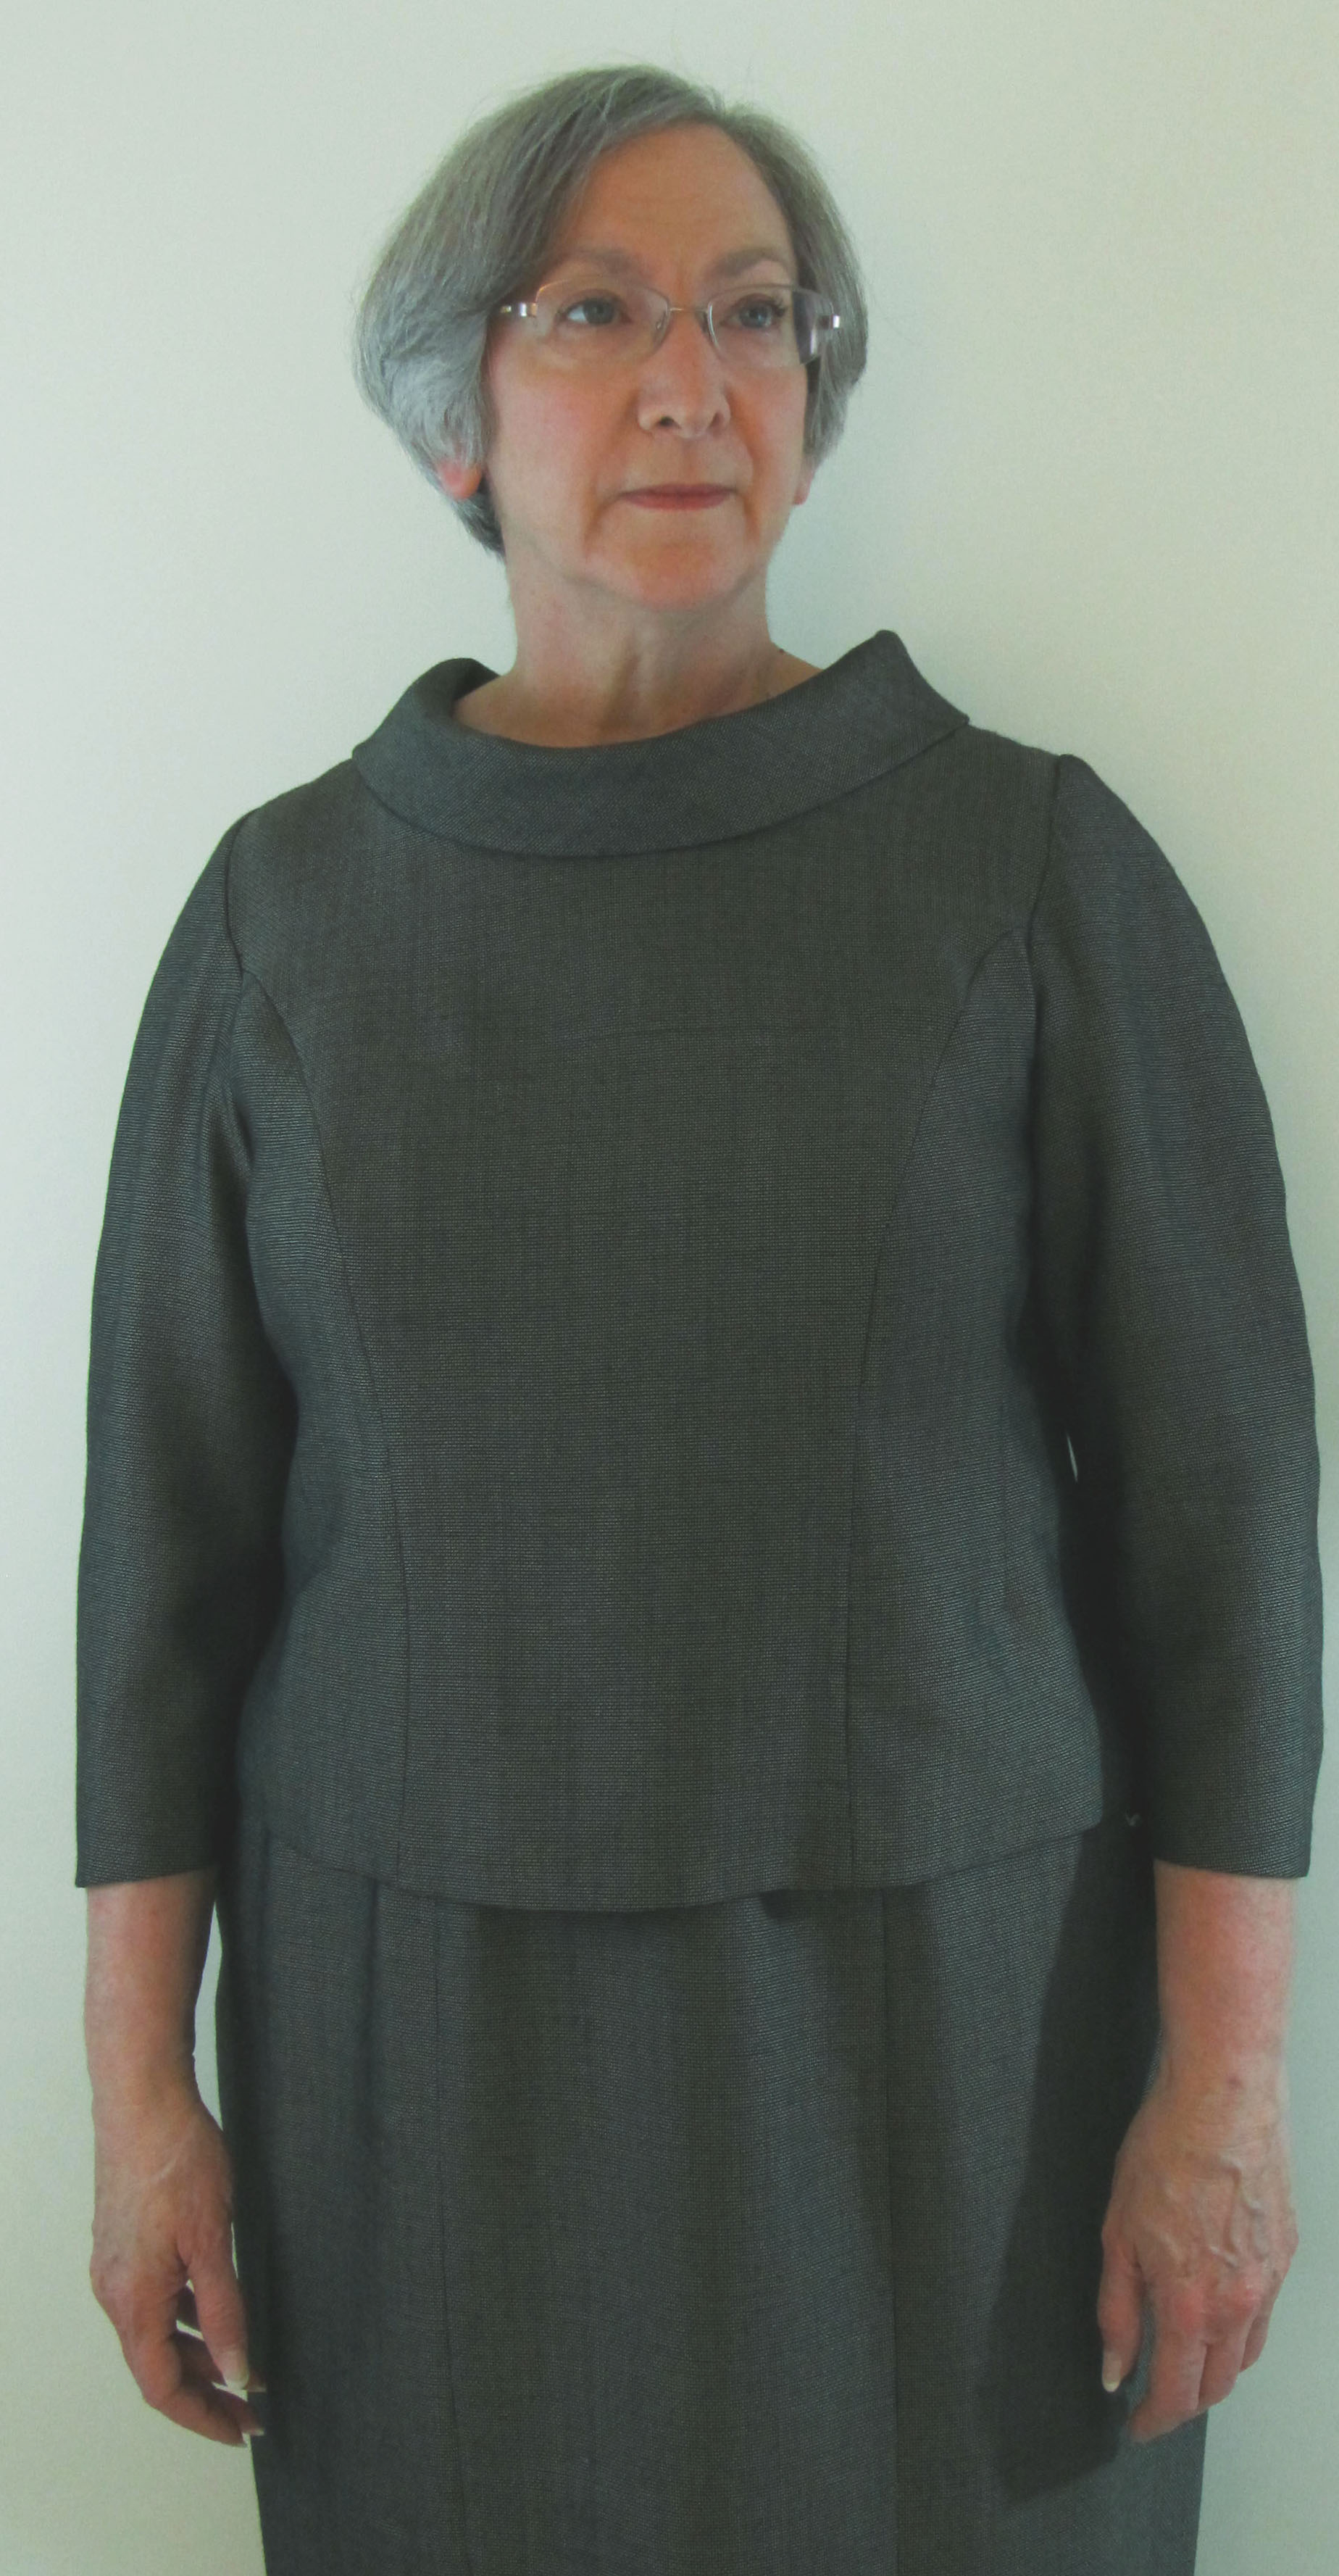
I wanted to make this dress in an ITY knit, but the ones in my collection were in quantities suitable for knit tops, not a dress. I had trouble finding ITYs (only because I was looking for them!) and then I found this lovely rayon-Lycra knit from Stone Mountain & Daughter. I was hesitant, thinking that Rayon is too drapey and possibly clingy for a dress on me, but this fabric has a lovely dry hand and worked beautifully.
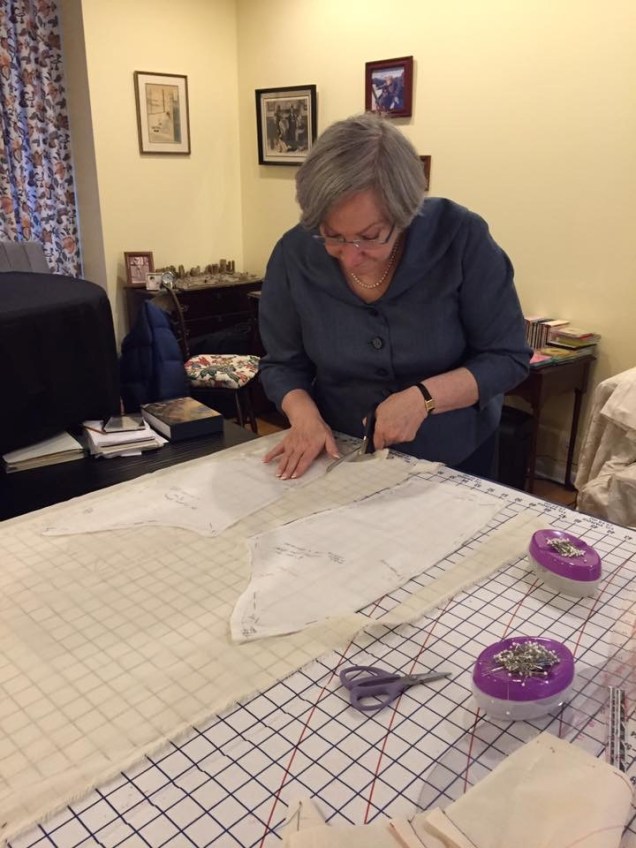
Next came the challenge of hemming. Again, I’m really spoiled by working with master patterns developed with Sarah Veblen because when the horizontal balance lines are parallel to the floor, so is the cut edge of the fabric at the bottom. Hemming is a straightforward process of turning up the fabric an even amount all the way around and stitching. Not so on a pattern that is not customized to a particular body.
I could have asked a sewing friend to pin the hem for me, or even paid my dry cleaner to do it, but I wanted to get this project finished and move on to what’s next. My first attempt was to use the contraption that stands on the floor and you squeeze a bulb so chalk dust spits out on your dress as you turn in place. That didn’t work at all. So, I resorted to the technique I’ve used for fitting myself or having Sarah analyze my fit issues long distance – setting up the tripod and camera and using a 10-second delay to take a series of pictures.


First I pinned where I thought the hem should be, then I looked at the pictures and saw where it was uneven. I made adjustments to the pinning and took more pictures. After two rounds of this, I got it to where I was satisfied.
For the actual pinning, I found it was much easier to mark a few reference points with pins on the dress form and then work on a flat surface. When I got it to where it looked straight to me, I trimmed where the hem allowance was deepest, pressed and stitched. I adjusted the pattern, but where the hem ends up on any individual dress will probably vary with the type of knit I’m using.


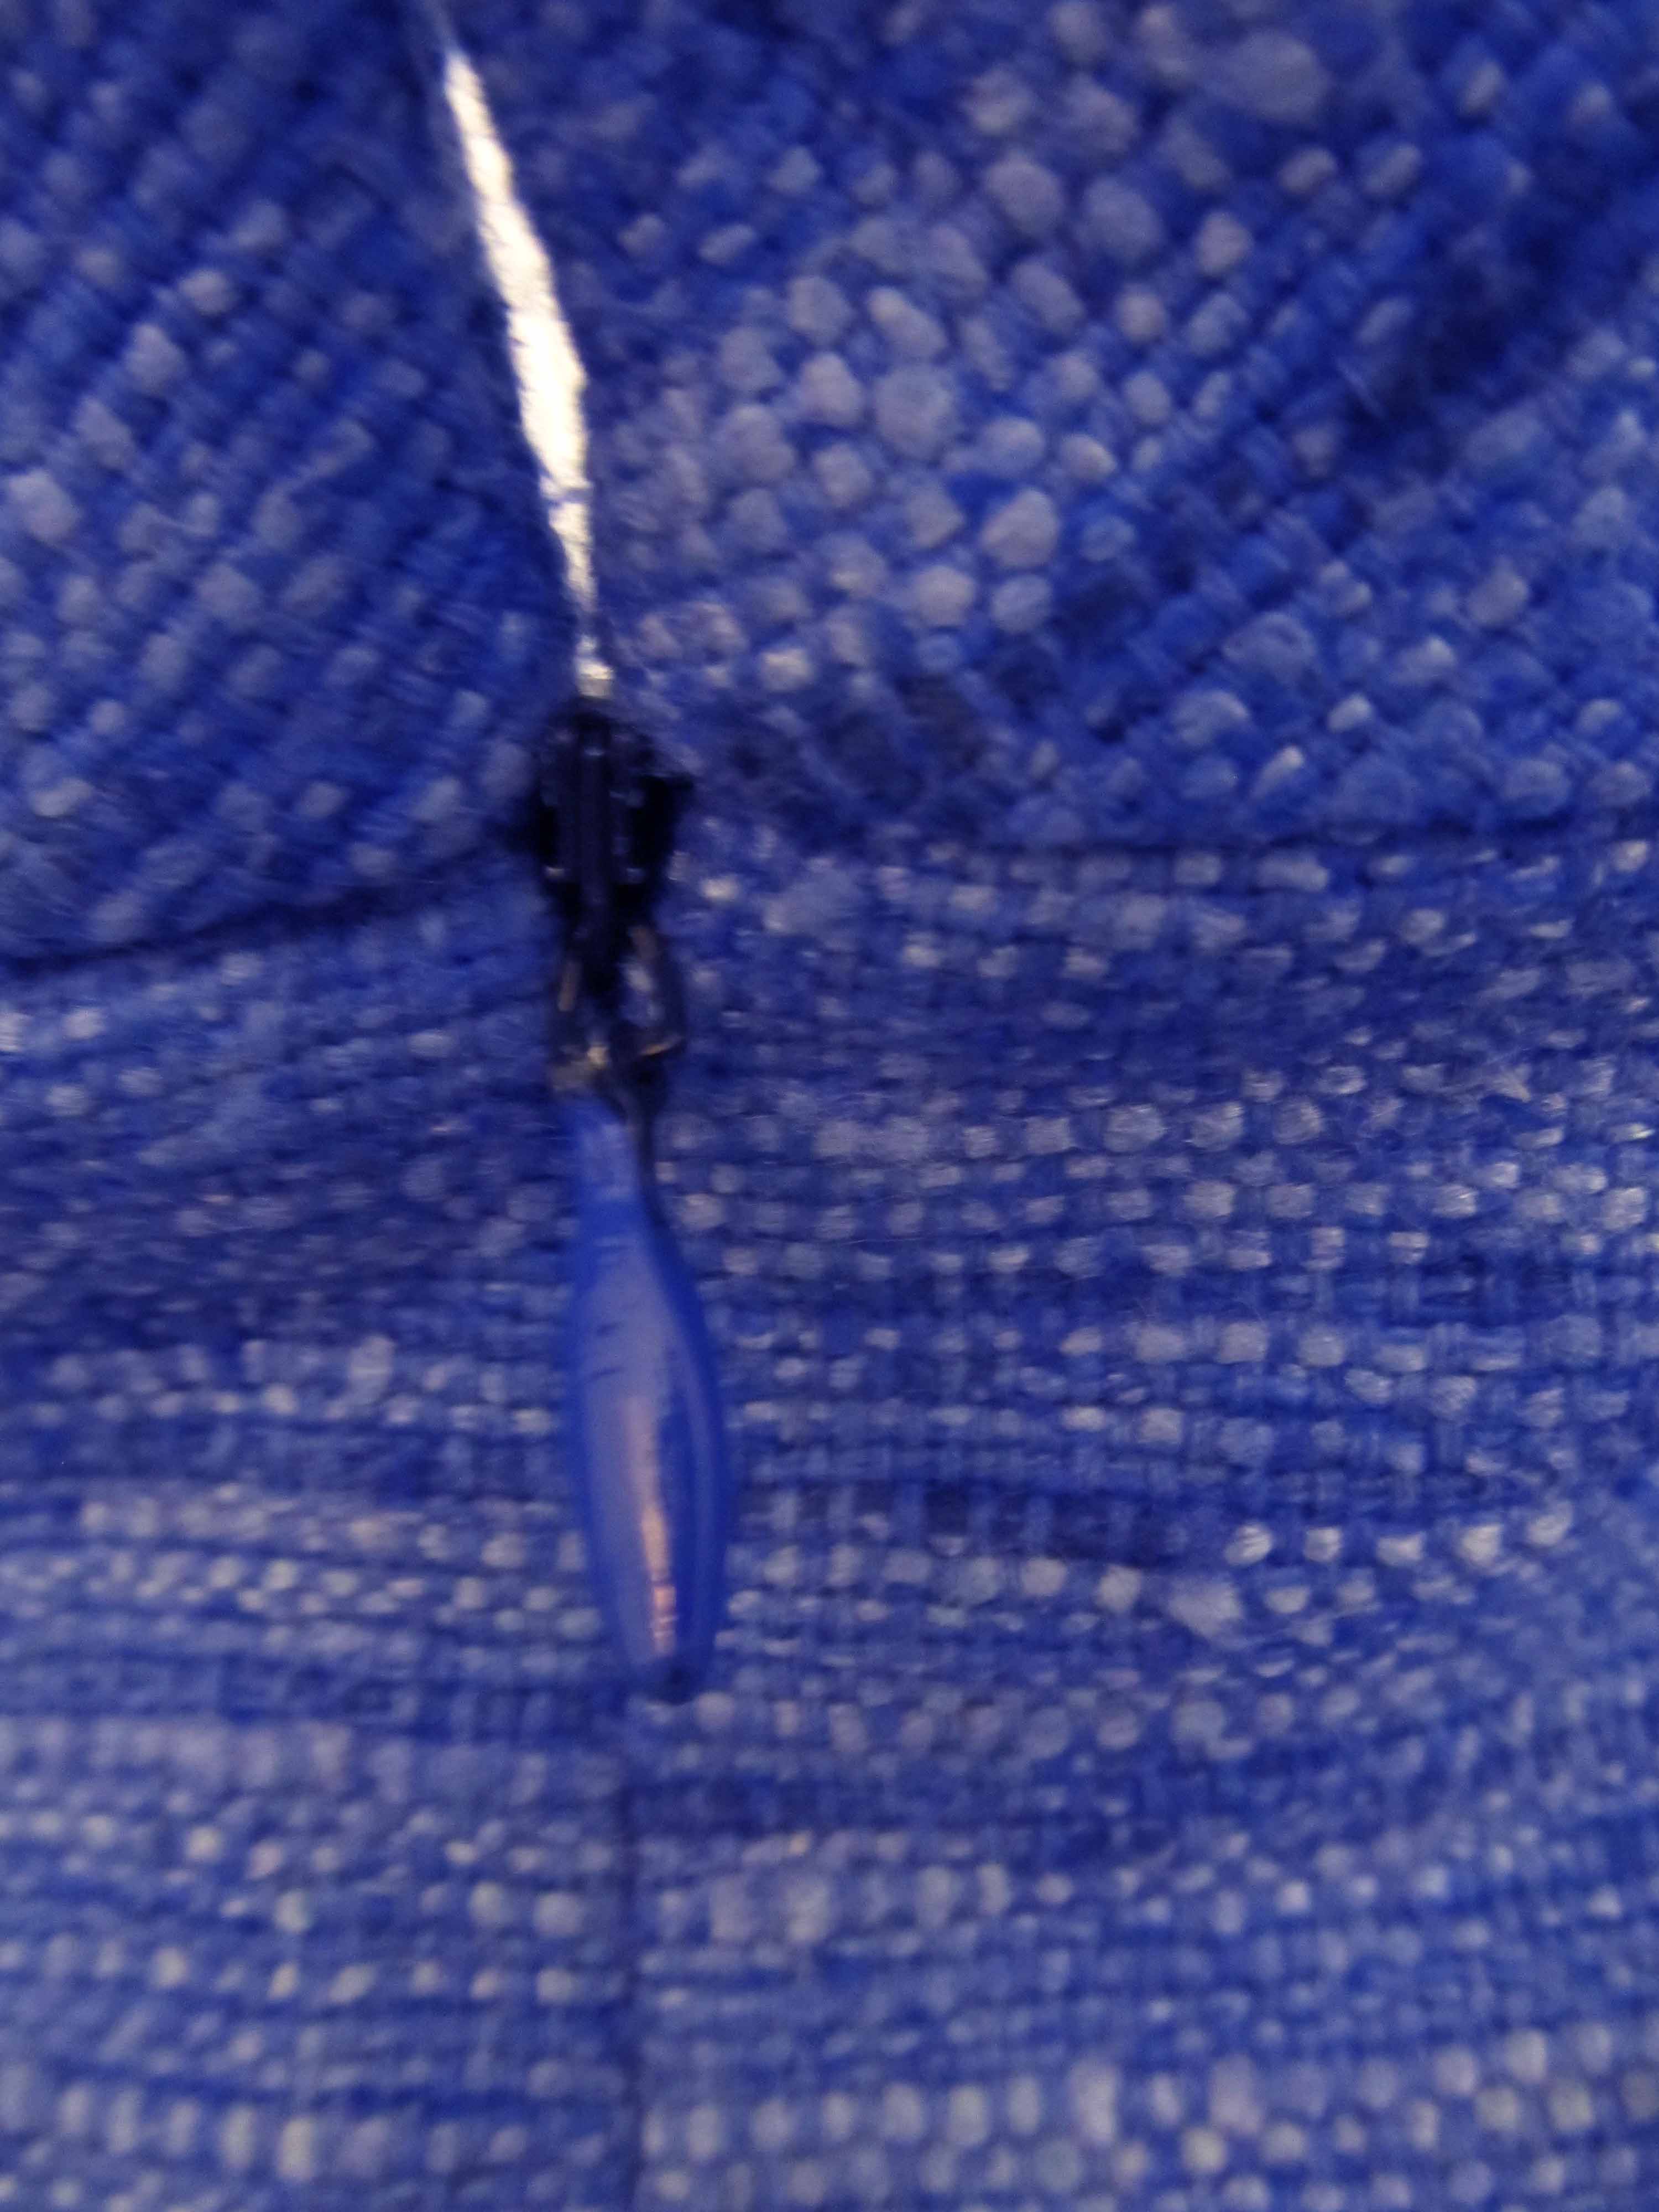
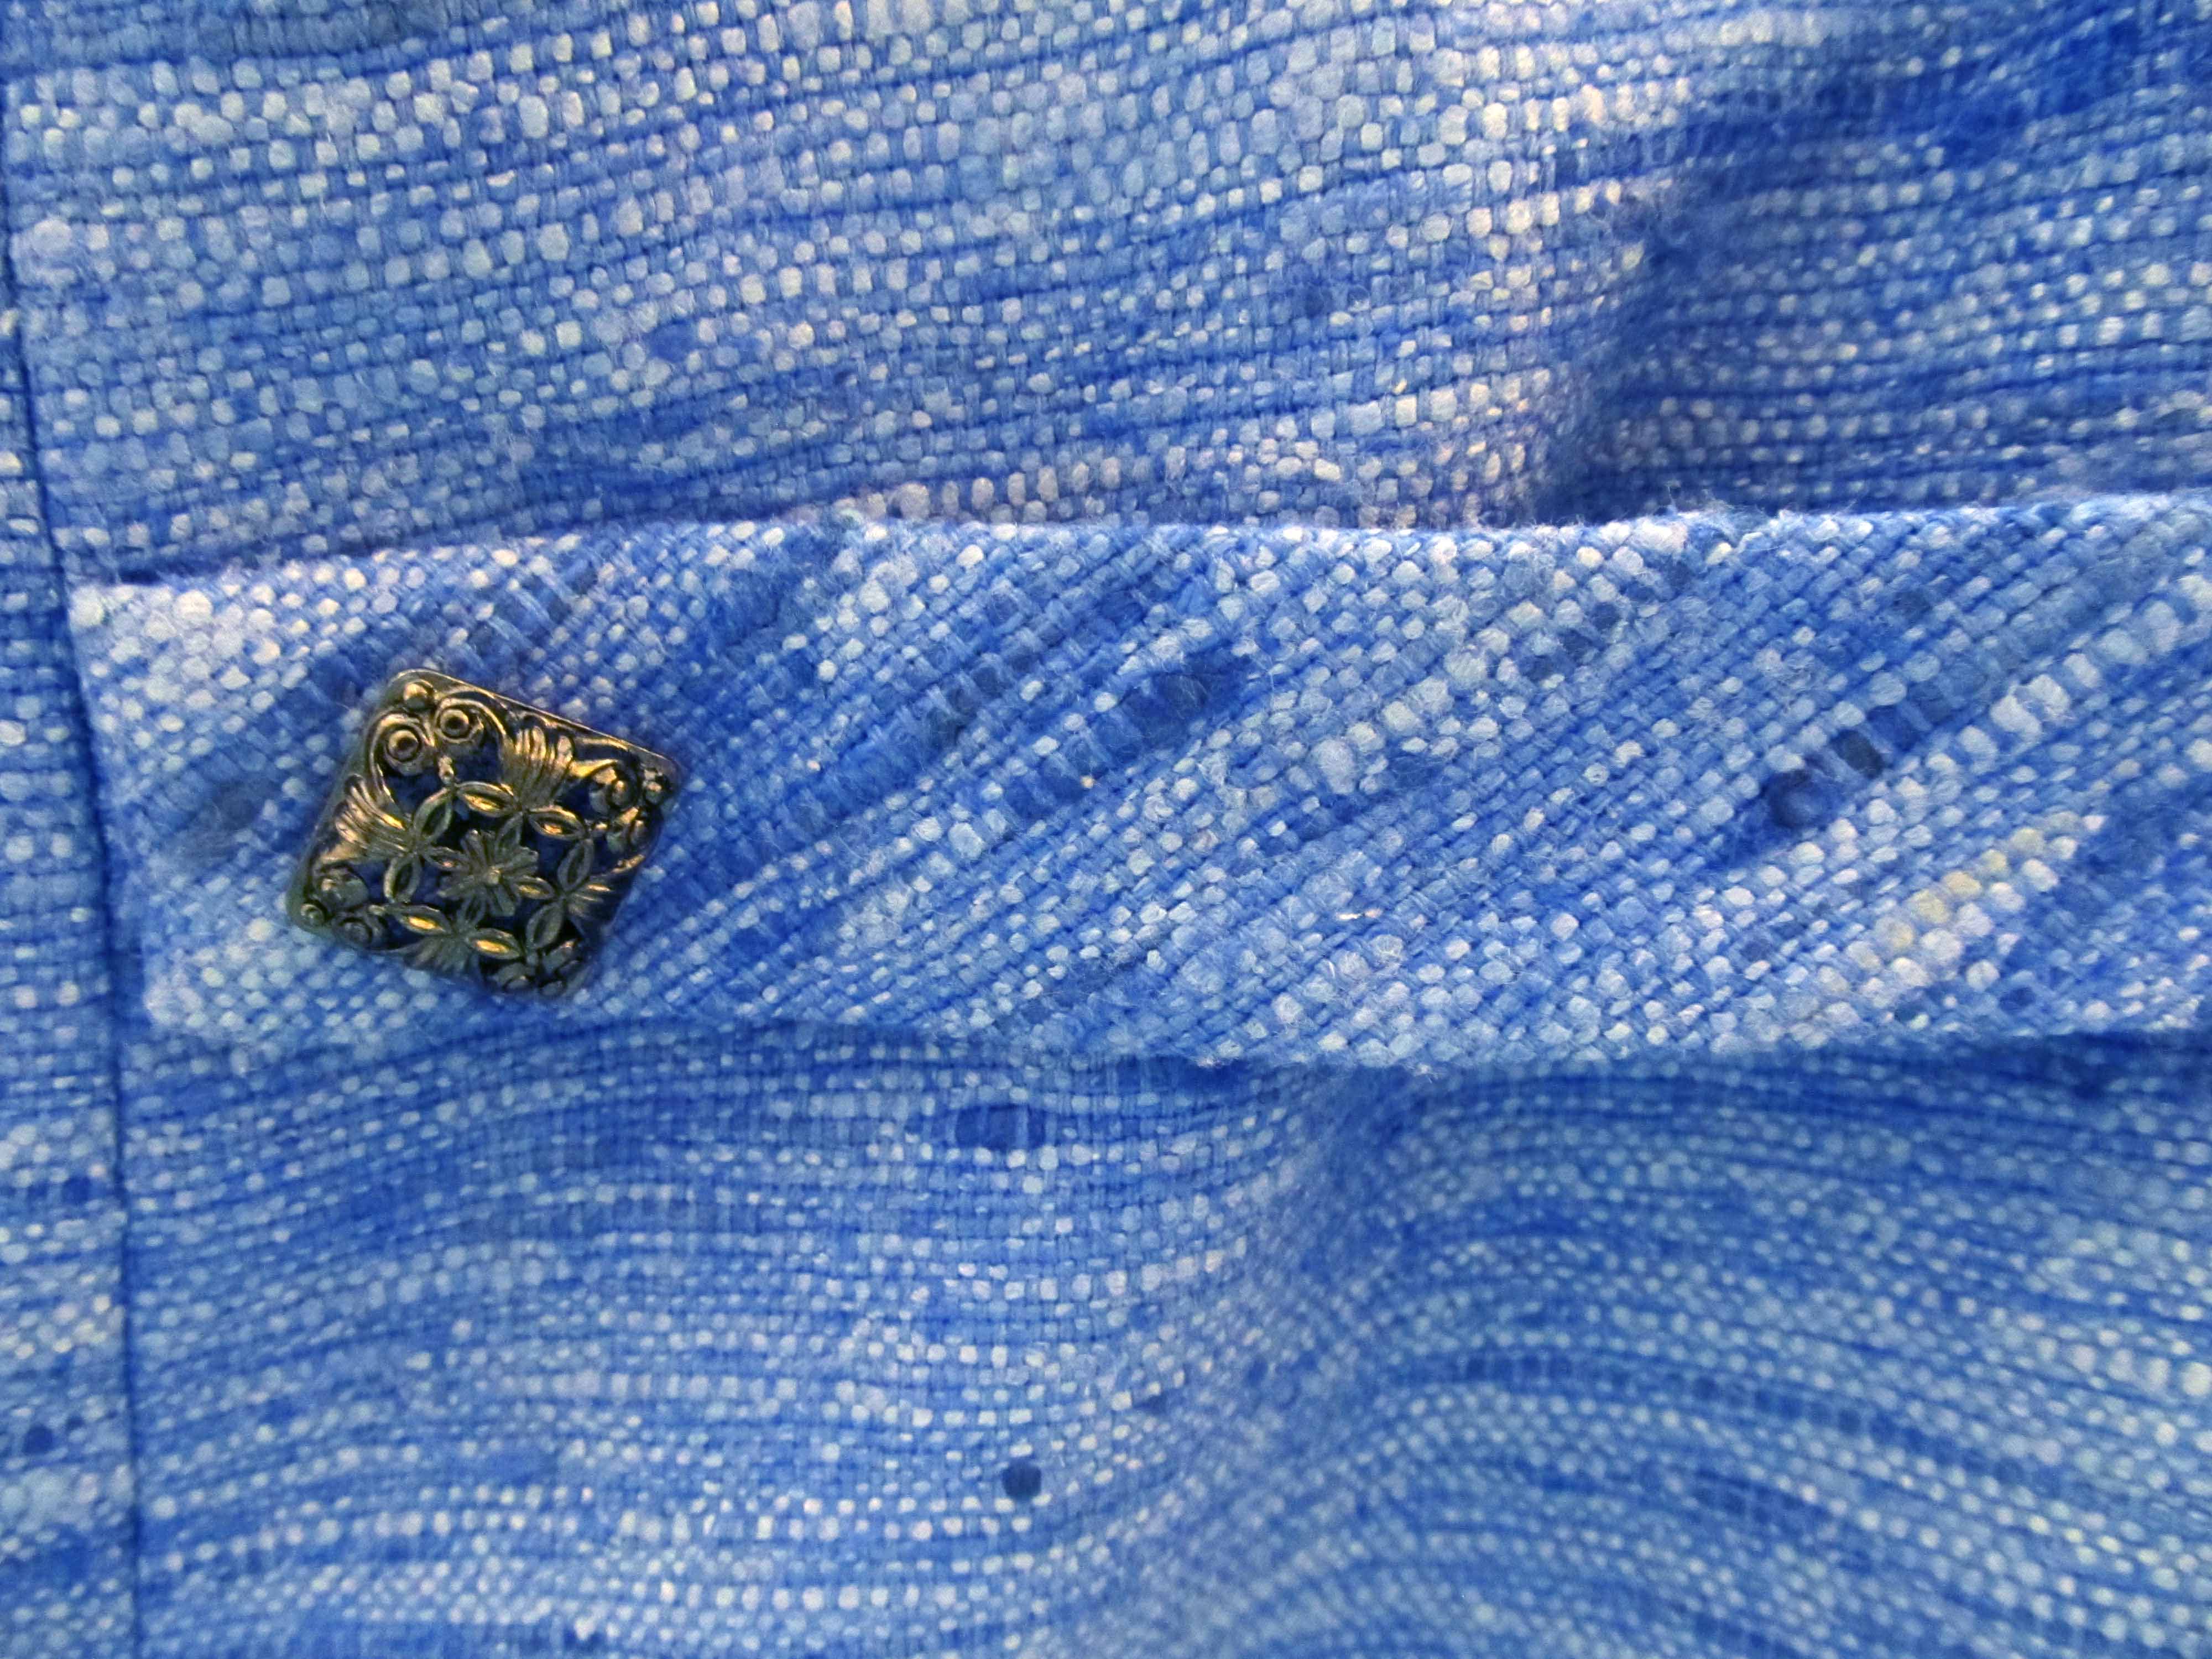
As you might be able to tell from this picture, I’m still shying away from having the ties go across my tummy. So, my solution is to tie them at the side so that they only go across the back. The other thing I debated was whether to add a hidden snap in the front to prevent unscheduled appearances of lingerie. I was worried that it might pull, but I tested it out with a small safety pin and discovered it’s not noticeable. So, I’m adding a small nylon snap for security.
The dress is incredibly comfortable to wear and, now that I’ve done the pattern work, will be pretty quick to sew again.


 The first time we talked on the phone I learned that Sarah was working on her book,