 I needed a dress for an evening wedding in New York this month and, for once, I started early. I brought a muslin, the fabric I wanted to use and the embellishment I was thinking of using to the You Choose Your Focus workshop Sarah Veblen taught here in Chicago in February. The details of that workshop and the design of the dress are here.
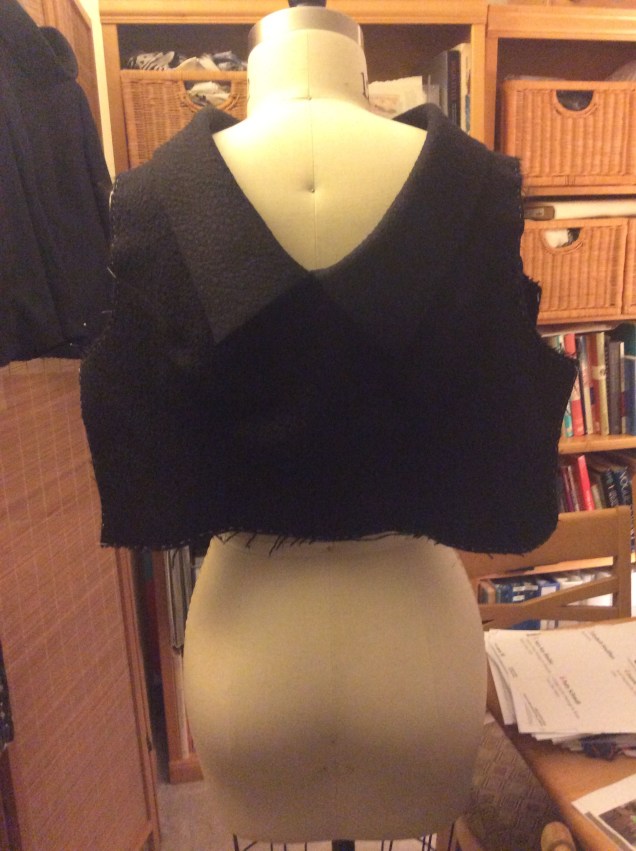
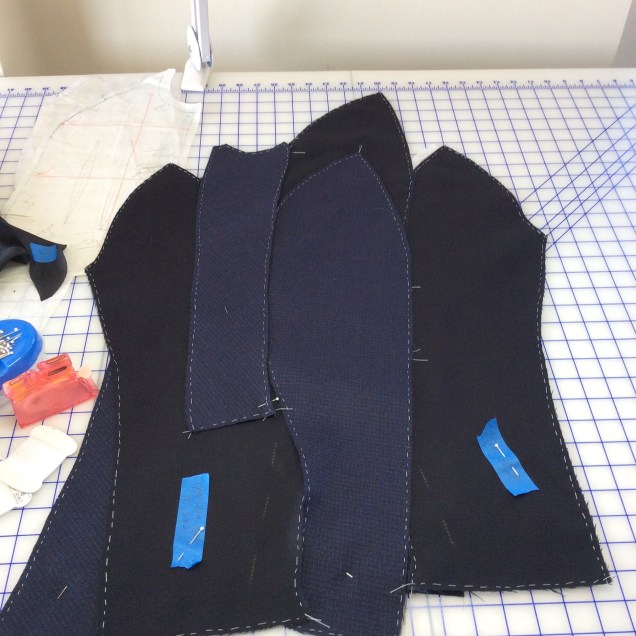
With the pattern work done, the next step was to cut and then hand baste the silk organza underlining to the black silk and wool matelassé fashion fabric. This step seemed to take forever. The fashion fabric was pretty wiggly and underlining was still a new process for me. I found myself pulling out stitches and repinning organza to fashion fabric until I thought I’d lose my mind. It didn’t help that the clock was ticking on the fashion show I was co-chairing and work got really crazy. What I now know can be a relaxing, almost meditative part of sewing was none of the above for this project.
In addition to the underlining, the bias collar is supported by soft stretch fusible interfacing, which I fused to the silk organza before basting it to the fashion fabric. The dress is lined to the edge in silk charmeuse, so I also fused interfacing to the the area around the neck and armscyes in the shape of what would have been a facing.
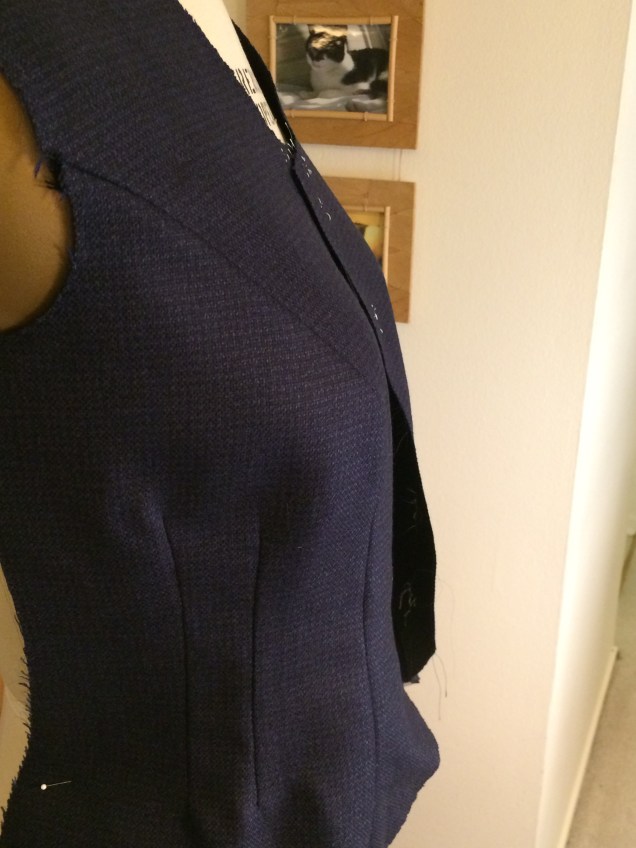
Once the fabric was underlined, I loved the hand of the combination and the way it behaved. The princess seams in the bodice went together beautifully. Once those were done, I was sure the skirt seams would be a breeze. I was wrong. More about that in a bit.


The collar/neckline seam always requires directional stitching and on this dress I was concerned about getting the point at center back right. This was a bit more challenging than usual because there is no center back seam in the dress. I followed Sarah’s instructions that included careful marking of the point and machine basting then checking the placement. Once I was satisfied that things were where they needed to be, I went back over the machine basting with a normal 2.5 stitch length. After checking it again to be sure it was right, the final step was to sew at 1.1 stitch length from about an inch away from the point, stop with the needle down and pivot and then continue for about an inch on the other side.
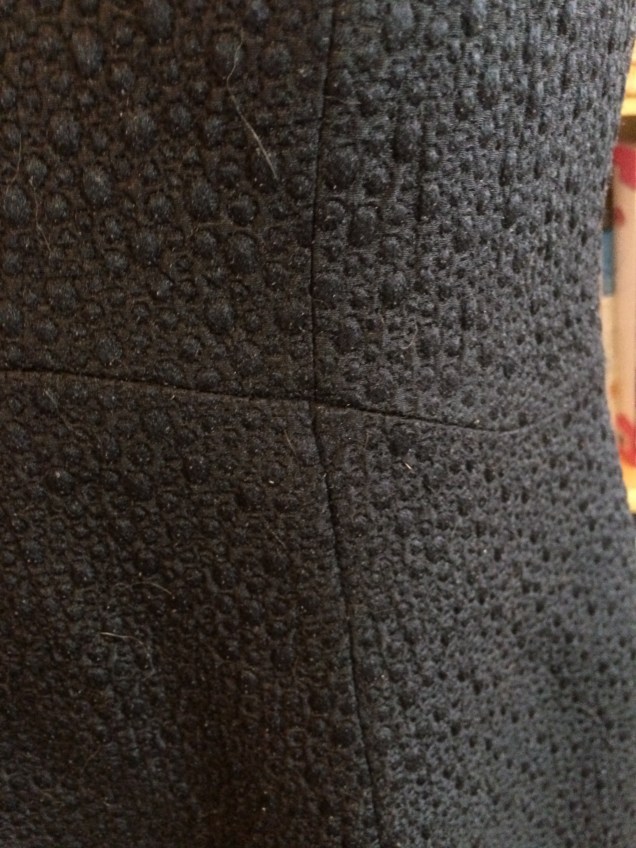
With the part I was worried about behind me, I proceeded to sew the skirt pieces together. That’s when the trouble began. The first seam was off by more than 1/4″ by the time I got to the end, so I unstitched, steamed the pieces and made sure they matched when I repinned them. I stitched again after adjusting the tension on my machine and the same thing happened. I knew that if I couldn’t get the vertical seams to match there was no way I was going to be able to get the four-way intersections of vertical seams and Empire seams to come together. I was in a panic. All I could think to do was hand baste the seams before sewing them on the machine. I did this with one seam, saw that it worked and called it a night.
A couple of people suggested using a walking foot and Sarah confirmed that that should solve the problem. I’ve used a walking foot before and I don’t know why I resisted at first. Turns out that was the perfect solution. The walking foot is my new best friend. Here is how those four-way intersecting seams turned out.
This made me think about those new machines that have built-in even feed and I had to push those thoughts out of my head! This is not the year for a new machine
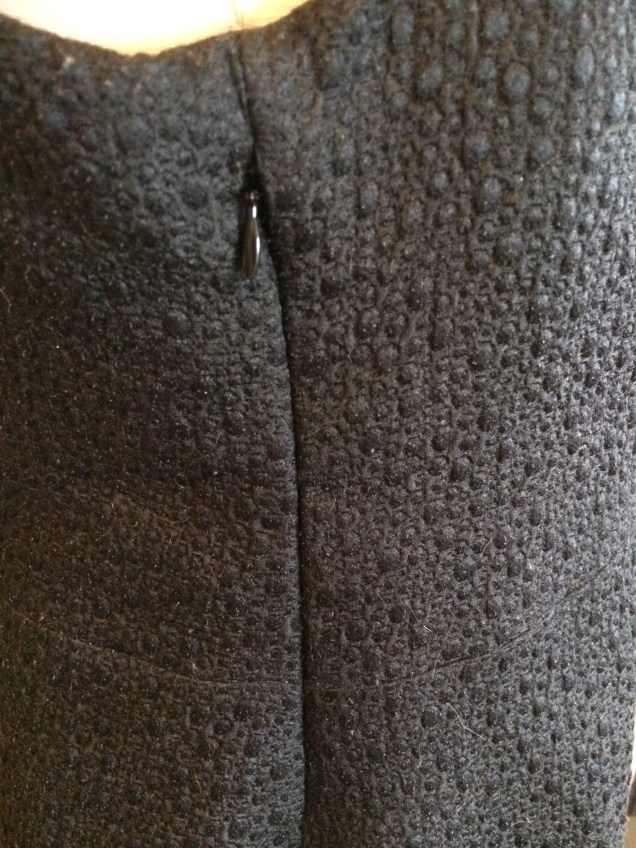
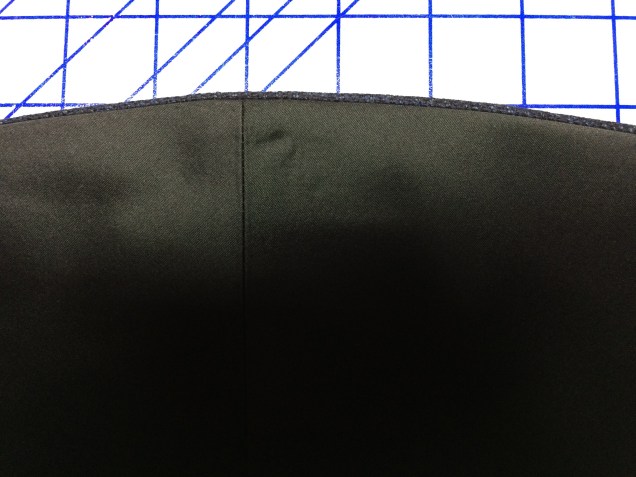
The next dilemma was the zipper. You can’t install an invisible zipper with a walking foot. That’s where hand basting was necessary. I sewed the first side of the zipper into the side seam as usual with the invisible zipper foot. I then hand basted the second side and made sure the Empire seam was aligned before sewing that side on the machine. Here is the result.
Whew!
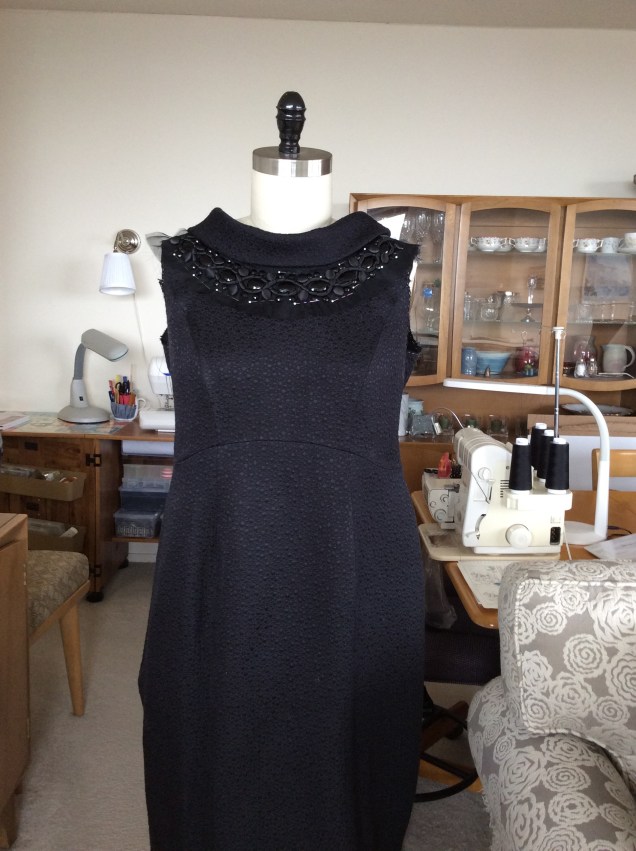
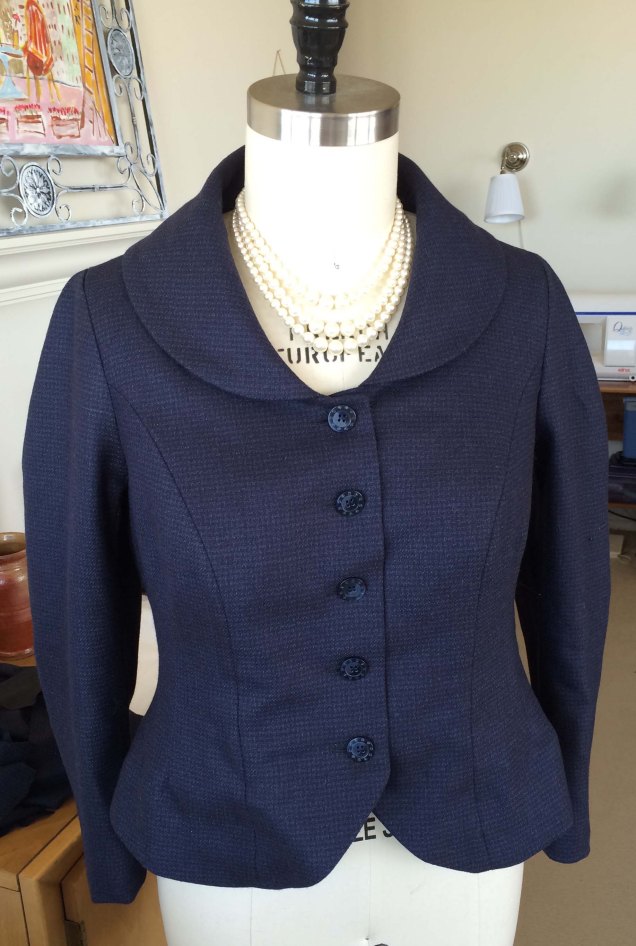
The next step was to attach the lovely trim from Soutache. Sarah had demonstrated how to clip the net backing until it fit the shape of the neckline seam. I clipped the rest of the netting and pinned the embellishment on the dress form so the placement would conform to the dress with a body inside instead of a flat surface.
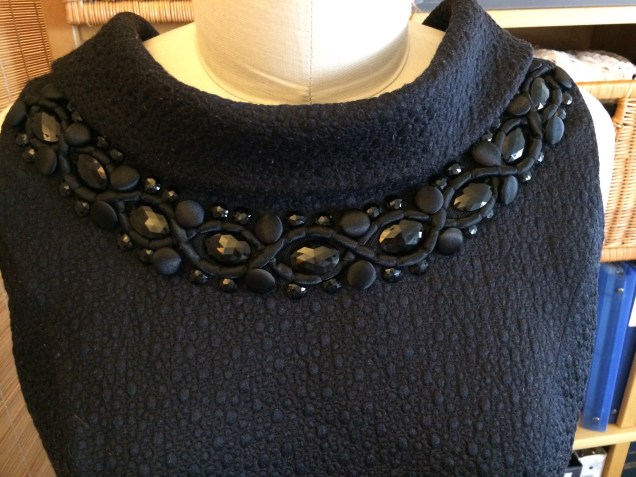
There are a LOT of beads and buttons in this trim! I tried to sew each one before the fashion show, but I ran out of time. That’s why I needed my friends to rescue me with hemming and temporary stitching of the lining at the neck seam. After the show, I finished stitching every bead and every button to the dress and trimmed away the last of the stray netting at the edges. I then reattached the lining at the neck edge and understitched.
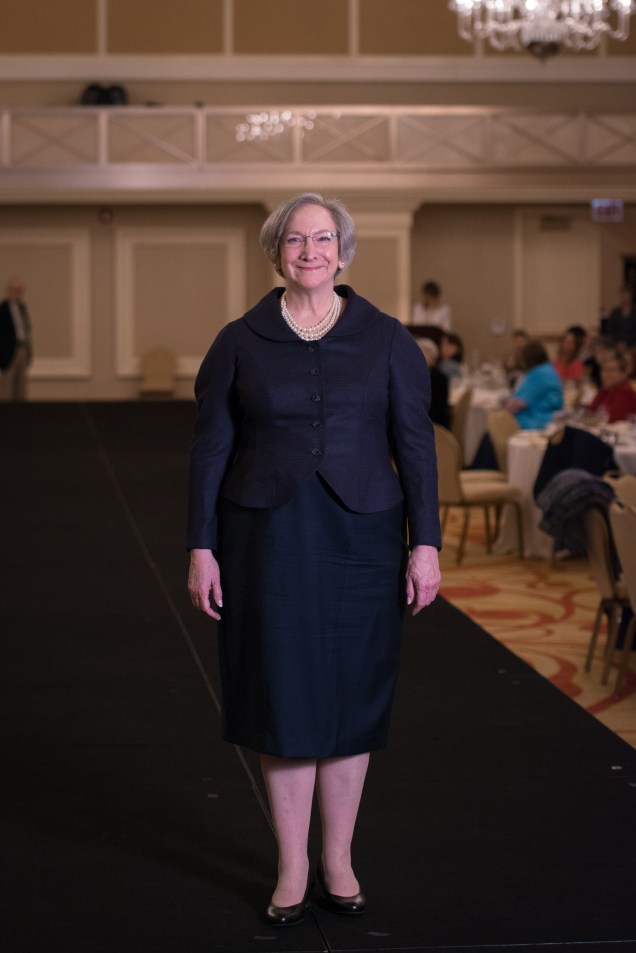
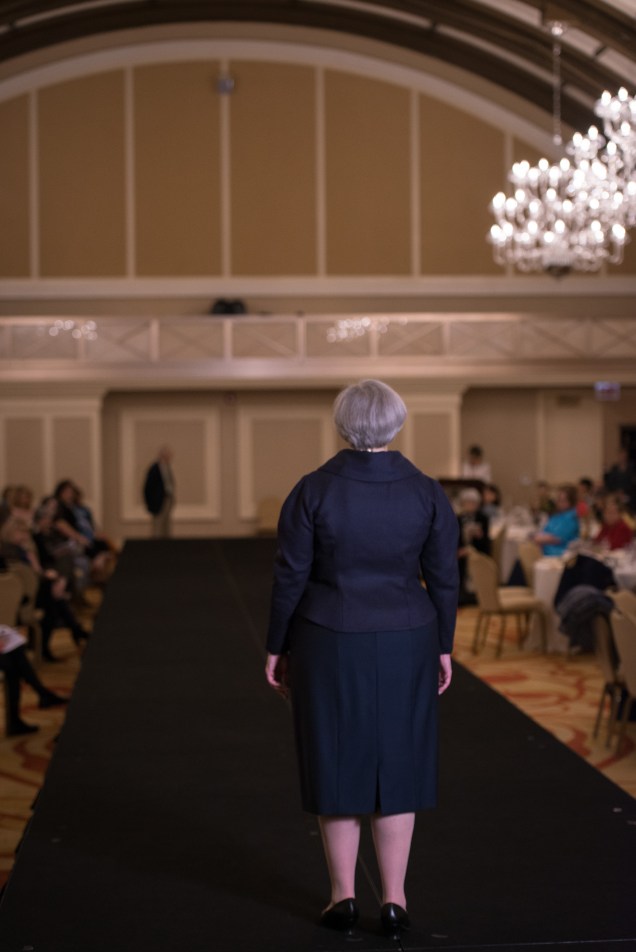
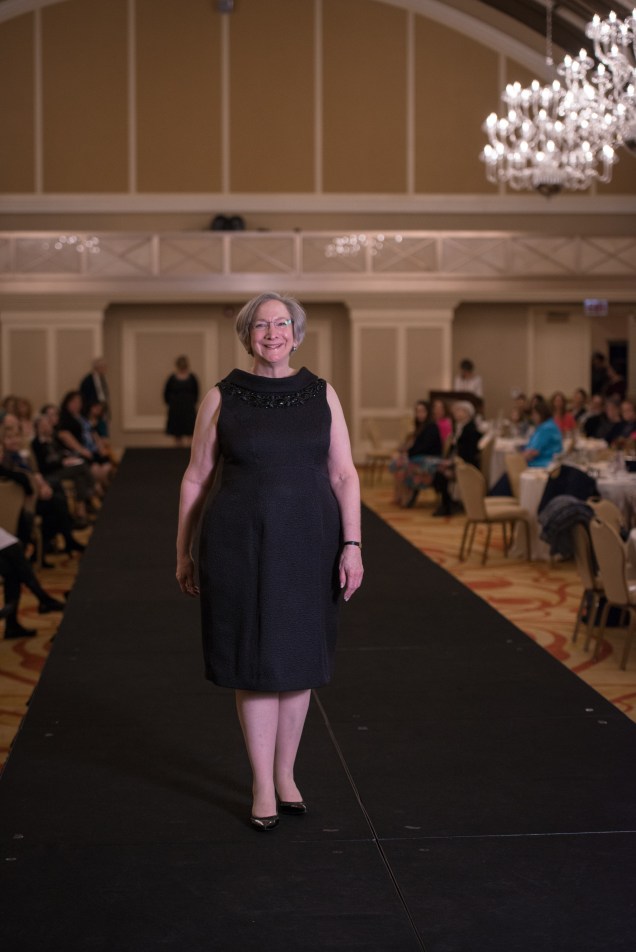
The dress is now ready to wear to the wedding. I’m also going to get another chance to model it in the ASG National Conference fashion show. This will be my first time in a fashion show at Conference. It should be fun.
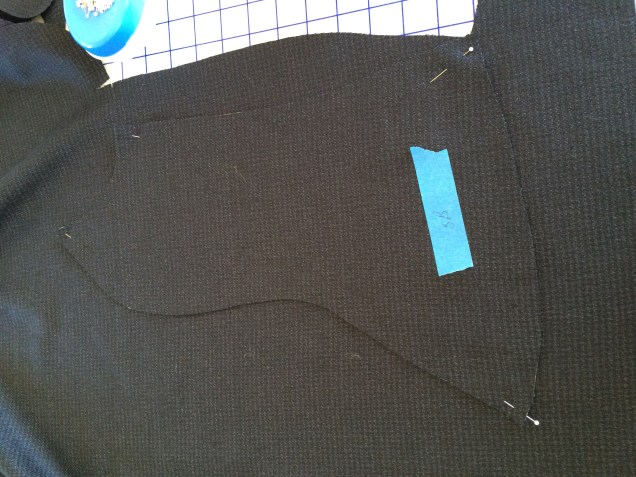
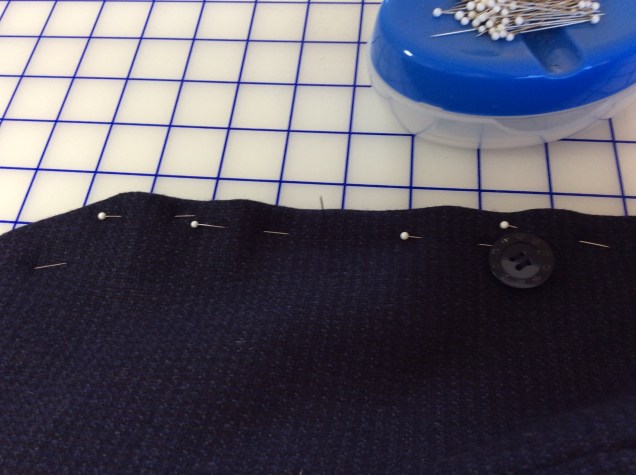
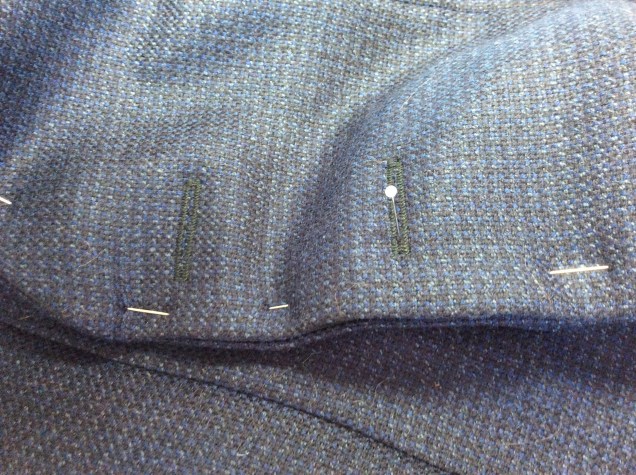 I used that pin as a guide for sewing on the corresponding button. It worked like a charm.