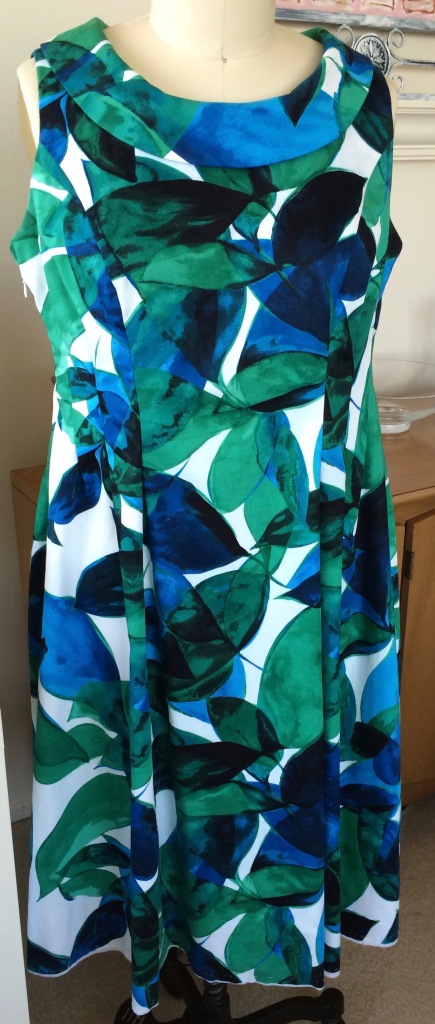
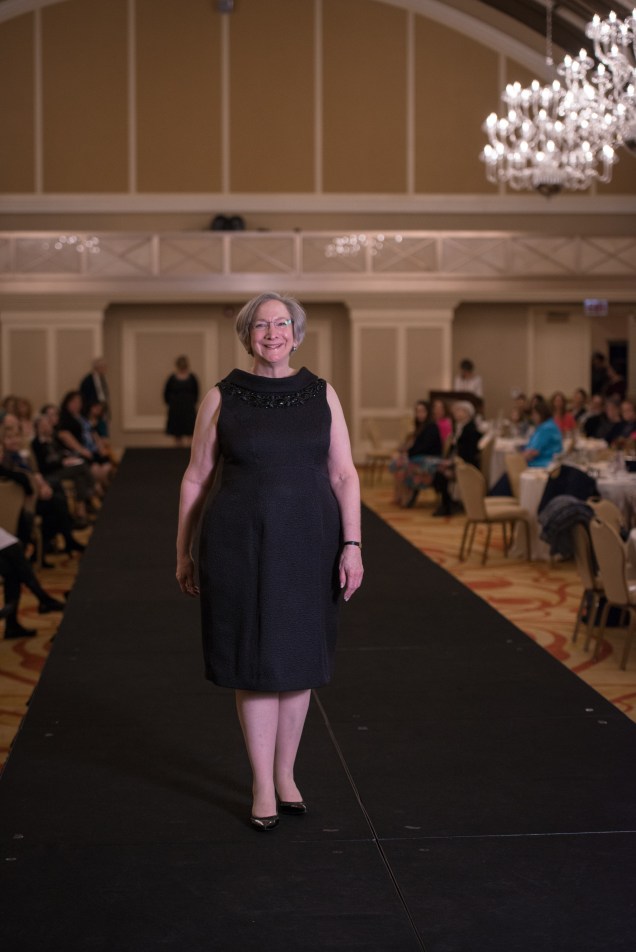
This is a dress that really surprised me. After the Haute Couture Club of Chicago fashion show I was mentally and physically exhausted, but I still had another huge project ahead of me. I had taken on the task of designing and editing a cookbook for a bride-to-be and co-hosting her bridal shower, which was six days after the show in New York. I was feeling good about the fact that my dress for the wedding was pretty much done and really looking forward to sewing without a deadline for a while when I learned I was going to be invited to the rehearsal dinner. I don’t mean to sound ungrateful, but the only thing I could think of was that I had no idea what to sew and was fresh out of inspiration.
Not that it matters, but I didn’t want to wear the same silhouette to both events. Then there was the question of fabric. I didn’t really want to do black again, although I have a very nice black eyelet that would have been perfectly fine for a summer evening dinner party on the patio of a hip Brooklyn bistro. With all those negatives floating around in my head, is it any wonder I was uninspired?
The one thought that did develop was that I wanted a print in silk or linen, but I couldn’t find anything that appealed to me. Clearly, I needed a mentoring session with Sarah Veblen to get me on track. Over FaceTime, I went through a pile of fabrics I have in my collection that could work, and we discussed each one. Most of the fabrics I have that could be made into cocktail or evening wear would work in any season other than summer. Other fabrics failed to spark any enthusiasm.
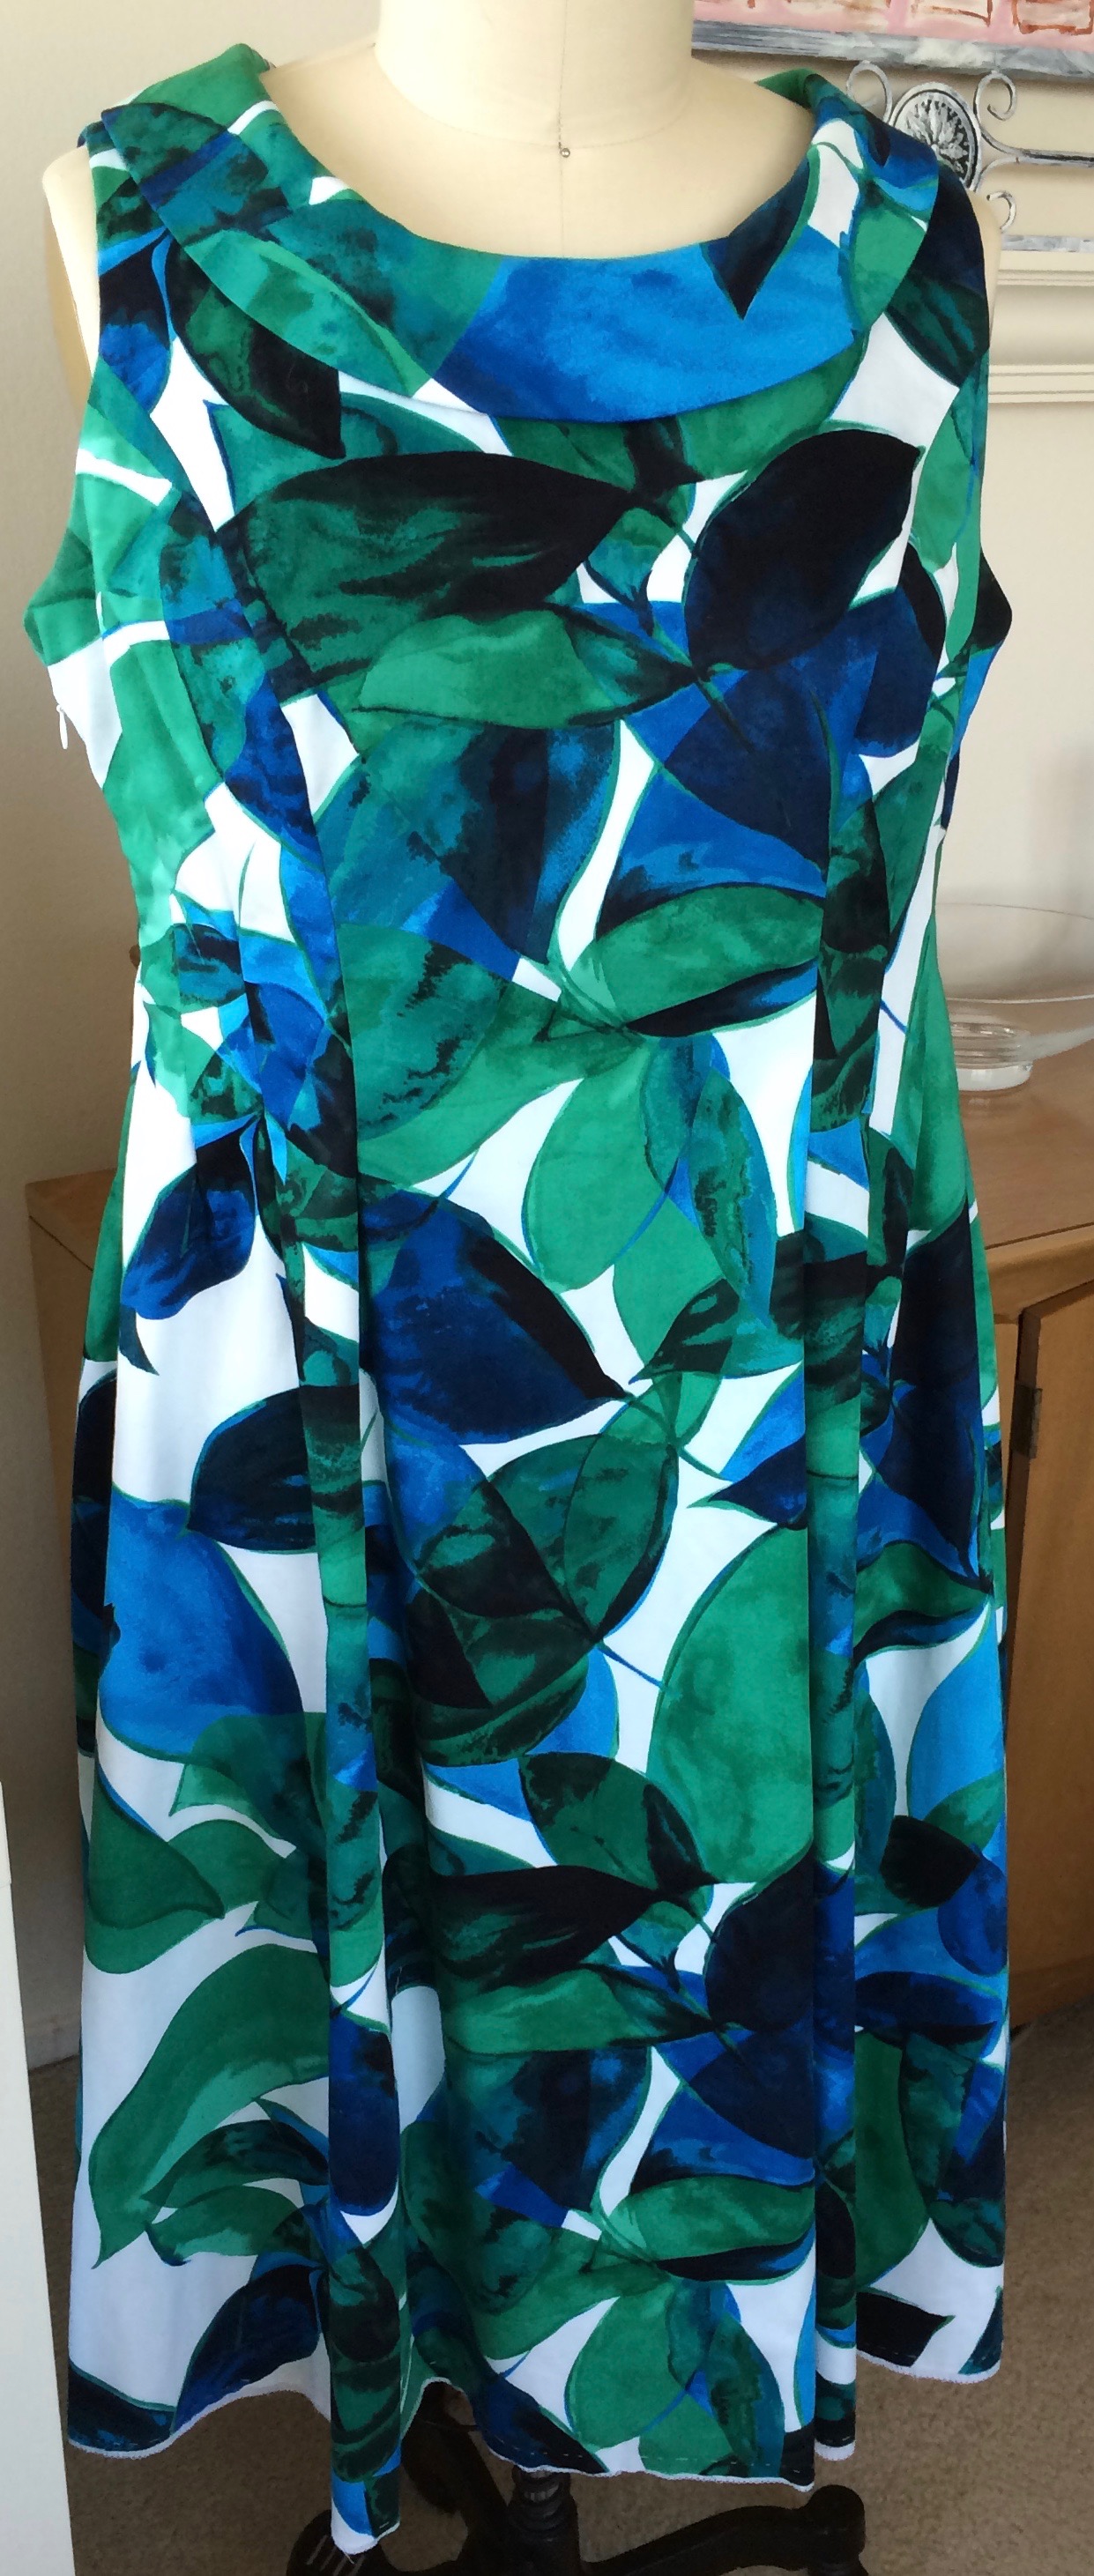
In discussing other possibilities I mentioned how much I liked this blue and green leaf print from Sawyer Brook and then quickly explained that I’d dismissed it because it was a large scale print with bold colors which brought it outside my comfort zone and the fabrication was wrong —cotton sateen with stretch. Cotton can be a perfectly lovely fabric for a summer dress that’s a little bit dressy, but I’m not a fan of Lycra in woven fabrics. It interferes with the drape and makes the fabric overly heavy. It also makes the fabric uncomfortably warm, destroying its ability to breathe.
Once Sarah saw the print, she insisted that I order the fabric. Her answer to the fabrication objections was that I should underline the dress in cotton batiste and not line it.
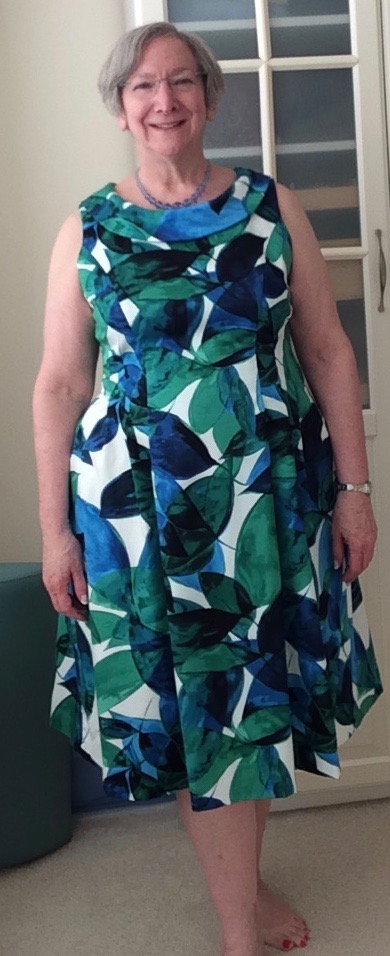
With the fabric selected, it was time to develop a pattern. I wanted a full skirt, which was achieved by slashing and spreading copies of my basic armscye princess dress pattern pieces. Instead of a waist seam that would cut me in half and add bulk where I’m plenty bulky enough, I wanted to achieve the transition from a fitted bodice to the full skirt with fairly generous release pleats. I also wanted a wide, gently curved neckline and a rolled collar that had overlapping ends on one shoulder.
I was scheduled to share a day with my friend Steph King from Siouxigirl Designs working privately with Sarah Veblen before attending her class Exploring Fashion Design—Design I in mid-May. Steph brought several muslins and I had planned to do the same when we originally scheduled the session. But, with the leaf print dress project that needed to be completed before June 10, that became the only thing I was going to have time to work on that day. Grouse, grouse grouse!
Before flying to Baltimore, I drafted the pattern and mocked it up in muslin. I left the release pleats for Sarah to place and drape on me. We decided the dress needed a third pleat on each side at the front princess seam. That required angling the princess seam outward from above the waist to the hem. It also required some working out of the construction process, which ended up to be sewing the princess seam first and then pressing and clean finishing the seam allowances. The next step was to sew the release pleat, which started at the seam and branched out below.
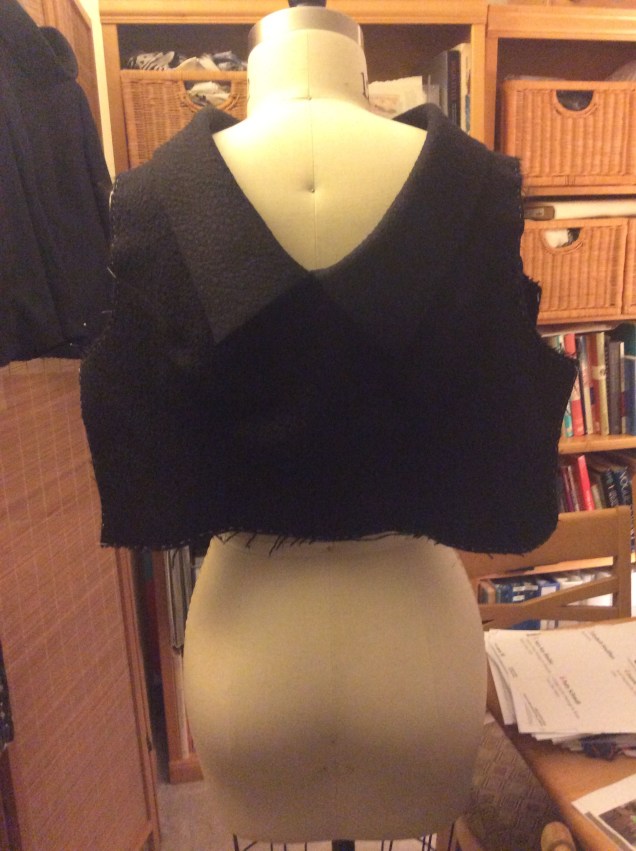
We took a critical look at the collar and ultimately decided to eliminate the overlap at the shoulder. Instead, I connected it at center back. Sarah suggested a silk dupioni undercollar, which I interfaced with soft stretch fusible. The upper collar is underlined like the rest of the dress.
Sarah had told me to bring the fabric with me so she could help me lay out the pattern. Because of the scale and complexity of the print, I ordered lots of extra fabric. Ordinarily, I order three yards of fabric for a dress and I have plenty left over. I ordered five yards and don’t have much of anything usable left over. I knew that strategic placement of the pattern would require full pattern pieces for the front and back as well as the collar, because each piece had to be laid out on a single layer of fabric.
Sarah walked me through her thought process in placing pattern pieces. One of the primary goals was to break up the white areas. Next, it was important to avoid having the print march across the dress. This is not a print where we wanted to match motifs at seamlines, but we wanted transitions that weren’t jarring. If I had been left to my own devices on this step, I would have spent a lot of time wondering and questioning my decisions. Instead, Sarah guided me in placing each piece. She left me to pin and cut and then come up with an idea of where the adjacent piece should be placed while she worked with Steph or did something else. I’m pretty sure all the placements I suggested were changed, but each time the reason for the adjustment made sense.
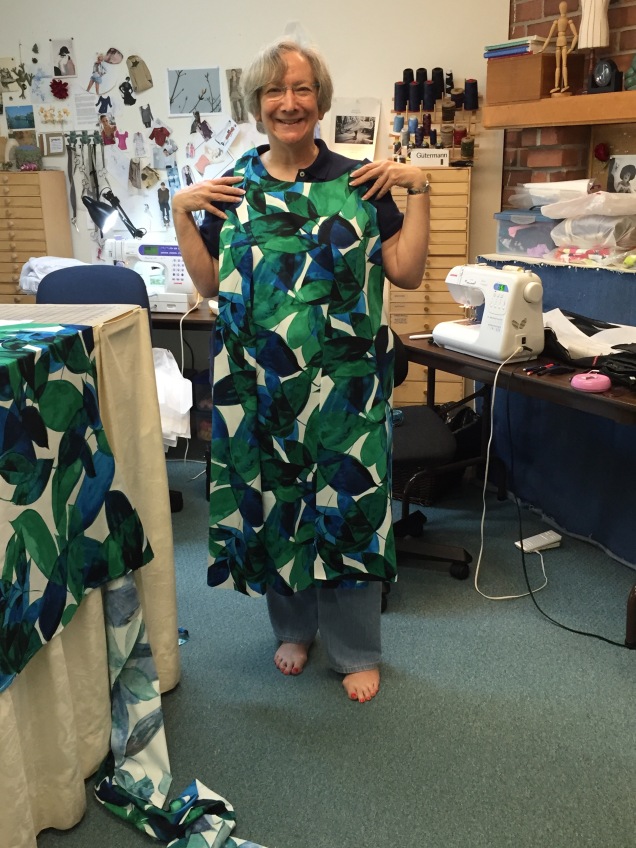
The last decision to make was where to place the collar. We rejected having black at center front and knew we wanted to avoid white there. We opted for that pretty blue and found an orientation that worked. It took hours to get this thing placed and cut!
After hand basting the batiste to the fashion fabric, construction was fairly straightforward. I mentioned the process we worked out for the princess seam release pleat earlier. The other four release pleats (two on each side front panel) start and stop in the middle of the fabric with the starting points staggered. For these, I started with a locking stitch, then sewed for about an inch with very short stitches (1.1 on my machine). I then switched to a regular stitch length, returning to the short stitches an inch before the end. At the end, I used a locking stitch, stopped with needle down, raised the presser foot and pivoted then stitched over the last inch with the same short stitches.
The cotton batiste underlining really makes this dress work. It controls the stretch in the fashion fabric, which was the primary reason for adding it, but it also makes the skirt in the area below the release pleats fall in nice soft folds.
This is the first garment I’ve made in a long time that isn’t lined. Because it’s a summer dress and it already has that extra layer of underlining, Sarah advised me to not line it. The seam allowances are serge-finished. The side seams are pressed open and were serged before stitching. The princess seams were serged together after stitching, pressing and clipping the curves where necessary. Those seam allowances are pressed toward the center.
When working on the design, Sarah advised me to make a facing with the cotton batiste I used for underlining. I drafted an all-in-one facing for the neck and armholes and interfaced the batiste with soft stretch fusible. In drafting the facing, I was overly timid about its depth. For next time, I’ll draft a facing pattern that is more generous. In this one, I made sure I anchored the bottom edges by hand sewing them to the underlining. I also anchored the pleat intake the same way.
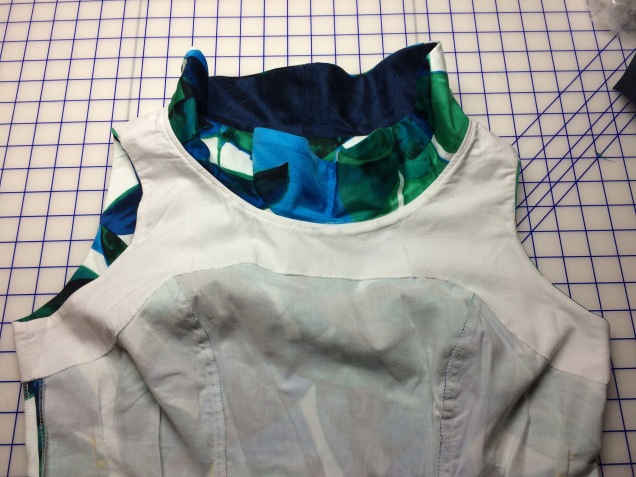
I was able to attach the facing to the neck seam and armscyes completely by machine. I first attached the facing at the neck on the outside of the dress, with the collar sandwiched in between. With the underlined fashion fabric, interfaced undercollar and interfaced facing, there was a pretty hefty stack of layers to deal with and even more when sewing over the shoulder seams.
After stitching, pressing and clipping the curves where needed, I understitched all around. The key to understitching is to make sure the seam allowance and facing (or lining) are flat on the bed of the sewing machine and any clips to allow for curves are spread out so they can do their job. And it’s really important to make sure that the only things under the presser foot are the seam allowances and facing. In another project, I kept catching bits of the collar and decided I needed to take a break.
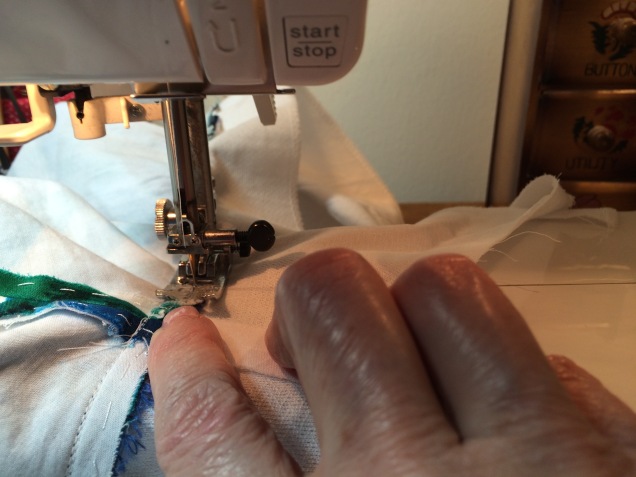
To attach the collar, attach the facing and understitch, I used directional stitching. That is, I started at the shoulder seam and sewed to the center front, then sewed from the opposite shoulder to center front and repeated the process in the back.
The facings are drafted with ¼ inch subtracted at the armscye from the shoulder, tapering back to the original seamline at the princess seams. This encourages the facing to stay hidden. To attach the facing at the armscyes, the facing is already turned to the inside of the dress, but by doing this step before the side seams were sewn, I was able to attach the lower part of the facing to the lower parts of the arsmscyes without any fancy gymnastics.
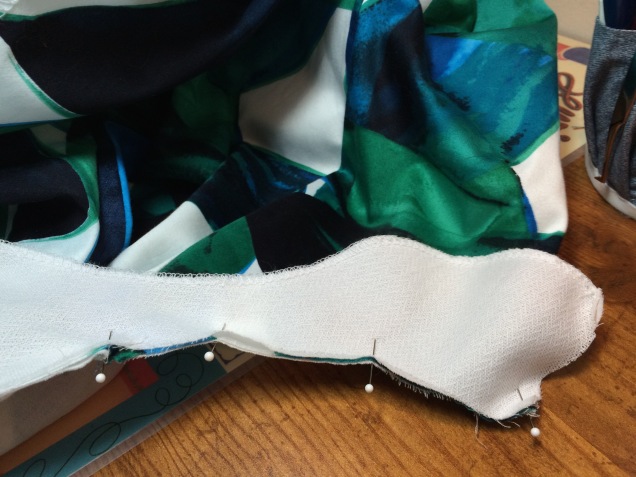
Things get pretty weird looking when you get toward the shoulder seams. You have to reach in between the fashion fabric and facing and pull the work down through the opening at the bottom of the facing to pin and sew the rest of the seam. The way to avoid having to redo this step is to make sure that anything that isn’t supposed to be sewn stays tucked into the tube and the only layers under the presser foot are the underlined fashion fabric and the interfaced facing. Frequent stops with the needle down to feel for that ridge of excess fabric and readjust as needed prevents having to spend quality time with the seam ripper.
The way to make this process go smoothly is to pin and sew one side (front or back) to the shoulder seam, then pin and sew the opposite side. When pinning the second side, the work can slide out easily and because it’s sewn in place it stays where it belongs and creates a path that shows where the new stitching is supposed to end up.
When done, it looks like a fabric sausage.
After turning it out, it had to be pressed with favoring so the facing remains hidden. I understitched as far as possible and pressed again.
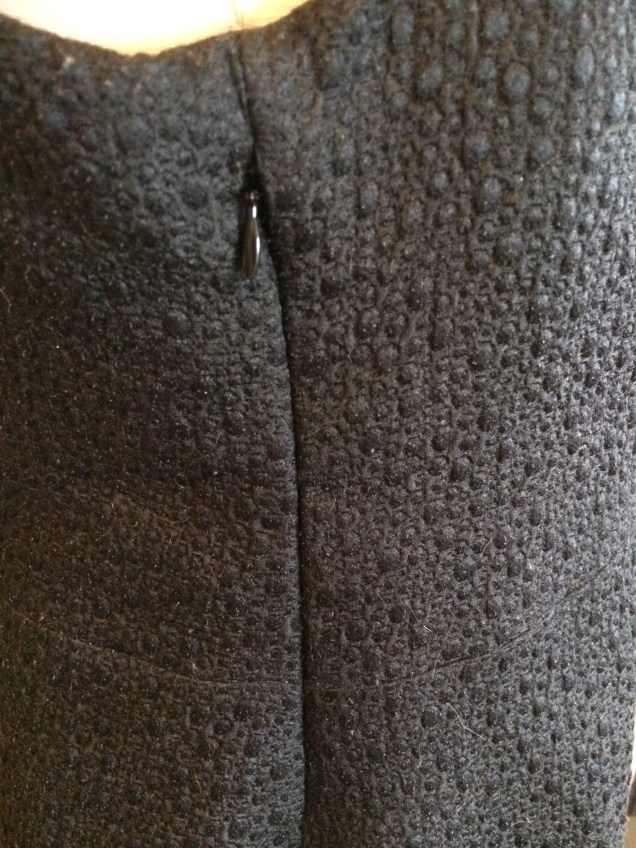
Every sewing project gives me grief at one point or another and this time it was the zipper. It’s an invisible zipper at the side seam, which I’ve done before and shouldn’t have been a big deal.
As much as I love the print and enjoy wearing the finished product, I’m still not a fan of stretch wovens. When the fabric arrived, it had some stubborn creases that resisted steaming and pressing and could only be removed with a vinegar and water solution and additional thorough pressing. The finished dress also developed quite a few creases in my suitcase and required thorough pressing before I could wear it. It’s pretty difficult to avoid woven fabrics with stretch these days, so I may just have to learn to live with these annoyances.
In the end, I think that overcoming the lack of inspiration, lack of enthusiasm for the fabrication and hesitation about wearing a big, bold print turned out to be worthwhile. I love the swishiness of the skirt and will keep this silhouette in my repertoire.

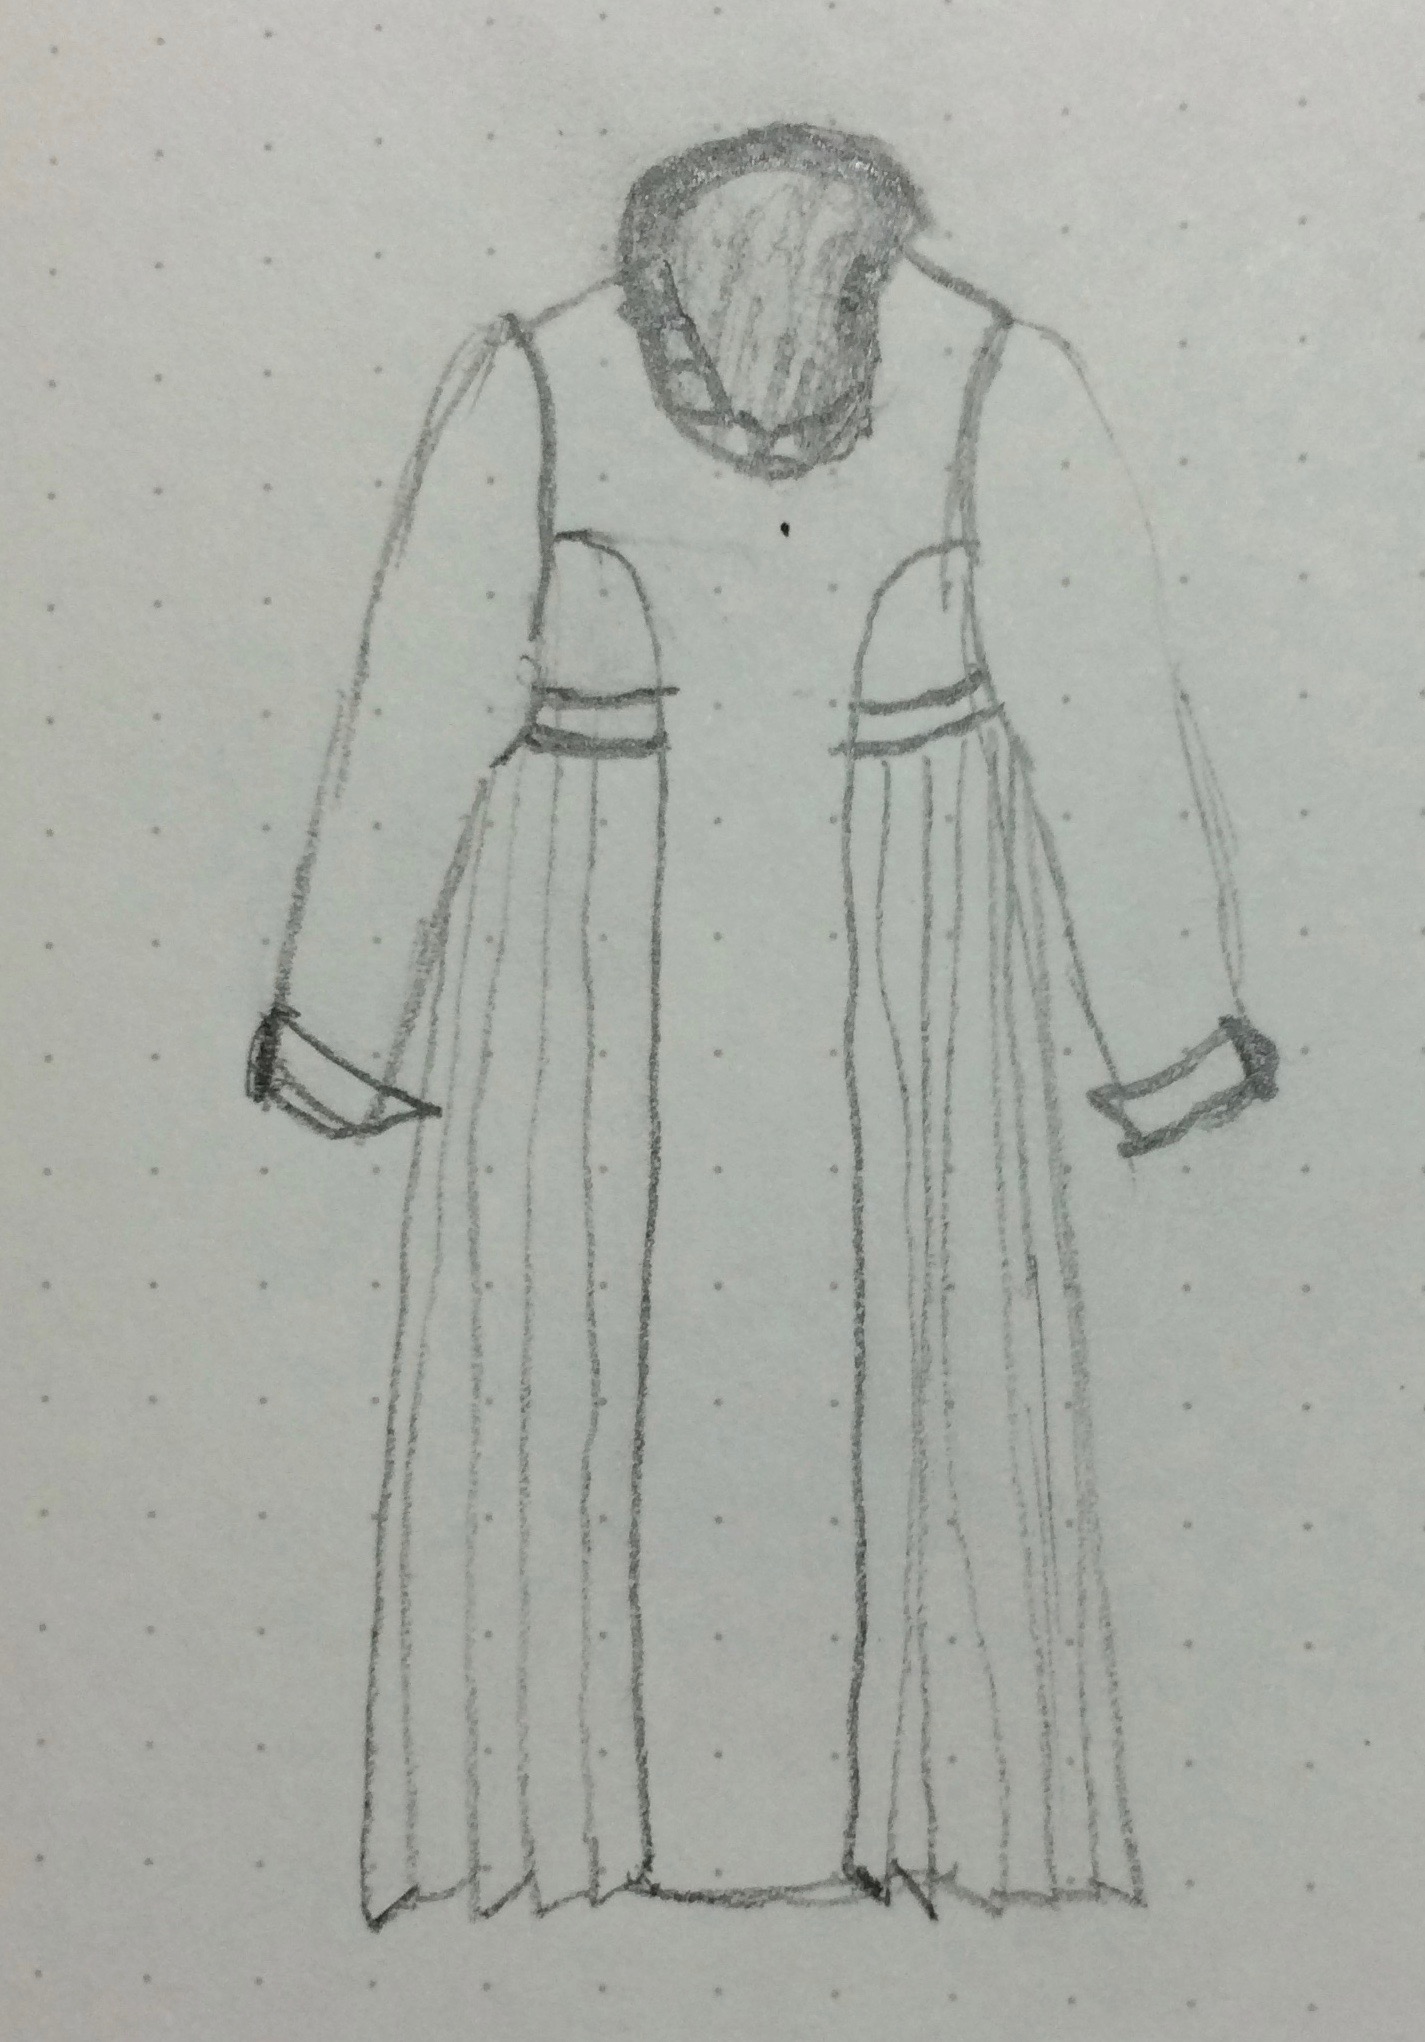
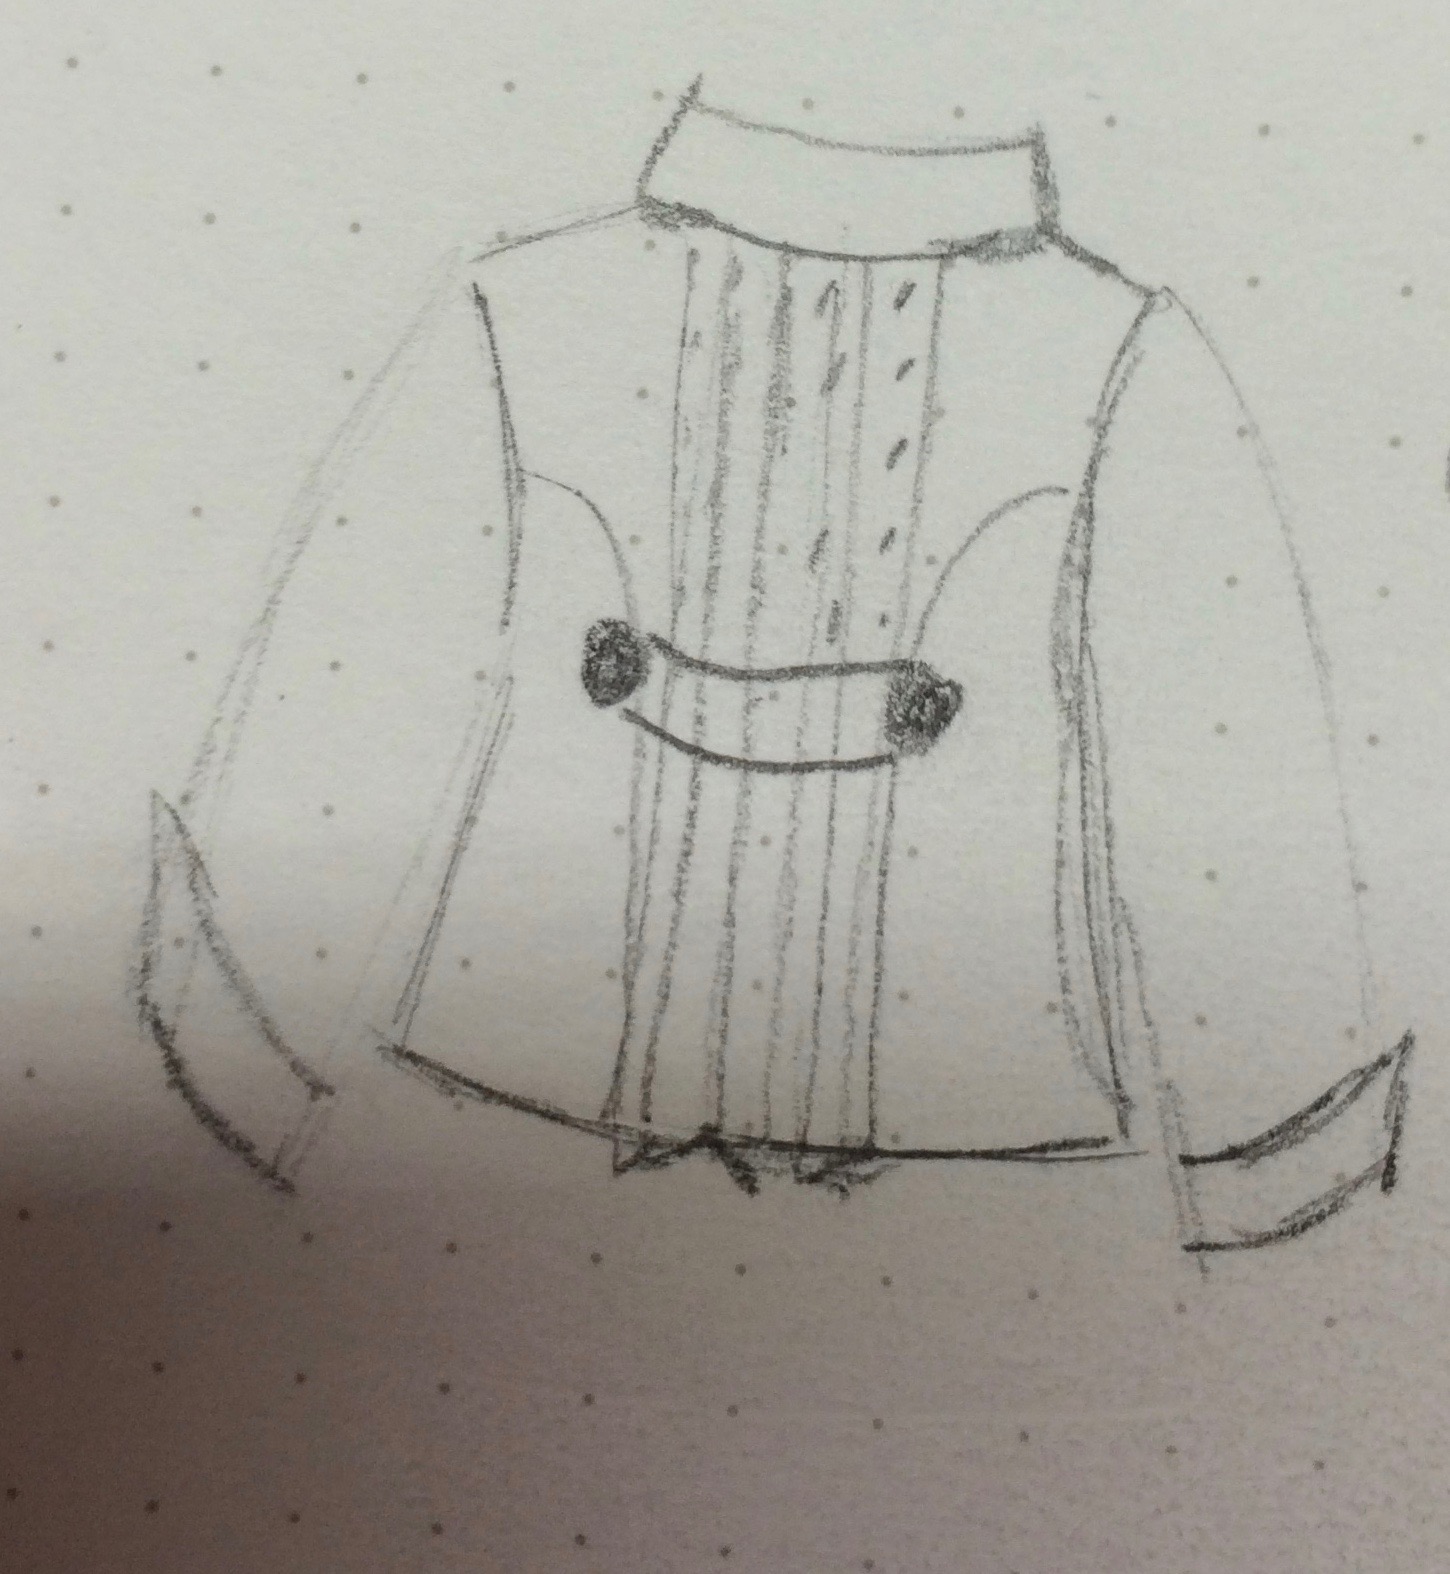
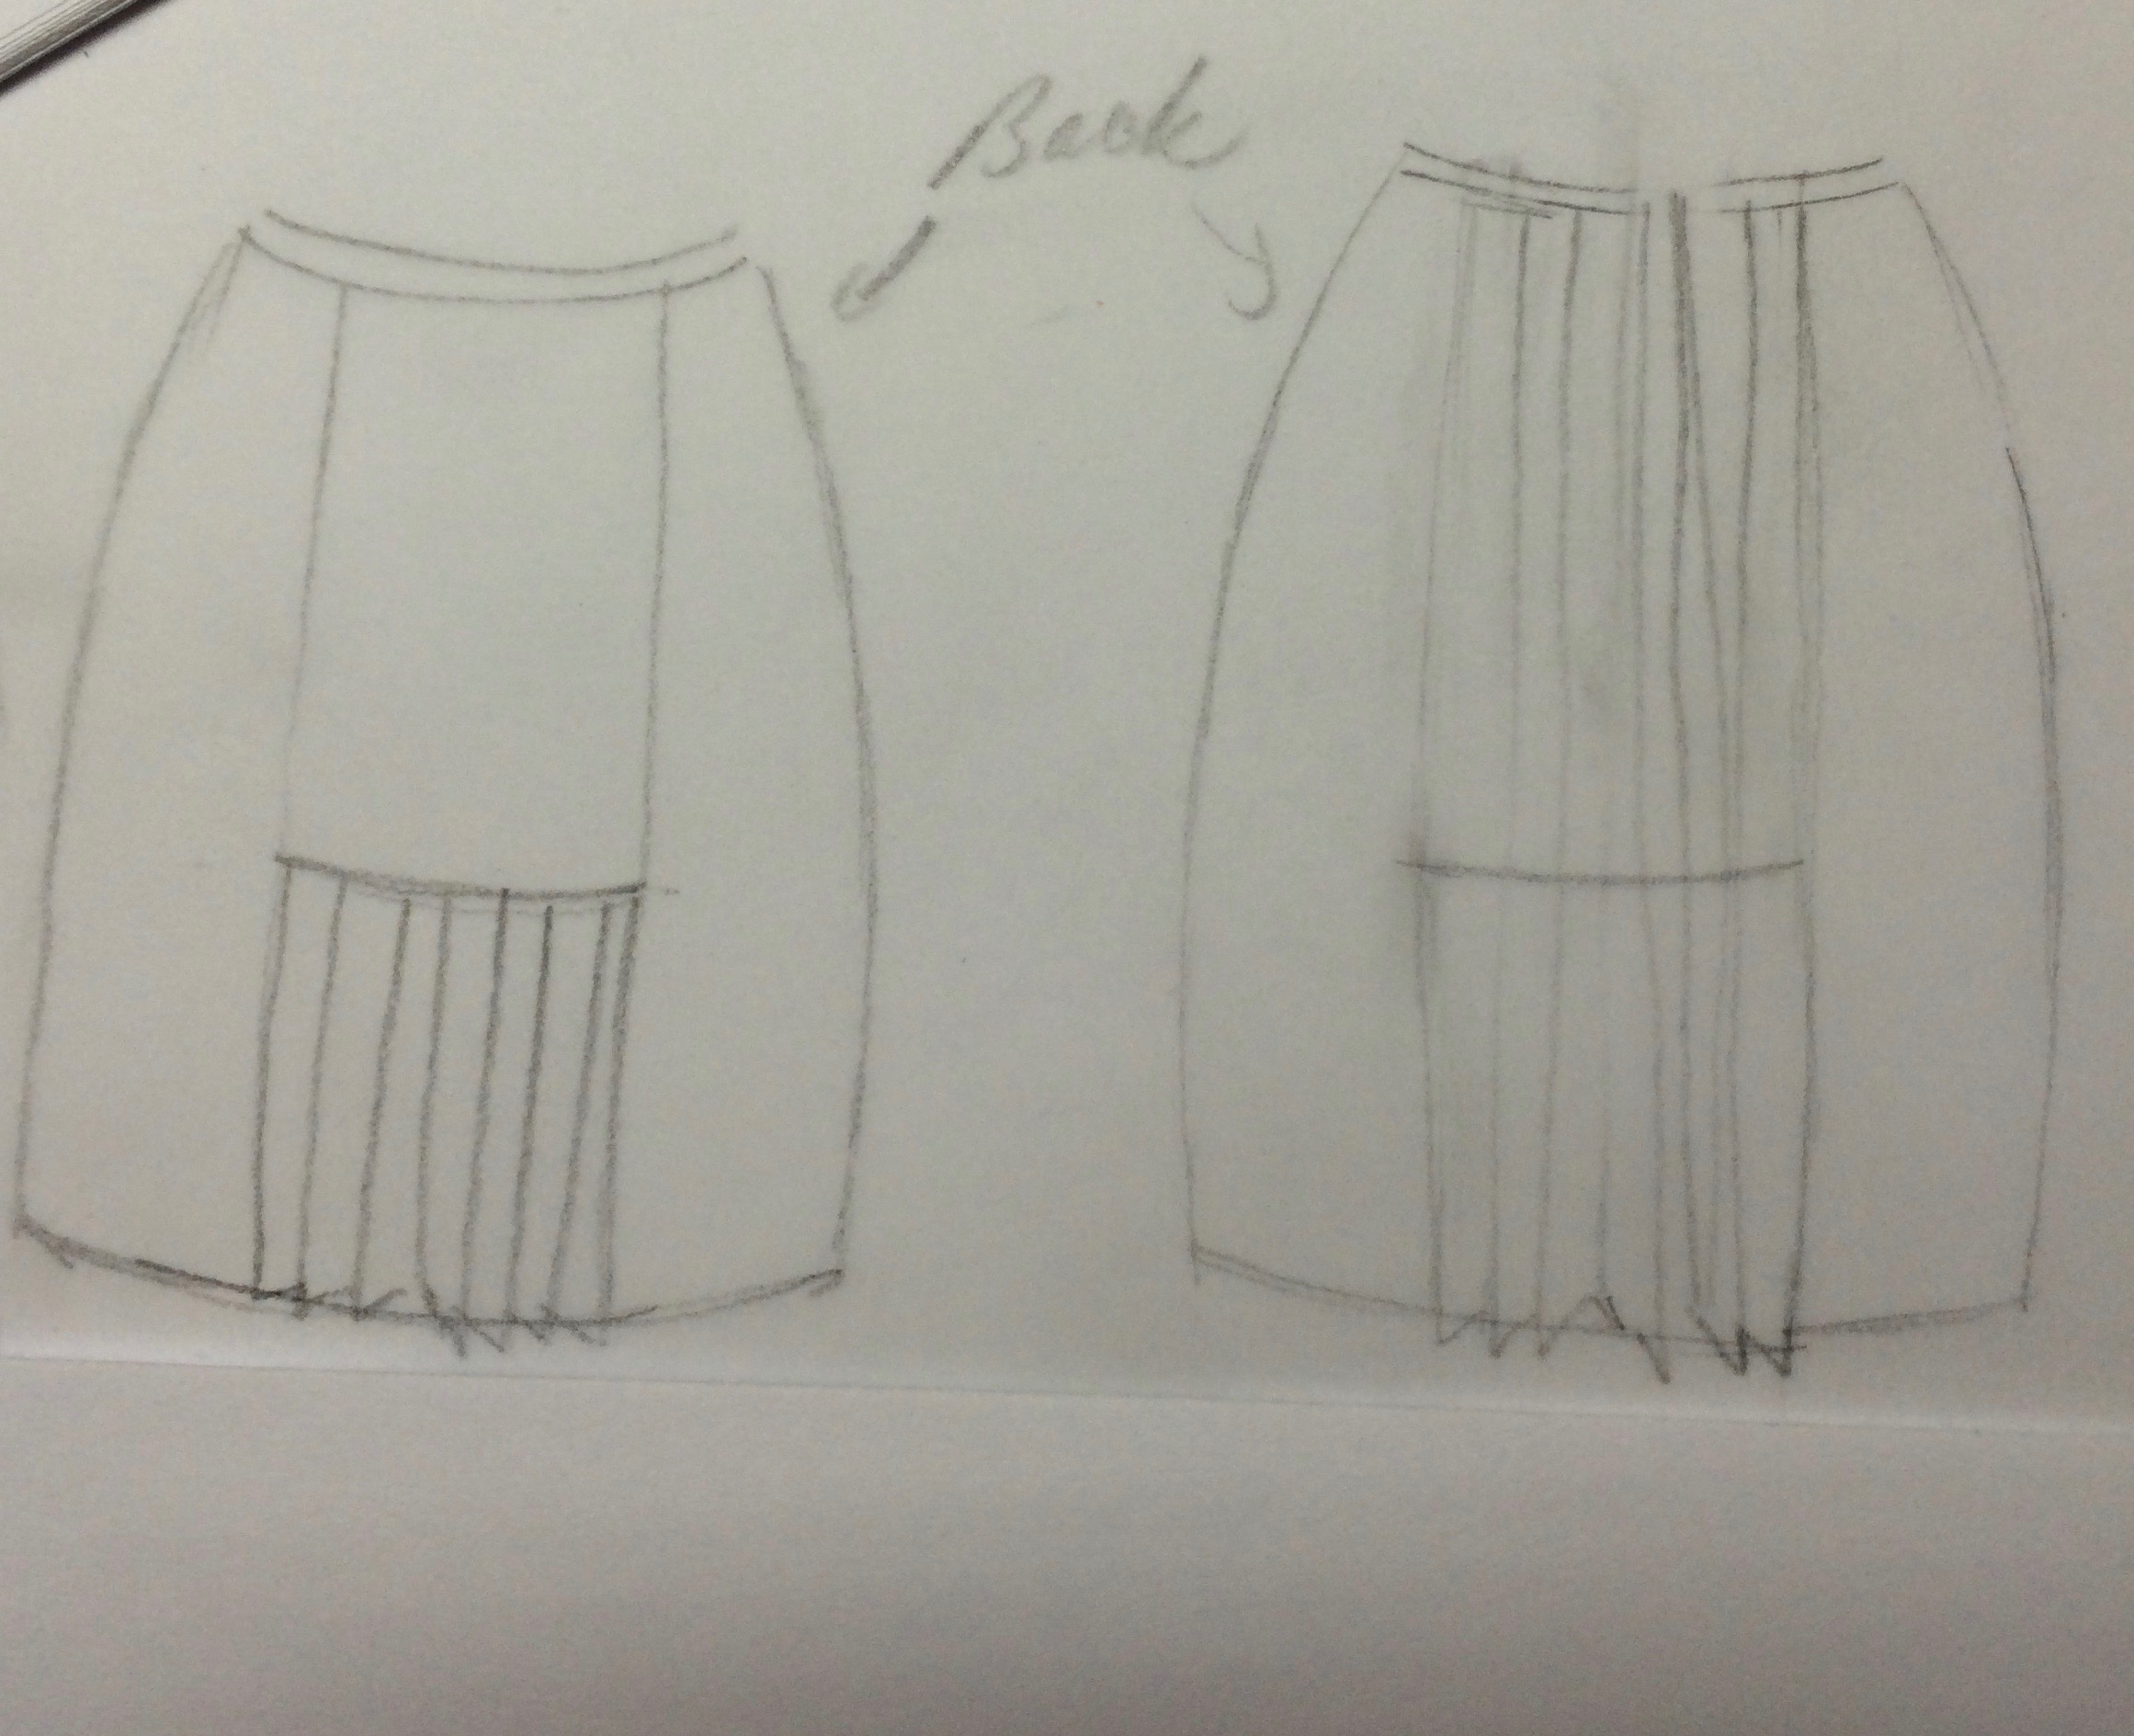
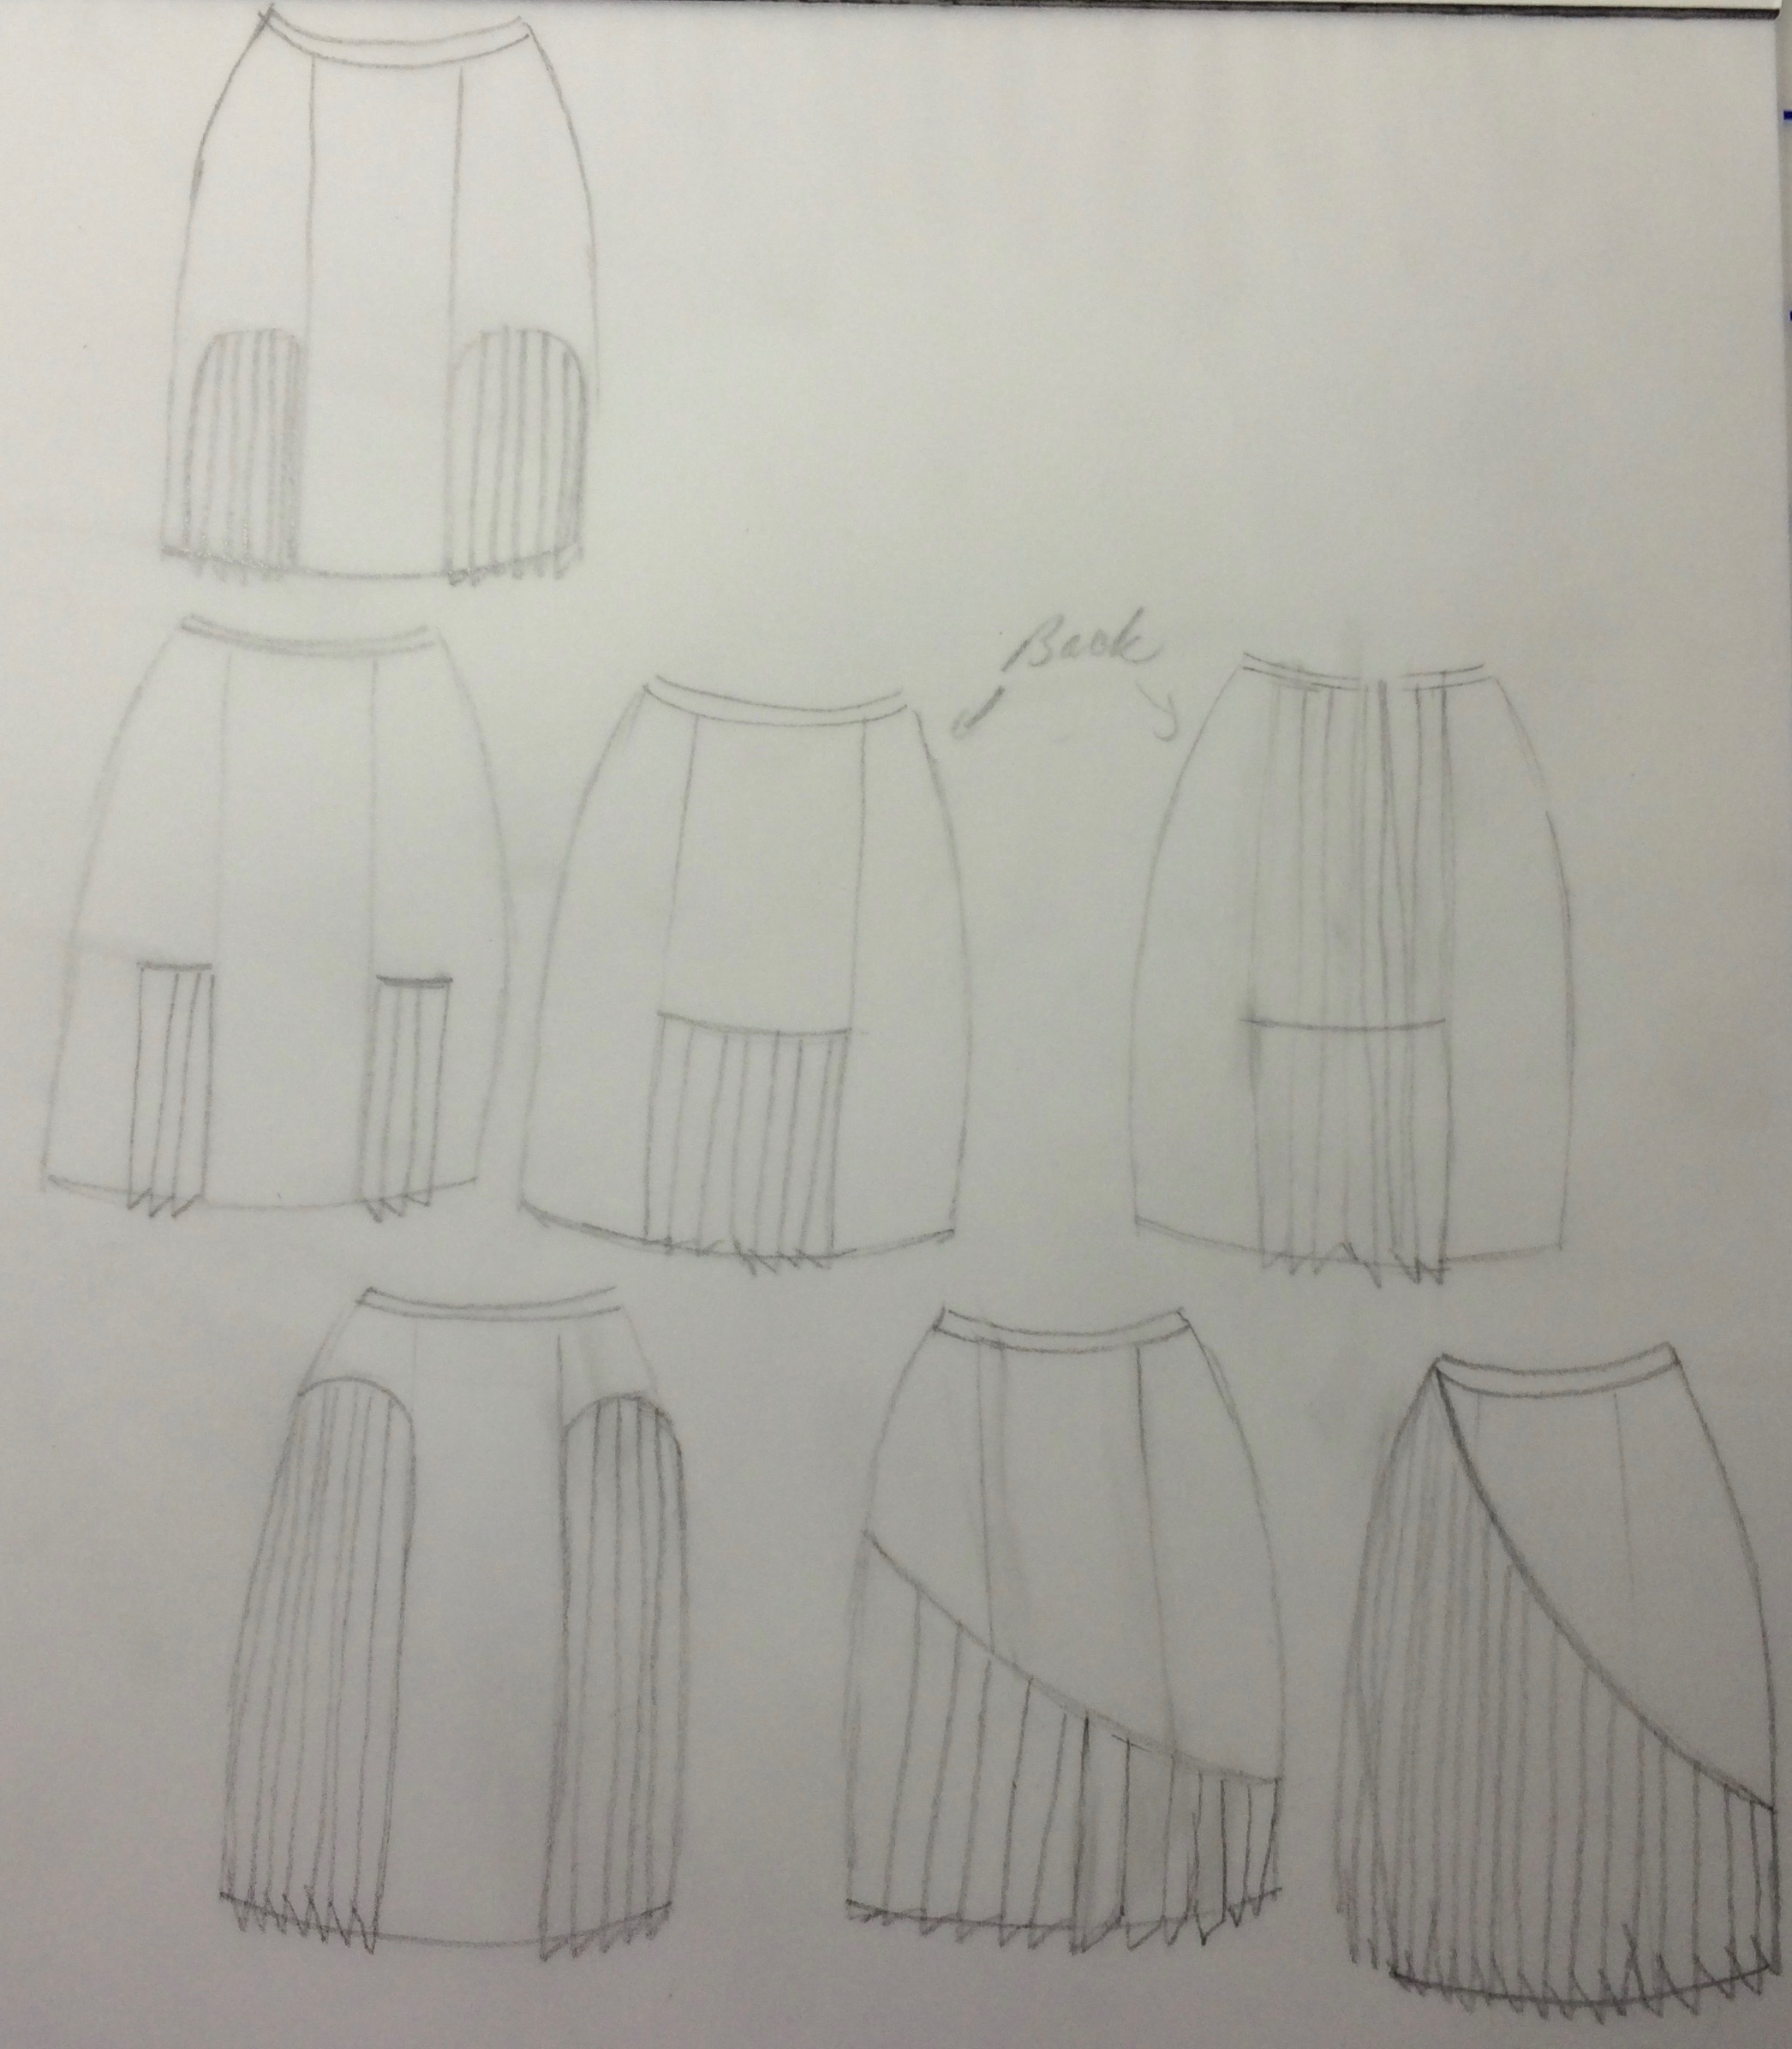
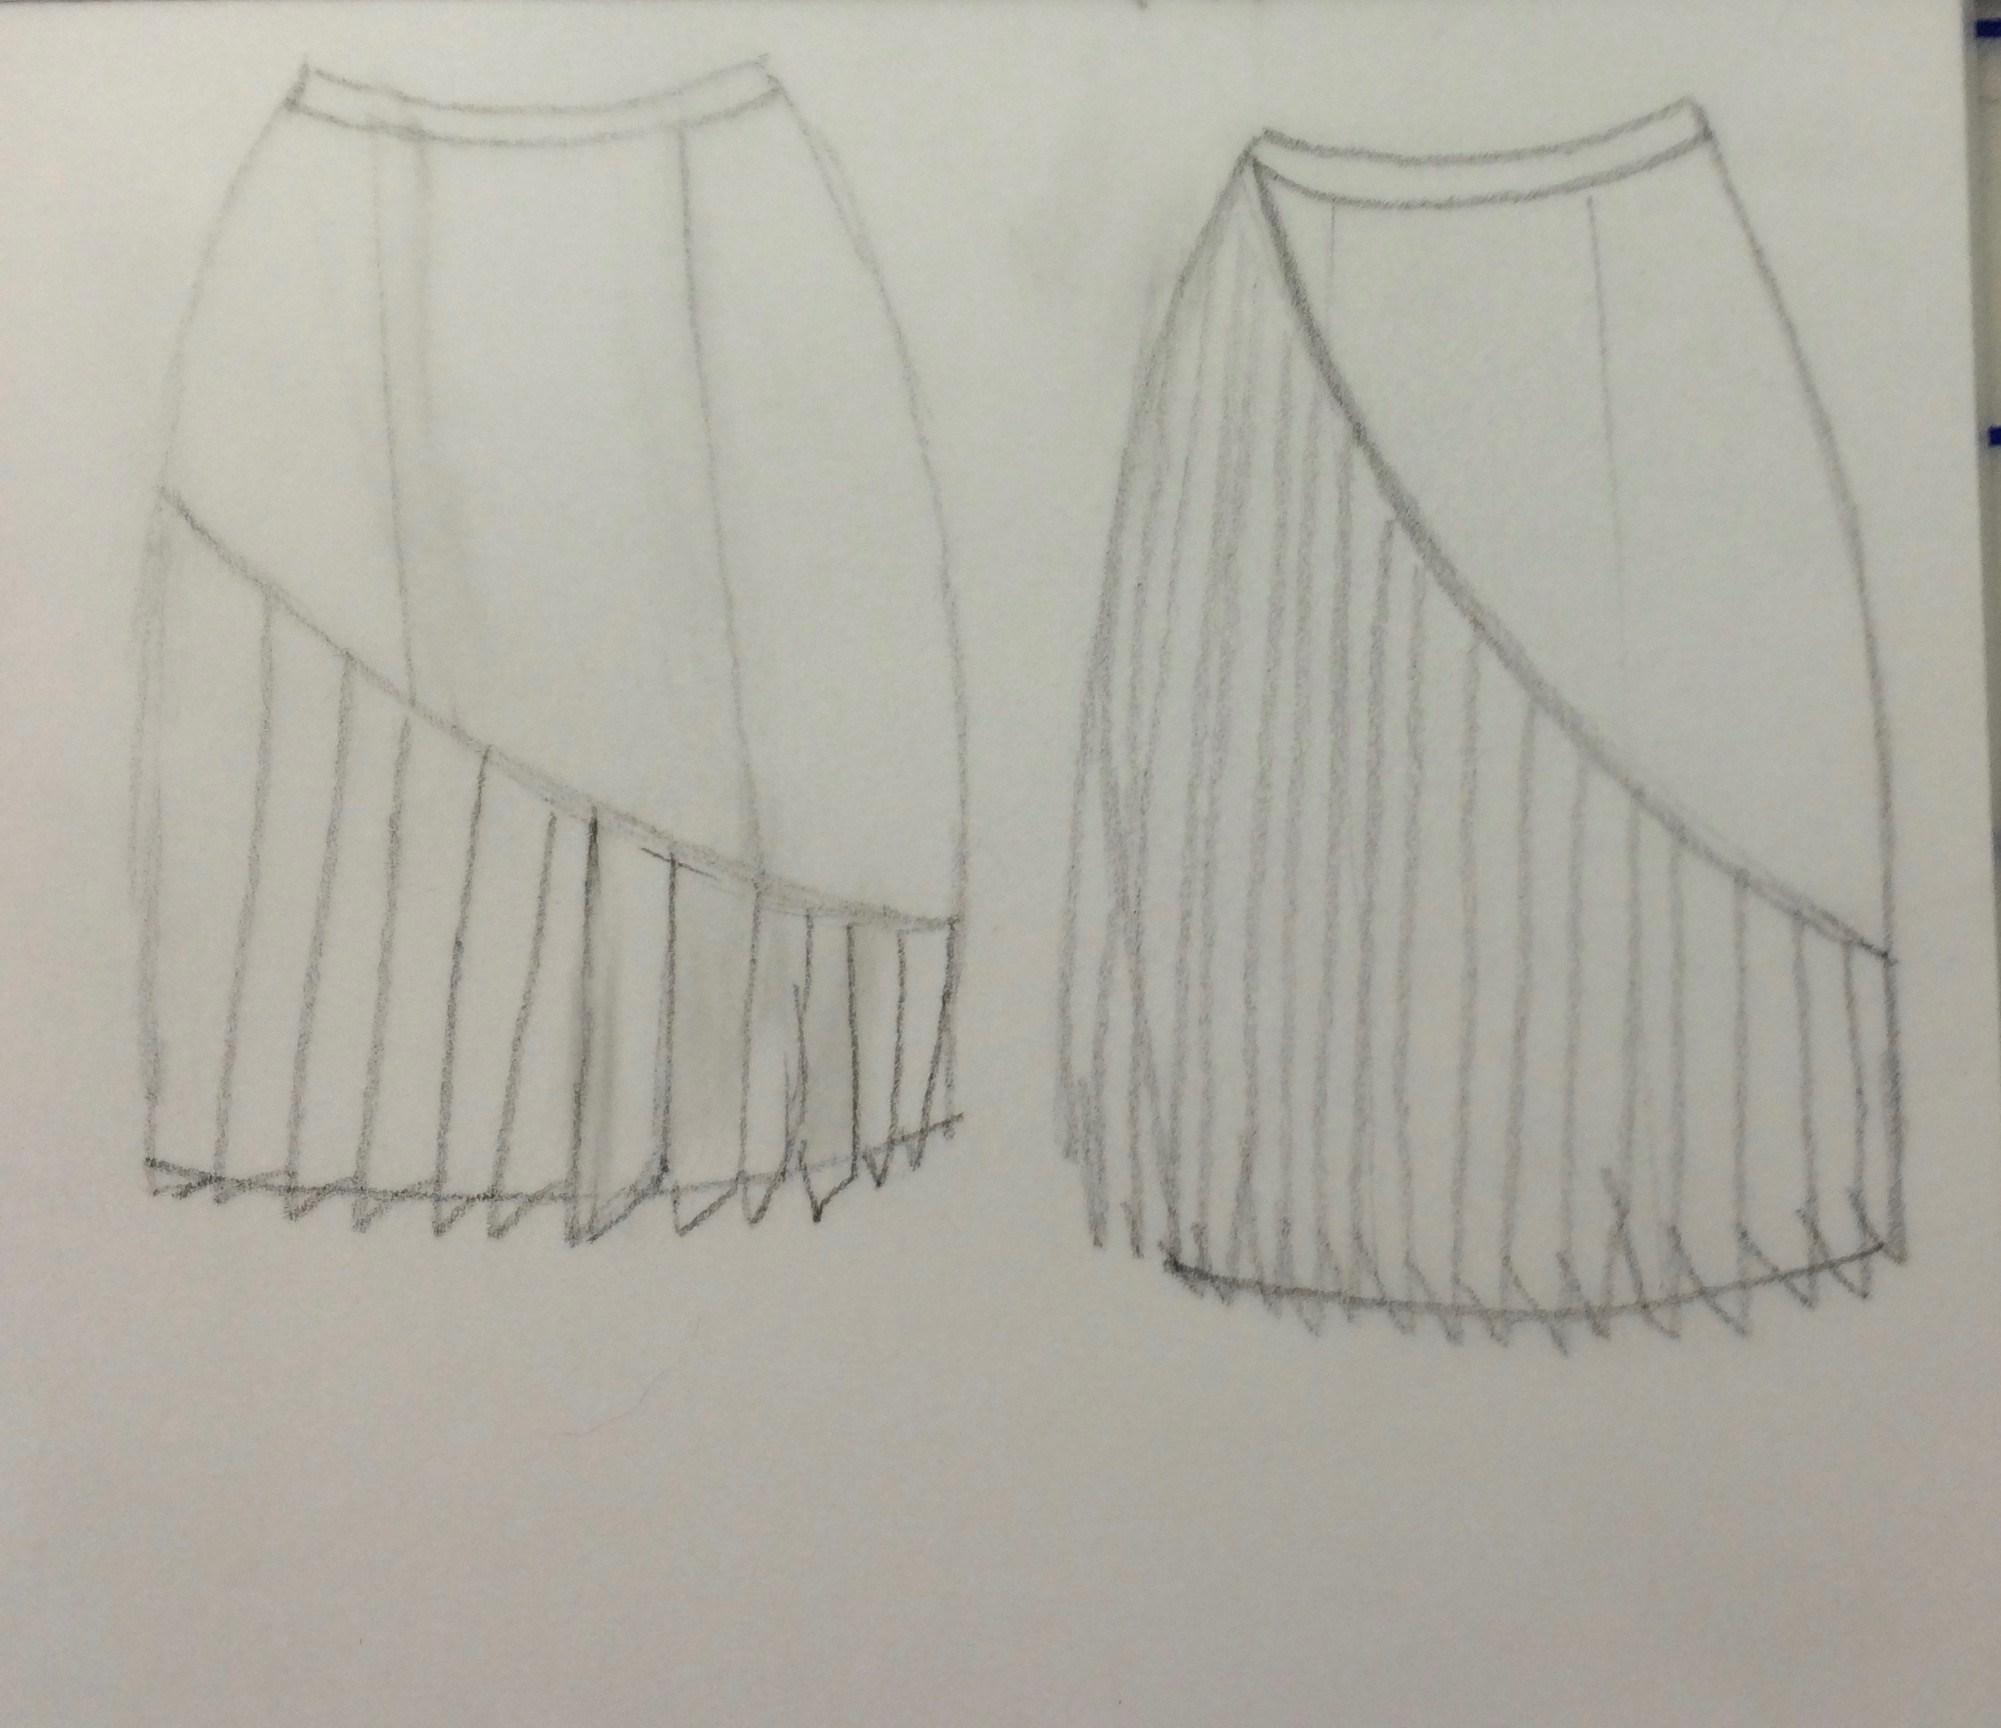


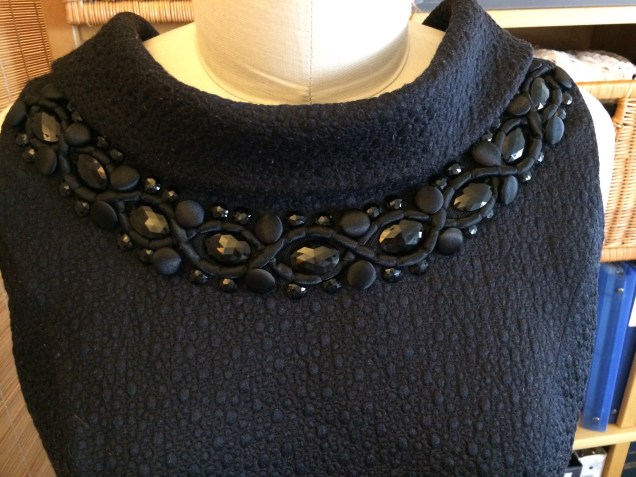
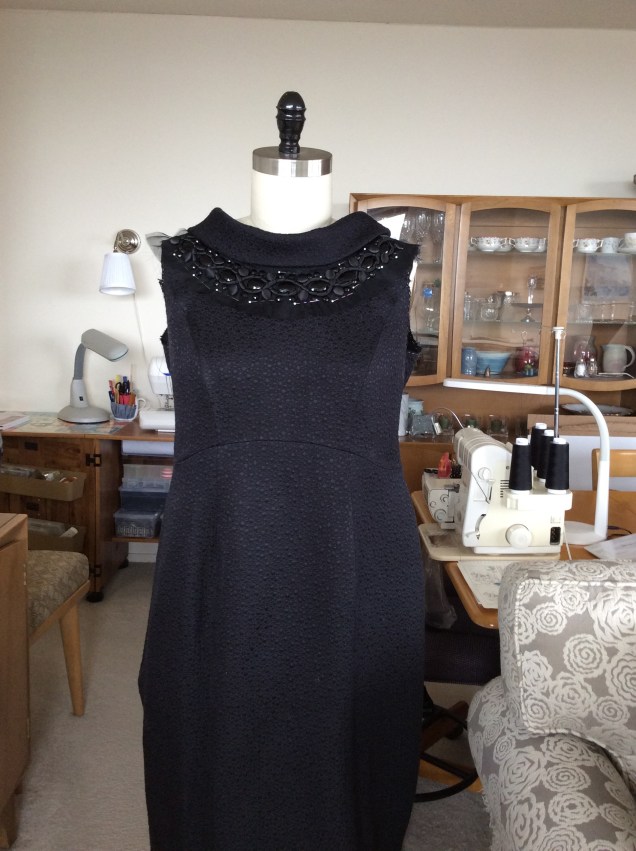 I needed a dress for an evening wedding in New York this month and, for once, I started early. I brought a muslin, the fabric I wanted to use and the embellishment I was thinking of using to the You Choose Your Focus workshop

 The Couture Counsellor