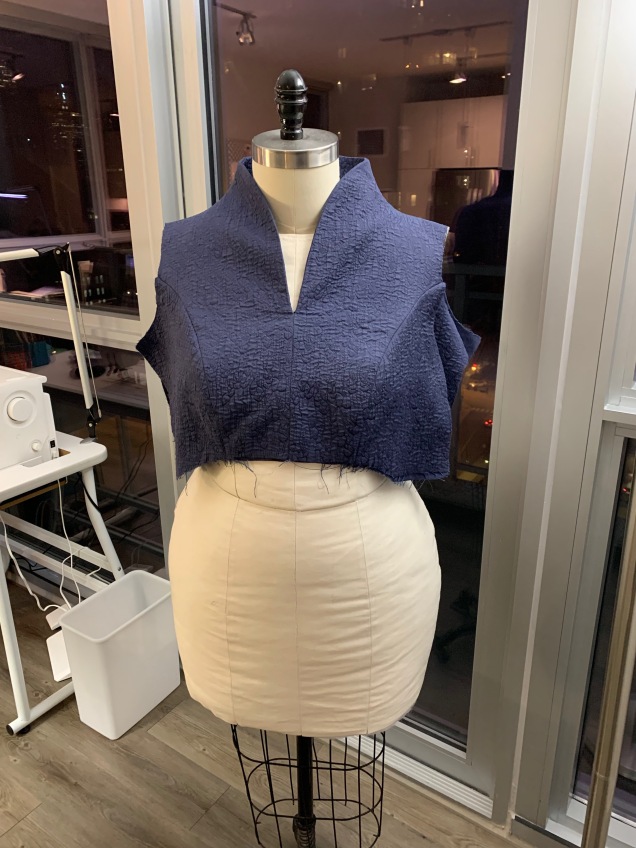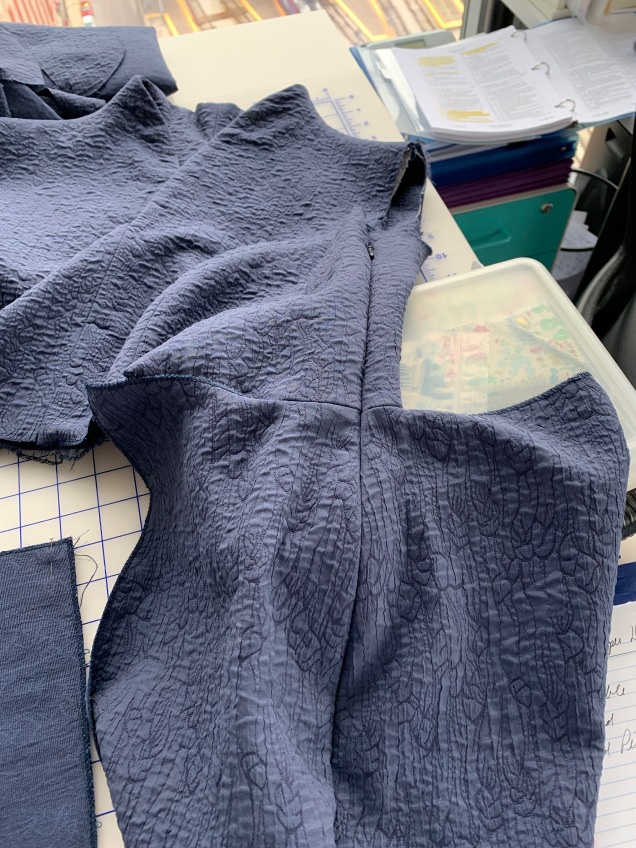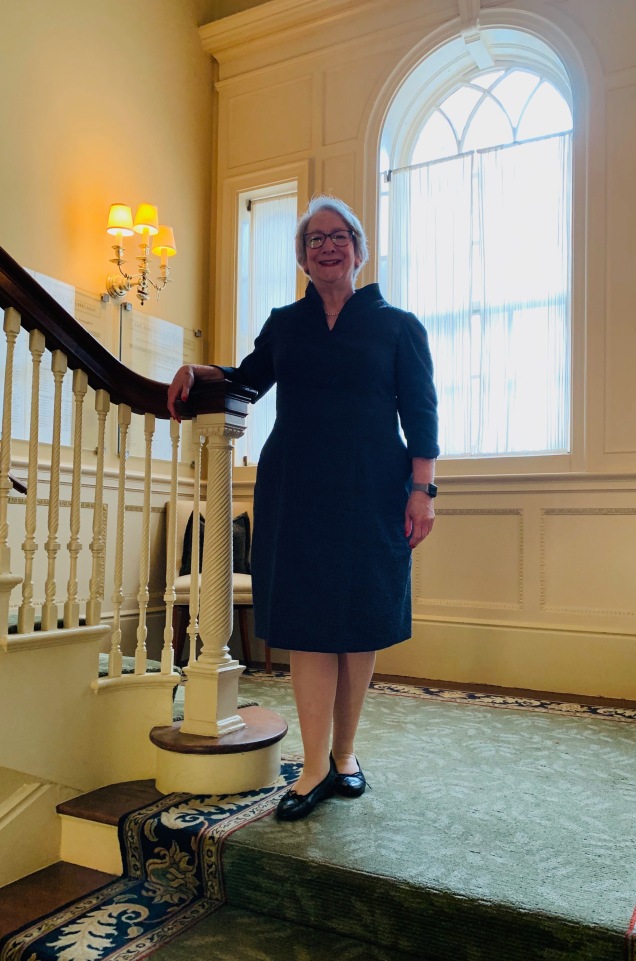
Let’s not dwell on how long it’s been since I’ve completed a project or how long since I’ve blogged. Instead, I’d like to celebrate the latest addition to my handmade wardrobe. It’s a dress that incorporates the raise V neckline I adore and fabulous crinkly rayon in an intriguing shade I’m calling Storm Cloud Blue. This fabric has been aging in my fiber collection for a long time. I’ve lost track of how long ago I bought it at EmmaOneSock. It’s actually a double cloth and the texture is achieved with stitching.

My original vision was to make this into a dress using this particular neckline, and then I veered off into other directions before coming back to this. I’m glad it took me a long time to start this project because I’ve refined the neckline pattern and found the perfect interfacing to make it work and because I decided to make the body of the dress the same as my LBD. I also decided to echo the tulip-like shape of the neckline with a curved faced hem on the sleeves. I think the combination is just right.

The neckline has been through a couple of revisions since I put it in a lightweight silk blouse that never stayed put and ultimately had to be cut down and then used successfully in my linen Tulip Dress, which is two pieces.
For the white double gauze cotton top I cut the back a bit and discovered that Shirtmaker’s Choice from Islander Sewing Systems (now called Shirtmaker’s Choice Medium) is the perfect interfacing for this design. It gives the neckline enough body to hold its shape without turning it into a stiff board.

The additional refinement I made to the pattern for this iteration was to do a better job of squaring it off at Center Back so it doesn’t dip at the Center Back seam. The next step was to graft the neck and shoulder onto my bodice master pattern and then to incorporate the curved Empire seam of the Little Black Dress. I also took my master pattern for 2-piece sleeves and incorporated a curved hem and made two hem facing pattern pieces.
With the pattern work done, construction was relatively straightforward after making one more decision. I didn’t line this dress so the question for the bodice was do I make neck facings or simply self-face the entire bodice. I was concerned about the bulk of the fabric, but I tested and decided it was okay to mak a full self-facing so there are no worries about slippage. With this neckline it’s only possible to understitch part of the way because the stitching would be visible about half-way up. The fabric sewed and pressed beautifully. I finished the seam allowances with 3-thread serging.

When it came to installing the invisible zipper in a side seam, I stitched the first side by machine, hand basted the second side to be sure I got the Empire seam to line up and everything was even at the top and then sewed over it by machine.

Getting the seam in the two-piece sleeves to line up with the shoulder seam was a bit fussier, so after one attempt to sew it all in by machine failed I sewed in the lower part of the sleeves (princess seam to princess seam) by machine, then pinned the sleeve cap on over a pressing ham for the right shape and attached the caps by hand using a fell stitch.
After attaching the sleeve hem facings (and finding I’d cut two the same and needed to recut the second one), pressing and pinning, I got to work with the hand sewn finishes at the sleeve hem facings and skirt hem.
The result is a dress I feel great in.


Such a flattering neckline! It is one of my favorites , too. A wonderful fabric that is perfect for your new dress. Oh, and I really liked your lower sleeve treatment..really smart thinking!
LikeLike
Dear Wendy! That dress is fantastic and fits you perfectly! I also adore the collar and love how it stands up but isn‘t too stiff! Well done, juls
LikeLike
I love the neckline and the sleeves. What a wonderful job you have done with this dress. Beautiful!
LikeLike
The raised collar looks wonderful on you. I liked seeing the variety of garments and fabrics you have sewn with this collar style. I can understand how the interfacing would be critical in achieving the perfect look. Thanks for the info on the Shirtmaker’s Choice interfacing.
LikeLike
I’m new to dressmaking, retired and live in sultry Cairns, Australia. After a couple of years struggling with side dart fit, I have recently discovered princess line seams. I notice you use a seam running from the arm area. Is there a difference in fit with the seam that runs from the shoulder or is it simply design preference? So glad I have now found your informative and inspiring blog – keep up the great work. Kind regards, Sandra
LikeLike
Thank you Sandra. The reason I originally opted for the armscye princess instead of a shoulder princess is because I thought having a seam bisecting my shoulders didn’t give me the visual effect I’m going for. I have such a pear shape that my shoulders already look disproportionately narrow in relation to my hips. Princess seams not only give the benefit of a better fit, but they break up the horizontal expanses. I think I look more balanced with no seam breaking up my shoulder line. Having said that, the armscye princess seam also gives me better shaping at the bust. If I had used a shoulder princess in my master pattern I would have needed to add a bust dart. I hope this information is helpful.
LikeLike
I found this blog from a young Danish lass a while ago – love her designs and those non-skinny models. Looking seriously at the Seville dress – such a femine style:
https://www.howtodofashion.com/blog
Regards, Sandra
LikeLike