In The Sketchbook – September 2017

Welcome to In the Sketchbook, a monthly look at fashion design sketches that we are working on for ourselves. Sketching garments on a personal croquis is a great way for the individual couture enthusiast to move beyond the use of commercial patterns and into a world of personalized design! It can be intimidating at first, but with a little bit of practice it becomes something you look forward to. Join us for a look of what we have going on In the Sketchbook! Brought to you by Wendy Grossman of Couture Counsellor and Steph King from Siouxzeegirl Designs.

I’ve been remiss in blogging in general and it’s been a few months since I’ve posted what is in my sketchbook, so here I am trying to get back in the swing of things.

I’ve decided it’s time I tried making a coat and a warm raincoat for late fall/early spring is what I’m aiming for in my first attempt. The thing is, I’m having a lot of difficulty figuring out the neckline and collar. I prefer open necklines and with a coat that is supposed to keep you warm or dry or both that just isn’t practical. The thing is, every time I tried to sketch something with a higher neck, it seemed out of proportion to me. I’m still trying to find a good balance on this and it will take some more work before I’ve settled on something I’m happy with. Here is what I have so far.

IMG_0177

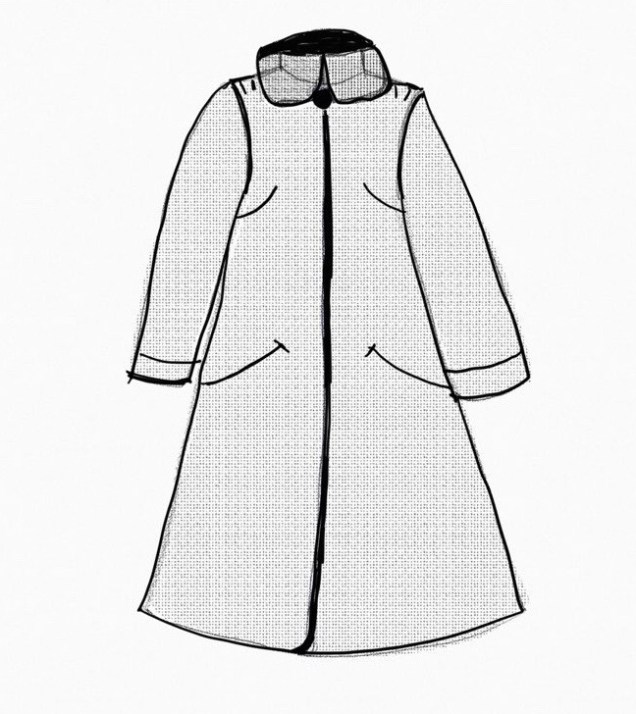
If this one were made up, you wouldn’t see the collar stand underneath. I was just playing with an idea. The coat would have a single statement button and hidden placket and maybe French darts and curved welt pockets.

IMG_0166

This may or may not be the back of the first sketch. I thought a Swing pleat with a yoke   might add some interest.

IMG_0183

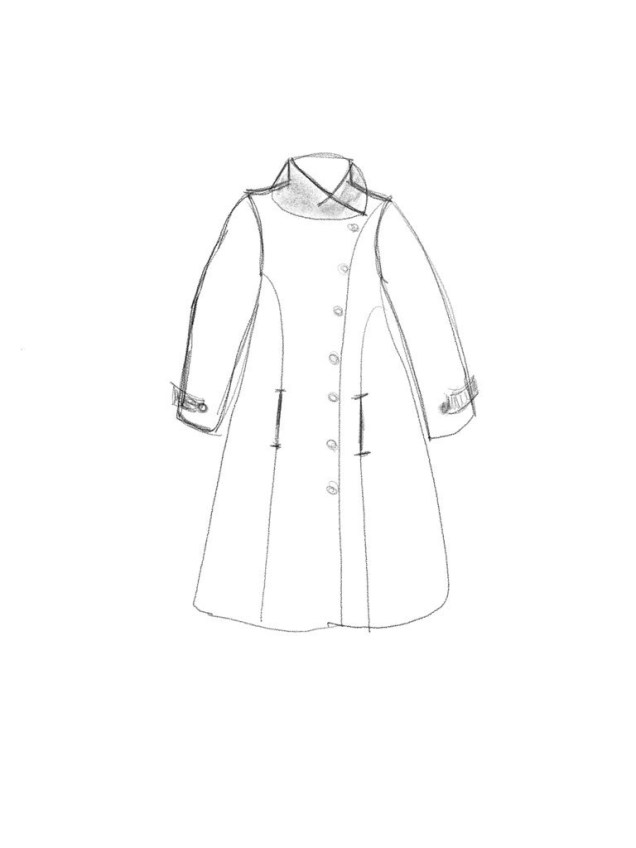
Here’s an attempt at a wrap-over collar with princess seams, vertical welt pockets in the princess seams and button tab detail on the sleeves. This is a knock-off of a Vogue pattern I’ve seen and I think I’d like it better in a wool melton.

IMG_0170

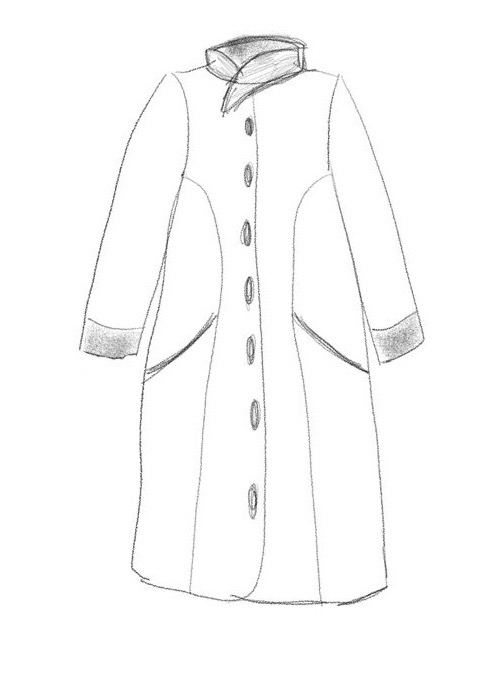
Another attempt at a wrap collar, princess seams, curved welt pockets. This time with buttons showing.

As I said, I’m still not there on a coat, but at least I have a start.

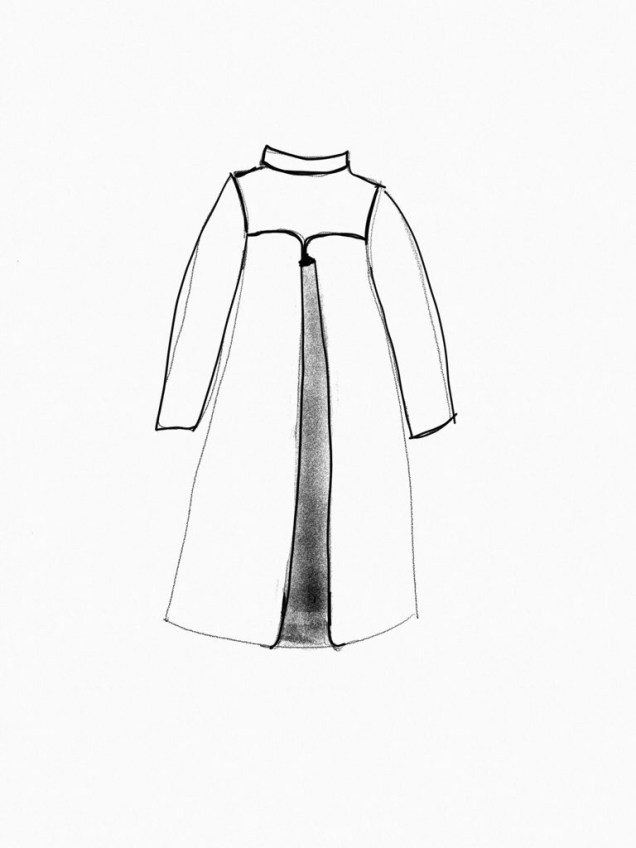
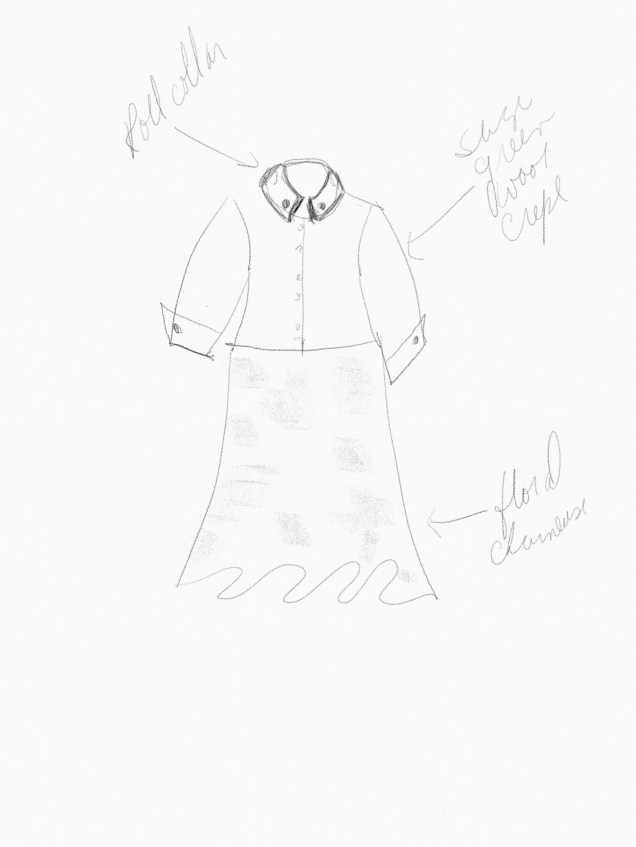
The very rough sketch of the jacket and skirt below came to me in a flash one day. I’d like to take that 60’s rolled collar that I’ve used in two-piece dresses and my LBD, turn it around so it opens in the front and maybe anchor it with a button on either side.

IMG_0202

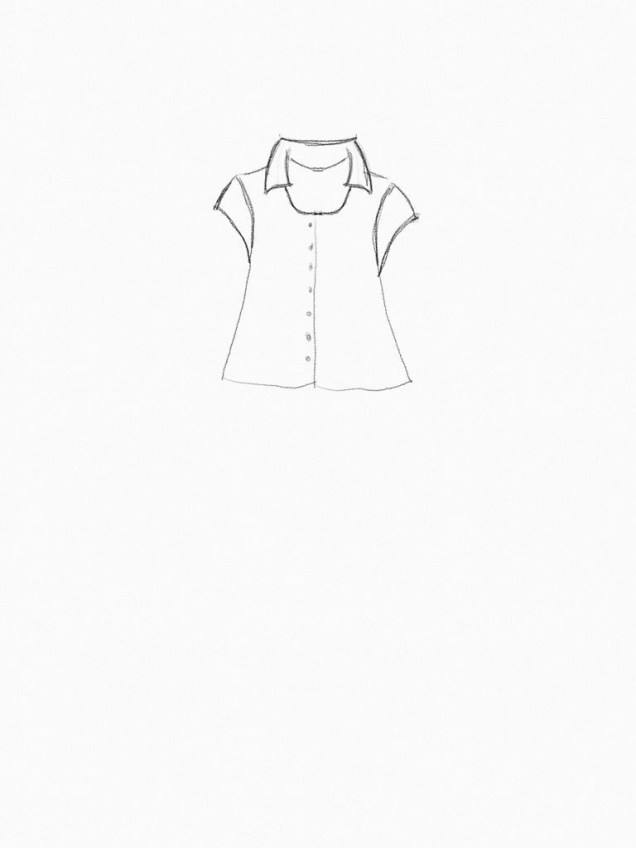
Finally, I’ve been noodling about partial rolled collars (this time, the ones that look almost like tailored shirt collars. I’m mocking up some tests, but this is the general idea  of where that’s going.

IMG_0187

That’s what I have for this month.  I think my friend Stephanie King of 10 Sewing Machines & a Serger is taking a break from In the Sketchbook this month. Check back with both of us next month. Meanwhile, we’d love to see and hear about what you’re sketching, so  please leave a comment.

Tucks!

I’ve really missed blogging, but I’ve learned I have to accept that there are just so many things I can stuff into a day and sometimes work and Life simply demand all of my time and energy. It’s not that I haven’t been sewing at all recently, but I have had some misadventures in sewing. More about that in a minute.

For now, I’d like to share my latest completed project.

IMG_1179

It’s the tucked linen top that was inspired by the workshop with Mary Ray that I took through ASG Chicago in January. You may remember this fabric combination from my post about my complicated relationship with color.

This top is almost what I had planned.

The bodice came out just as I had envisioned. I put the top two ¼” tucks in my fabric before cutting out the center front panel. Here is a picture of how this was done when I was using the fabric that I encountered problems with:

I sprayed a bit of Mary Ellen’s Best Press on the linen and pressed in a crease, then stitched at ¼” using my blind hem foot.

It’s had to tell on from these pictures, but the tuck that goes all the way across the front panel just below the neckline is drawn in the pattern and trued at the princess seams.

I was all set to make a neck facing, but Sarah Veblen suggested I line the top in washed China silk, which I did. I also made faced hems for the bodice and sleeves, because I’ve had a problem with linen blouses “cracking” at the hem. It’s this curling thing that happens and no matter how many times you press the darn thing it rolls up again like a window shade. Very annoying! Faced hems are the way to avoid that problem.

For the sleeves, I wanted to convert my usual two-piece sleeve to a one-piece sleeve so I could have a tuck that is not interrupted by a seam (and the problem of getting it to match). Here is the sketch of the design, which I posted several months ago.

img_0026

On me, a one-piece sleeve that’s not a knit requires the tucks you see in the picture because of all the excess fabric in the sleeve cap.

IMG_0168

I was in a tizzy when I got to the sleeves and didn’t pay attention to lining up the sleeve tucks with the blouse tucks, even though that’s the way Sarah draped the sleeve muslin on me. As you can see, I got one side right. Dumb luck!

In the course of this project, I tried to avoid this whole tucks in the sleeve cap issue by developing a sleeve with a crescent-shaped inset at the top, using Sarah’s instructions in Threads Magazine (Vo.192, Sep. 2017 pp.44-45). The mock-up showed me this is a design that does not work on me. Sigh.

But that’s not the only reason I was in a tizzy when I set in the sleeves. The other reason is that I completely forgot to put the tuck in the fabric before I cut out the sleeve.  That’s why there is no tuck across the sleeve in the pictures. Another sigh. And a head shake.

After I finished the blouse, I got another idea for a sleeve that might work. Actually, two ideas. They’re variations on the second inset sleeve design in Sarah’s Threads article:

IMG_0182

One of these just might work.

I’m crazy about the skirt. It’s rayon challis from Stone Mountain & Daughter Fabrics. I took my master pattern for a pencil skirt, which is a six-panel princess and extended each of the seams to make the skirt swishy.

Originally, this skirt was going to be cut on the bias. That was another misadventure I had this summer. The wearable mock-up I made out of another rayon challis was absolutely not wearable. It looked adorable when I tried it on right after I sewed it, but when I left it hanging on my dress form so I could let it relax before hemming, it developed some nasty waves and pouched out in all the wrong places. The lesson from this is that bias does not play well with seams shaped to fit my curves. So, I went back to the drawing board for bias. I have to come up with something for the ASG Chicago Chapter Fashion Show next month, because the Sew Chicago Neighborhood Group Challenge is “Show Your Bias.” I’m working on Plan B this week.

Meanwhile, I have a fun new swishy skirt on the straight of grain and at least another week of warm weather to wear it with my linen top.

IMG_1281 (2)