In The Sketchbook – September 2016

Welcome to In the Sketchbook, a monthly look at fashion design sketches that we are working on for ourselves. Sketching garments on a personal croquis is a great way for the individual couture enthusiast to move beyond the use of commercial patterns and into a world of personalized design! It can be intimidating at first, but with a little bit of practice it becomes something you look forward to. Join us for a look of what we have going on In the Sketchbook! Brought to you by Wendy Grossman of Couture Counsellor and Steph King from Siouxzeegirl Designs.

I have been busy sewing this month, but not anything that’s quite ready to show here. I did launch what I hoped would be a daily habit of sketching in the morning while sipping coffee and getting ready to start work. The routine was interrupted when I had to start work extra early (making a living can really crimp the creative endeavors), but it’s something I’m hoping to get back to. Here is what I came up with while trying to form a daily habit.

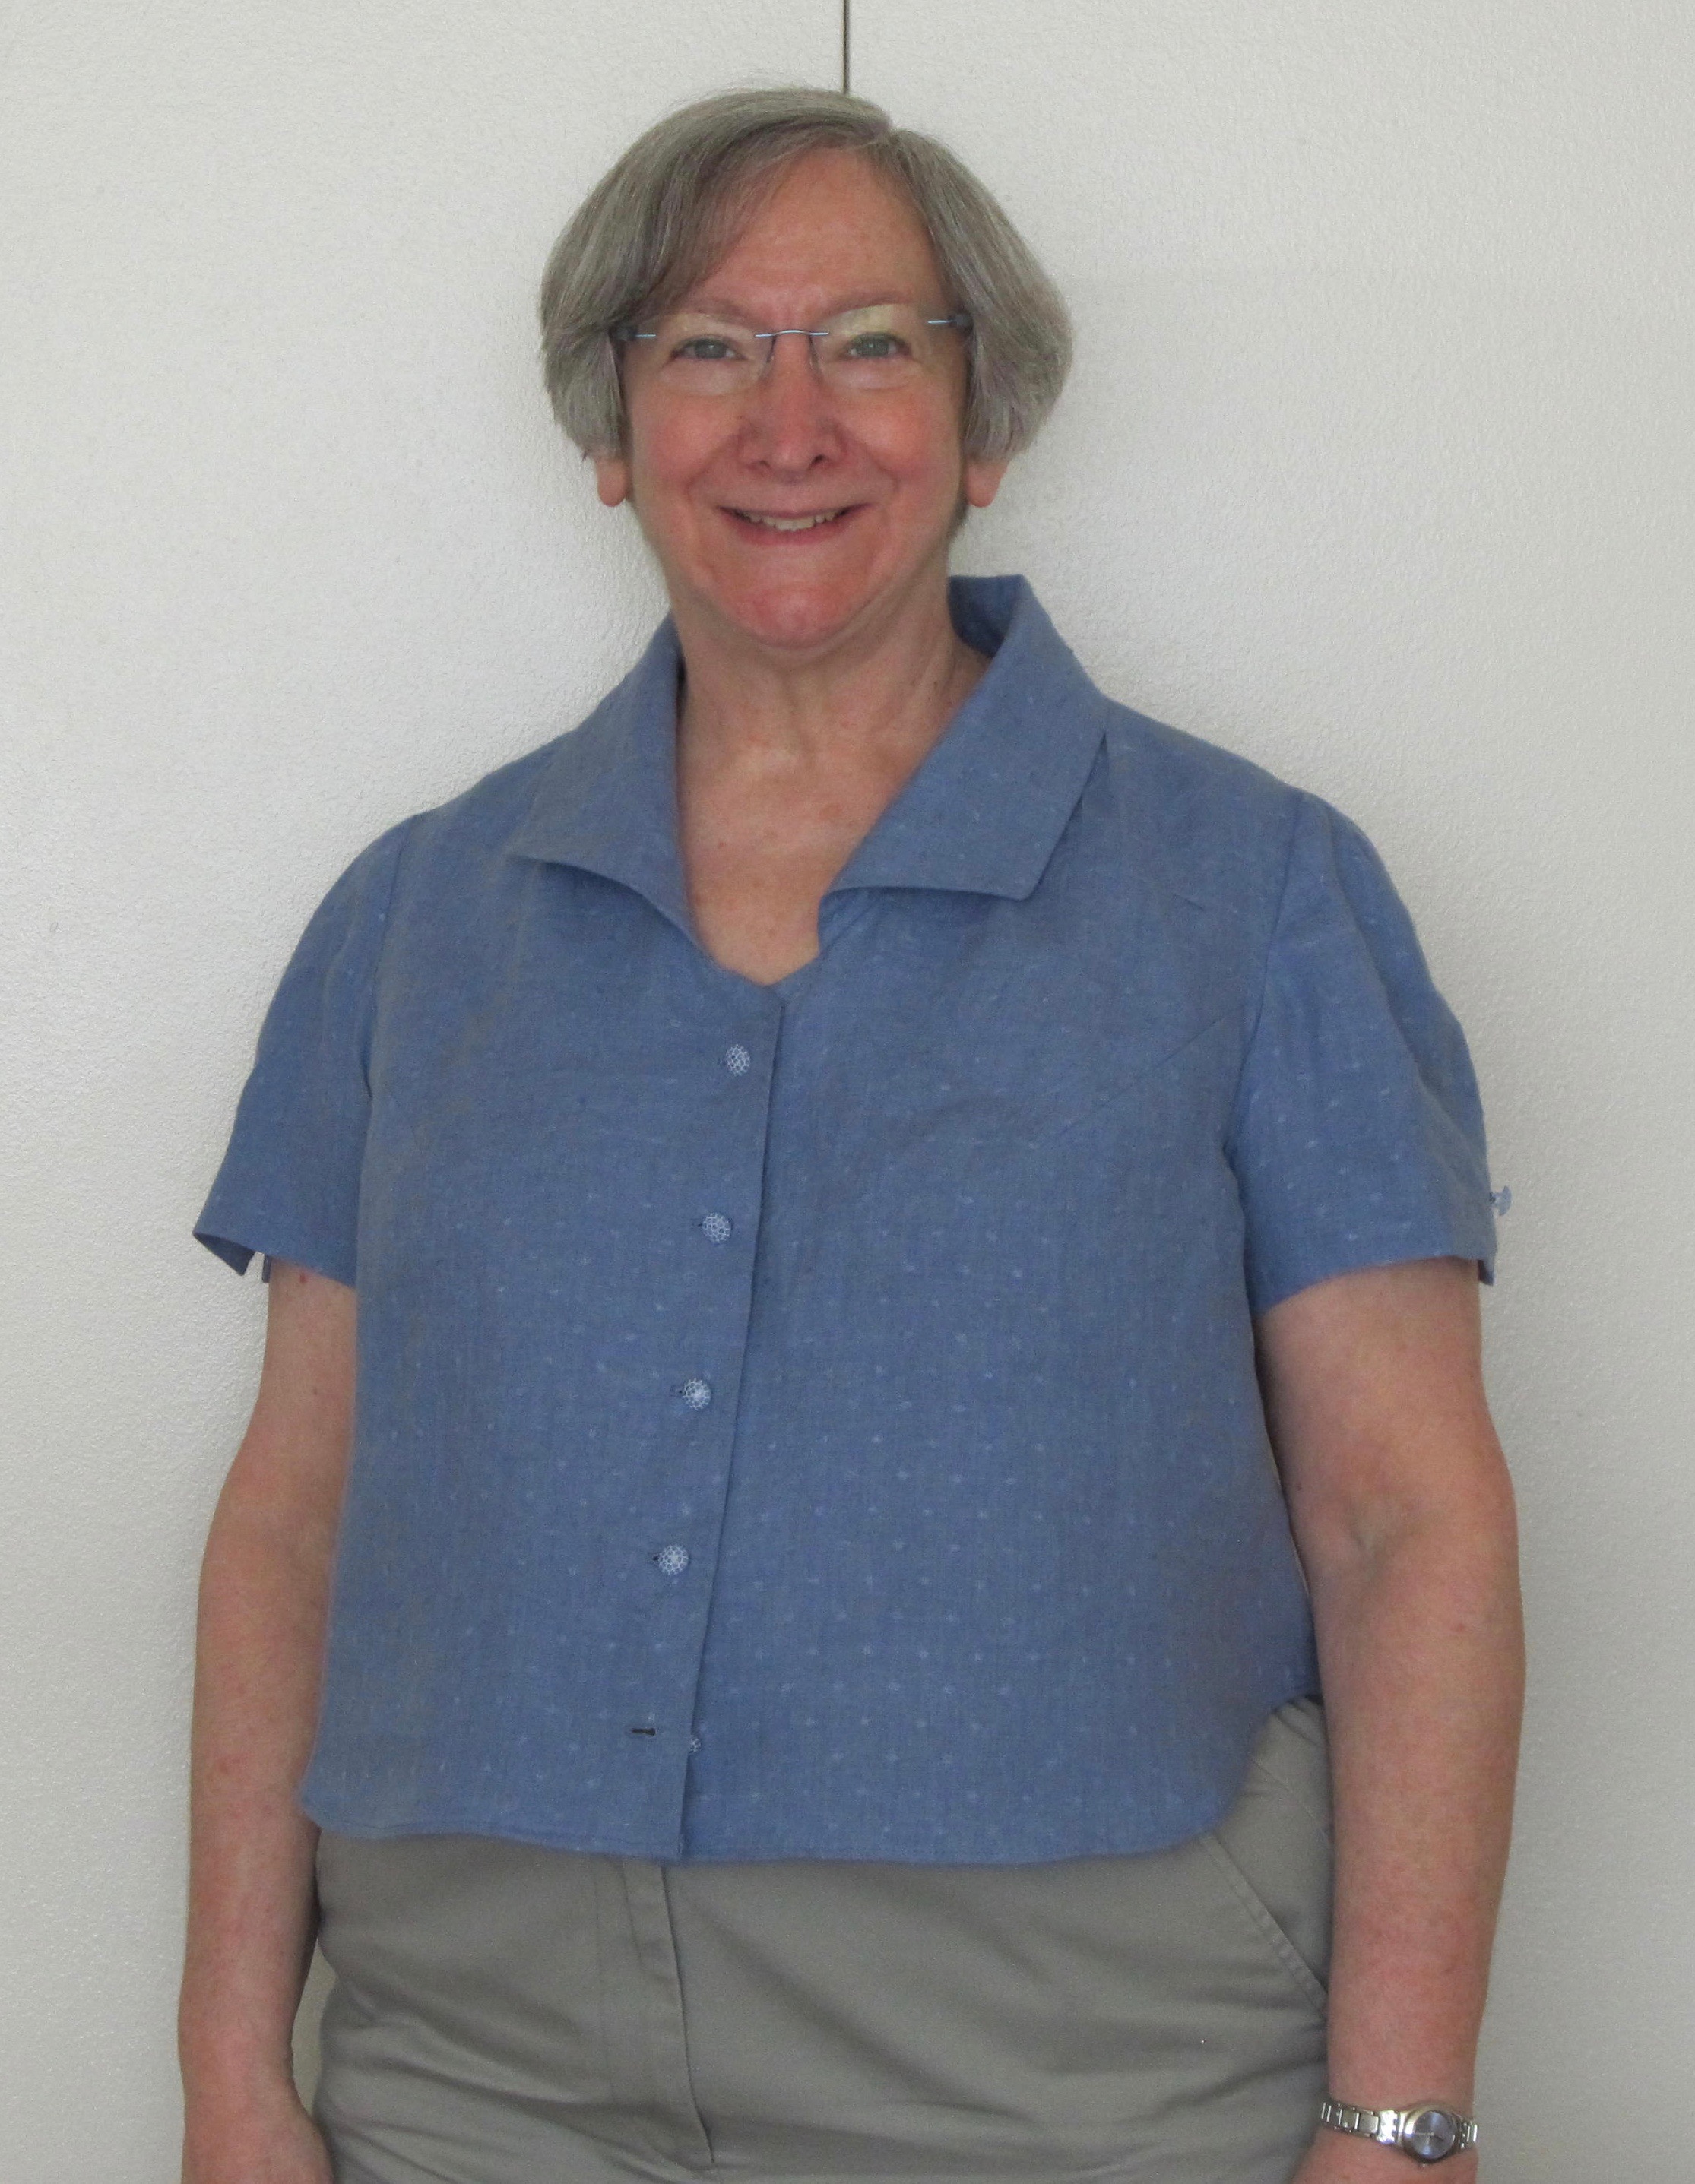
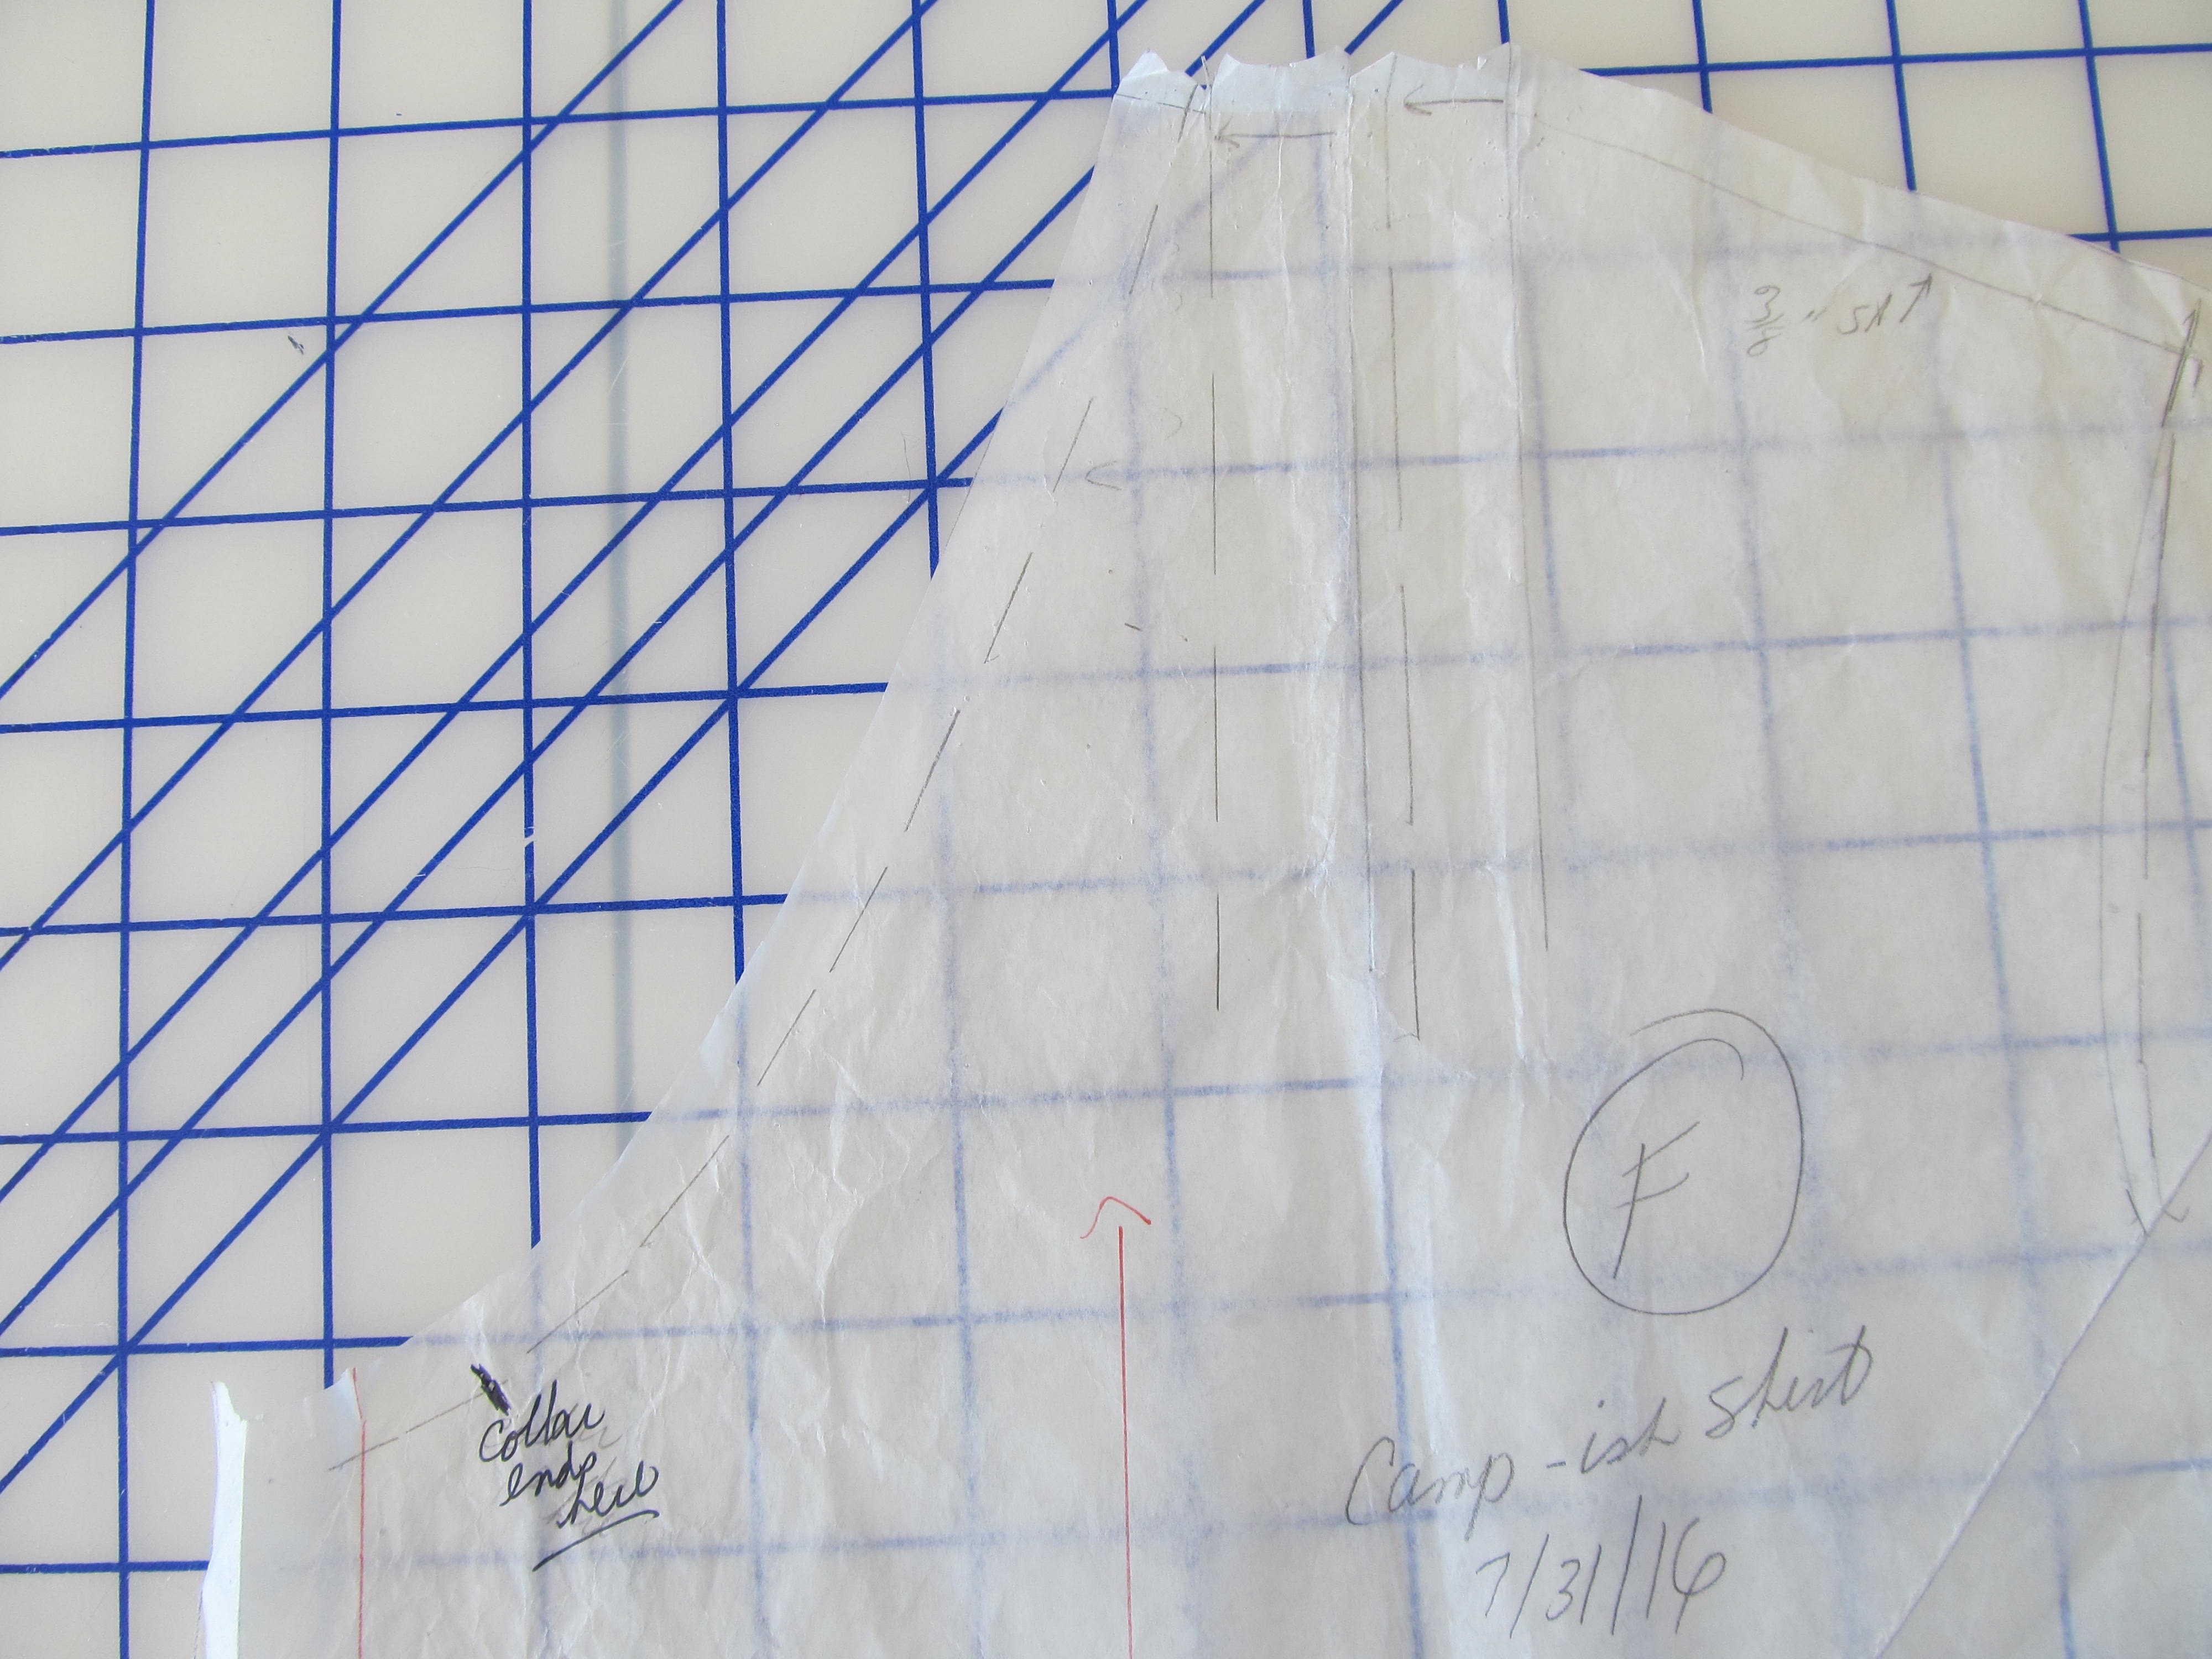
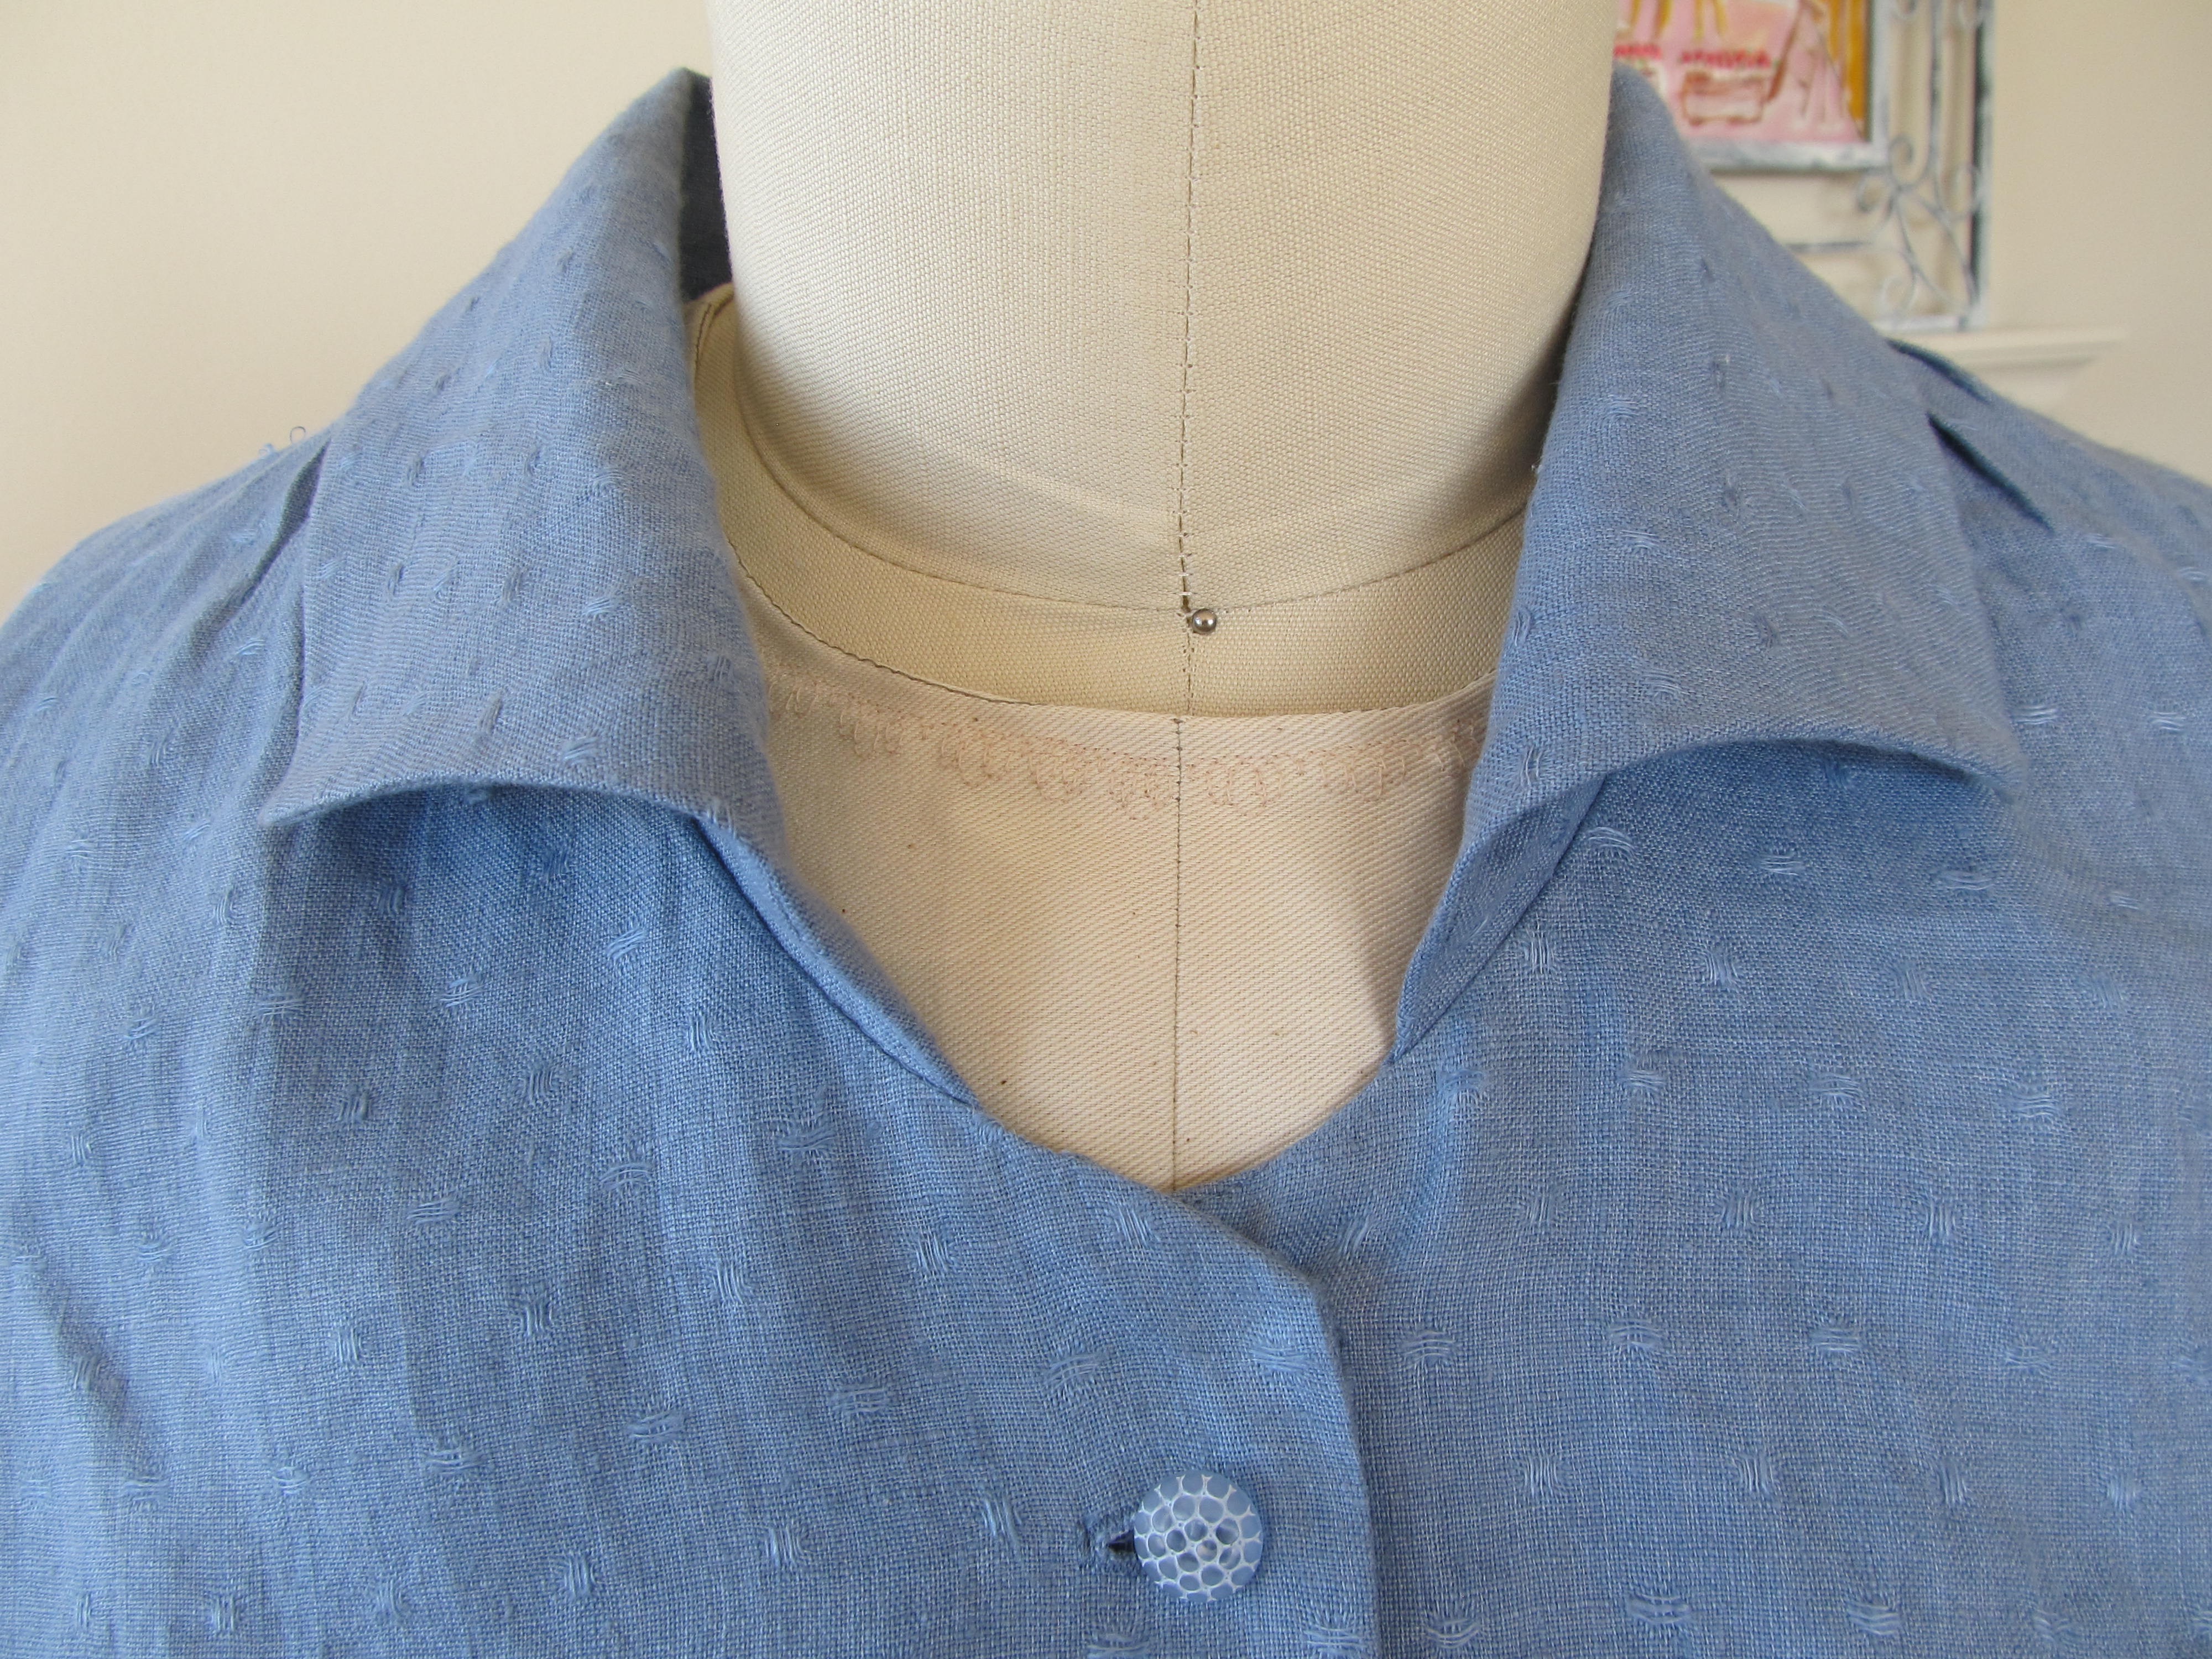
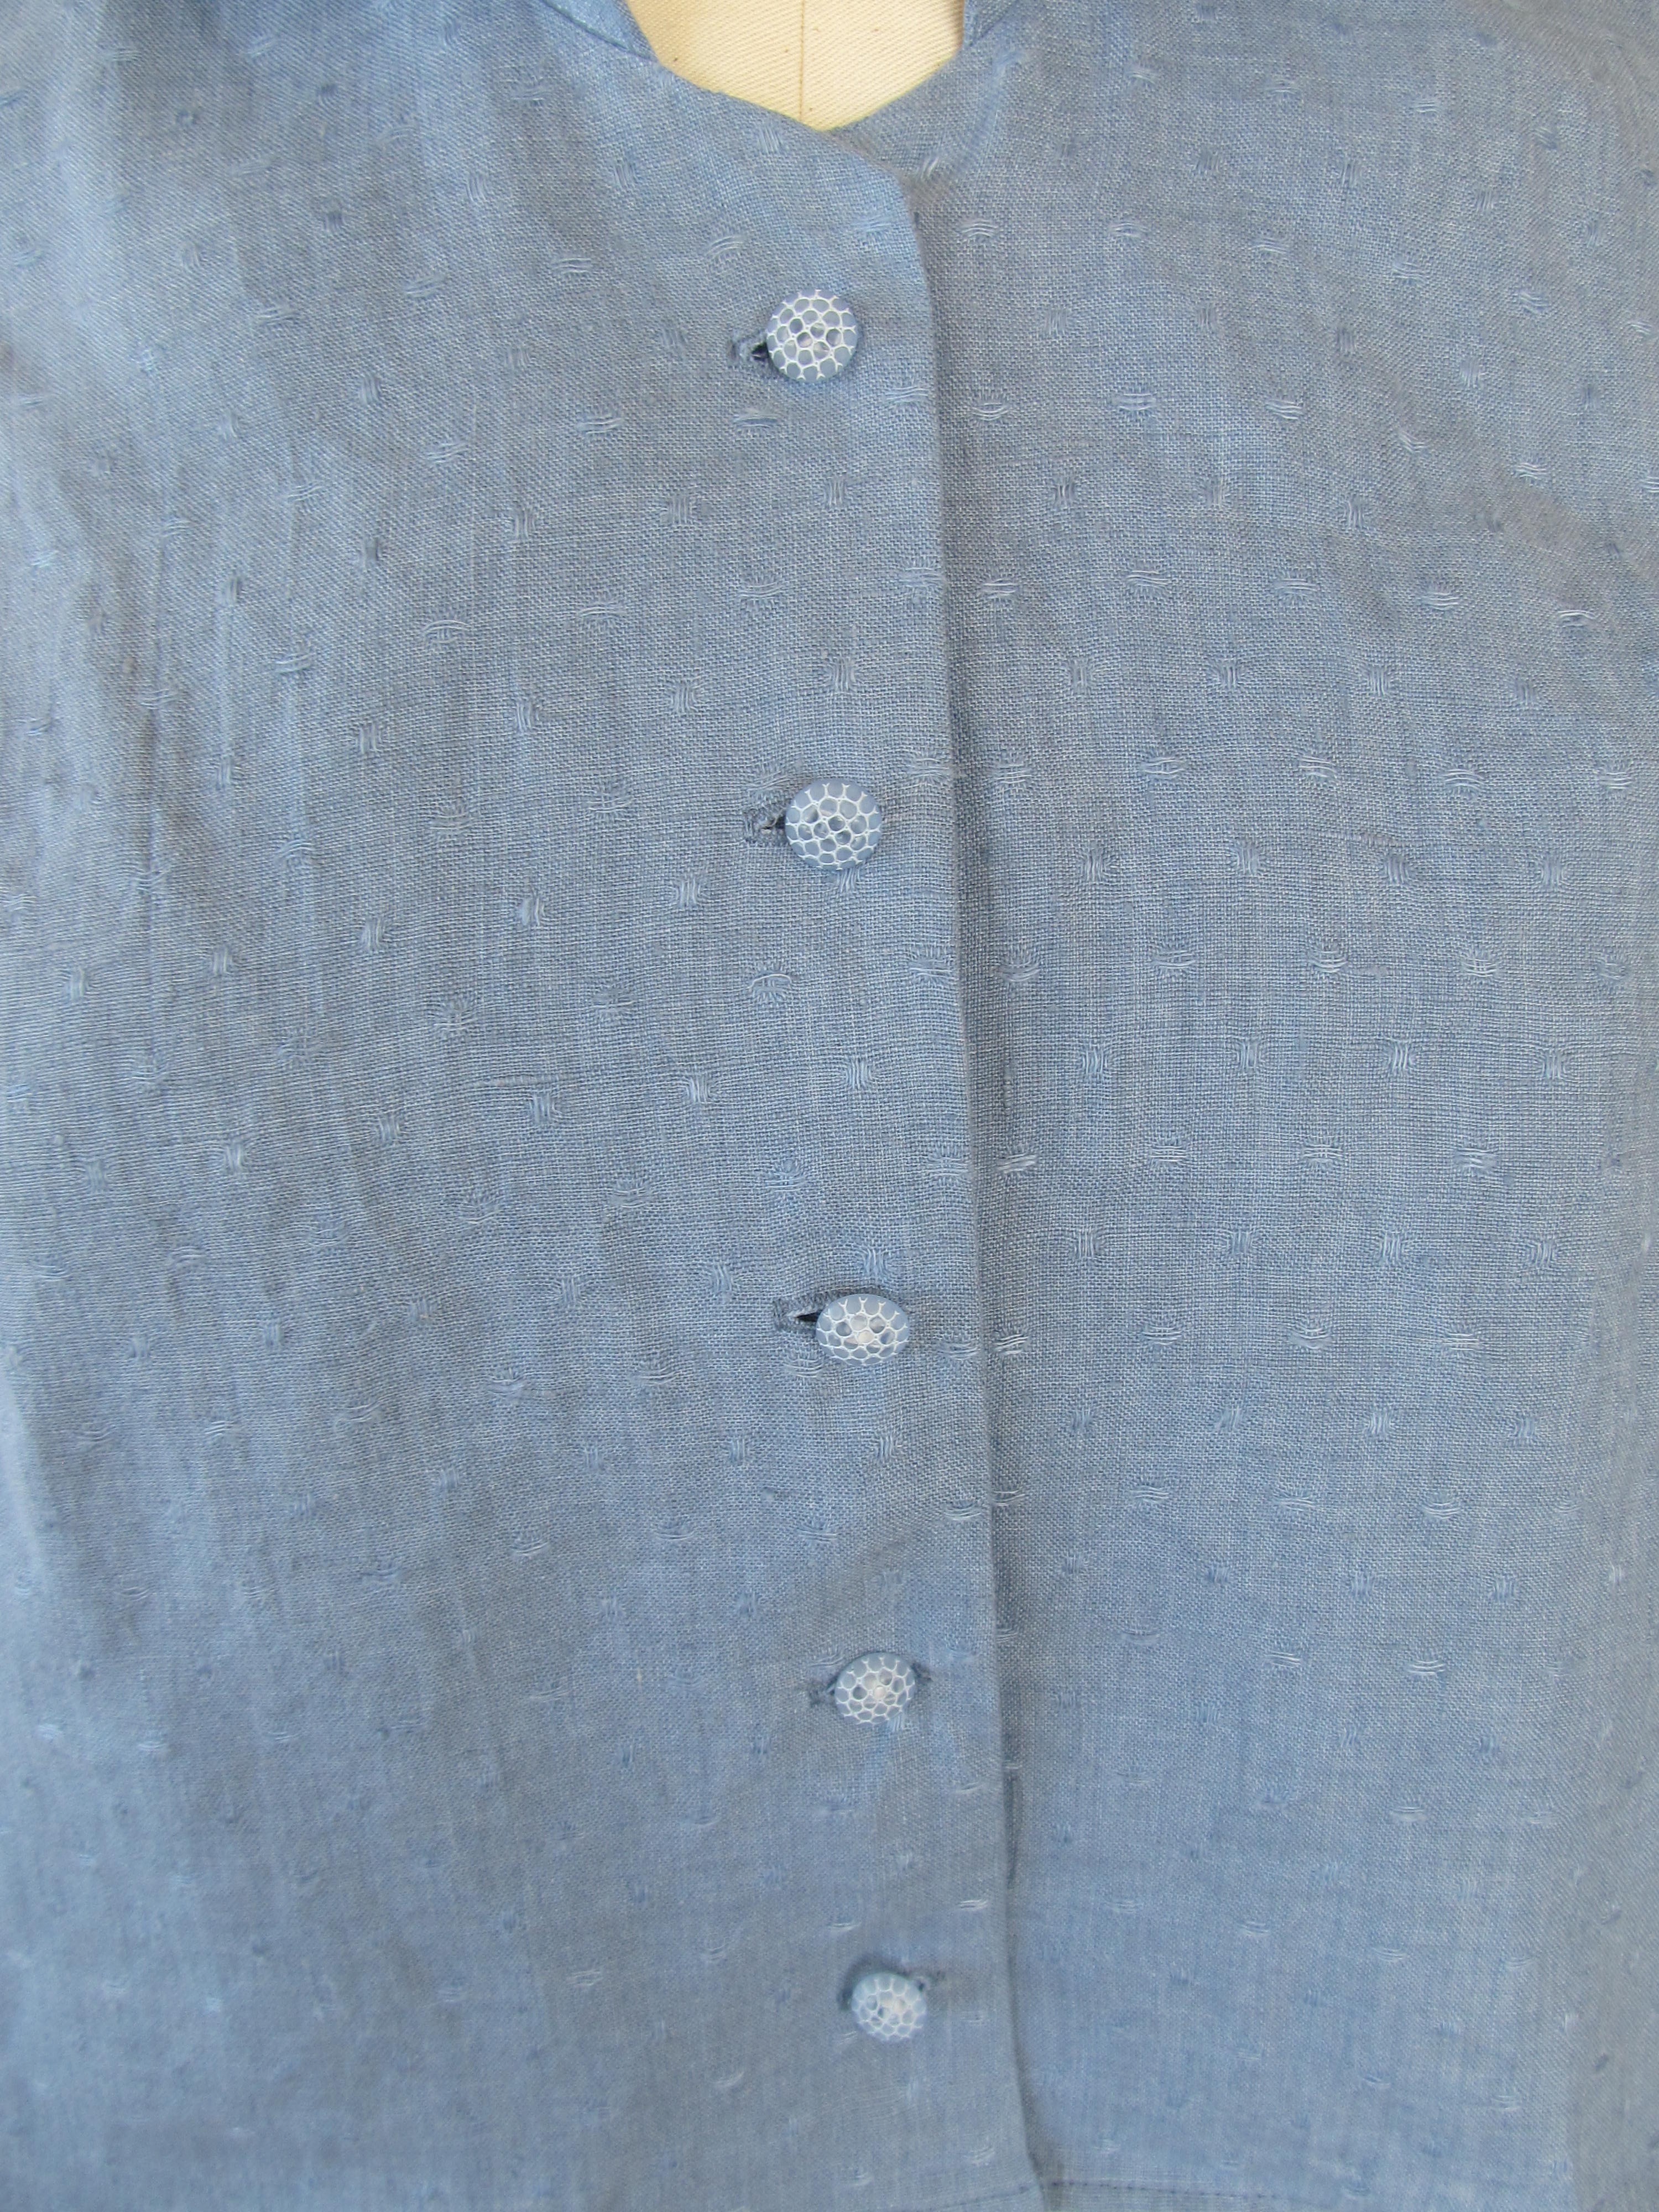
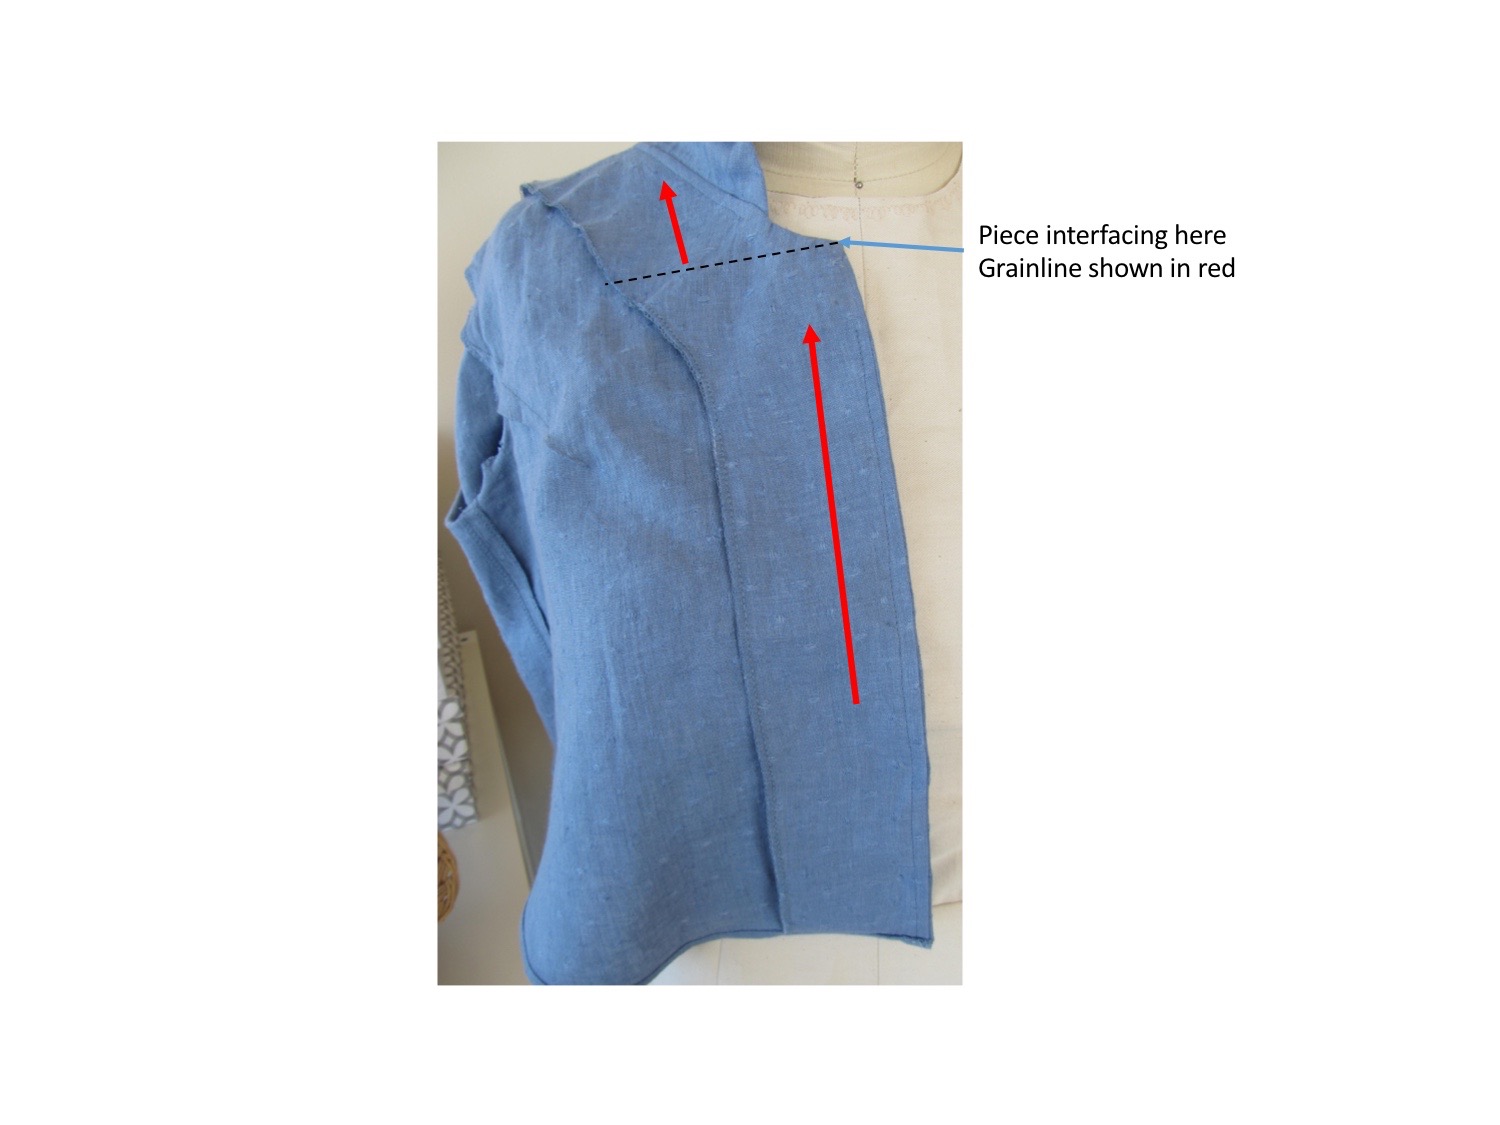
It started with having to sketch a tailored shirt I’m working on for the Sew Chicago group entry in next month’s ASG Chicago Chapter fashion show. I’m making a test version of the shirt first and so I didn’t have any pictures to send to the show coordinator. Once I did that, it occurred to me that I should sketch the blouses I’ve been wanting to make this fall and put them together with fabric swatches.

Shirt and Blouses

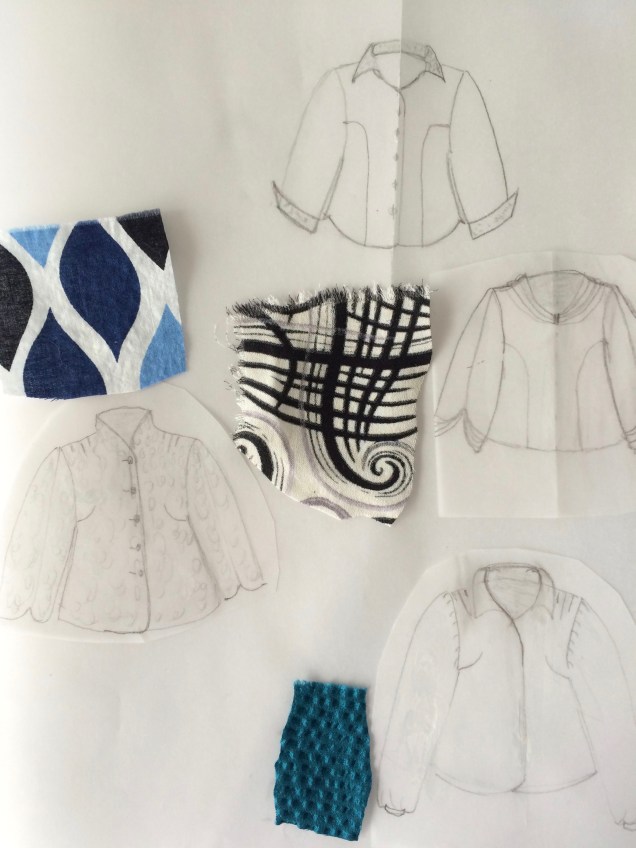
I need to learn how to sketch soft, drapey fabric better. These look too structured to me. The bold print on the upper left is a lightweight cotton, similar to a cotton lawn. The swatch in the middle is a lovely silk double georgette and the teal on the bottom is hammered silk that has a lovely floaty quality.

I also played some more with a jacket design that can coordinate with a soft or soft-and-sheer skirt.

aug-1-2

Then there’s the idea that I want to make a blouse with tulip sleeves.

aug-1

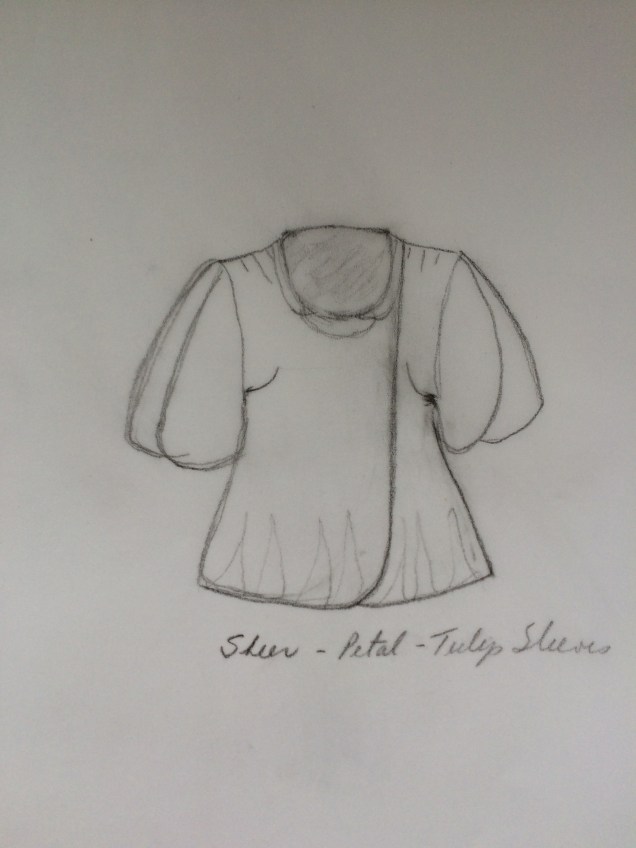
I made a sheer blouse with tulip sleeves a while back that wasn’t right. Now that my skills have improved and I have Sarah Veblen as a mentor, I want to give it another try. This sketch is an attempt to echo the tulip theme in the body of the blouse. The petal collar seems like it’s too much to me, so that’s something I’ll have to test out in a mock-up.

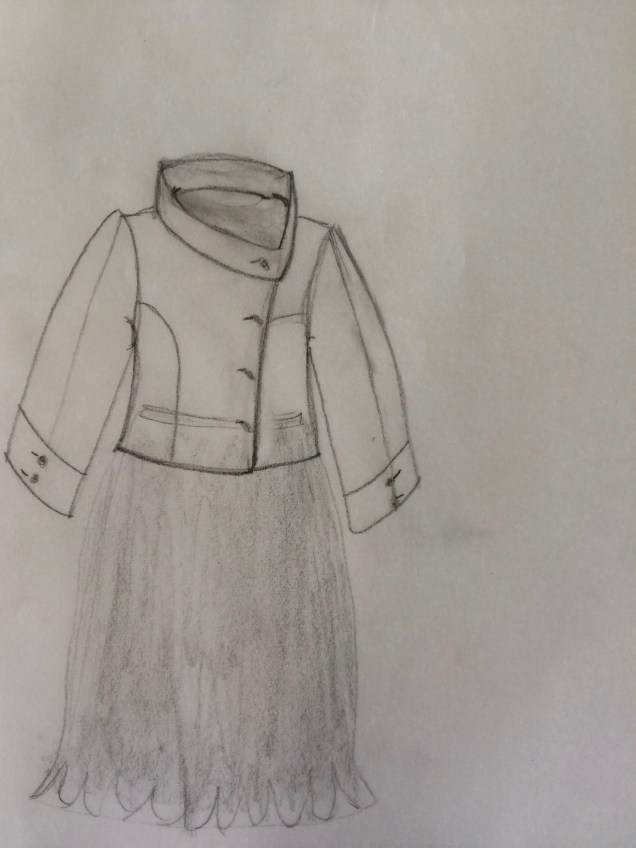
Finally, remember that unstructured jacket I sketched last month? To remind you, here it is again.

IMG_1990

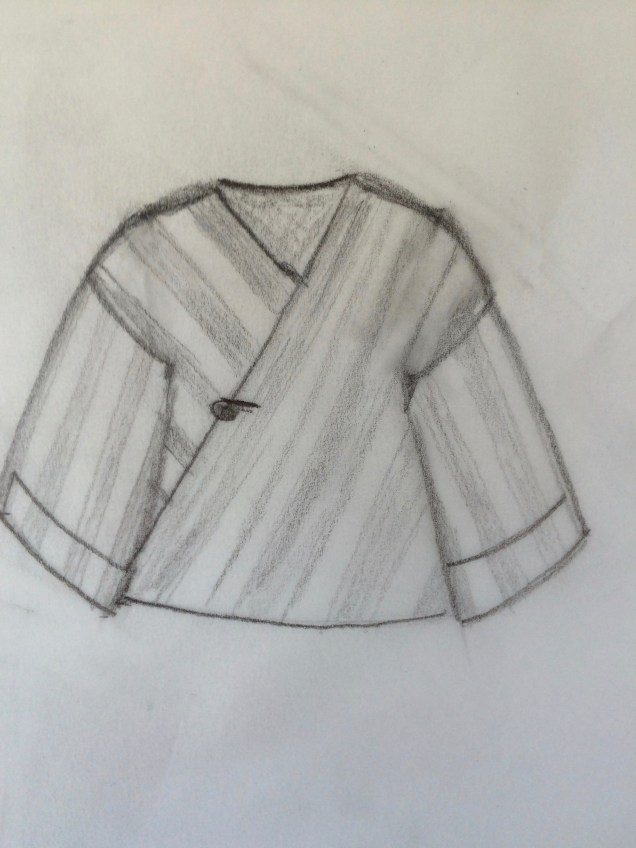
It was on my mind days later and so I decided to play around with what might make a nice personalized version, starting with set-in sleeves.

img_2038

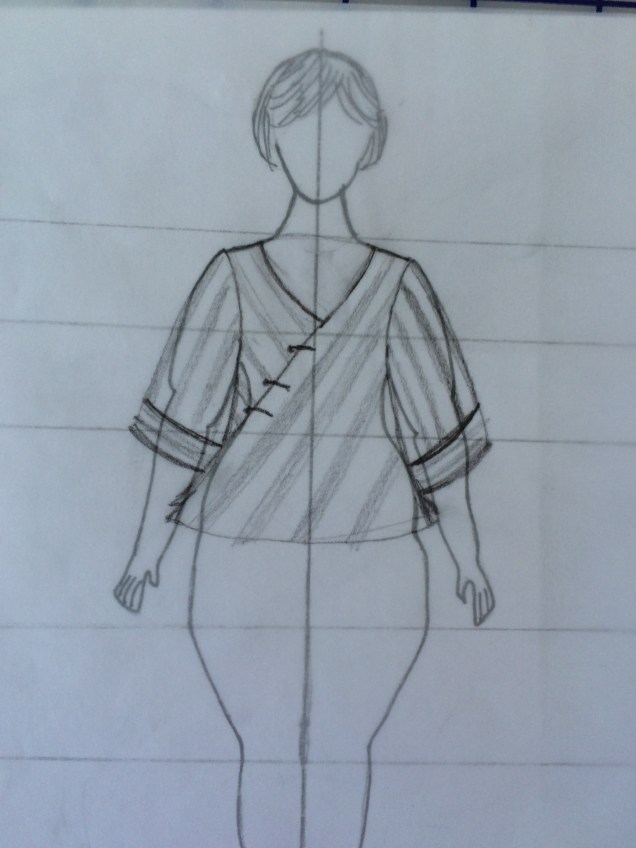
That looks better to me. Then I thought about adding a collar. Collars seem to make a big difference in my garments.

img_2039

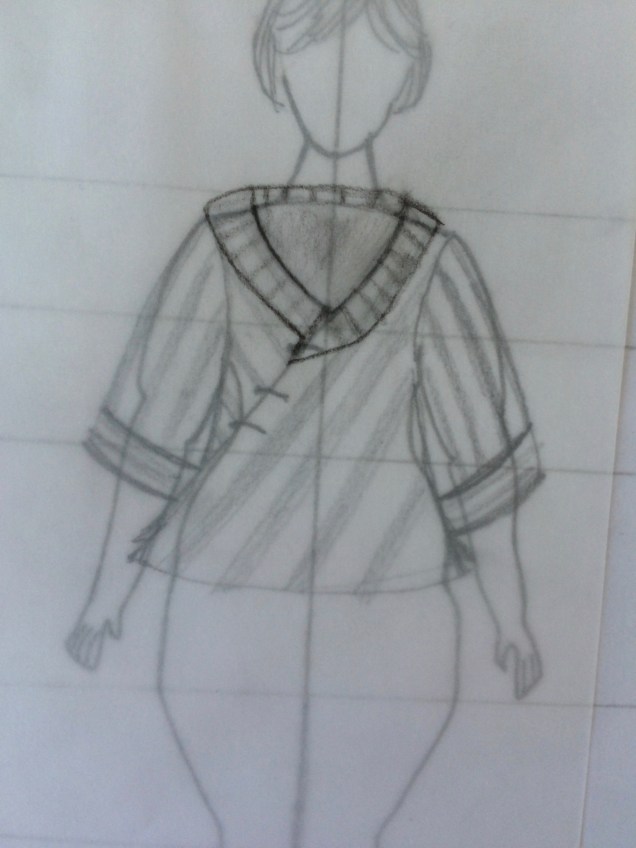
Oh yeah. That’s something I would enjoy wearing. (Please ignore the fact that the croquis and the back of the jacket are both visible.) Actually, I think I like it either way. The set-in sleeves make all the difference.

Of course, I’m probably not going to be able to find fabric that’s right for this jacket and I’ll end up having to learn how to do online digital fabric printing. Or worse, like piecing fabric together to make the stripes. Not my thing at all. Maybe the fabric gods will be kind to me and the perfect fabric will appear online.

That’s it for now. Be sure to visit my dear friend Steph King of Siouxzeegirl Designs at https://10sewingmachines.blogspot.com to see what amazing things are in her sketchbook this month. And if you’d like to join in on the fun, please leave a comment for one of us.


The Campish Shirt

Every summer for the past I’ve-lost-count-of-the-number of years, I’ve wanted to make a camp shirt out of this lovely lightweight linen. This year, as summer was drawing to a close, the stars aligned for me to tackle this project.

Oops. Forgot to button the bottom button.

So why “campish” and not camp shirt? Because I decided that I didn’t want to use a convertible collar that is found in camp shirts. I also didn’t want a patch pocket over the breast. I mean, it’s not as if women are going to put anything in that pocket and I don’t think it really adds anything to the look.

The finished product is not everything I hoped it would be, but I learned some things in making it and now I can share those with you.

First, I learned that the name for the weave of this fabric with the extra texture scattered about is dobby. This particular fabric is pretty loosely woven, which presented some challenges in getting it on grain for cutting and then surprised me by stretching out of shape in one tiny segment of the neckline. More about the headache that created later.

For the pattern, I started out with my no-close topper. I drew a new neckline, added an extension for the button closure, shortened the pattern and added a curved shirt tail hem. When it was finished, I discovered I had shortened it a little too much. This version is wearable, but I’m going to lengthen the pattern before using it again.

I drafted new front and back facing pattern pieces and used the rolled collar and short sleeves with split hem and button detail from the linen version of my shirtdress.

The shirt went together without a hitch, which should have alerted me that there was a problem lurking somewhere. I didn’t mark where the collar was supposed to end in the front. The center back and shoulders were marked and that segment fit perfectly. When I held the collar-to-extension seam sections together they matched after both pinning and sewing, so I thought all was well. I was wrong.

When I put the finished shirt on I wasn’t happy with the way the front neckline looked. Something seemed off about the bit between the end of the collar and center front. I showed it to Sarah Veblen during our next mentoring session and she agreed something was wrong. She compared the pattern piece, which had the end of the collar marked, to the finished shirt and discovered that that little segment of the neckline had stretch more than half an inch. Surprisingly, the interfaced facing had stretched the same amount.

Aug - 2

Sarah’s advice was to unstitch, steam both the fashion fabric and facing into their proper shape and restitch. That included unstitching understitching, removing the top snap and sewing the very last bit at the extension by hand. Can I tell you how much I didn’t want to do that after thinking I was done with the project?

The unstitching wasn’t terribly painful once I got started. It was helped by the fact that I did it with my feline sewing assistant in my lap. The steaming was more of a project than I’d anticipated. It took several rounds of pinning to match the pattern, transferring the pins to hold the fabric to the ironing board cover without the pattern, steaming and leaving it to cool and dry. Little by little, the fullness came out. Then the entire process  had to be repeated for a total of four segments – both sides of the fashion fabric then both front facings.

Aug - 7

One thing I did for the first time with this project was make horizontal buttonholes. I know the “rule” is that you use vertical buttonholes on blouses and shirts and horizontal ones on jackets and coats, but Sarah Veblen encourages her students to ignore that rule. I think she’s right from both a practical and an esthetic point of view. These buttonholes won’t splay open when I move and the buttons won’t come out the way they sometimes do with vertical buttonholes on a fitted blouse. The bonus is that I really like the way they look. I’m sold on using them.

Using the horizontal orientation also meant that I could use keyhole buttonholes for my buttons, which have shanks.

Aug - 6

In looking at the finished product critically, Sarah and I decided on some changes to the pattern before using it again. Besides lengthening it, I’d like to move the tucks out toward the shoulders so they are away from the collar. Sarah also suggested bringing the front armscye seam in just a smudge, which I’ve done. I’m also going to change the shape of the front neckline slightly and widen the collar a bit at the ends so I can get more of the graceful curved shape in front.

Sarah also advised that I modify the way I interface the front facing when using a fabric that might need some extra control. She suggested piecing the interfacing at this line so that this area can be on grain.

Interfacing Diagram

These imperfections aren’t going to stop me from wearing this campish shirt. It’s light, cool, casual and the color is very me.