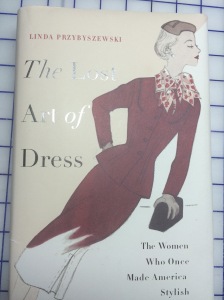
 Reading The Lost Art of Dress by Linda Przybyszewski opened my eyes to a great deal that I hadn’t known about how women and girls learned to dress appropriately in the past and how well-educated women carved out careers for themselves in home economics departments of leading universities in this country long before women entered male-dominated professions in large numbers.
One thing the book reminded me of is how comfortable shirtdresses can be to wear and how perfect they are to fill that gap between dressed up and casual. Professor Pski herself favors this style and shirtdresses were a mainstay of my mother’s wardrobe as well as my own back when a dress was the most casual thing I could wear to the office on a weekday. And so I was inspired to develop a pattern for a shirtdress.
Of course, I had some specific requirements for this shirtdress. First, I never liked wearing dresses that have buttons all the way down the front, because there is always pulling and gapping when I sit in them. I also liked the idea of having release pleats to control the transition between the fitted bodice and a flared skirt.
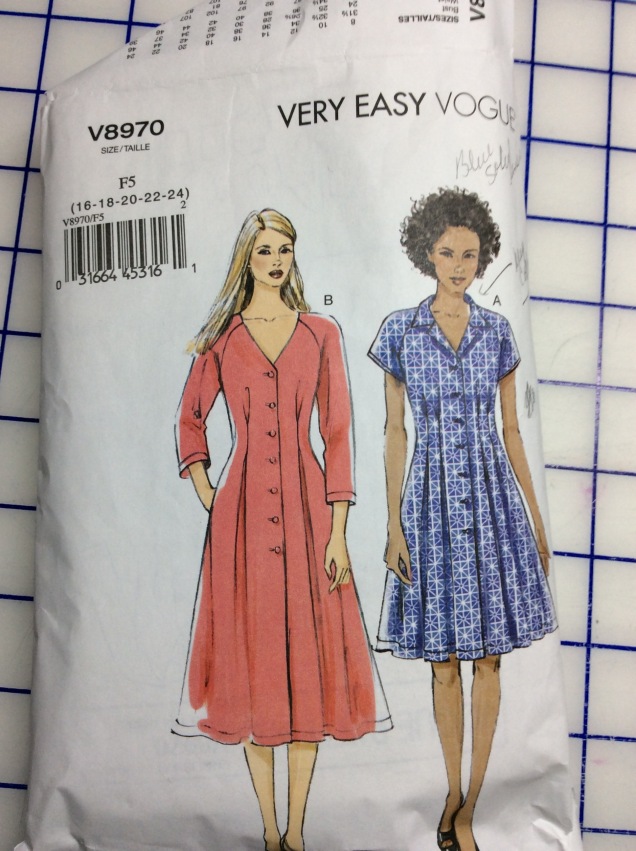
Vogue 8970 pretty much fit what I had in mind in terms of the shape.
 The blouse pattern Vogue 1412 provided the solution I was looking for to avoid having buttons all the way down the front.
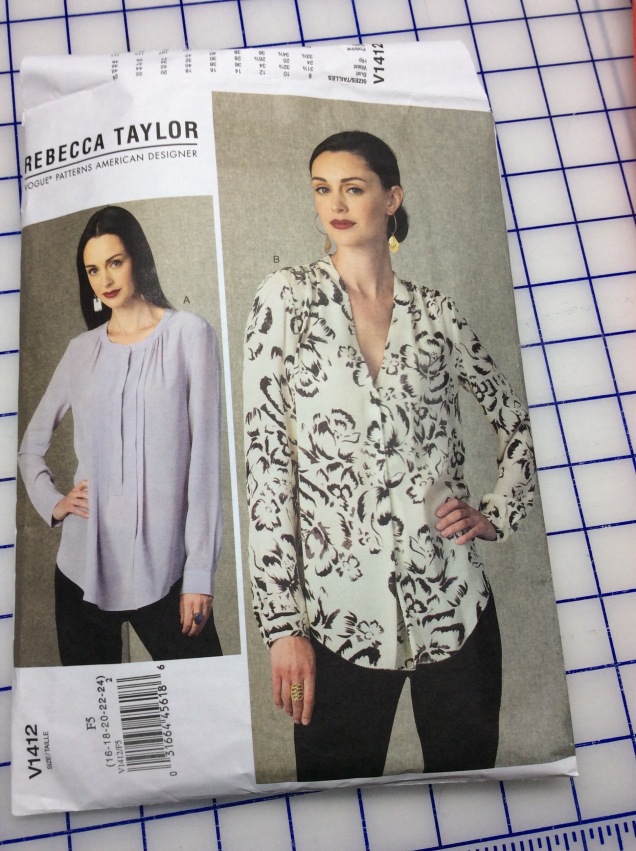 This pattern has a few buttons on a placket and transitions to a pleat that extends to the hem. I opted for a facing rather than a placket, but incorporated the pleat.
The first order of business in developing the pattern was to get the shape of the skirt. I had a false start trying to trace the side seams of V8970, but quickly found that adapting that pattern to my armscye princess sloper either wouldn’t work or would be much more trouble than it had to be.
Going from the sheath pattern to the shape I wanted for the shirtdress was pretty simple. Yes, there was math involved, but just to the point of approximation.
The method consists of cutting the existing pattern into strips, from hemline to a horizontal balance line (HBL) that will be used as a pivot point. Each strip needs to be cut to, but not through, the point where one of the cut lines meets the HBL to form a hinge. Here is an example of how this works.
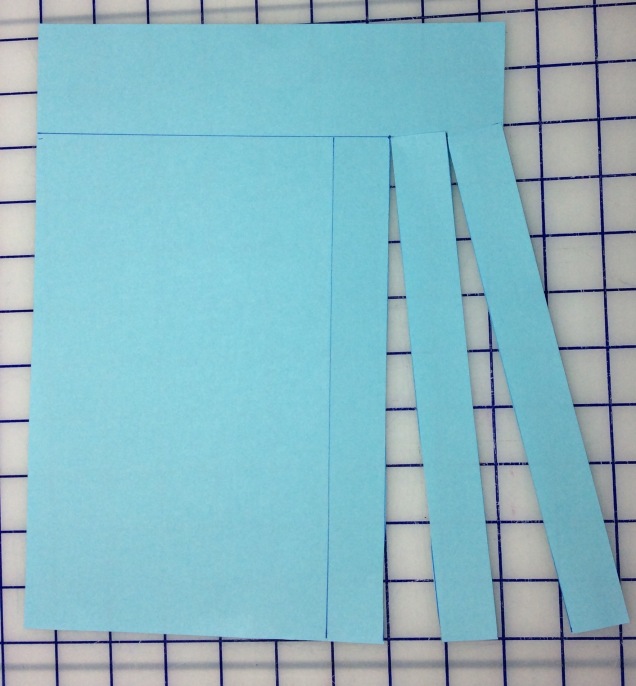 I decided how wide I wanted the dress to be at the hemline, subtracted the total circumference of my sheath pattern at the hem (not counting seam allowances), and divided that number by four. After rounding for convenience, I subtracted the width of each pattern piece at the hemline to arrive at how much I needed to add to each pattern piece. Then it was a question of cutting strips of equal width to the HBL, cutting the hinges, placing more pattern paper under the work and spreading the strips the same distance apart from one another at the hemline. I think I opted for ½-inch spreads to distribute the additions evenly throughout each pattern piece.
I left center back and center front alone and worked only to one side on those pieces, whereas the side front and side back had to have new graininess drawn after the process was completed. Then I taped it all down and arrived at pieces that look like this at the bottom.
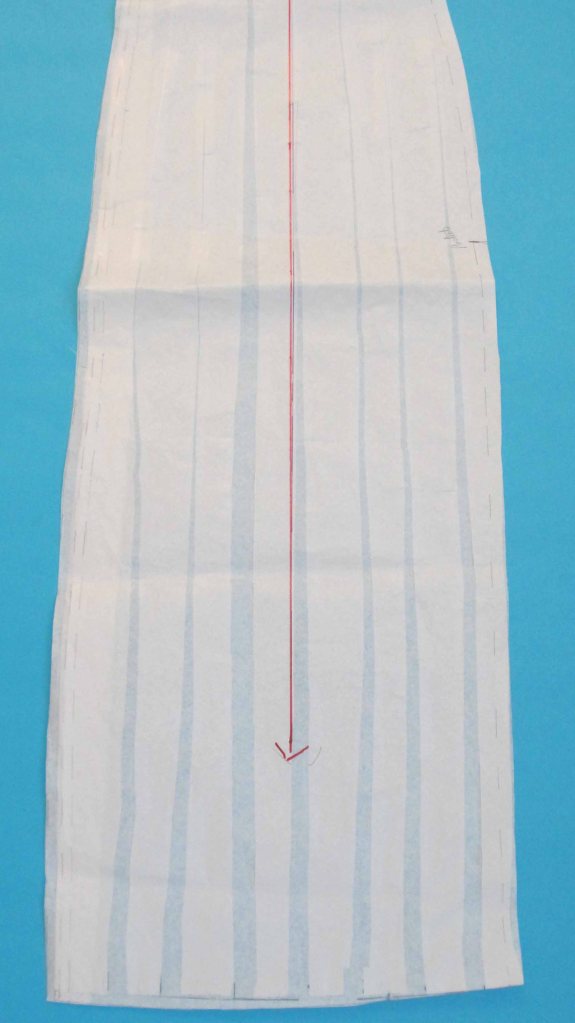 Here is what the pattern looks like in the hinge area.
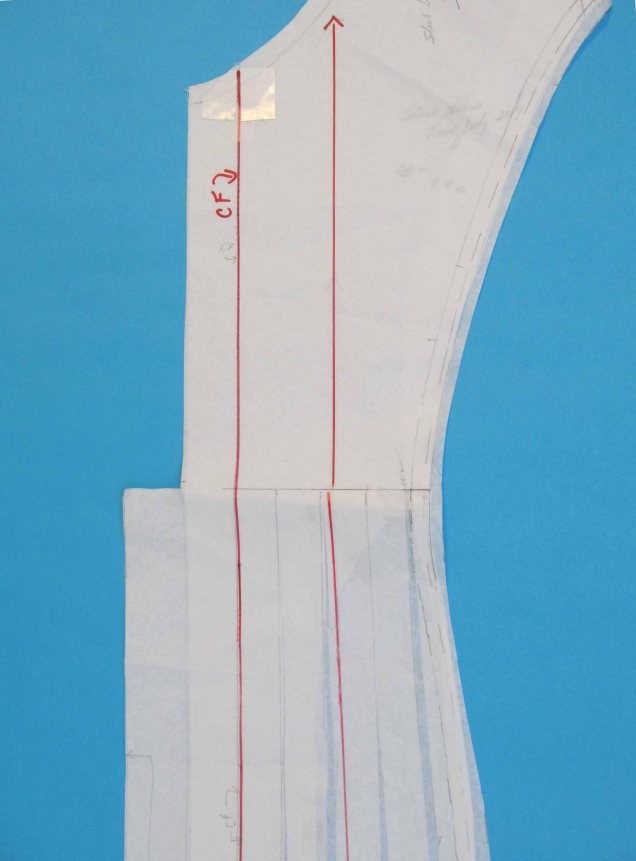 The picture above also shows the extension for the center pleat, which is cut on the fold, and the extension for the opening where the buttons and buttonholes are placed.
I had a friend mark the placement and depth of the release pleats for me in the side front and side back panels. Here is how that looks on the pattern. 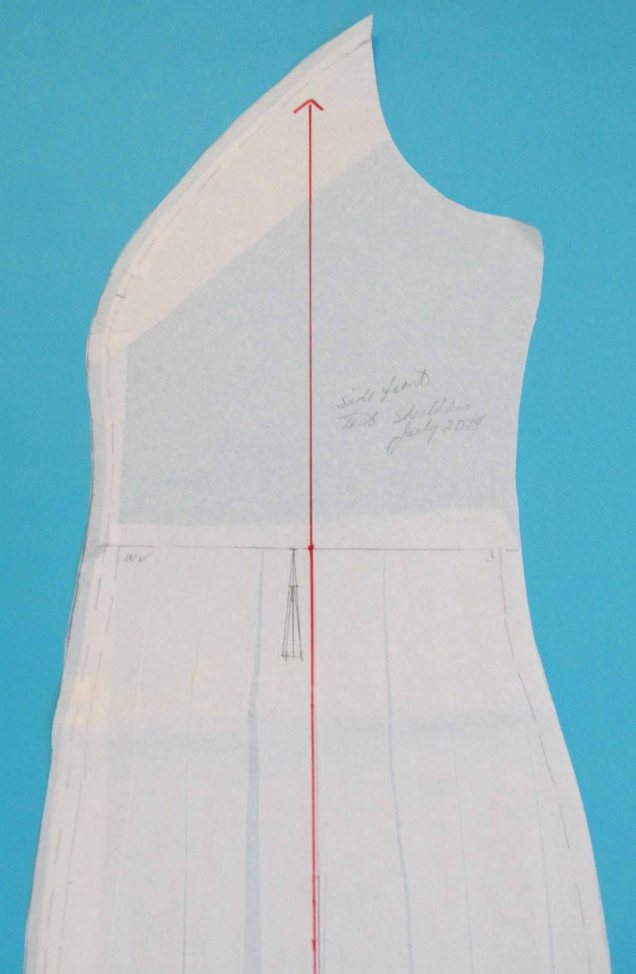
I added in-seam pockets to the pattern and was good to go.
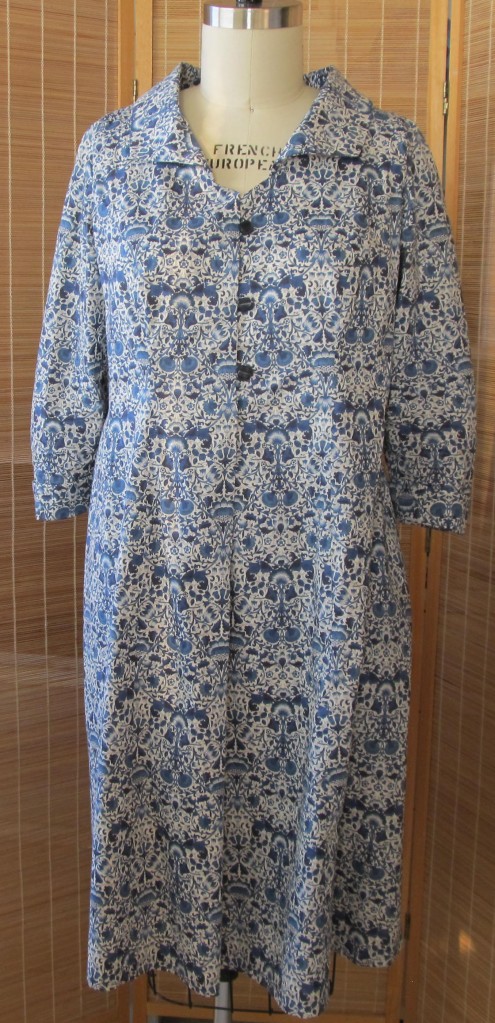
This was another project that I intended to complete in the summer of 2014 in linen. When I didn’t get to the sewing in time, I made the first version of the dress with 3/4 sleeves and turn-back cuffs out of a Liberty cotton lawn lined in white cotton batiste.
I ran into some issues with buttonholes, so I opted for button loops. I drafted the collar pattern myself and, although I love wearing the dress I decided that next time I would raise the back neck and make corresponding adjustments to the collar. I did that in this linen version, which I finished in July and wore for the rest of the summer.
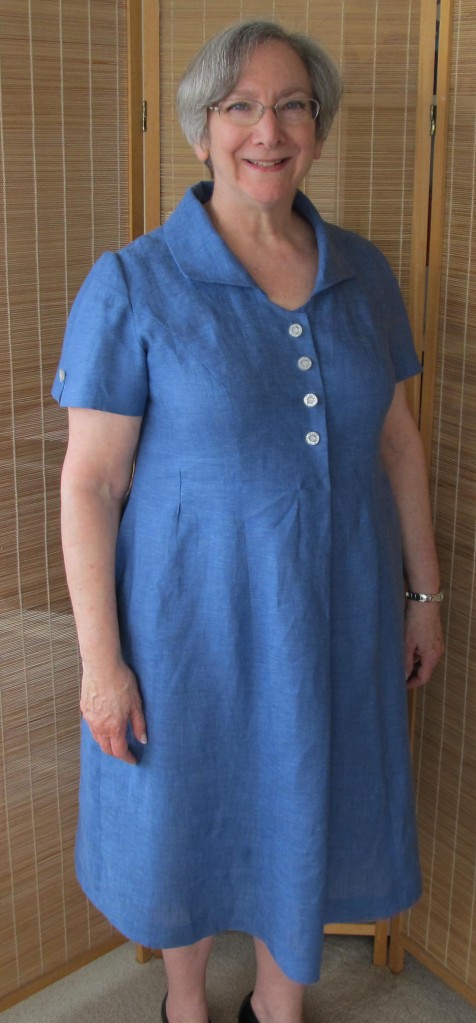 You can see the release pleat clearly in this solid fabric. As you can see, I overcame my buttonhole issues for this version. The buttons on both of these dresses are from Soutache.
I’m much happier with this neckline and the way the collar sits in the back. I definitely want to use the collar again, maybe in a blouse next time.
I have some cotton shirting I want to use for another version of this dress with a Mandarin collar. I also have some crinkle rayon that I think would look nice with a shawl collar. As you can see, this is becoming a staple in my wardrobe.

it’s also a very becoming staple. I love how gracefully it frames your neck & face. And I love how clear and helpful your photos and explanations are. I’m going to try that slice-and-spread on a collar to give it little pleats where it is attached to the neckline.
thanks Wendy for all the info
LikeLike
I love this linen dress on you! It is both beautiful and effortless and you always have such a wonderful smile when I see you in it. I think I may have to try this technique for a similar dress…
LikeLike
Thank you so much Steph. I hope you do try it out. You’ll love wearing it.
LikeLike