
Time has an annoying habit of flying by, whether you’re having fun or not, doesn’t it? I really am sorry so much time has passed since my last post. The first few days were spent away from work with friends. I should have known those days would be too full to finish another post. Then it was back to work in full immersion mode and I didn’t emerge from that for another three weeks. Okay, enough about that. We’re here to talk about sewing.
What I promised to tell you about last time was sewing the two-piece tulip dress, which was quite an adventure. Looking at fabric cut in the pieces you see below, plus all the other pieces that didn’t fit into the frame, made me think of a jigsaw puzzle with no picture to give a hint as to how to put it together. I also found the sheer number of pattern pieces daunting. Both the bodice and the skirt have princess seams, so that’s 14 main pattern pieces right off the bat.
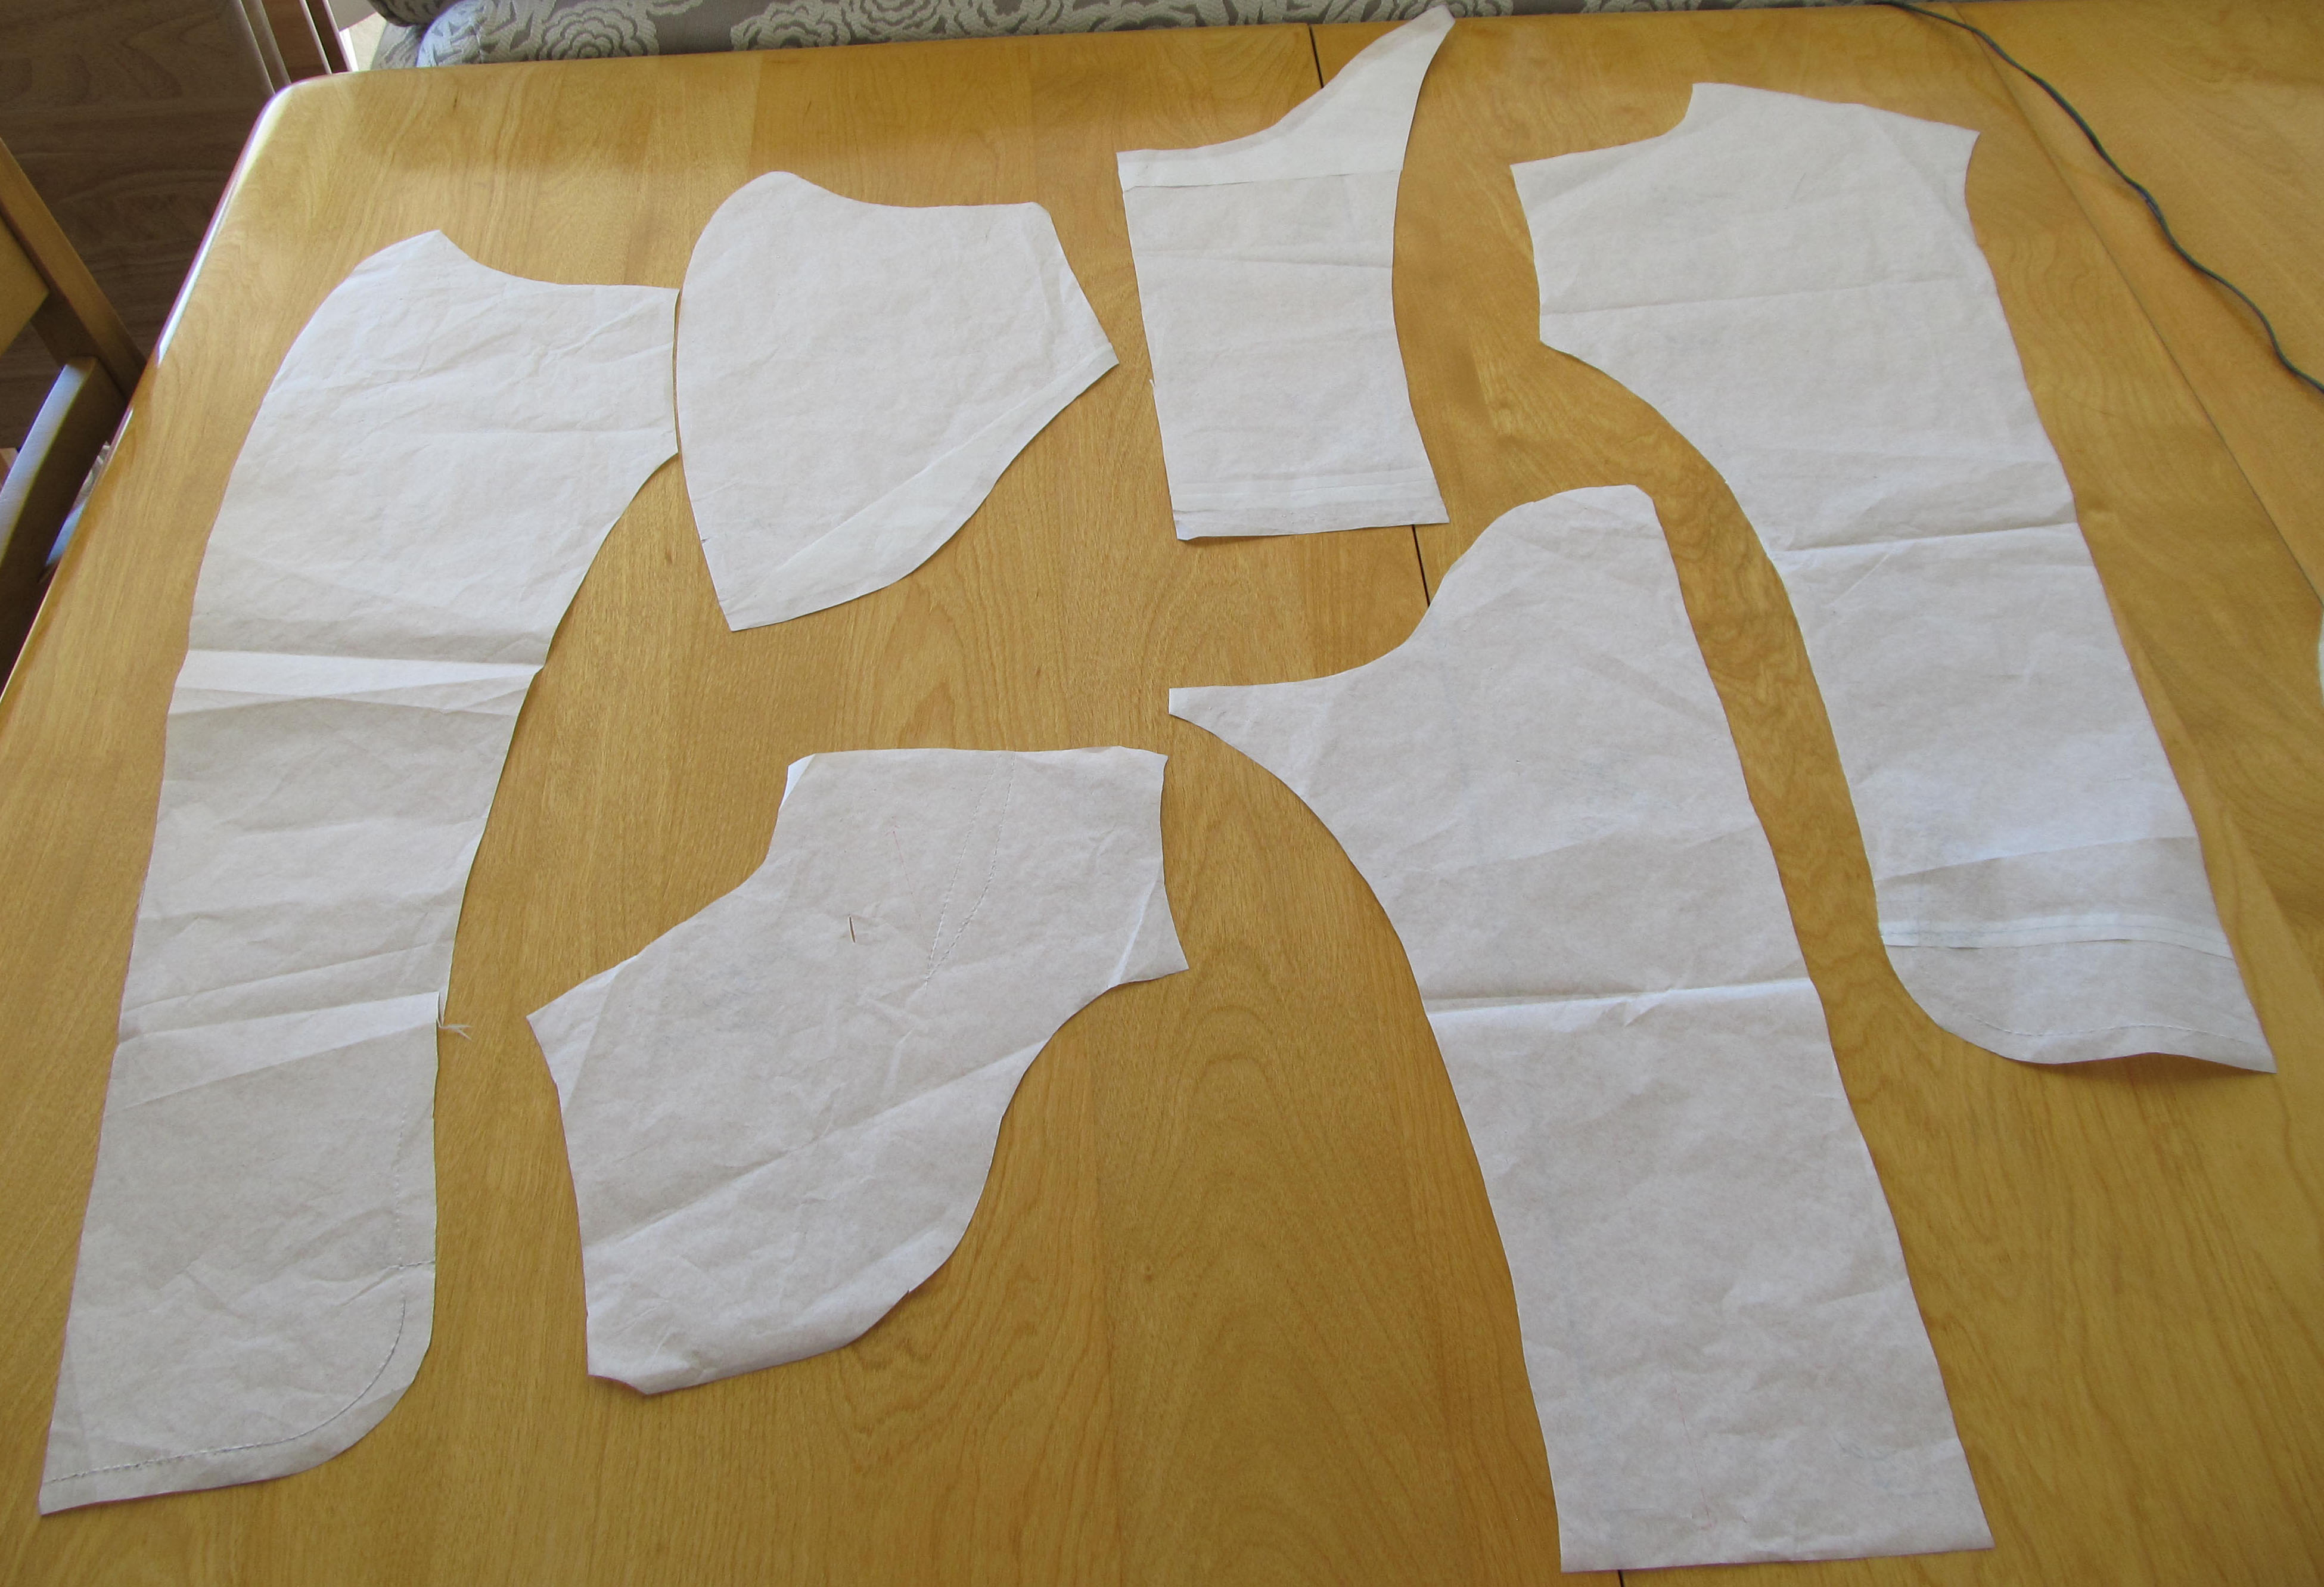
Then there are the facings for the shaped bodice hem and the front and back facings for the neckline, plus the cap sleeves and lining pieces that look pretty strange, at least in the bodice, where they hang down from facing pieces.
 Like I said, daunting.
This is where painter’s tape became my best friend. I usually use it to label my pattern pieces and distinguish the right side of the fabric from the wrong side. In skirts, I need to add arrows showing me which side is the princess seam and which is the side seam so I don’t repeat the mistake of trying to sew a side seam to a princess seam. For this project, the notes on the tape were more detailed and still I found myself having to refer back to the pattern to figure out which way was up. Add to that the complication that I actually cut this dress out last summer and put it aside until this spring, because linen isn’t exactly a three-season fabric in Chicago.
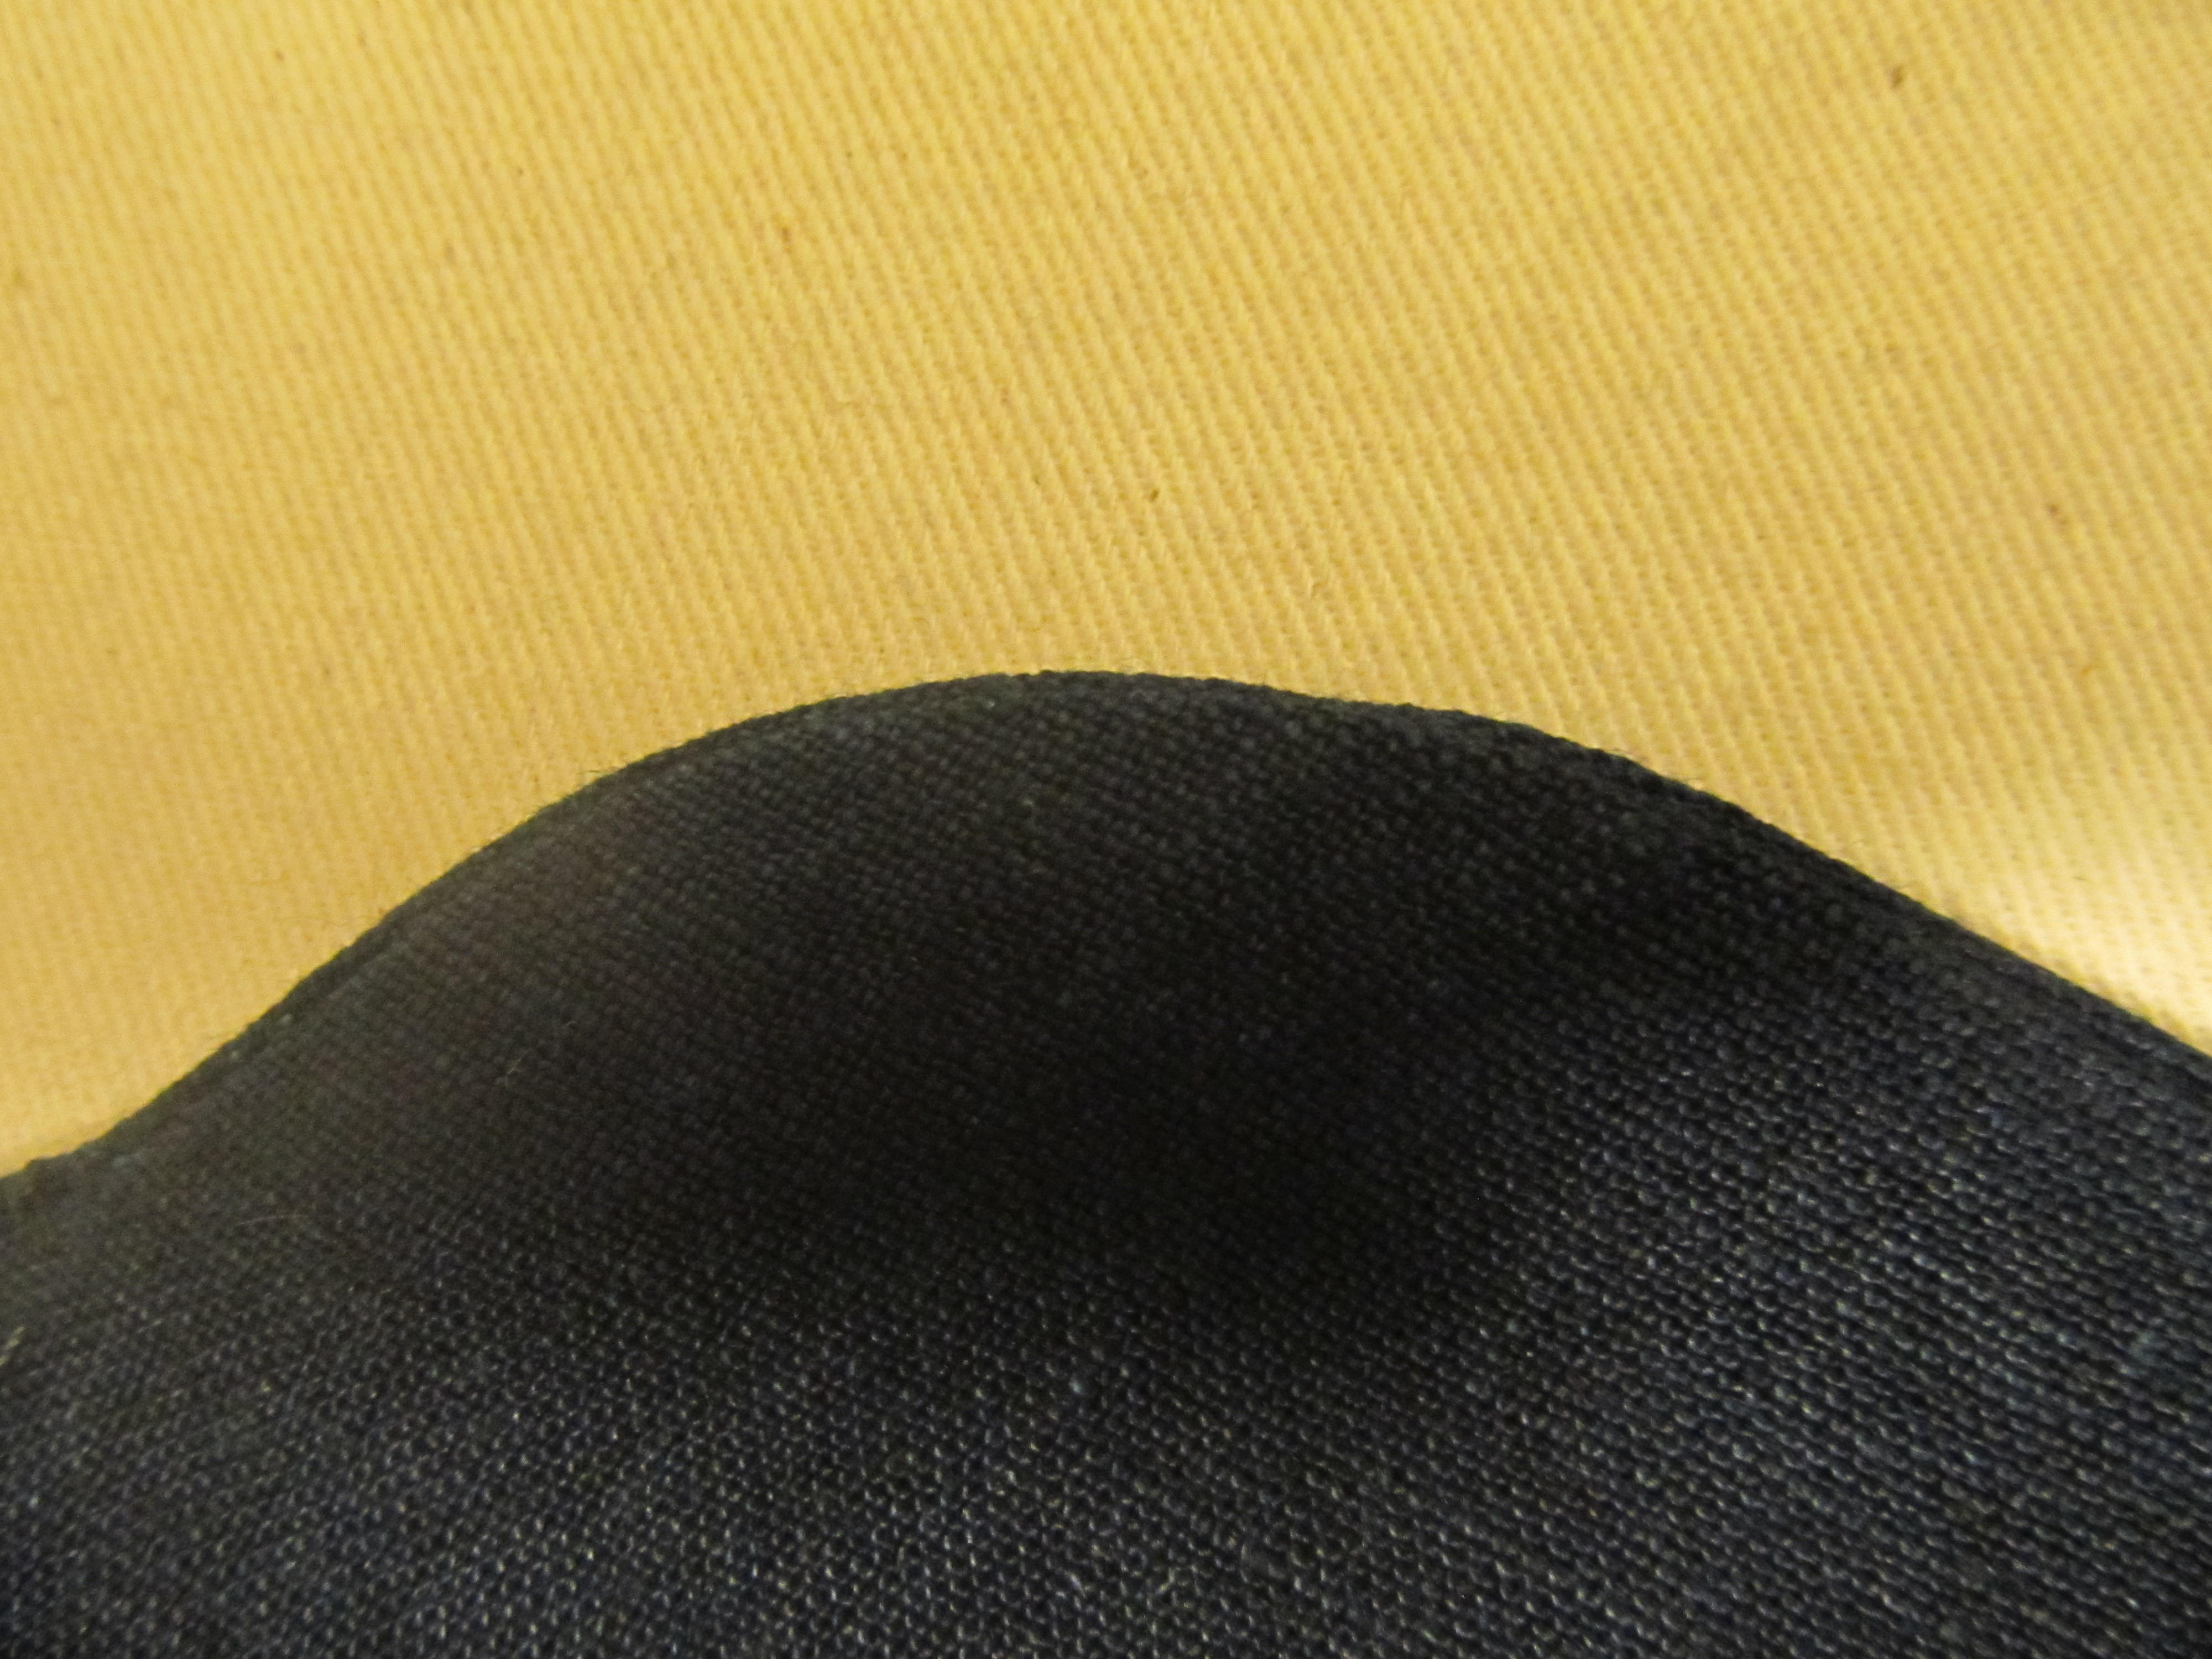
Once the pieces were cut and labeled, I tested some fusible interfacing on swatch “sandwiches” to find one with the right amount of body to support the neckline and retain the shape of the hem on the bodice piece. I chose fusible tricot for the neckline facings and fusibles with less body for the hem facings and the area around the invisible zippers (one in the side seam of the bodice and the other in the back of the skirt). This is where I should mention that linen worked particularly well for this design. I tried the same neckline in a light silk (broadcloth maybe?) and it tends to collapse when I move.
So, if I want to make it again in a a fabric with that much drape, I need to give it a little less length. Or, should I say height?
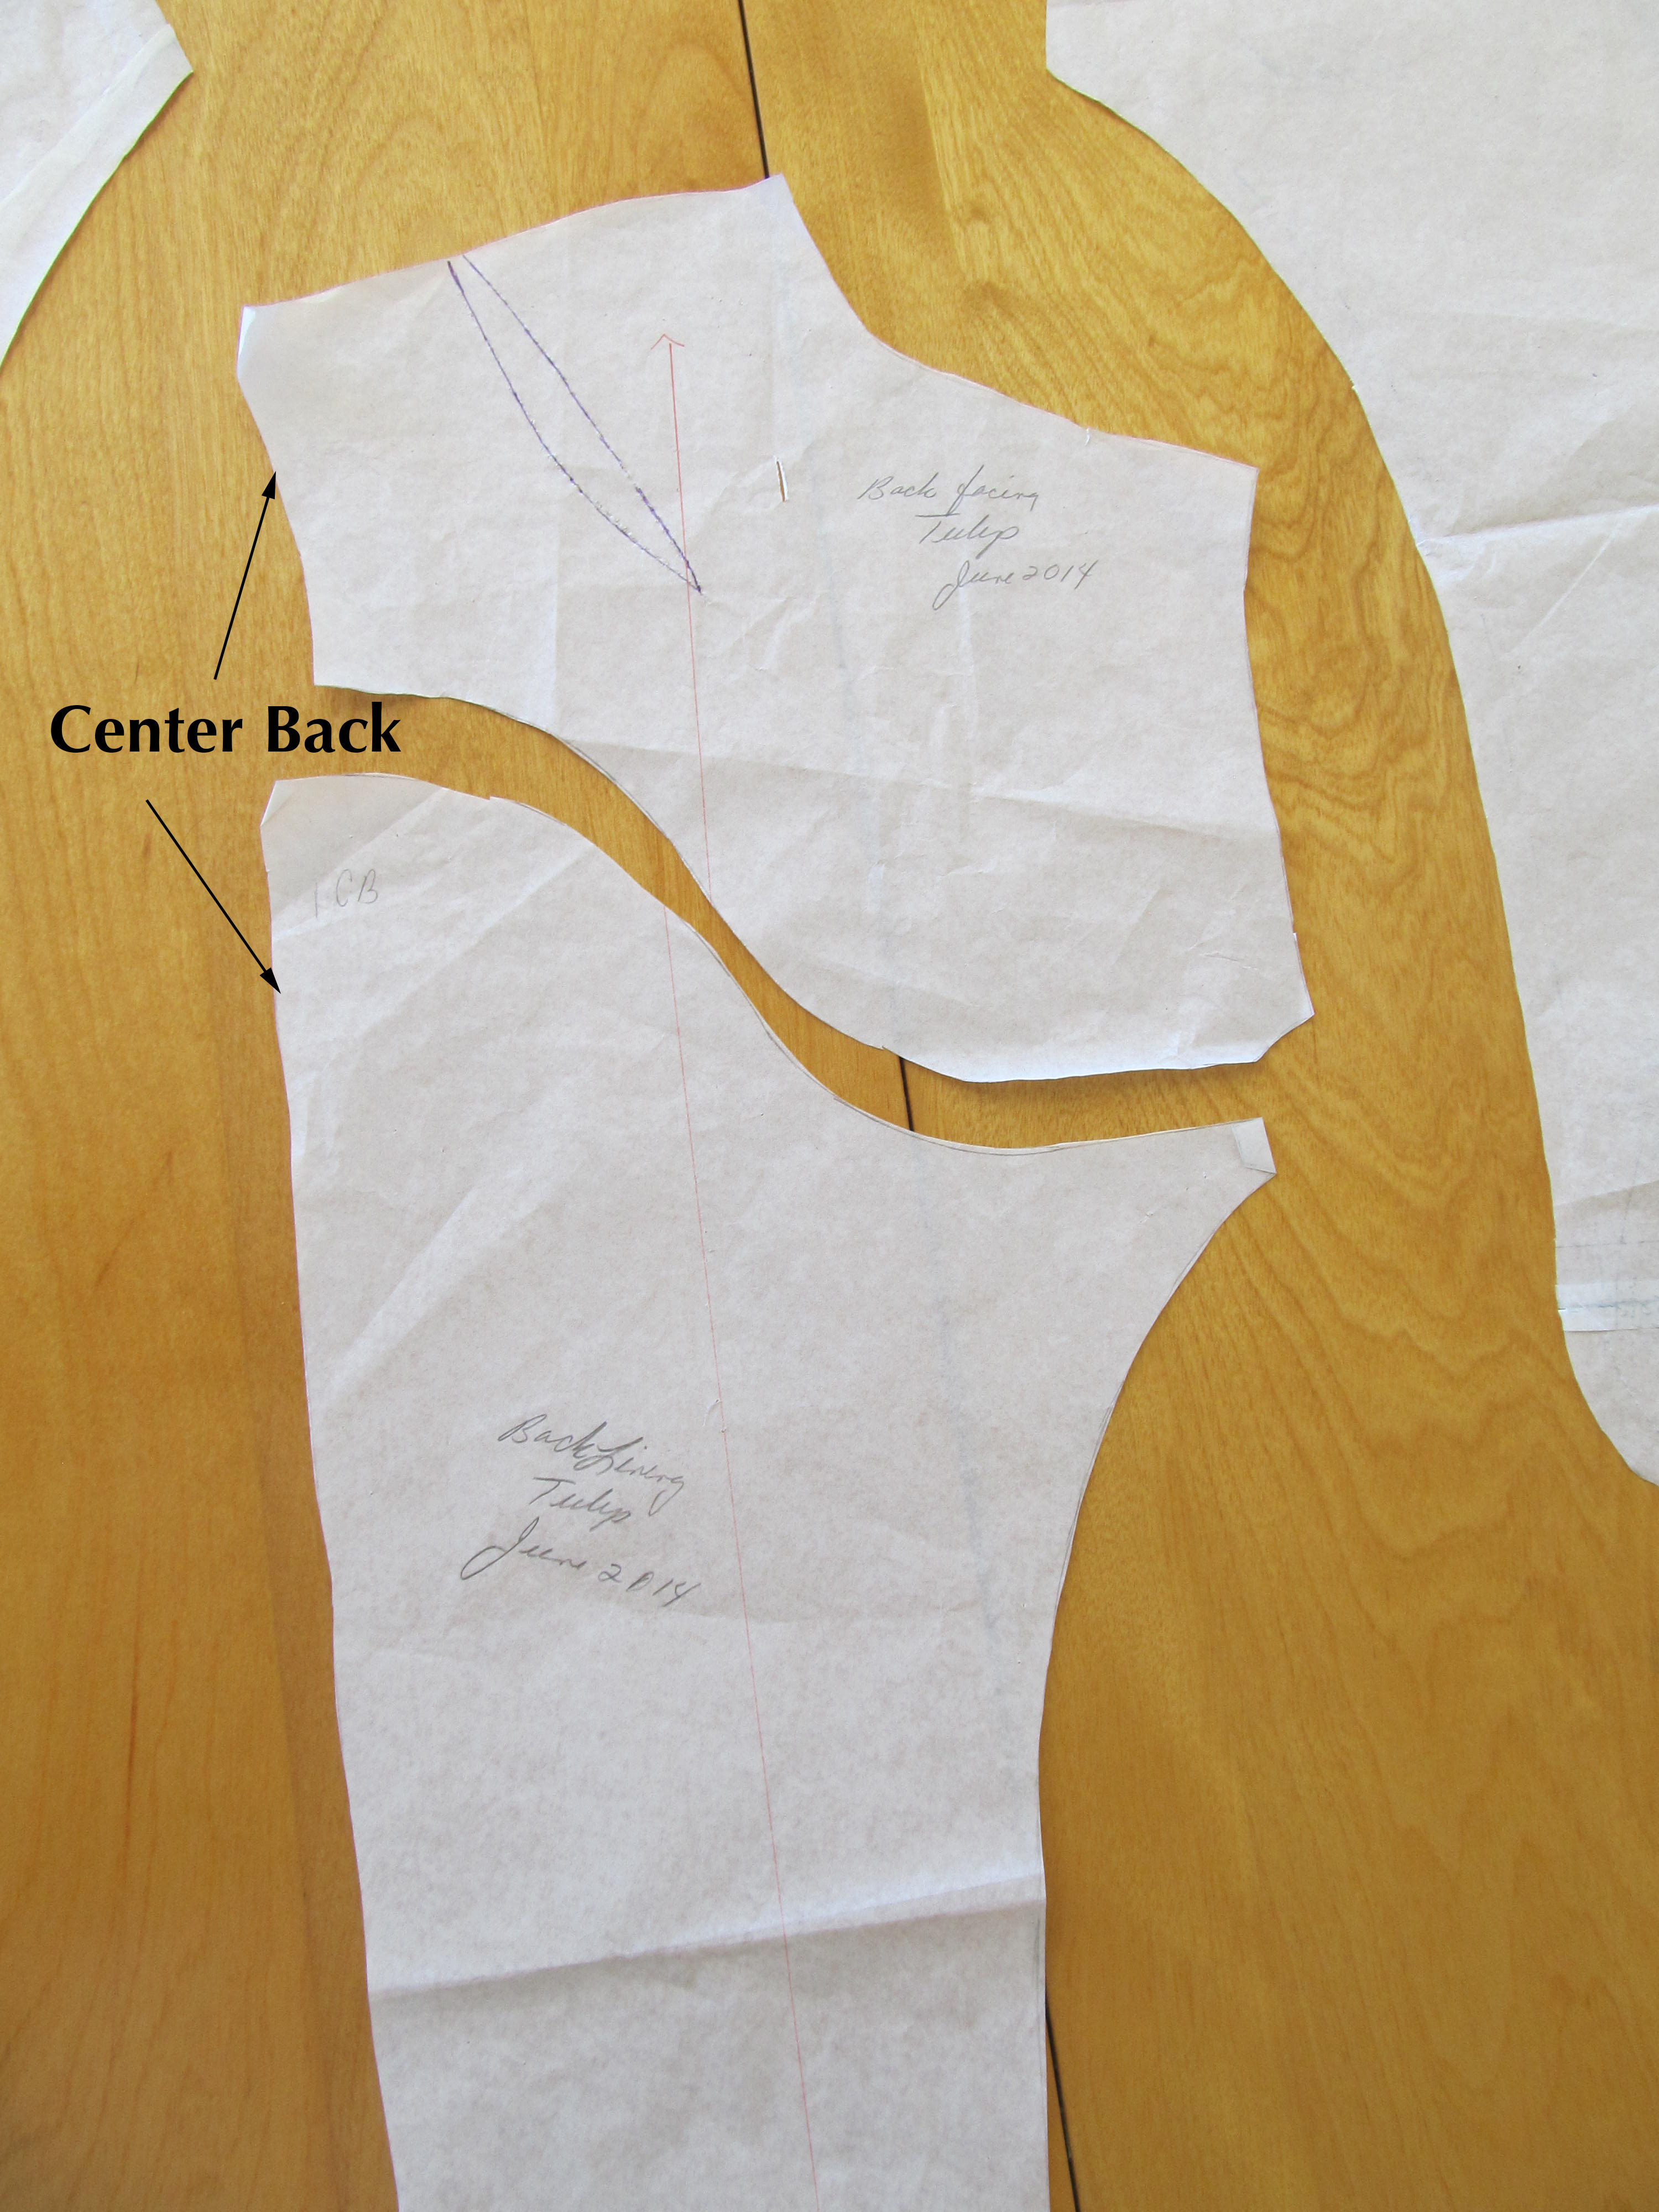
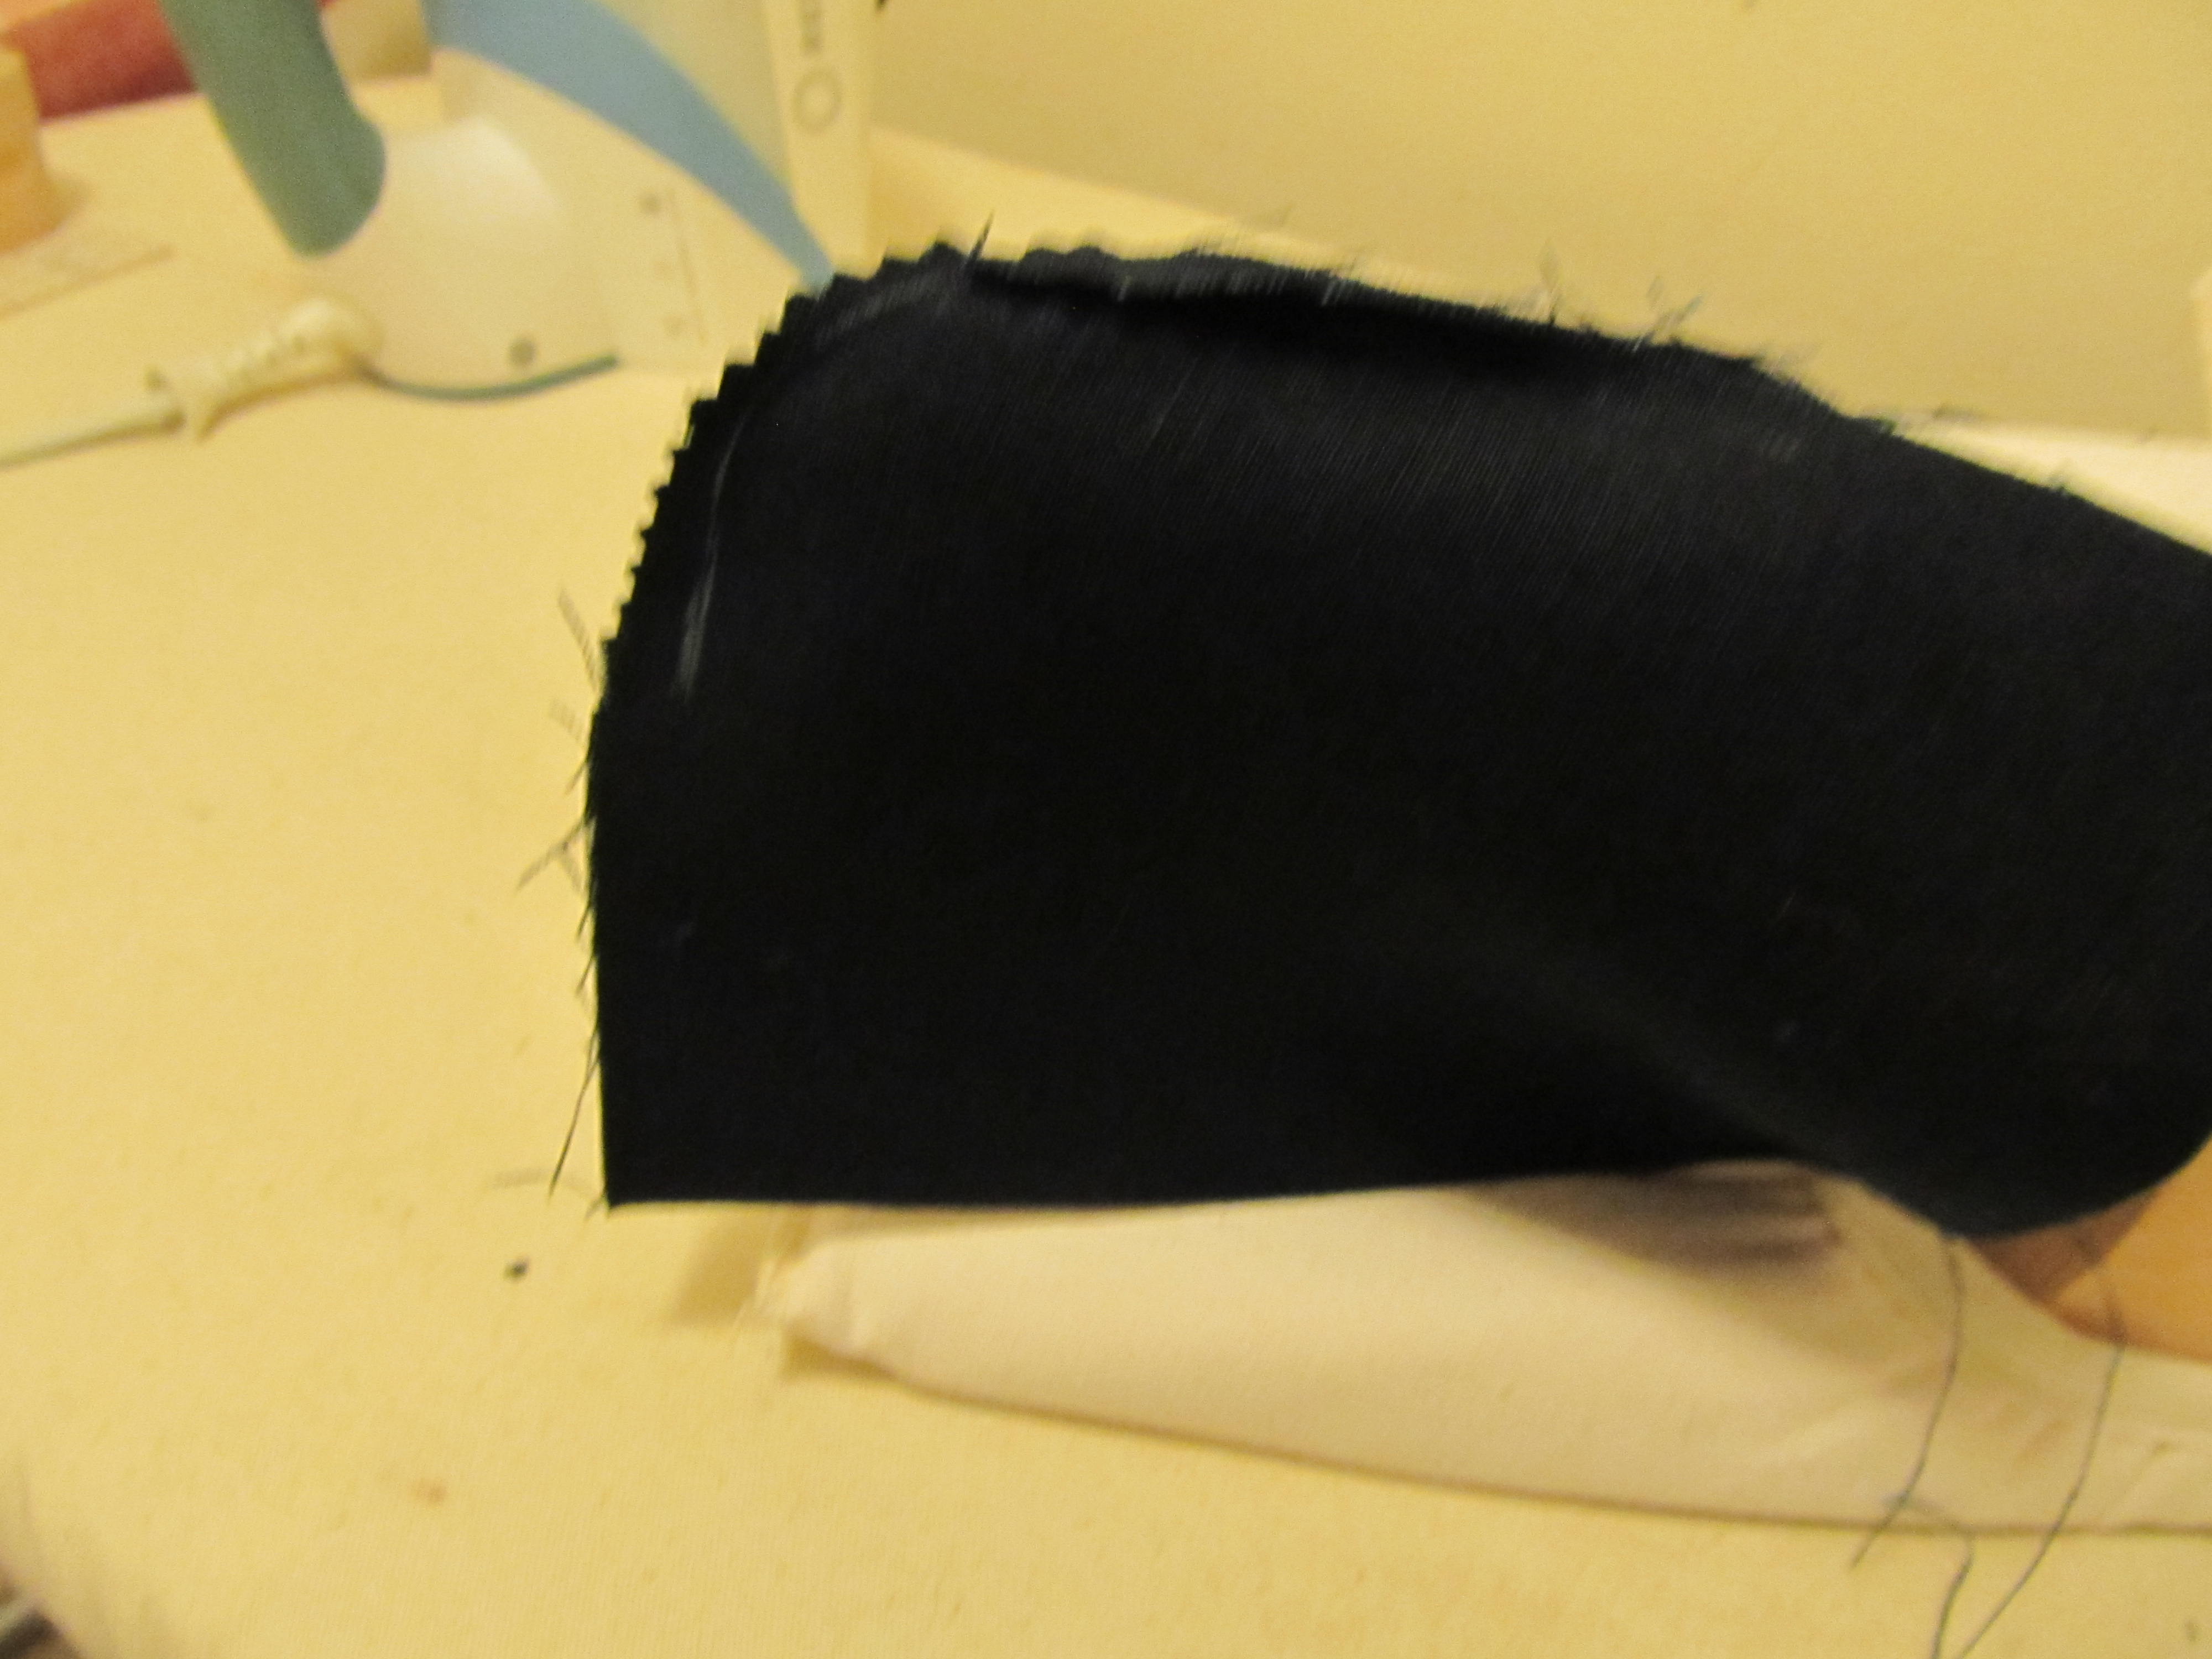
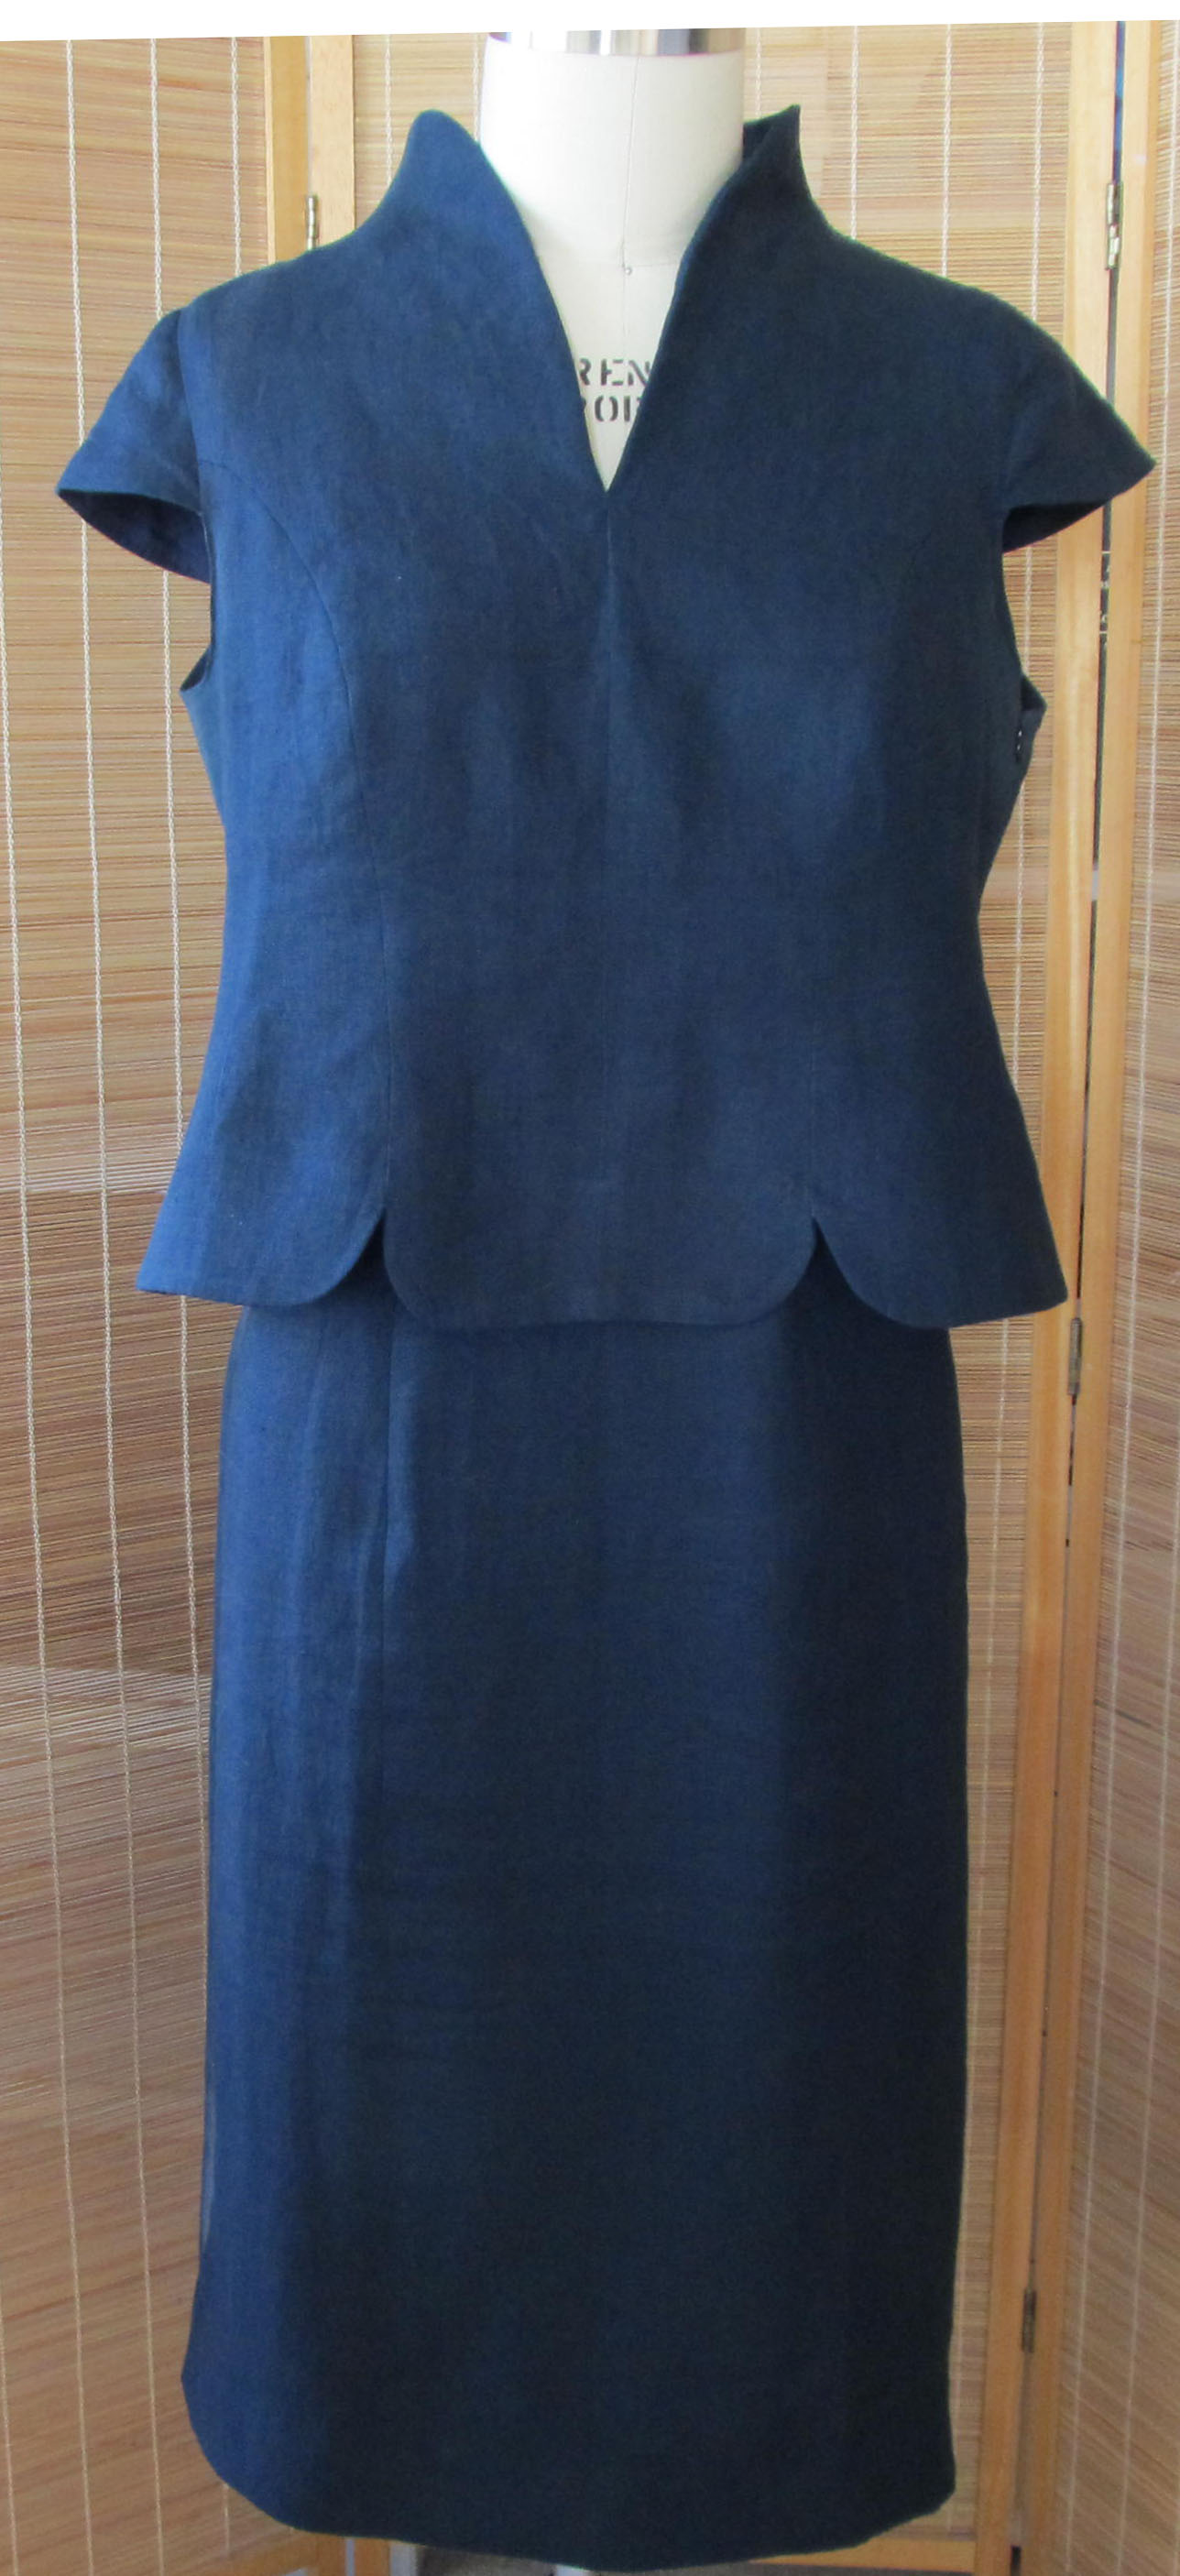
As I mentioned in my last post, the key to achieving the shape I was after in this neckline is two curved darts in the back.
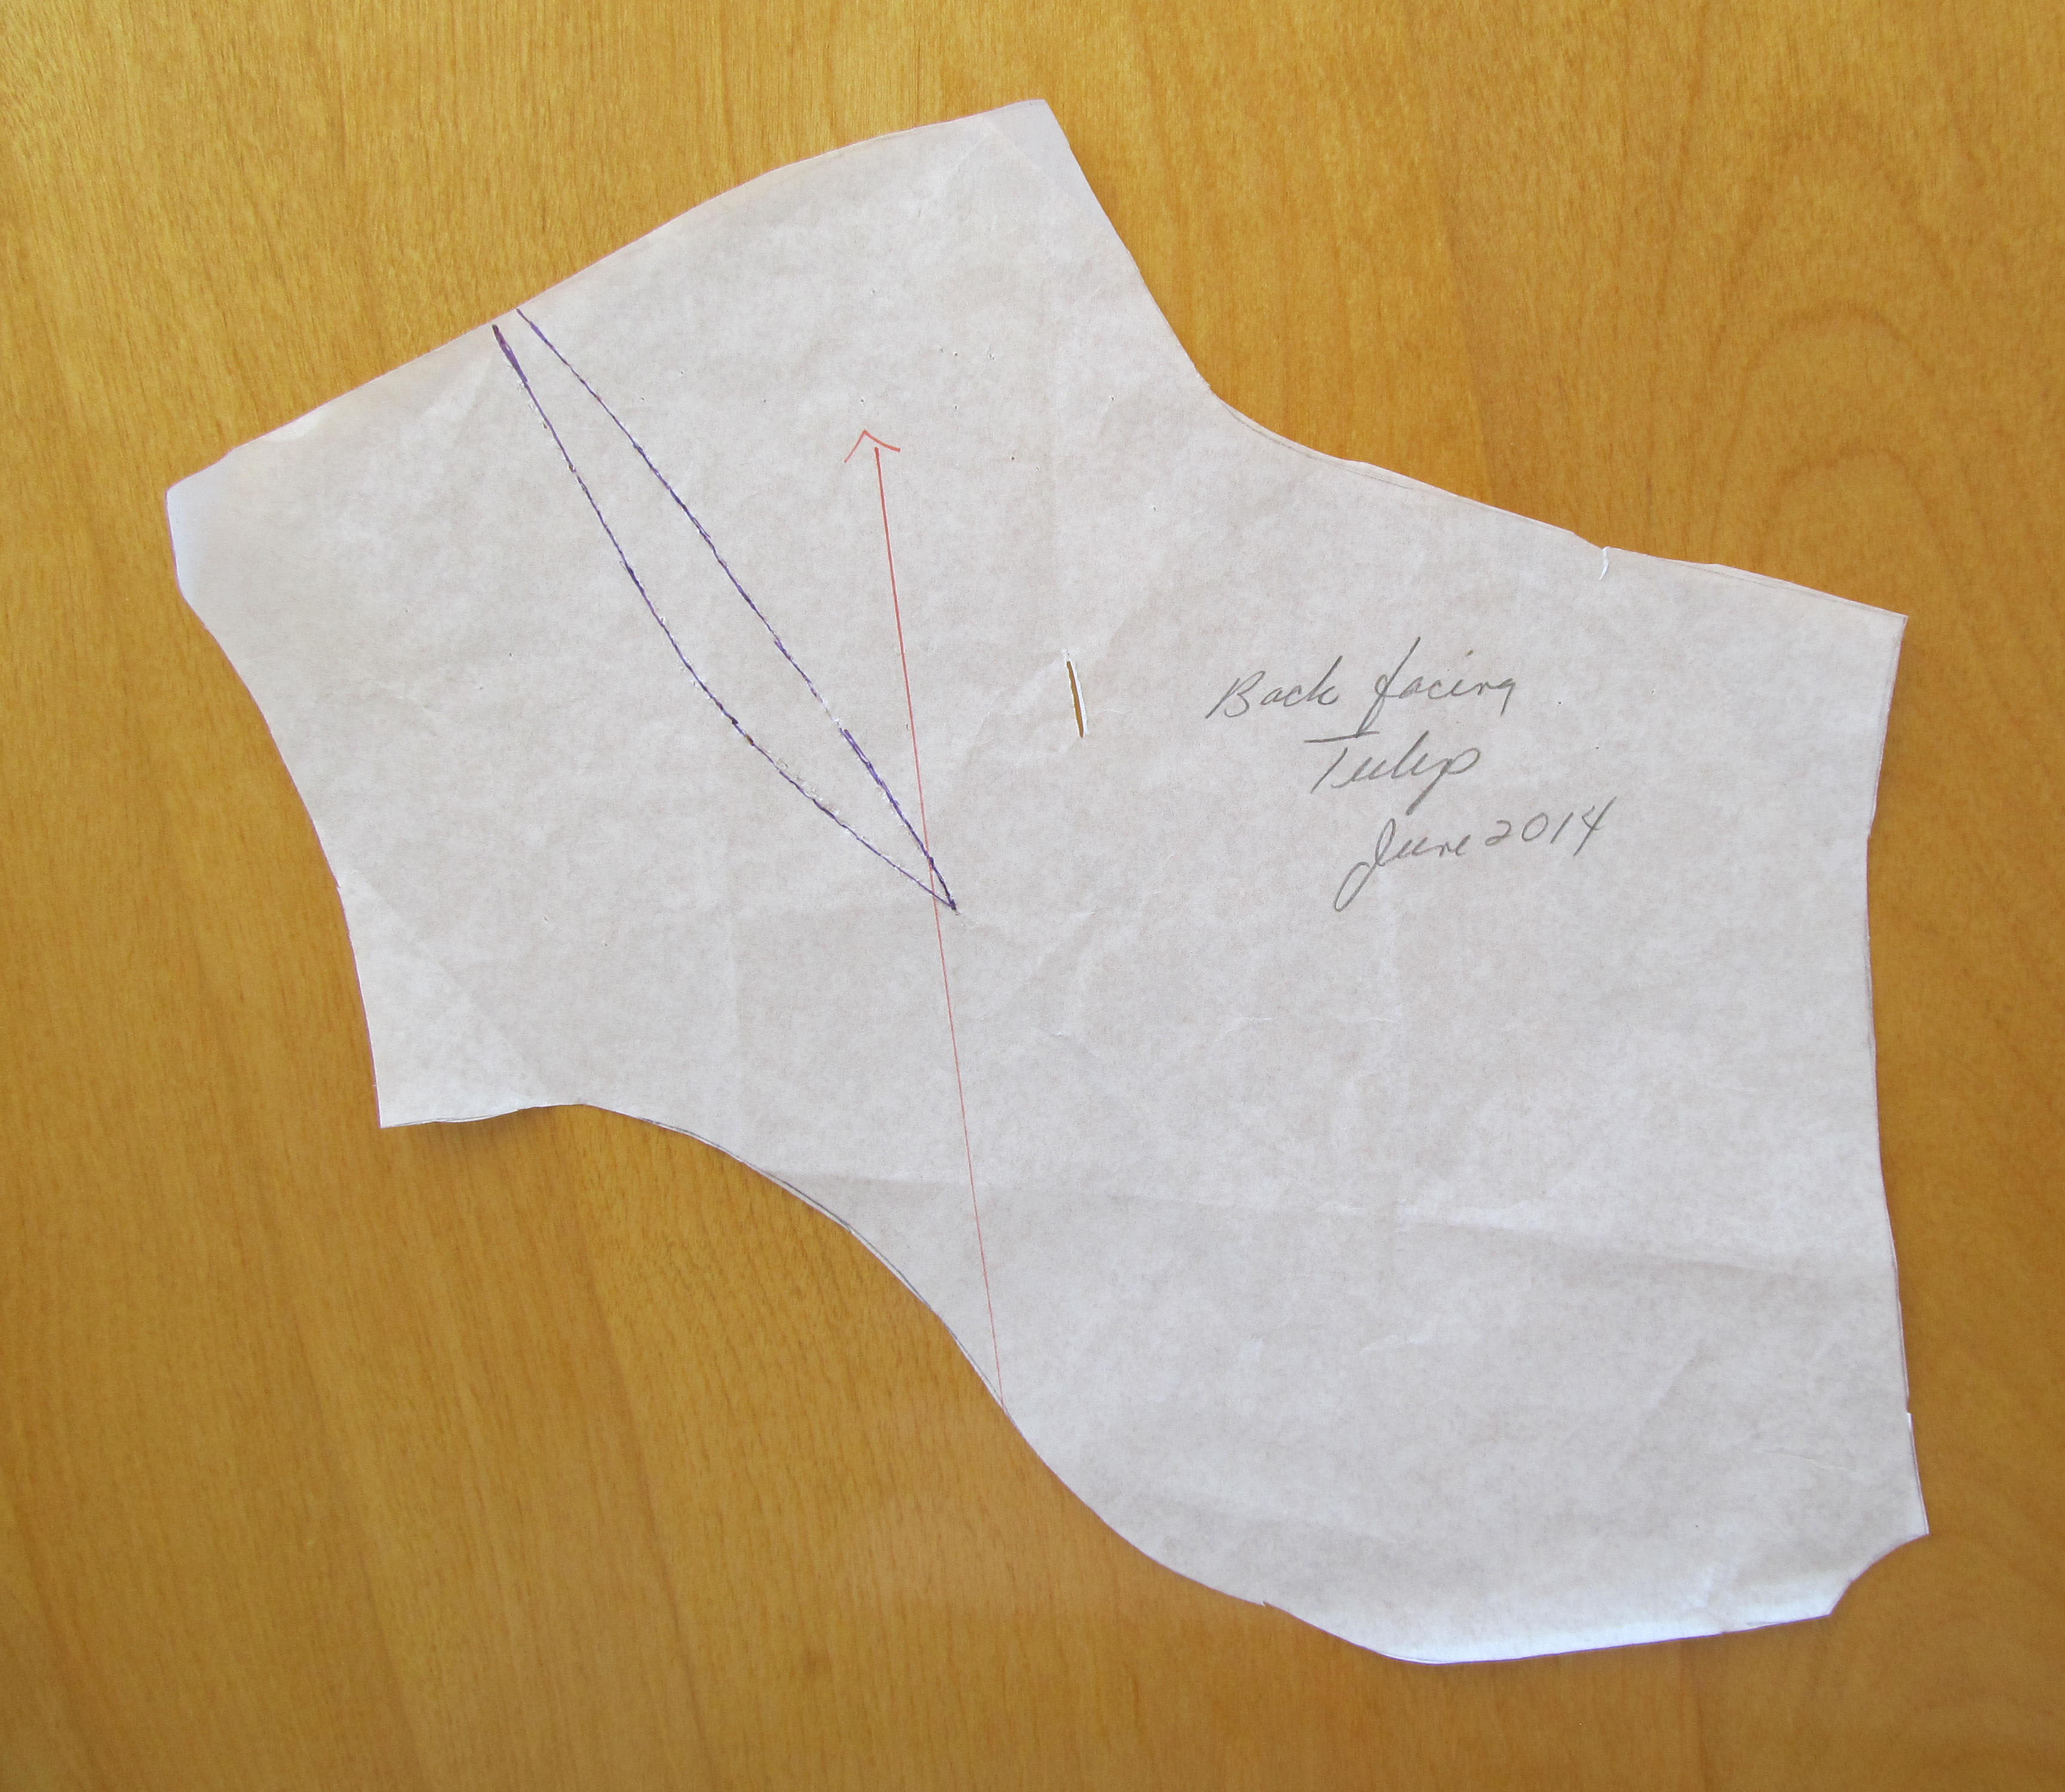
It looks like a bear to sew, doesn’t it? But the method I use for sewing any dart accurately actually makes sewing these darts pretty much routine.
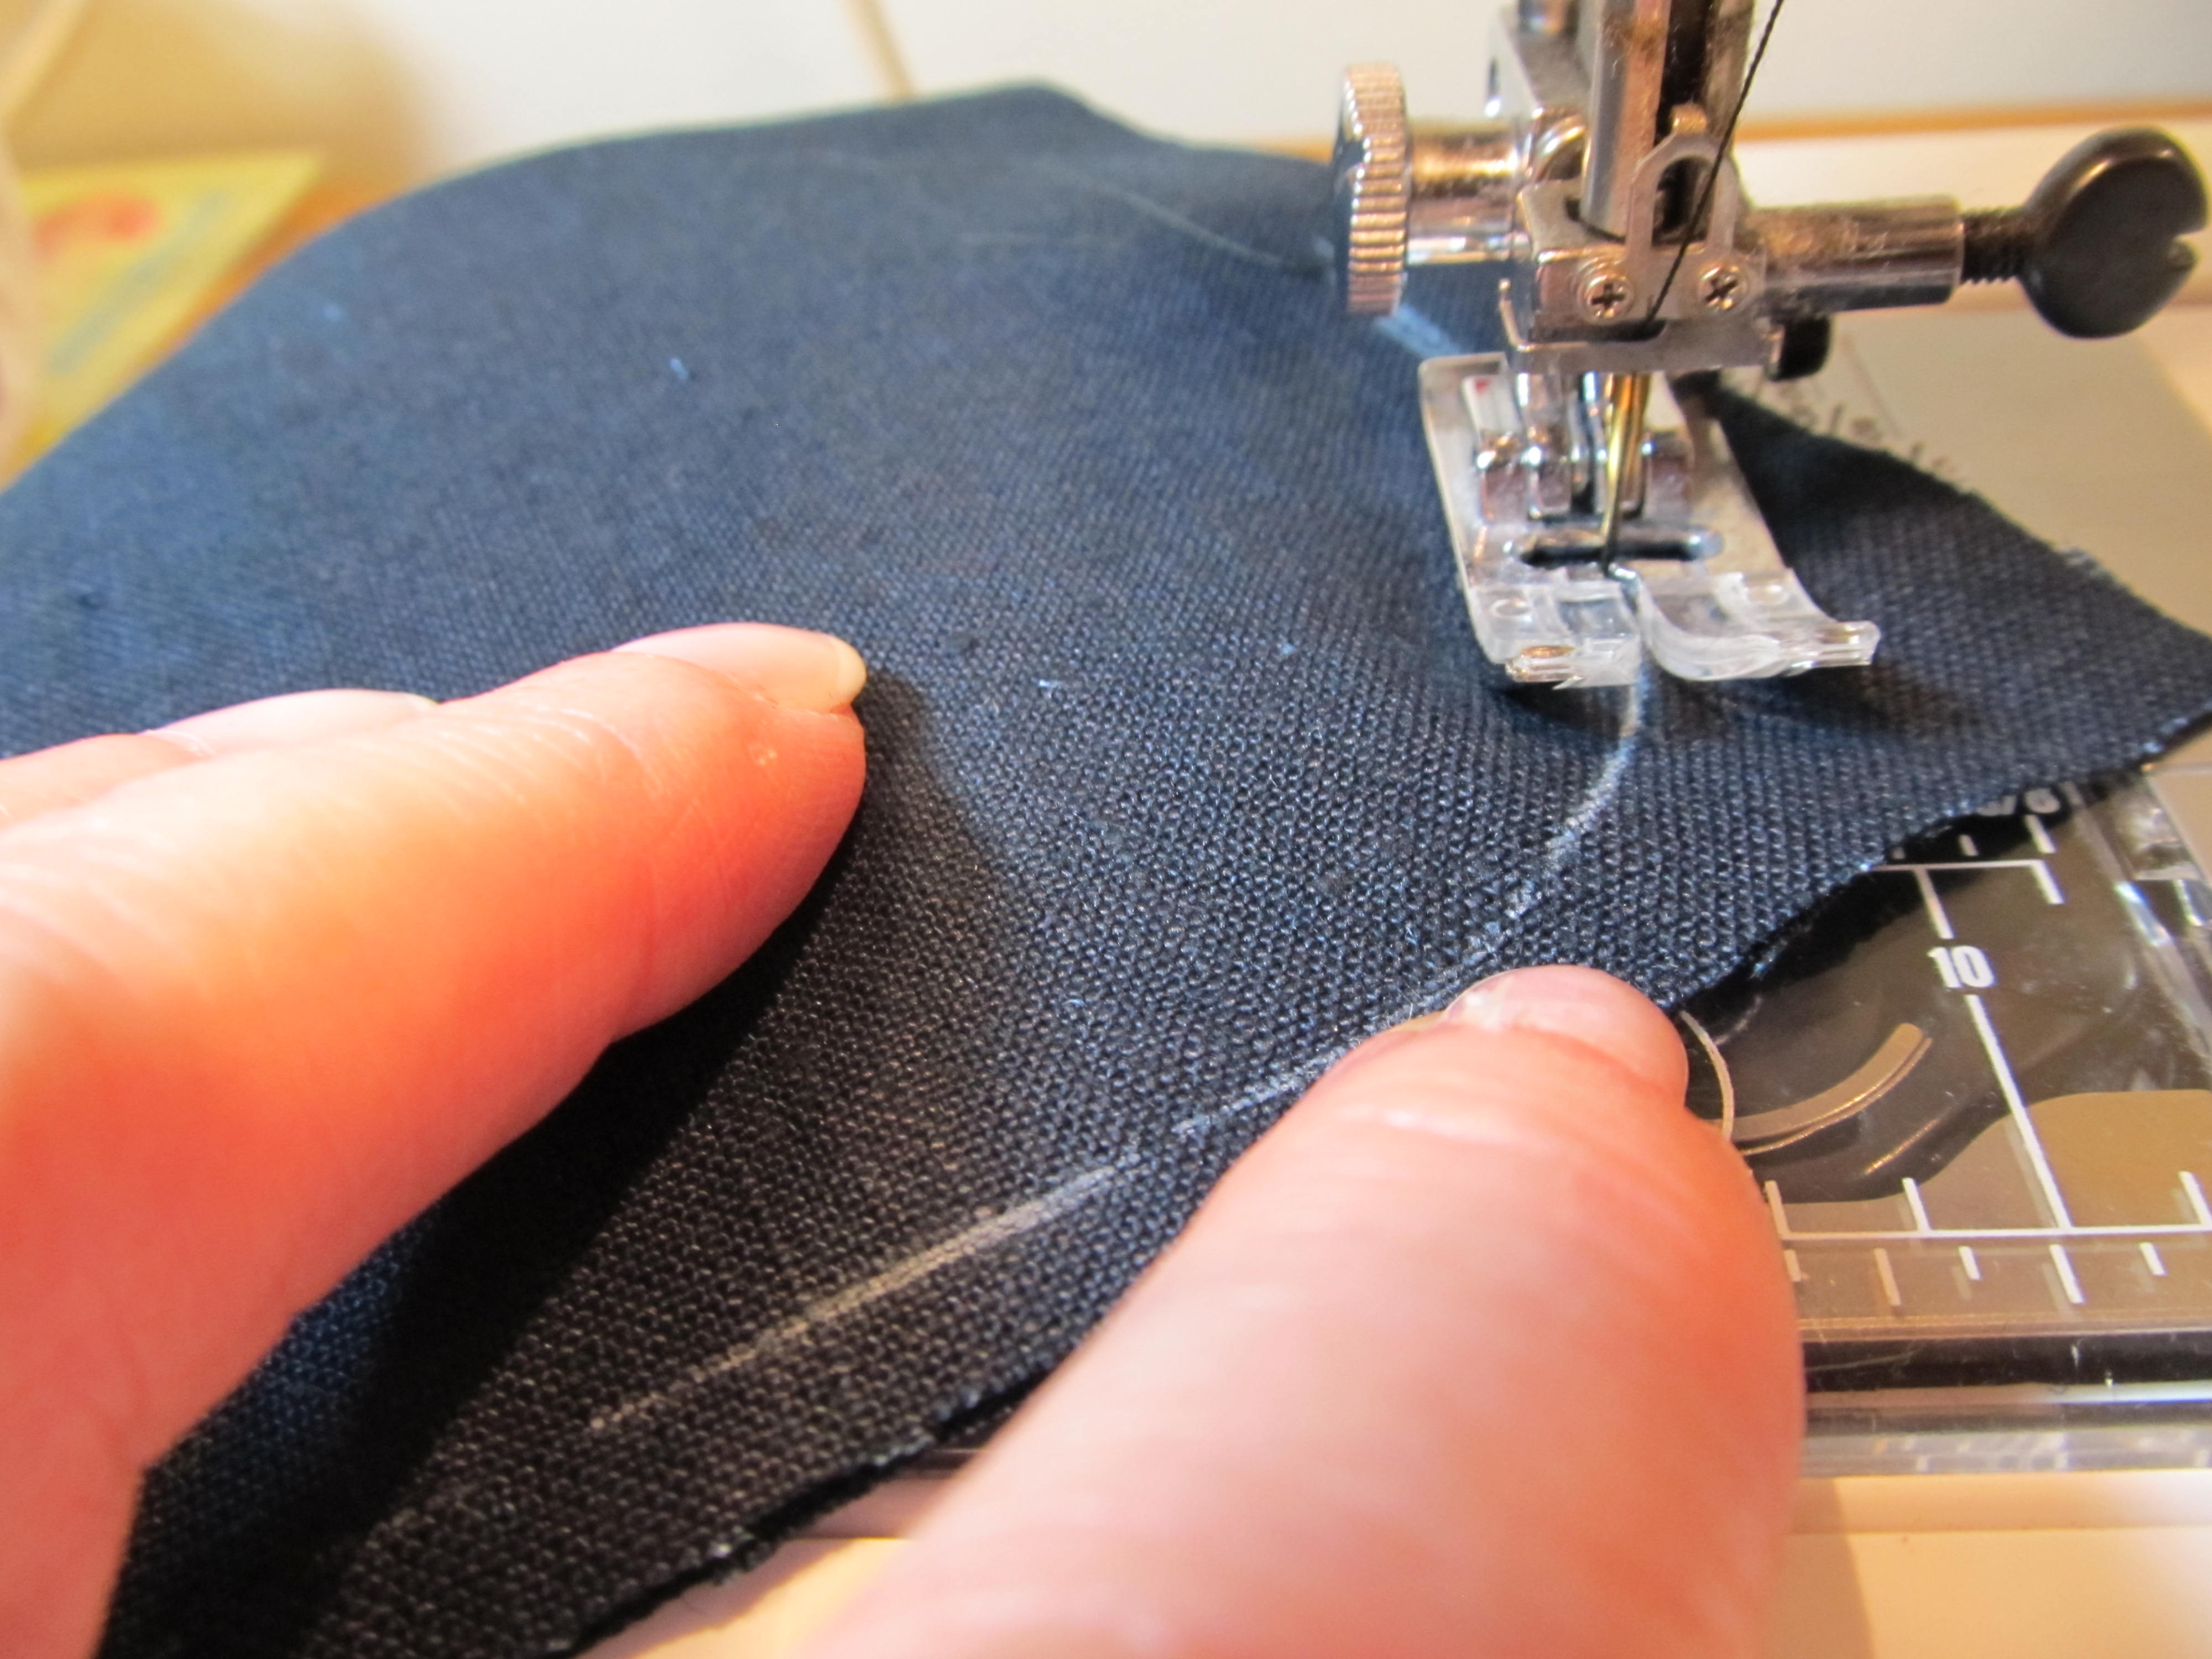
A lot of the fabrics I work with are drapey and some are also slippery, and I was getting frustrated with the way my darts were turning out. I’d mark them carefully, usually with a tracing wheel, plus snip marks at the cut edge. Then I’d pin them across and get everything lined up, but when they came out of the sewing machine only the side I could see as I was stitching followed the markings. The hidden side almost always came out all wonky. Couture’s answer to this problem is hand basting, but I was still in avoiding hand basting mode when I tackled this problem. The solution that works for me is actually pin basting, which looks something like this.
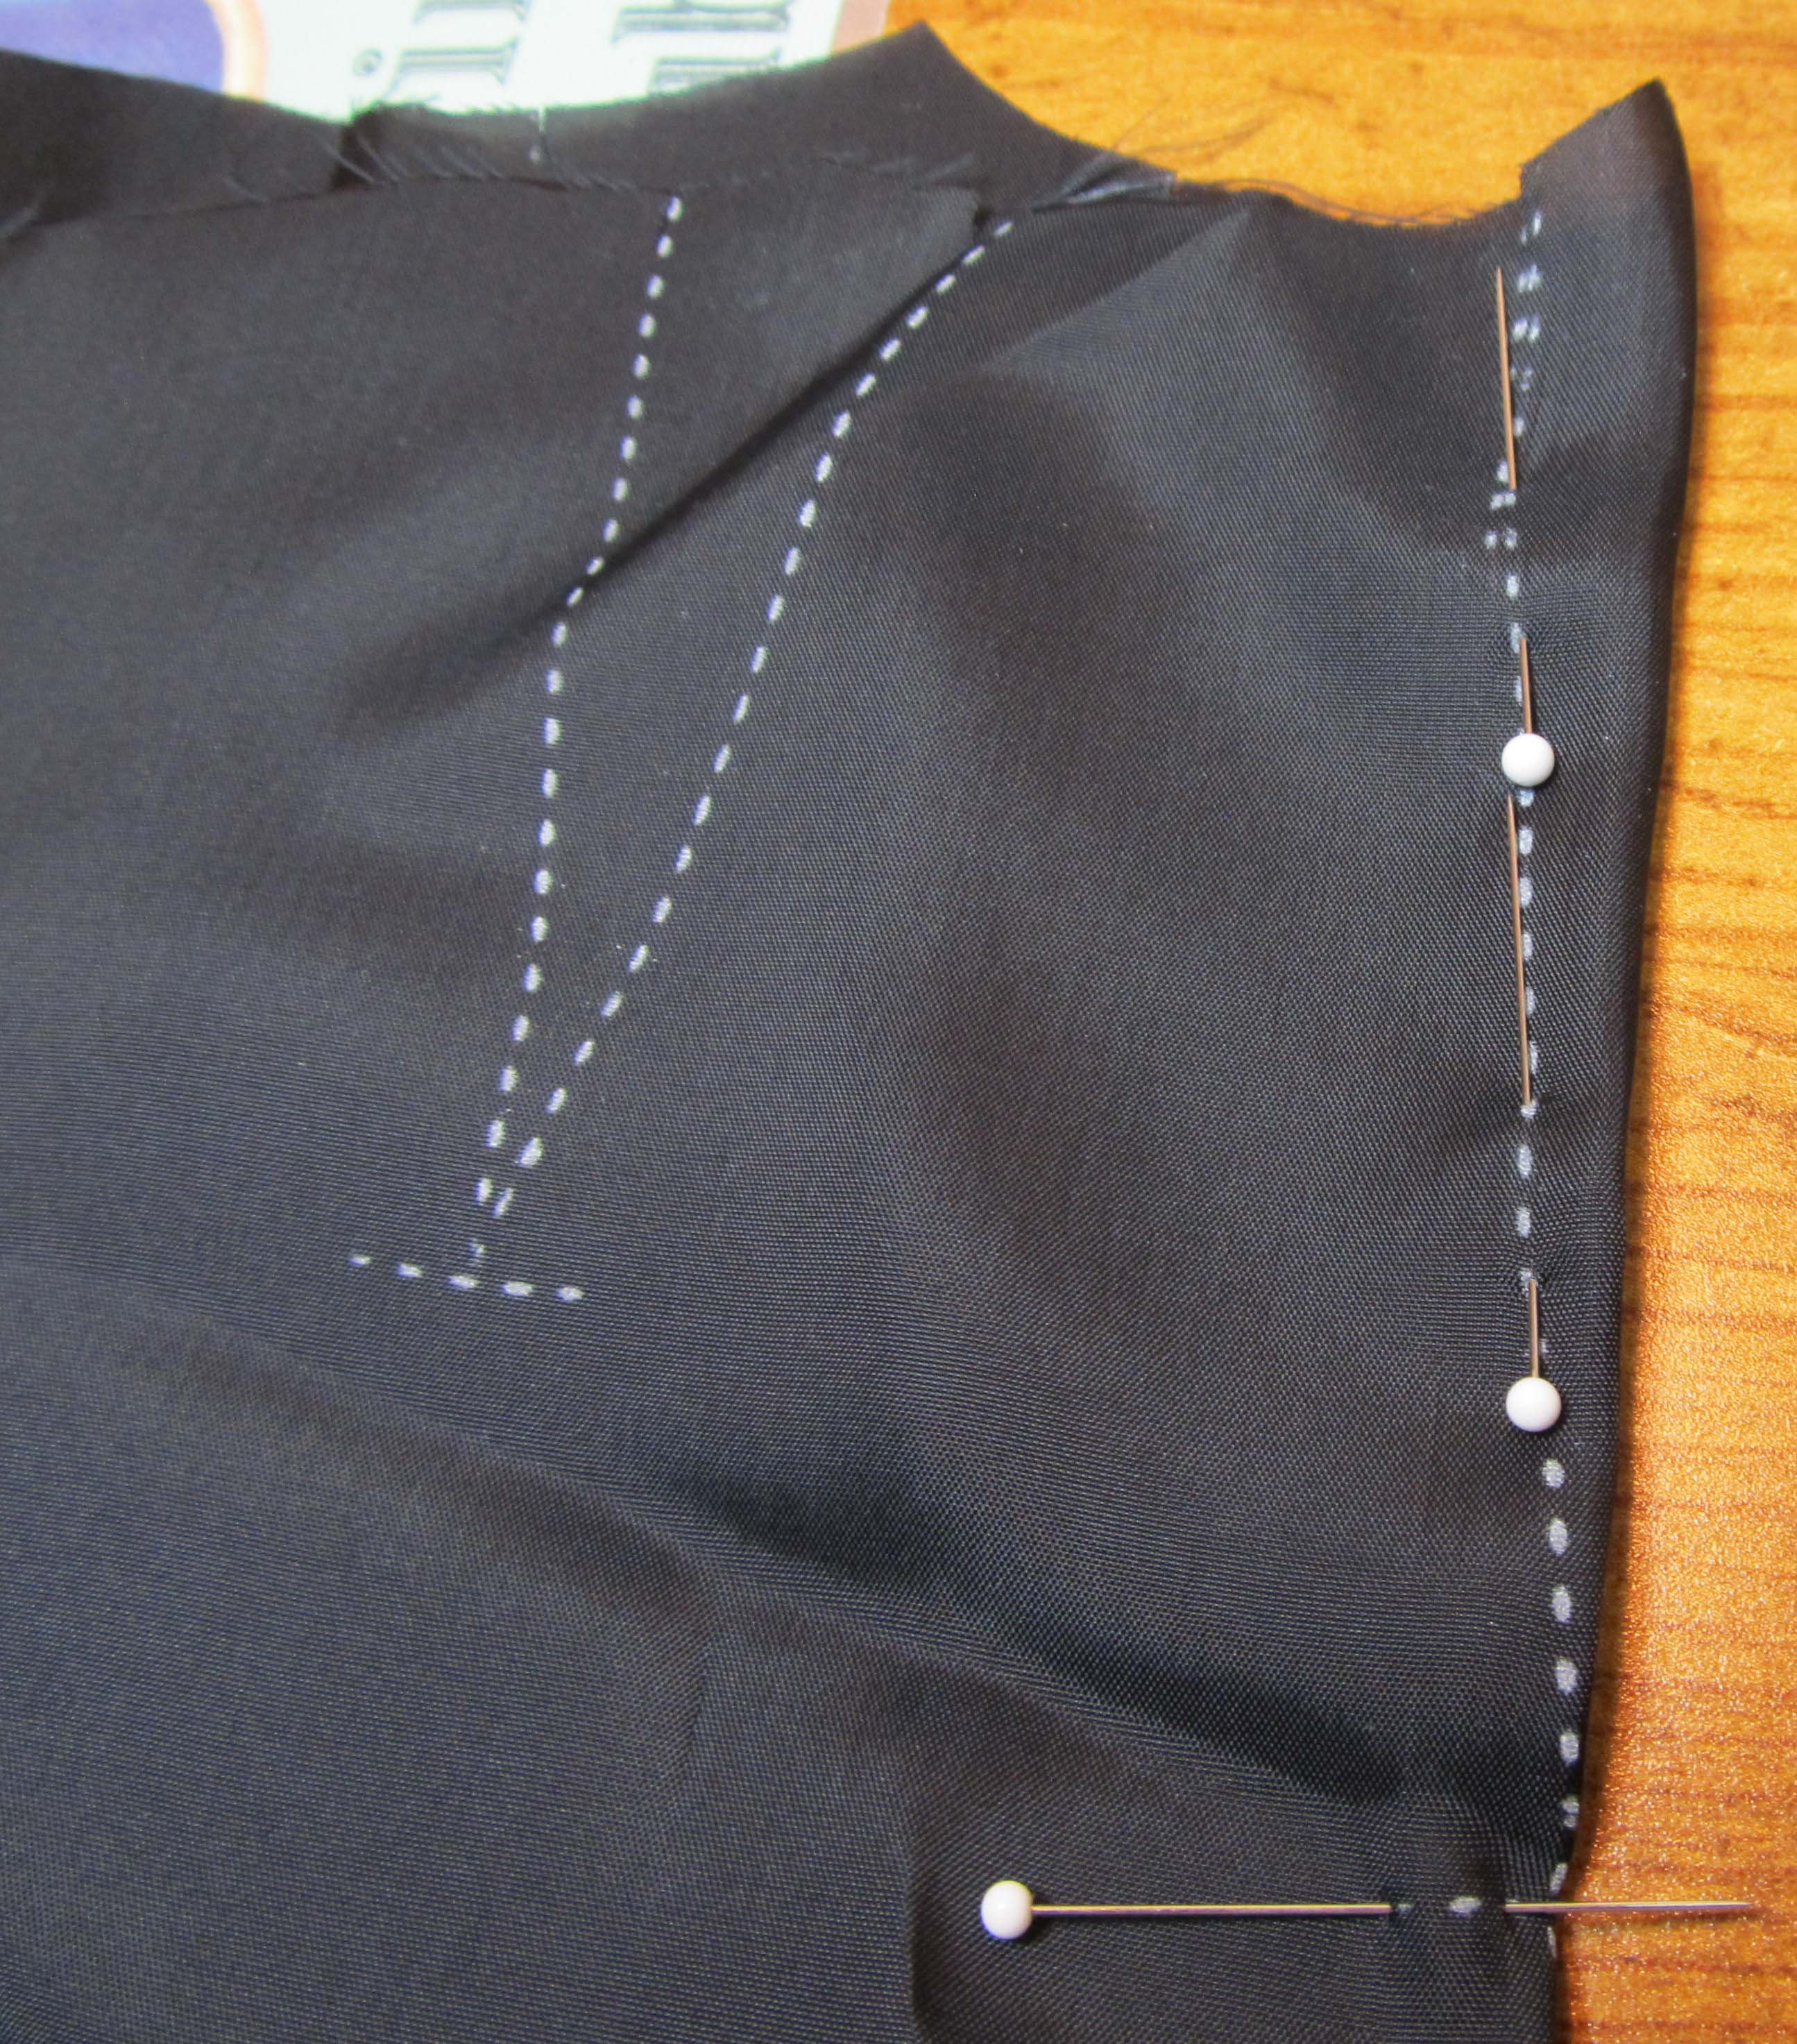 Depending on how wiggly the fabric is, I might weave each pin through twice. I also always put a pin across the work at the point so I can see clearly where the stitching needs to end.
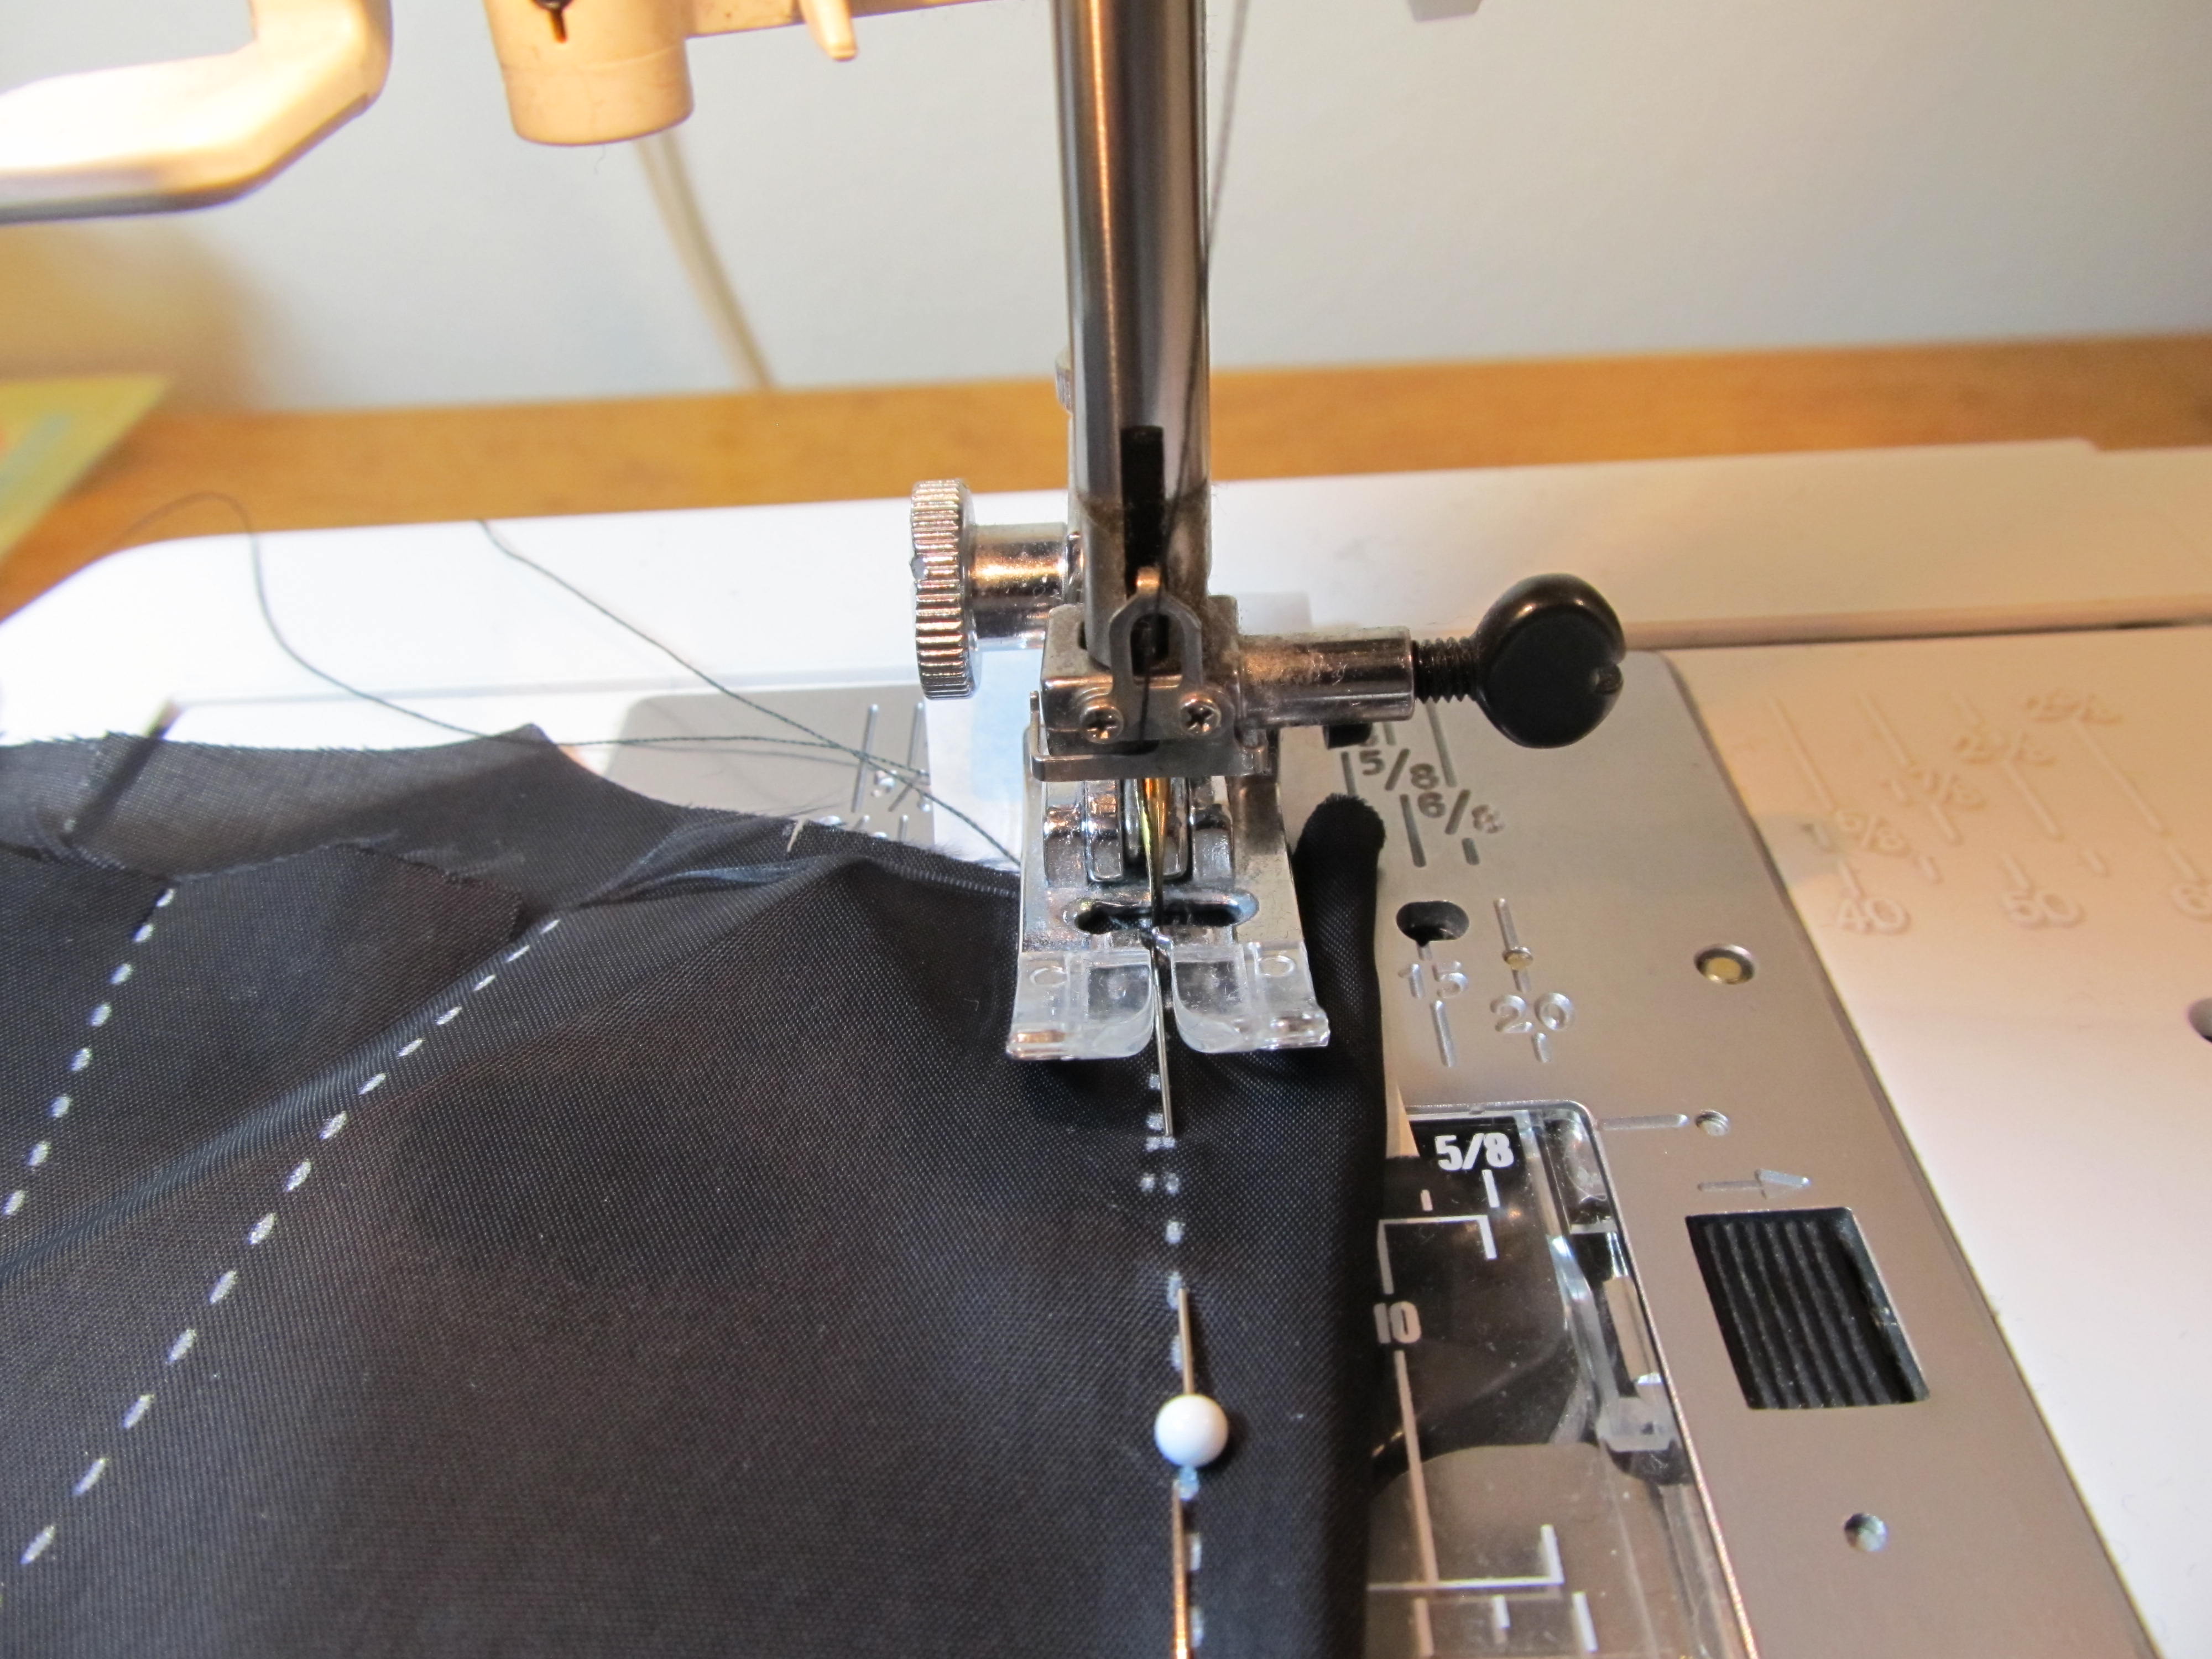
Once the pins are in with the heads facing me I slide them toward me as I sew with the marked line centered between the toes of the presser foot and remove each one as I get to it. I always set the machine to stop with the needle down, so everything stays pretty much where it is supposed to be.
 As for the big debate about whether to start sewing darts at the cut edge or the point, I think there is something to be said about both approaches. For the most part, I start at the cut edge, but for really narrow darts or times when when hitting the point exactly as marked seems critical, I start at the point.
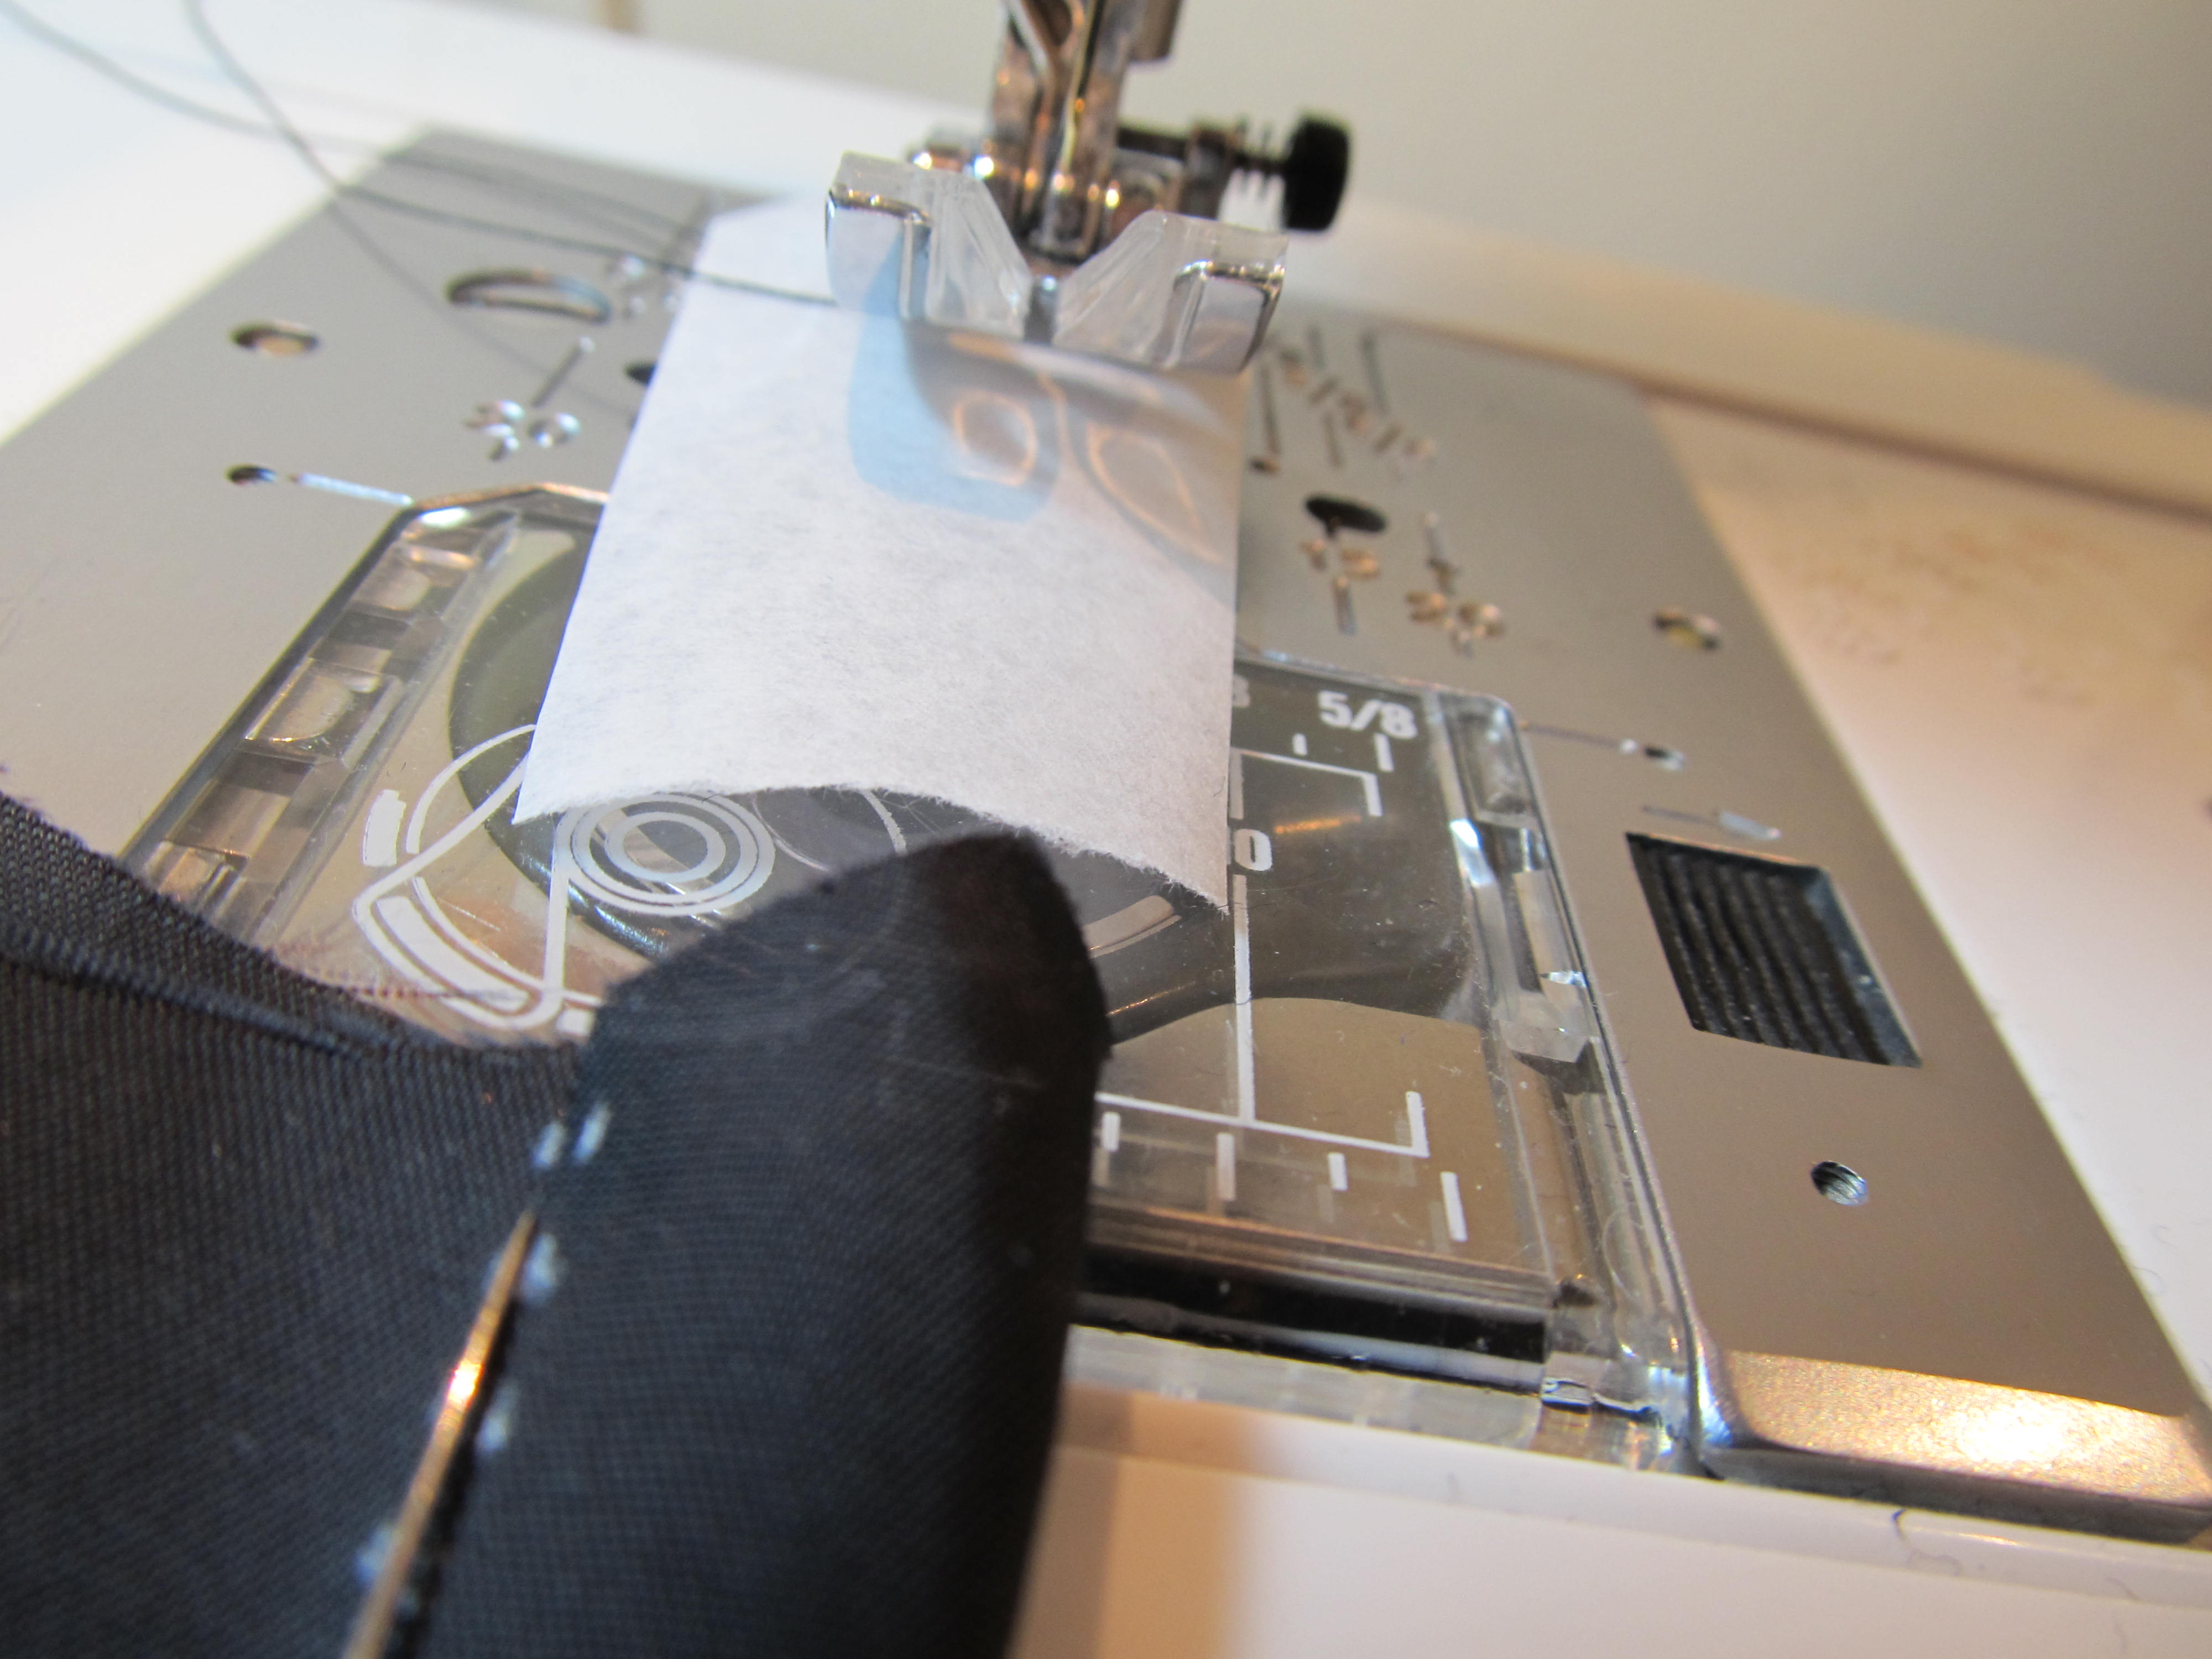
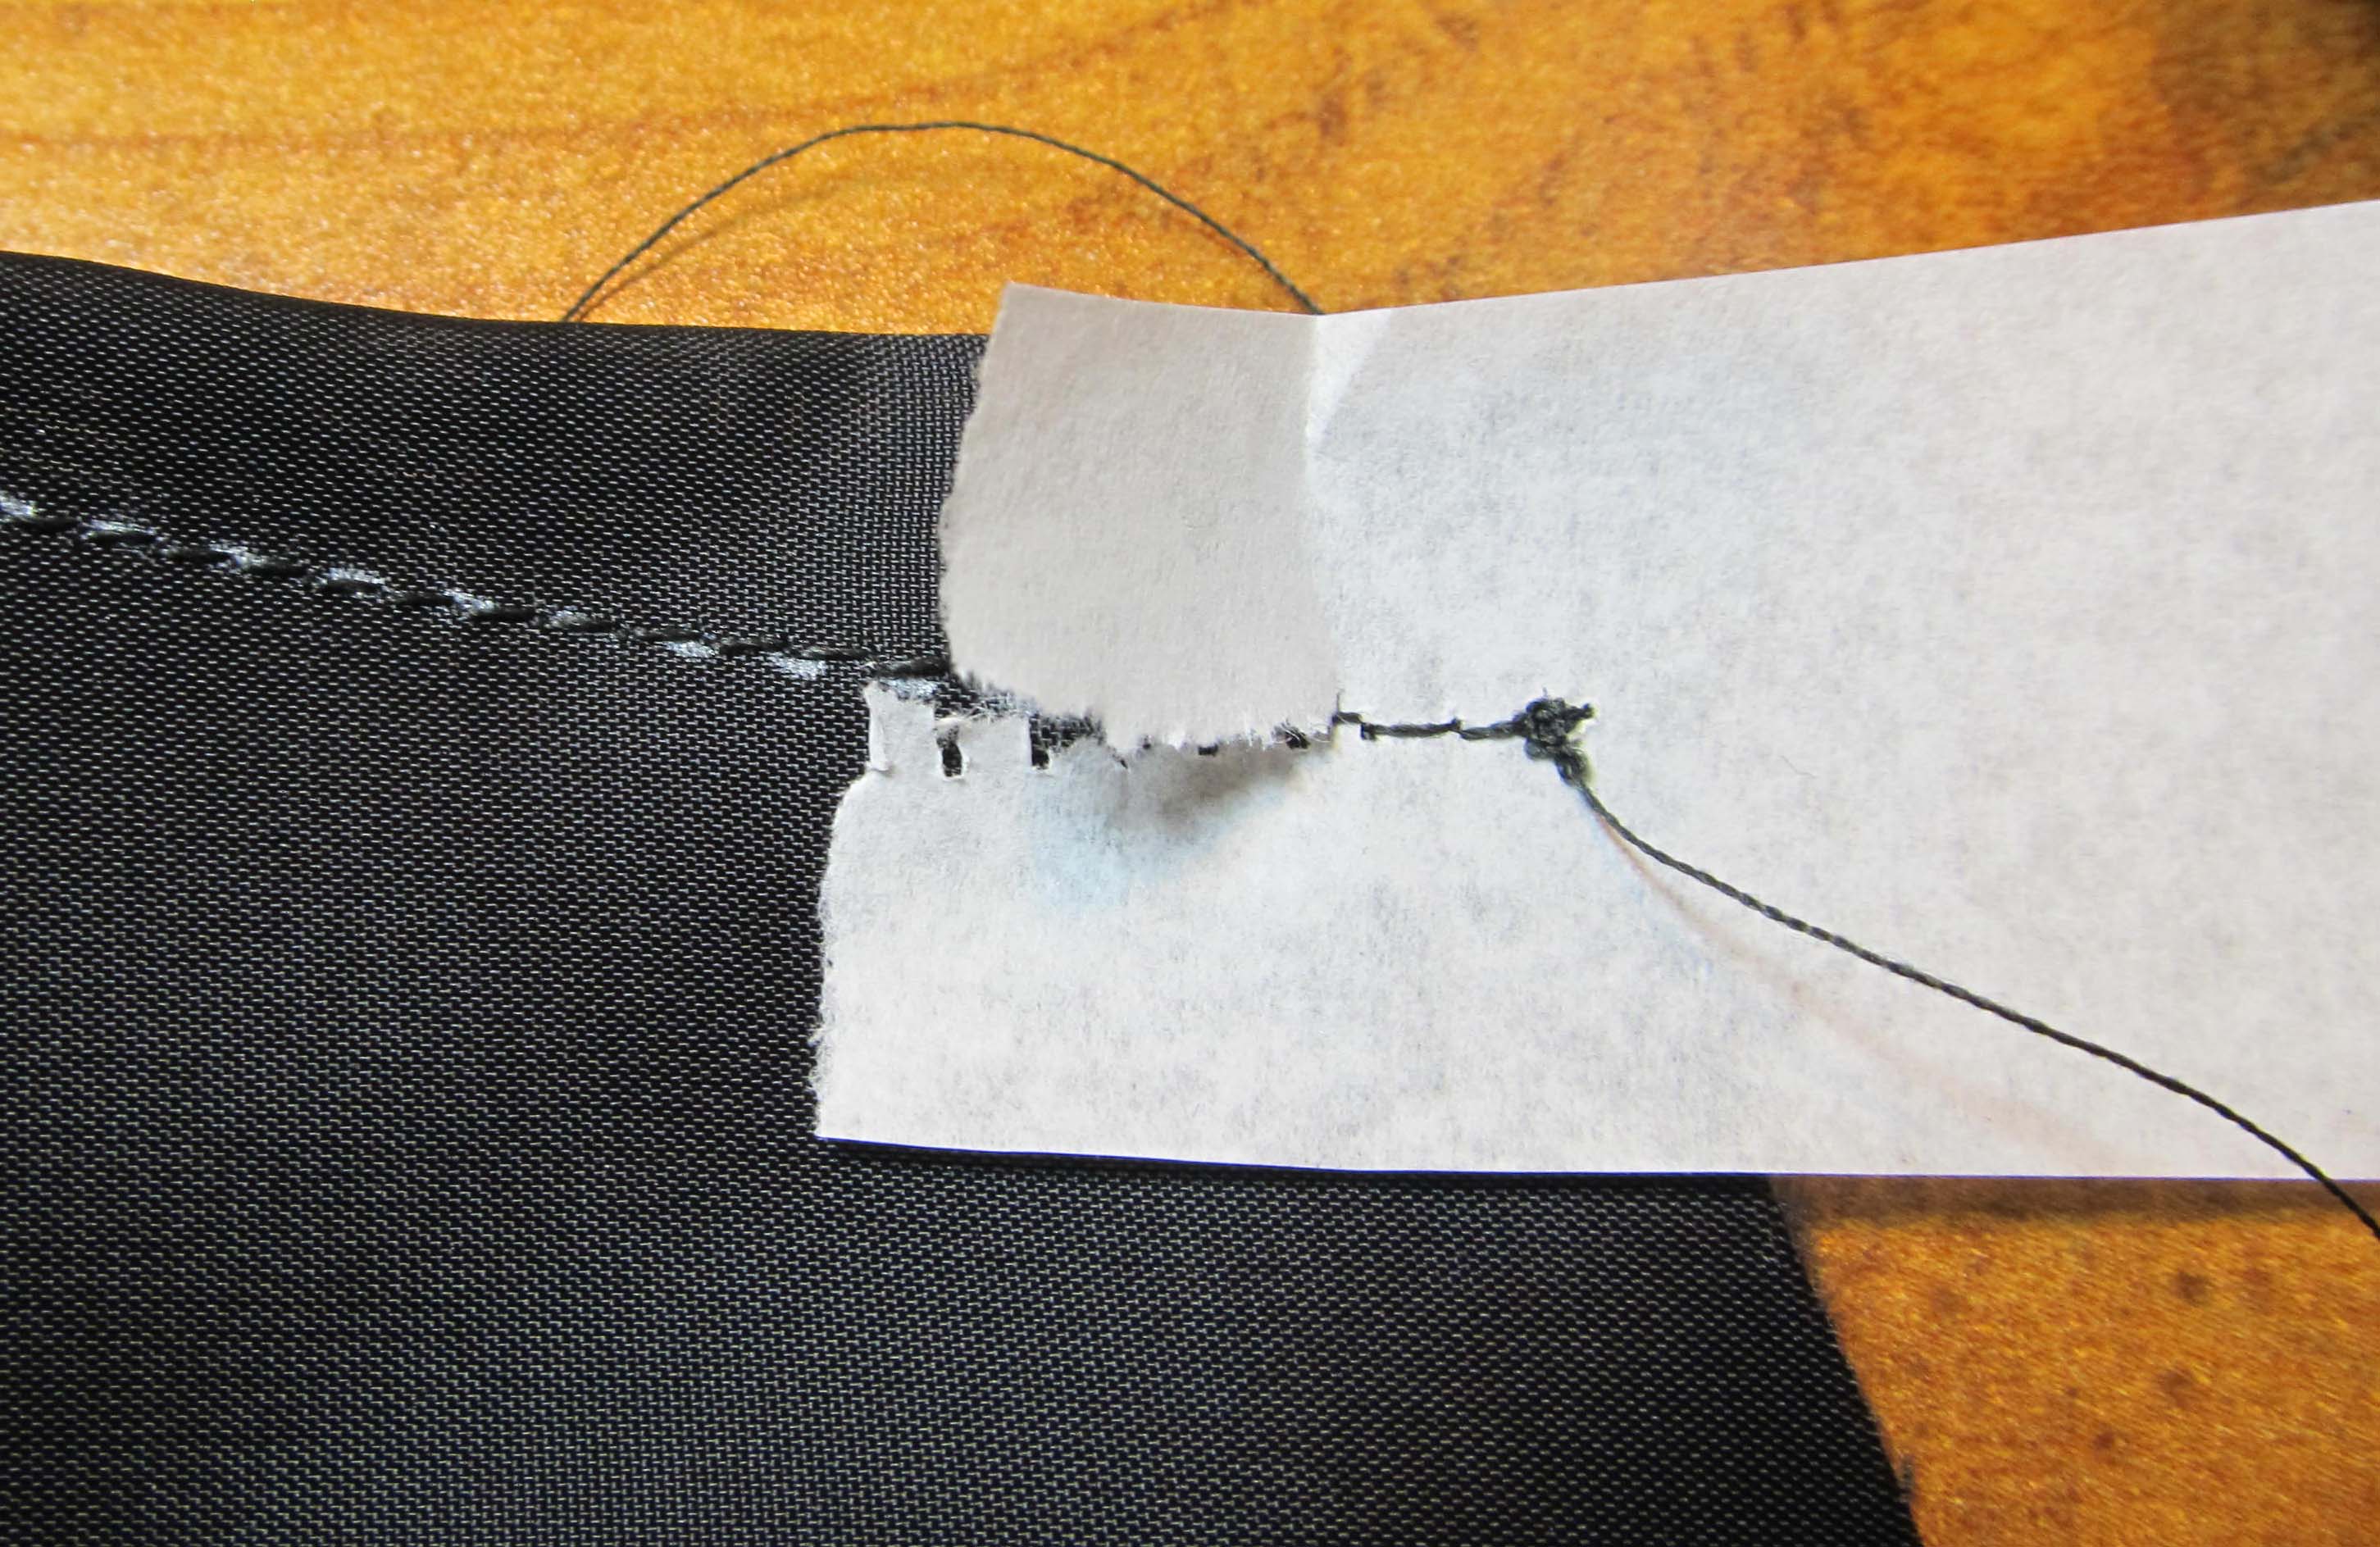
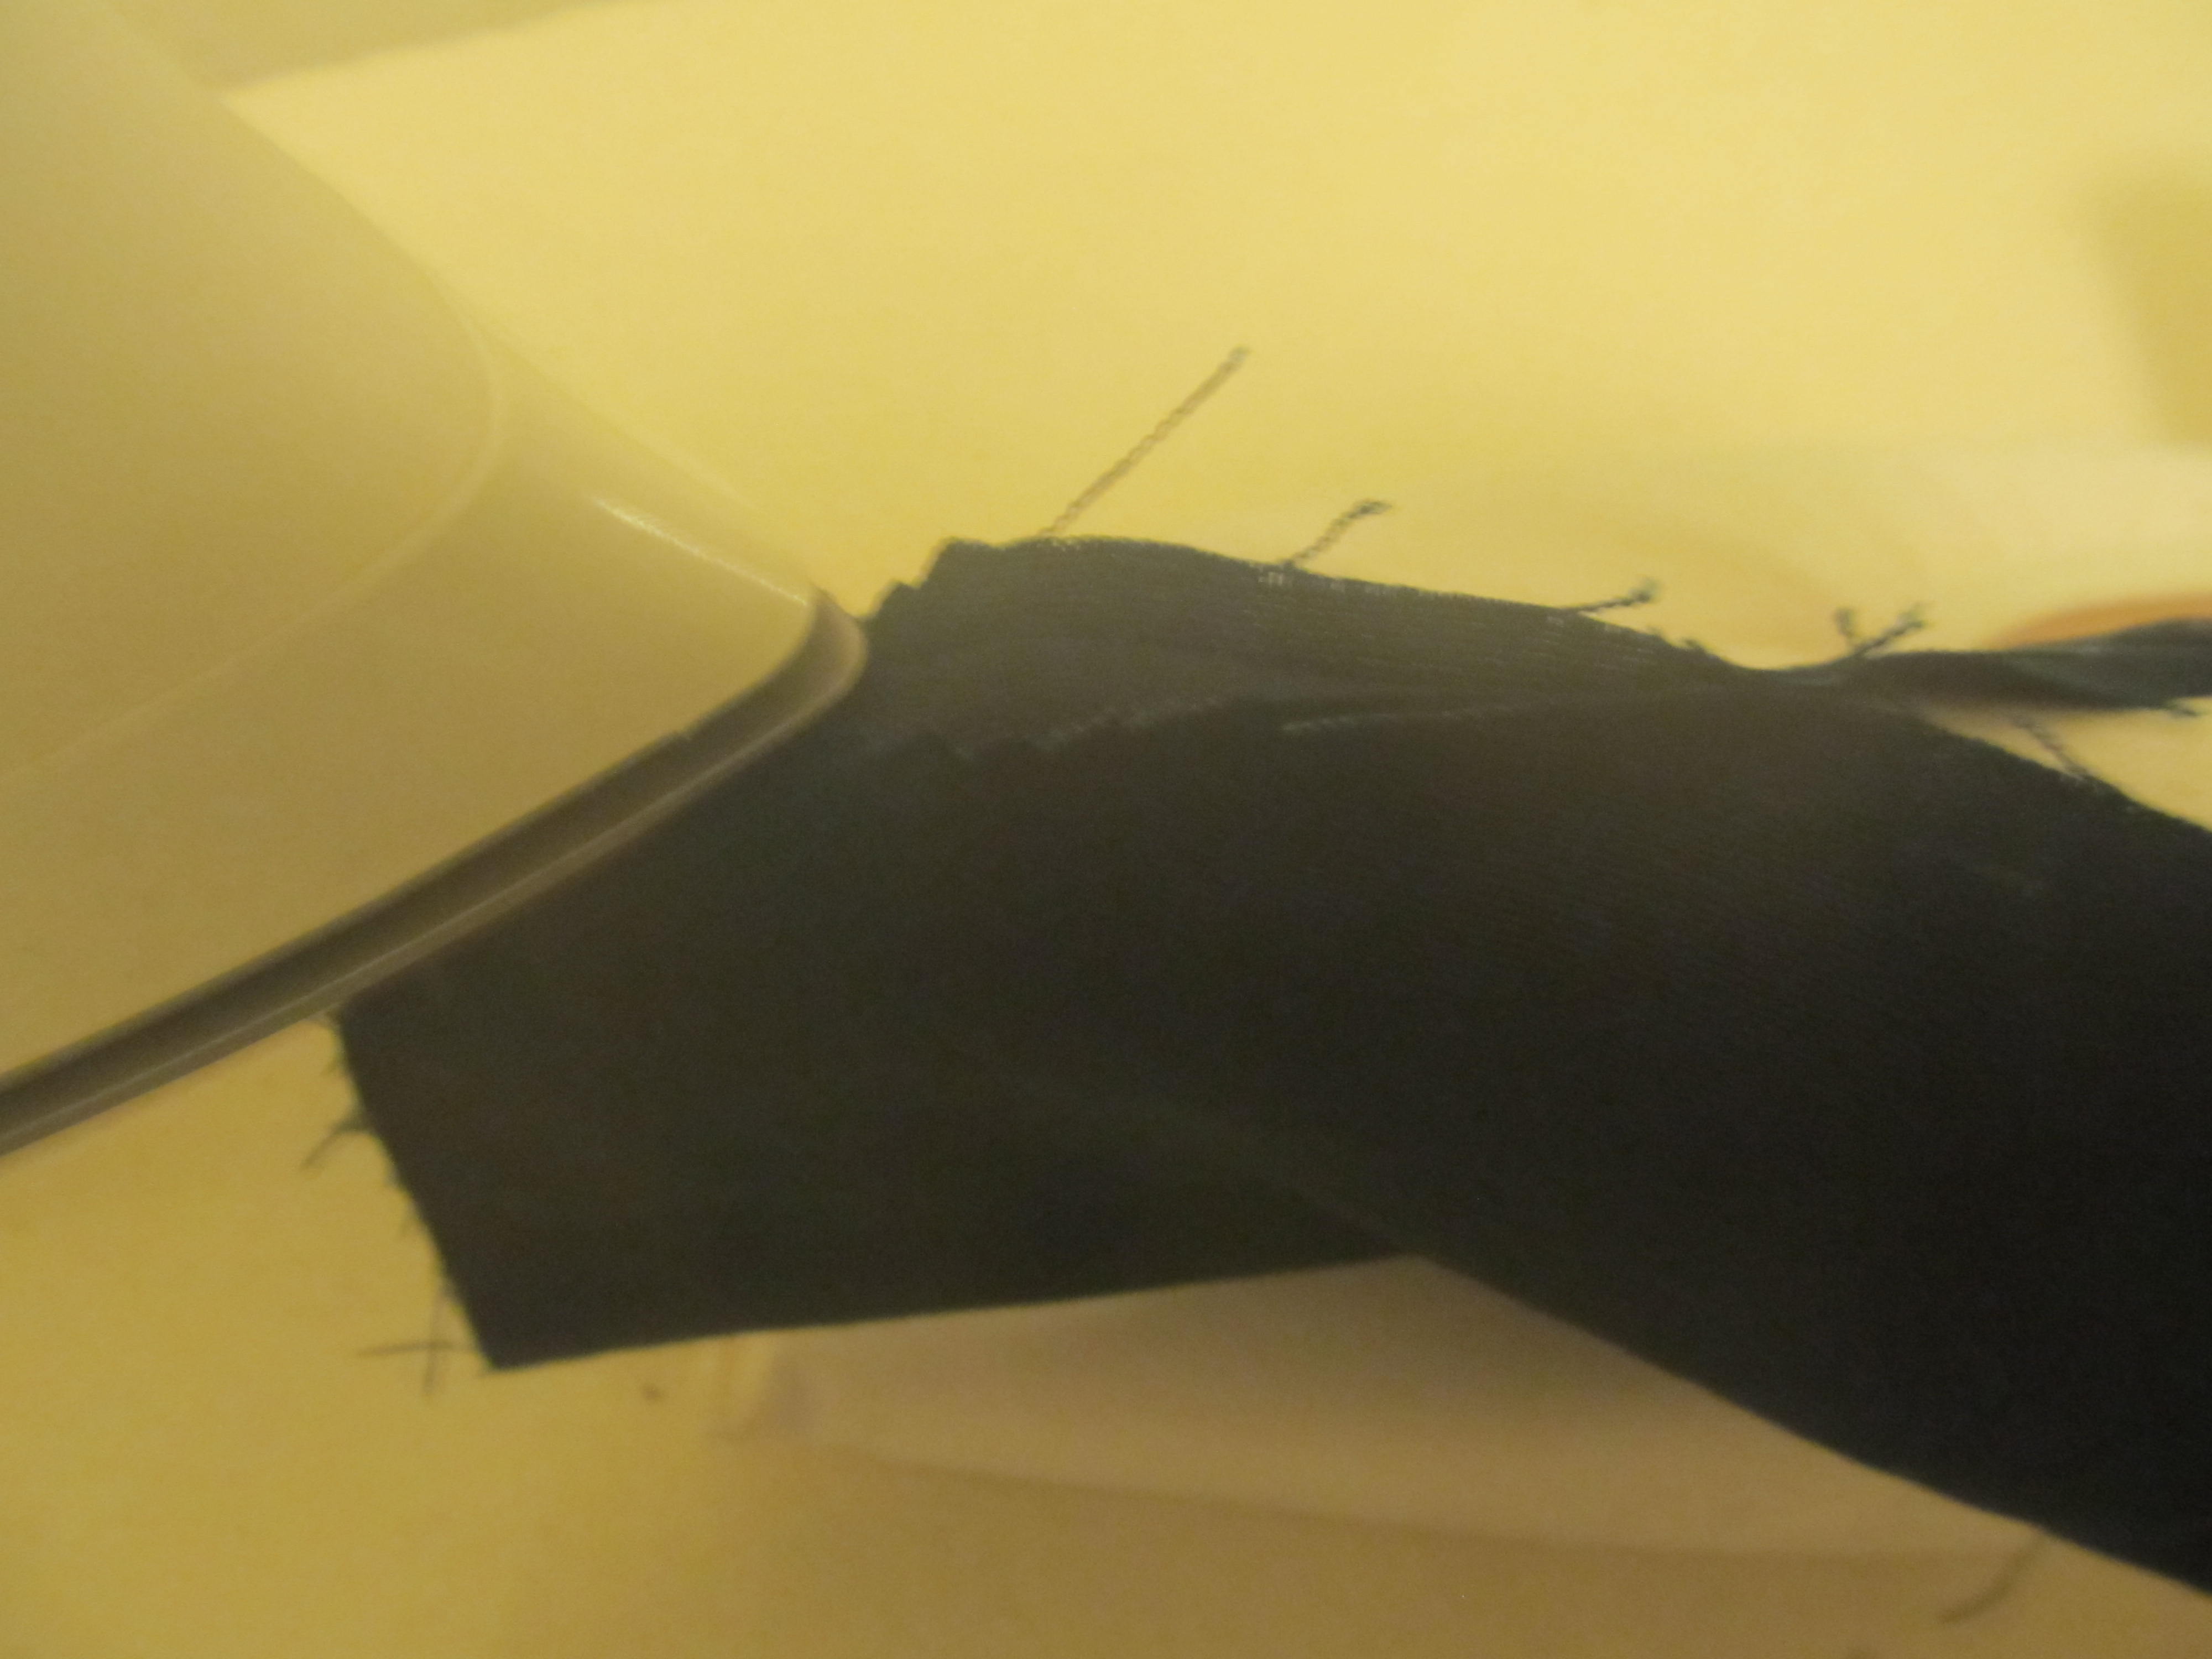
One cool trick I tried out while sewing the tulip dress was using paper to keep the cut edge of the lining fabric from disappearing into the machine. This doesn’t happen often with my machine, but with China silk lining, why not try an ounce of prevention? Some teachers say you should use a paper stabilizer for the entire seam on certain fabrics, but I recently saw a teacher use just a small scrap of paper at the beginning of the seam. It works like a charm.
 This is what it looks like from the back.
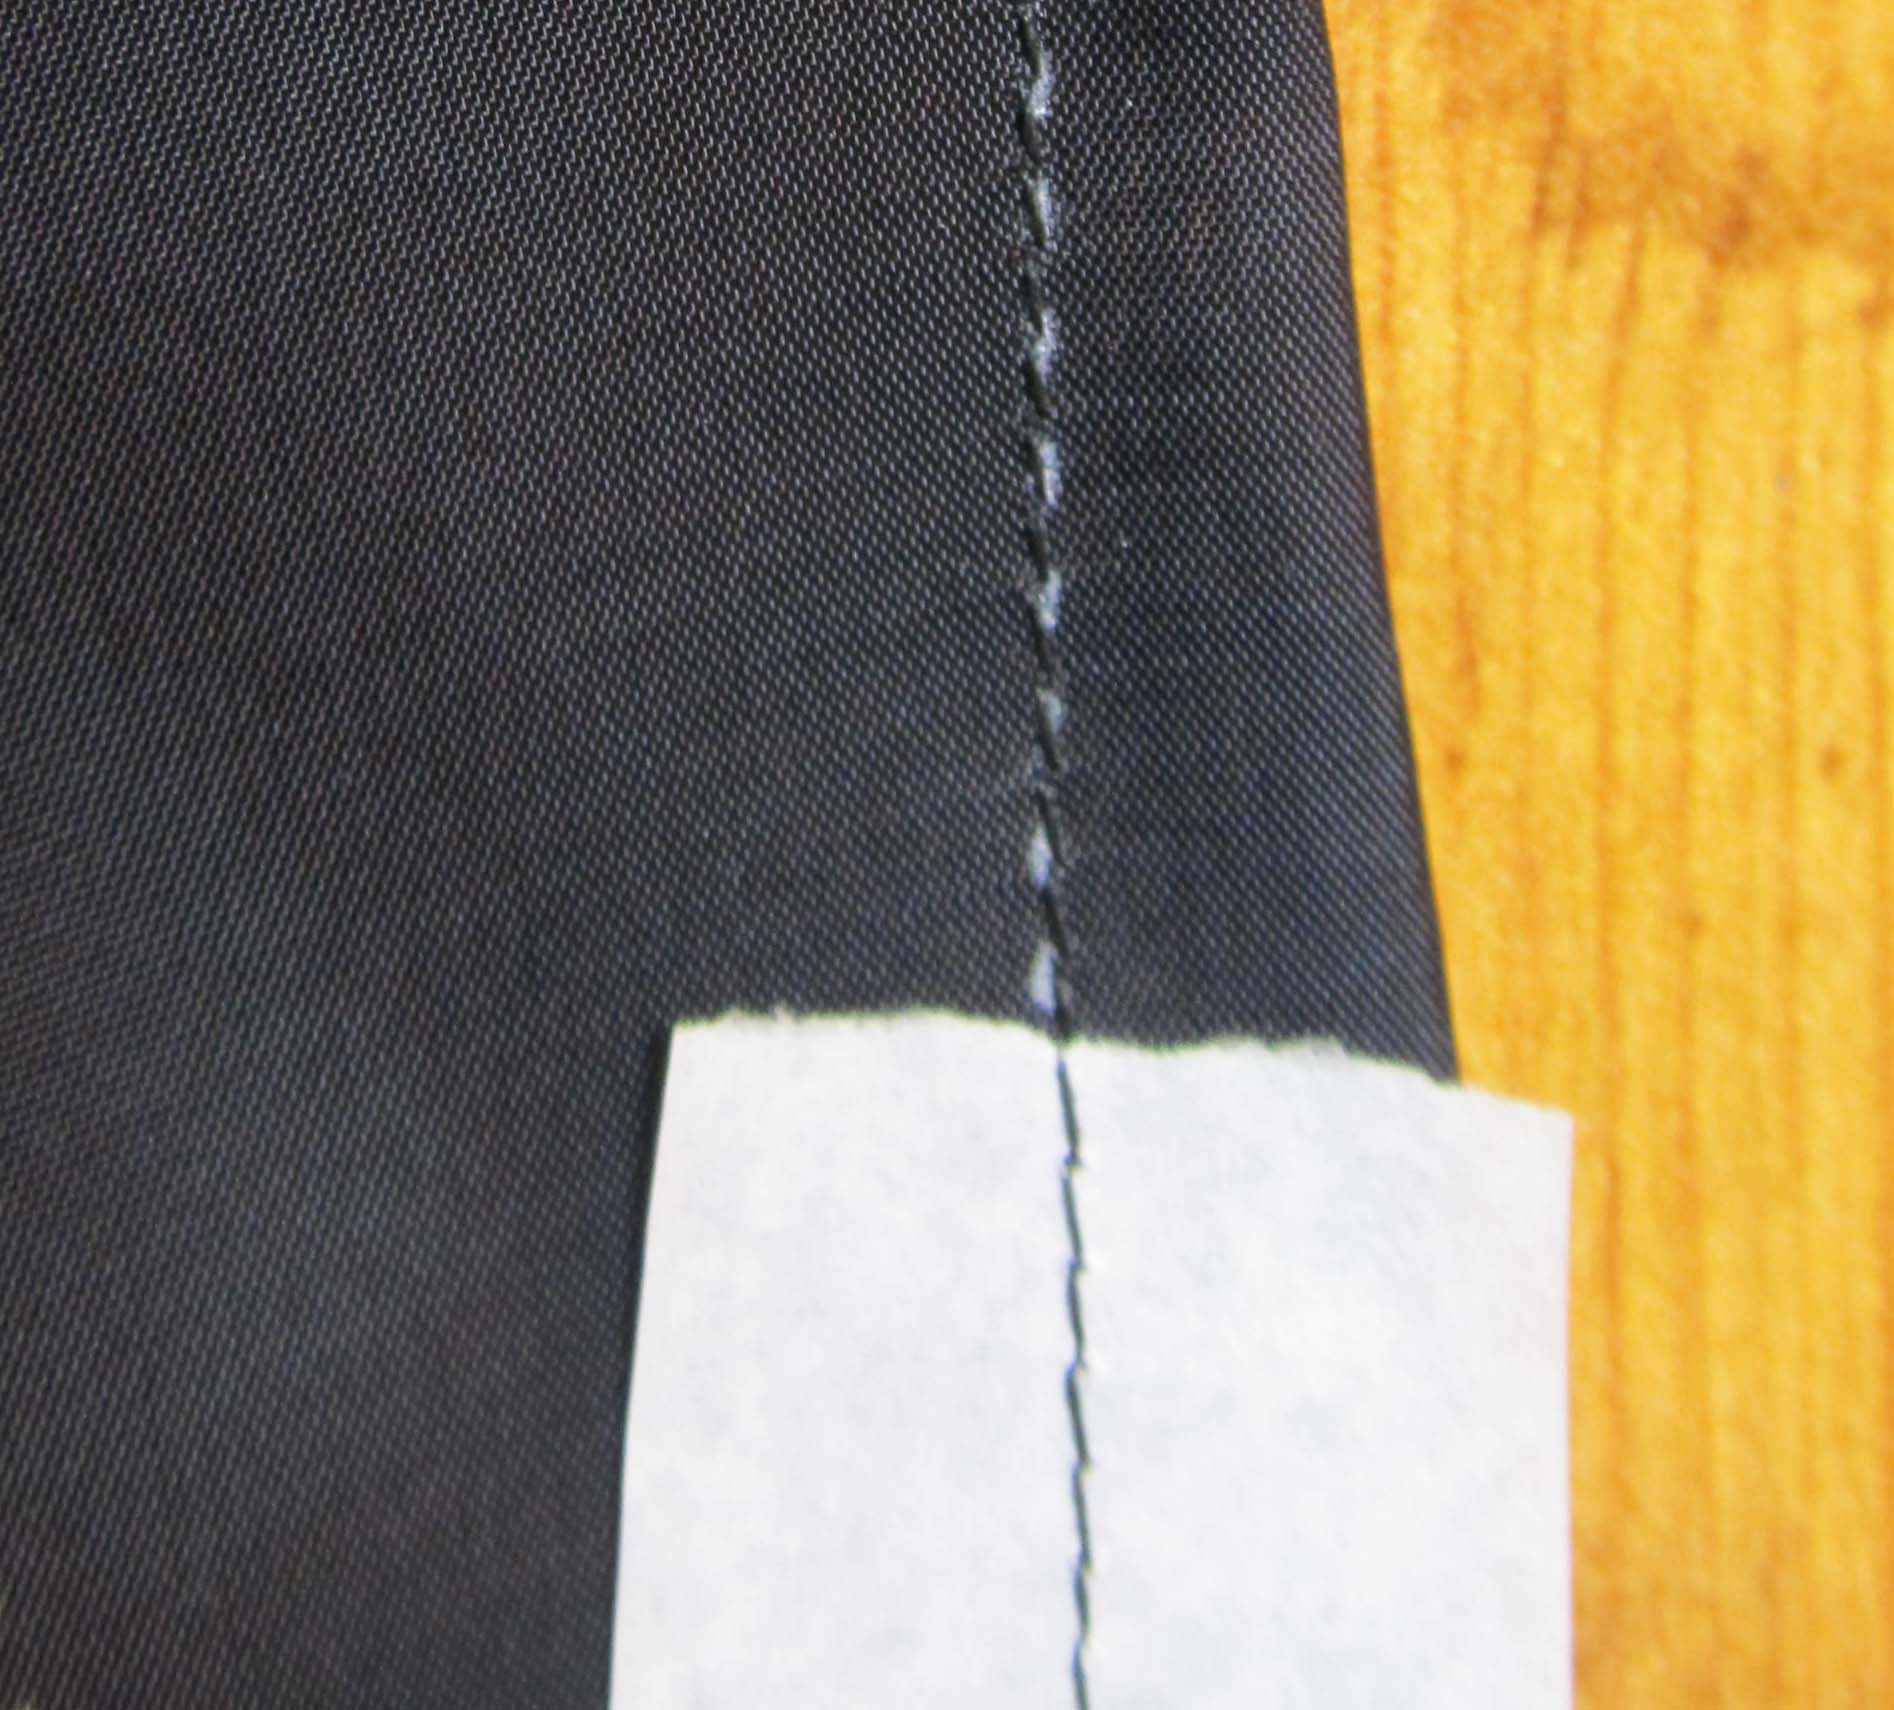 For some seams, I used paper at both the beginning and the end. You could do the same with a dart, using paper at the point if you think it would help.
When you finish the seam or the dart, the paper tears away easily. And, if it doesn’t, that’s why we keep a pair of tweezers handy.
My general approach to construction order once any darts I might have are sewn and pressed is to sew the princess seams so I have full front and back units. I know some people like to stay stitch and clip (or just clip without stay stitching) the curved part of princess seams, but I find that working with 3/8″ seam allowances and fabrics made from natural fibers that are pretty cooperative allows me to manipulate the curves with a few pins and stopping to manipulate the fabric with my hands. I love the tactile experience of sewing and this is a big part of it. When I press the princess seam allowances open using the curves on a tailor board, I can tell what areas need to be clipped and so I just do the clipping right there.
Usually, the next order of business is to get the zipper sewn in while the garment is flat. We can talk zippers another time.
This was the first time I tried a shaped hem with facings. As I was approaching that step, I asked myself why I had thought a shaped hem was a good idea. How was I ever going to get each one of those curves to look the same? The answer, of course, is to mark the stitching lines using a rounded corner template. 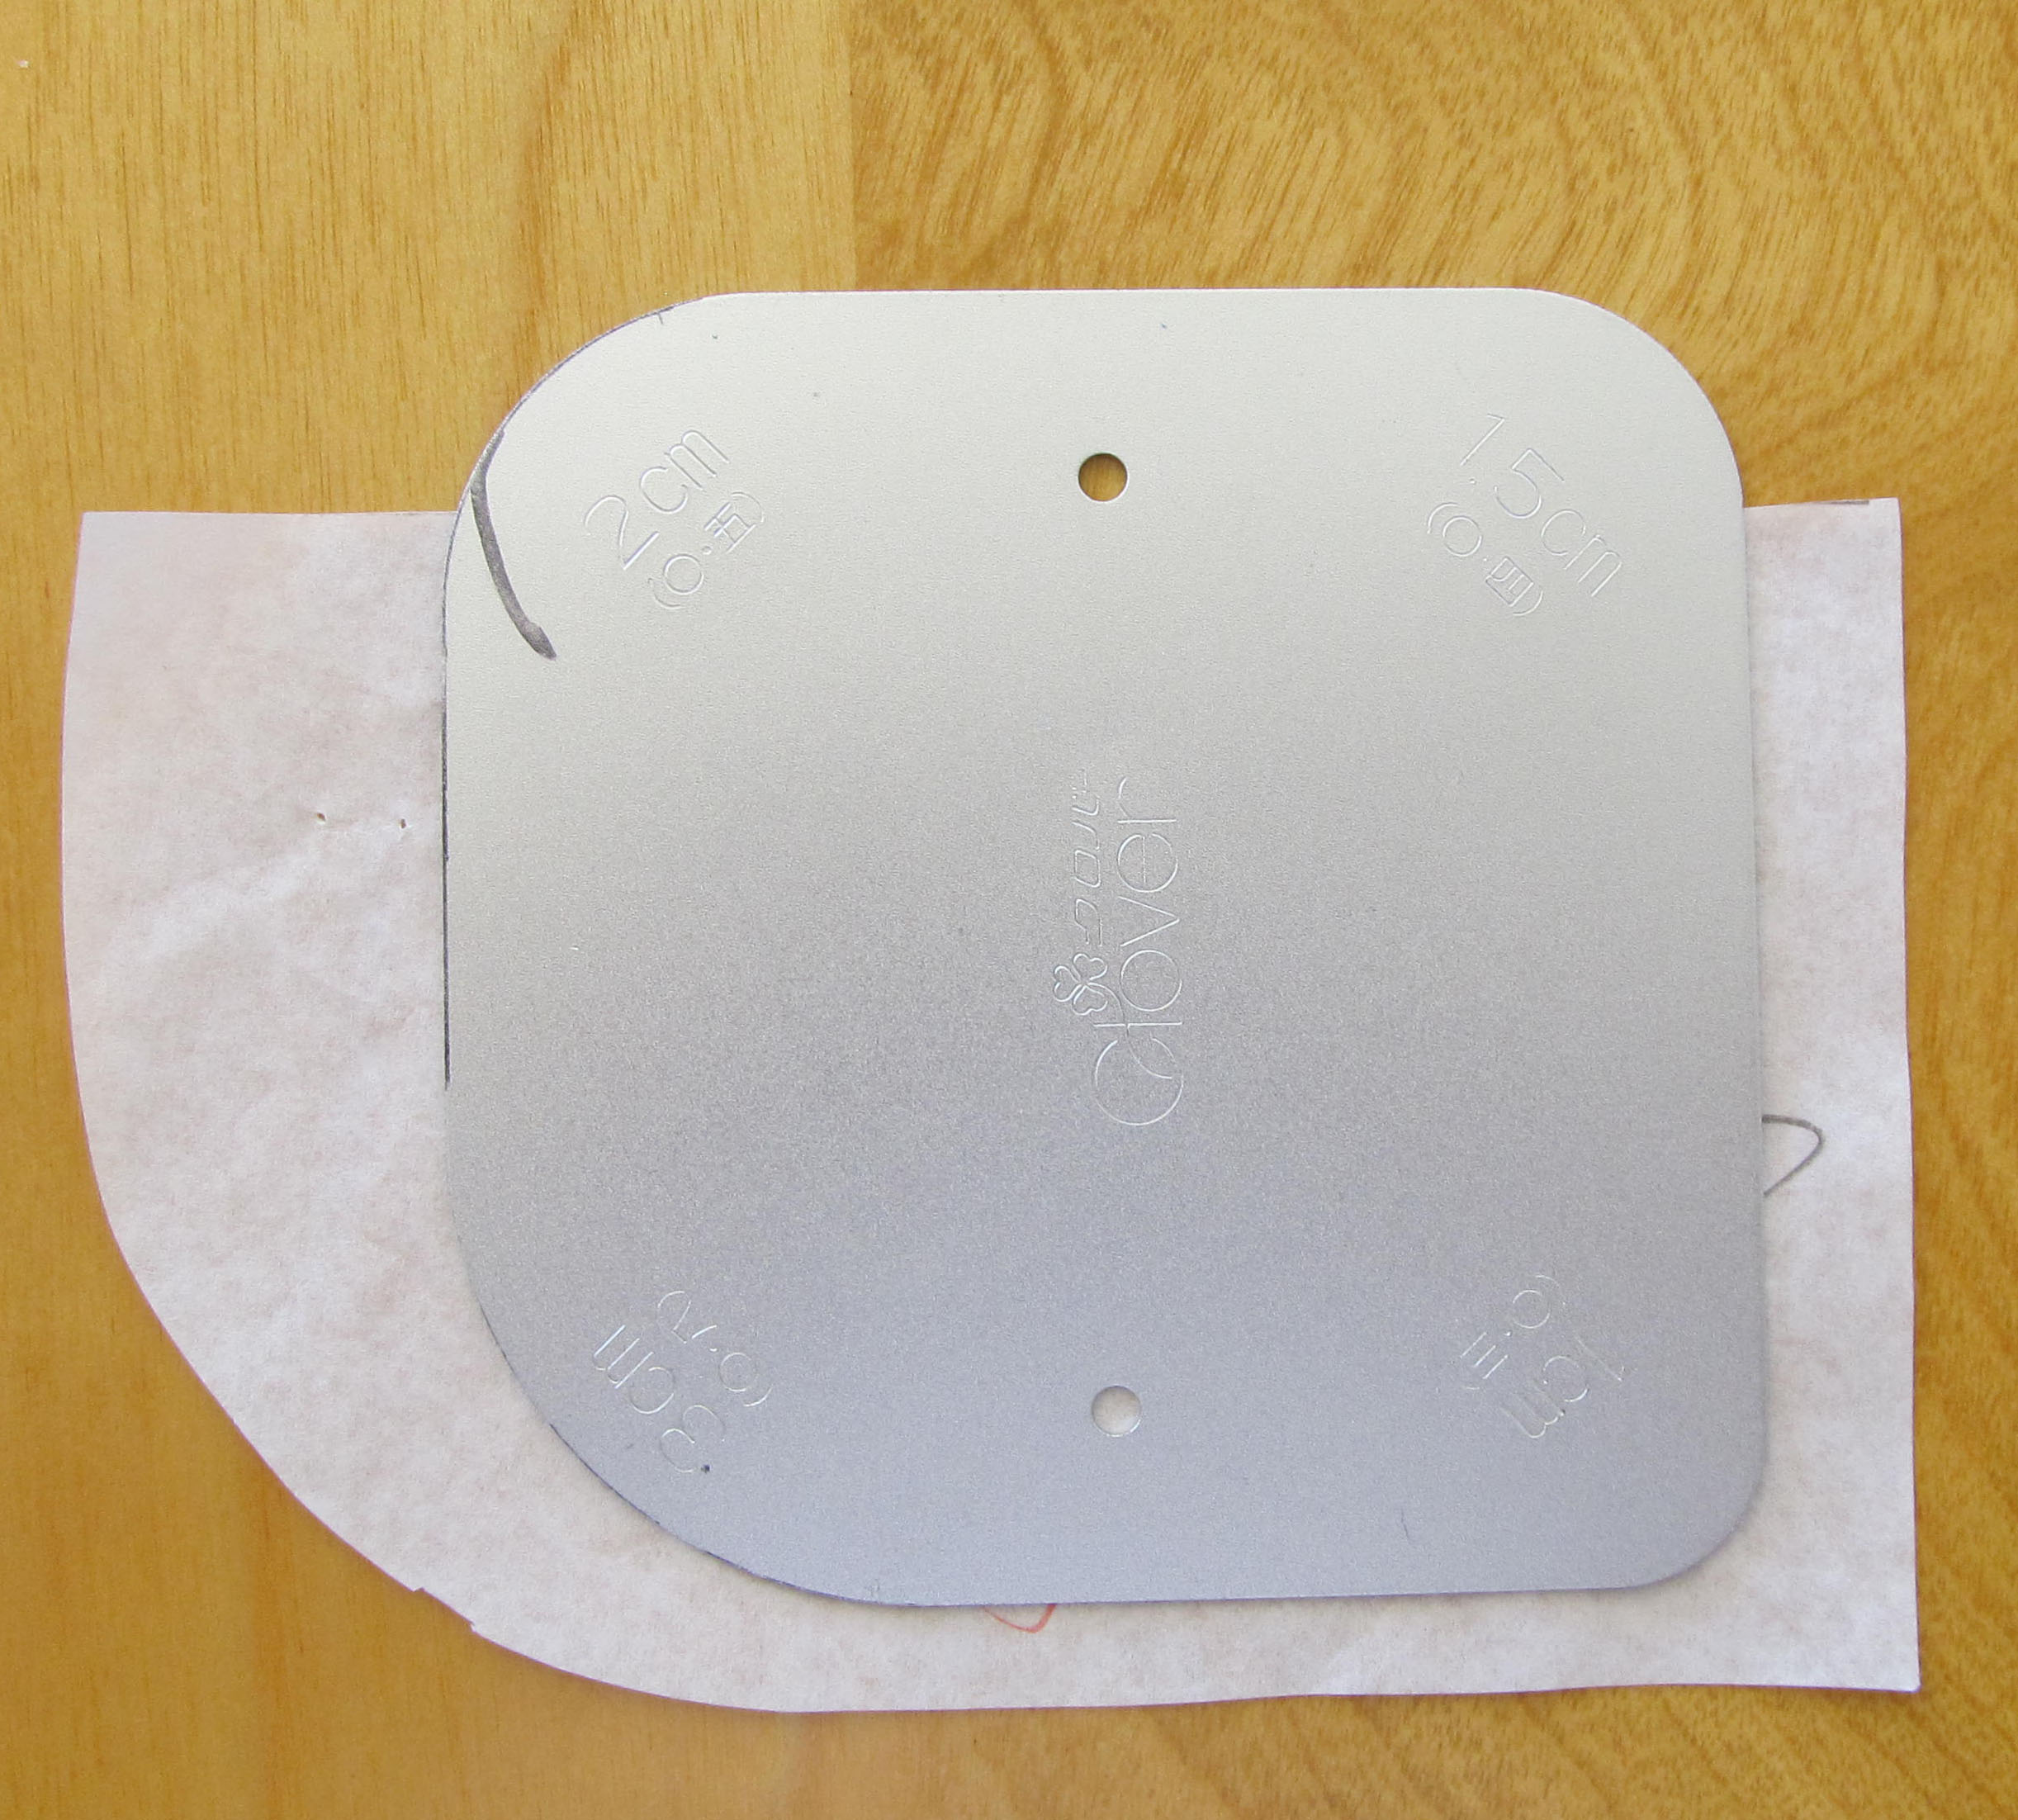 Except I forgot which template I had used to make the pattern(!) In fact, I forgot I even had the one I used. Remember. I said I cut this garment out months before I started to sew it.
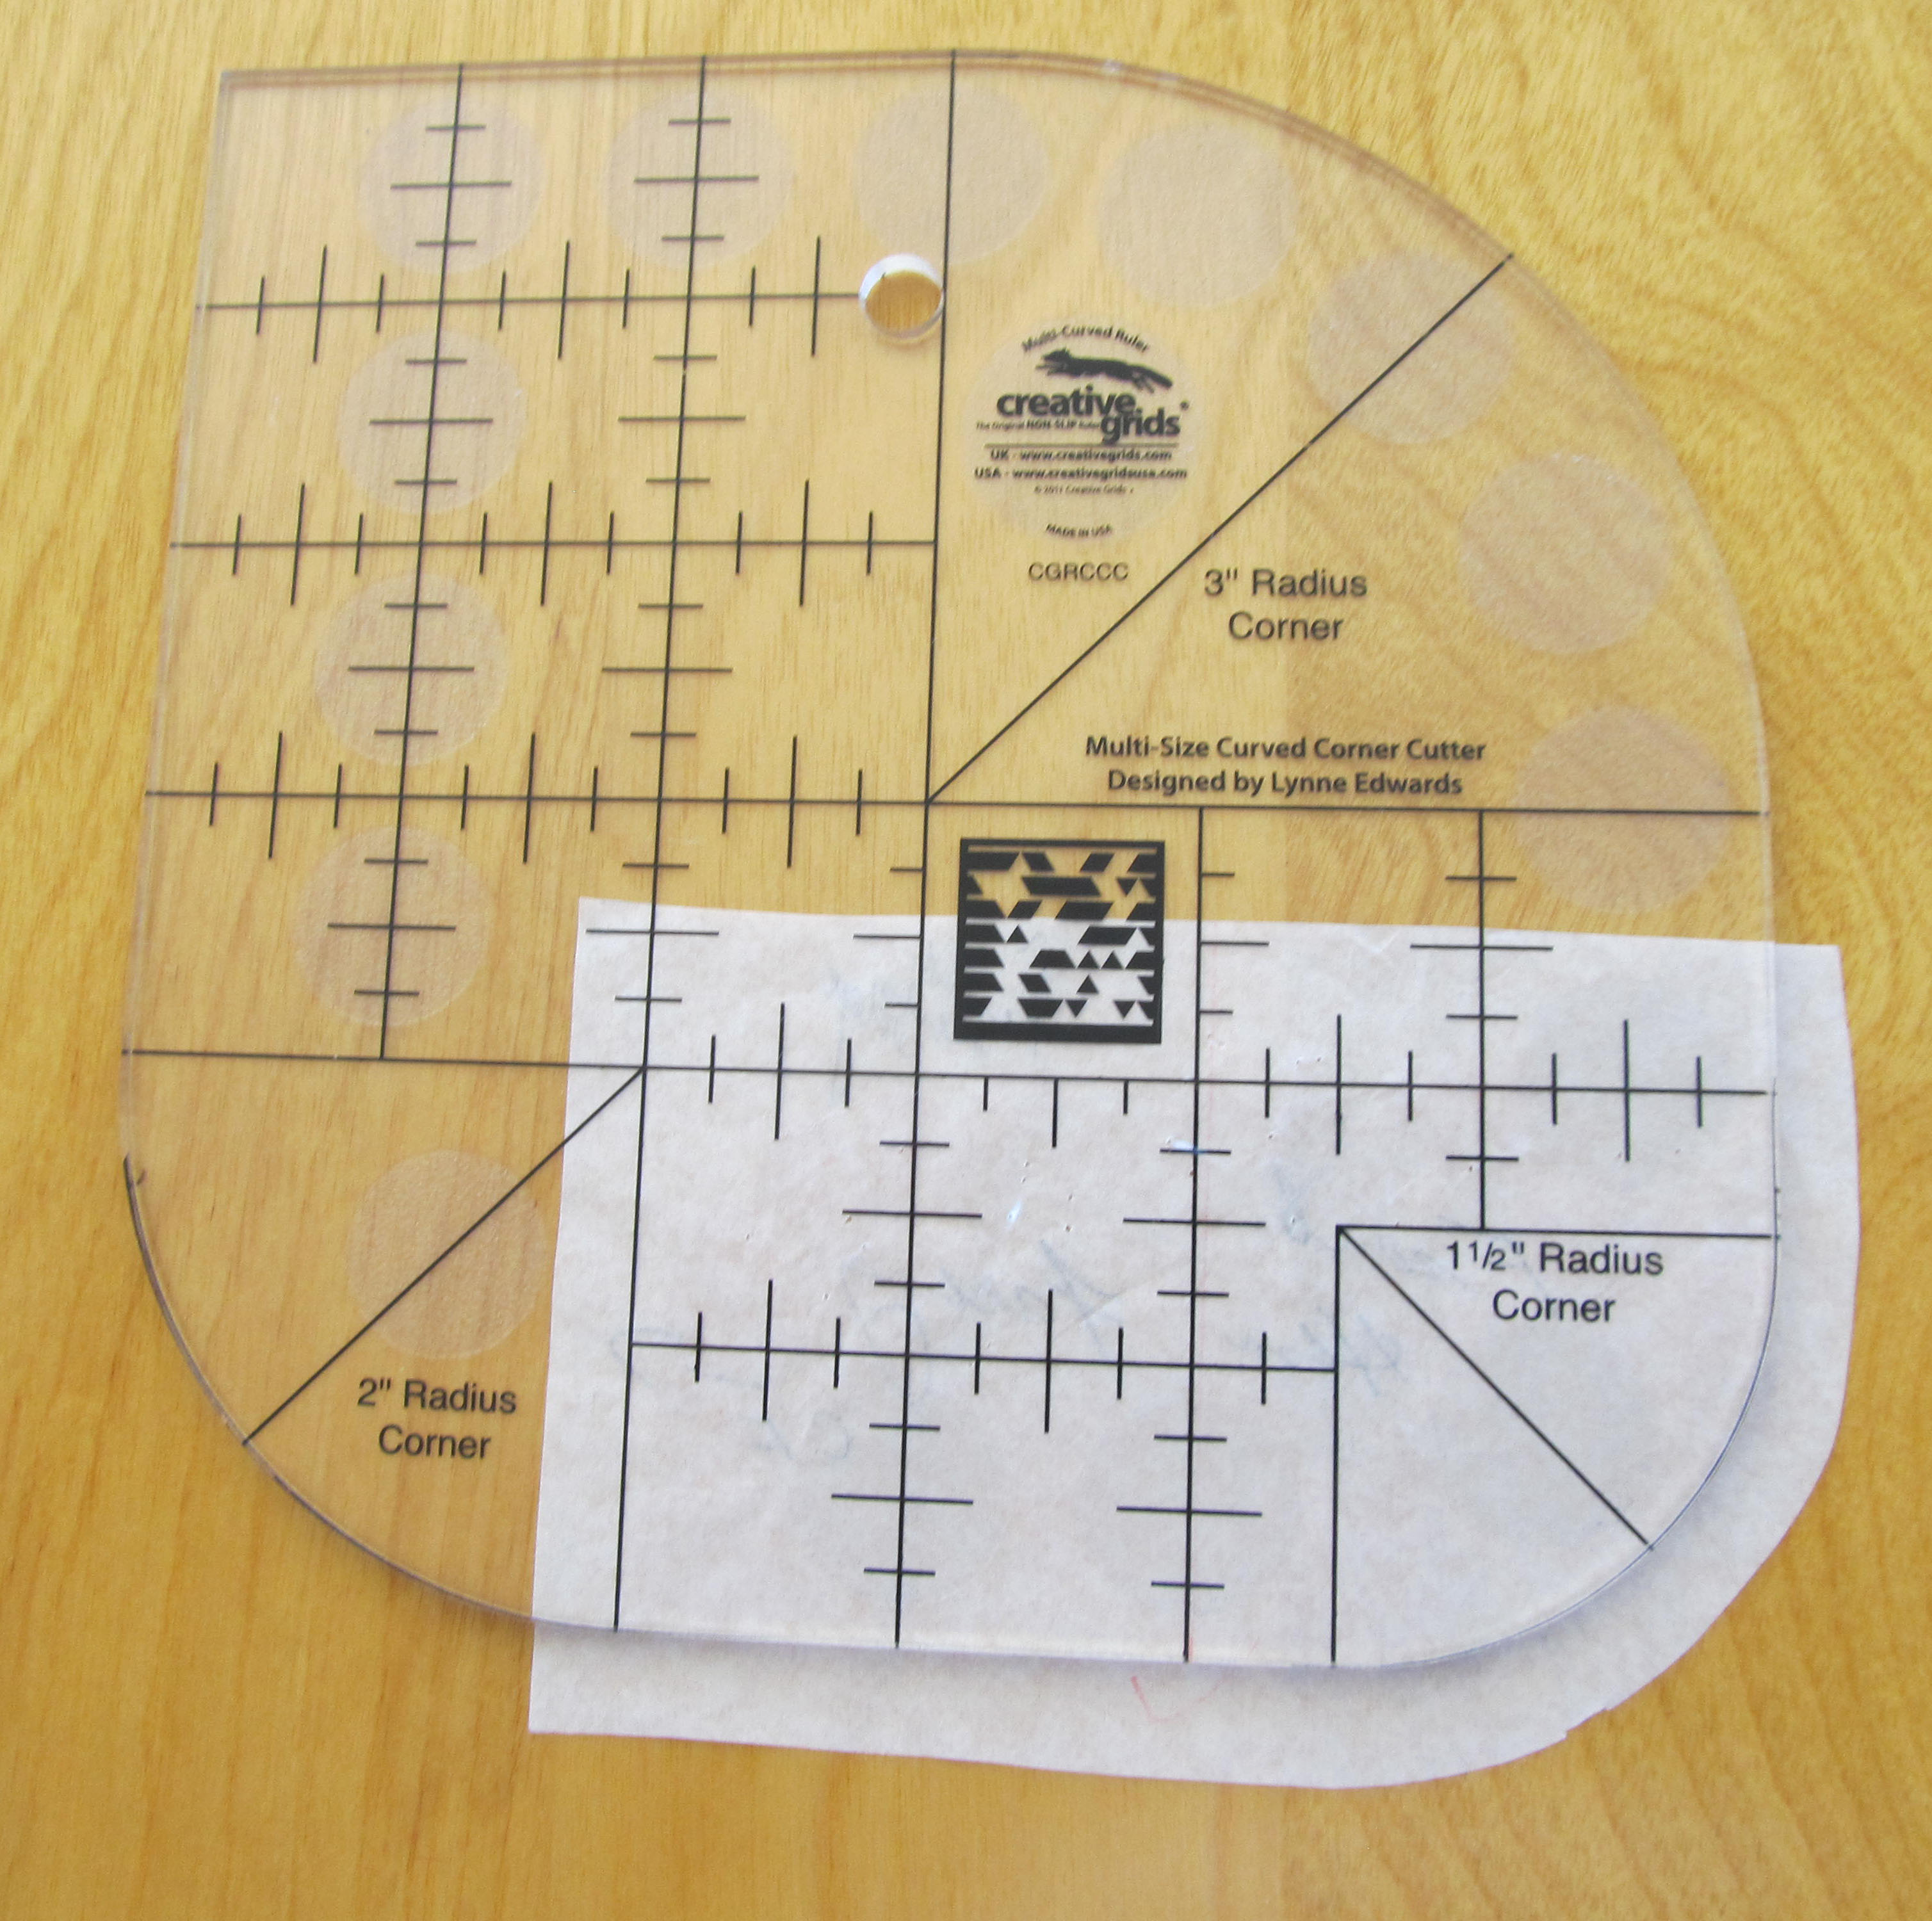
One option for marking the stitching line would have been to draw it on the pattern and use a tracing wheel and waxed tracing paper. Had I done that at the beginning, I wouldn’t have wasted all that time trying to figure out where that particular curve came from. What I ended up doing is tracing the template with a chalk pen made by Bohin that makes a very thin line. Sarah Veblen told me about this. It’s one of those wonderful tools quilters know about and garment sewists find out about later. Here it is with my trusty roll of painter’s tape.
 Once the line was drawn, sewing the curve slowly with smaller stitches got the job done.
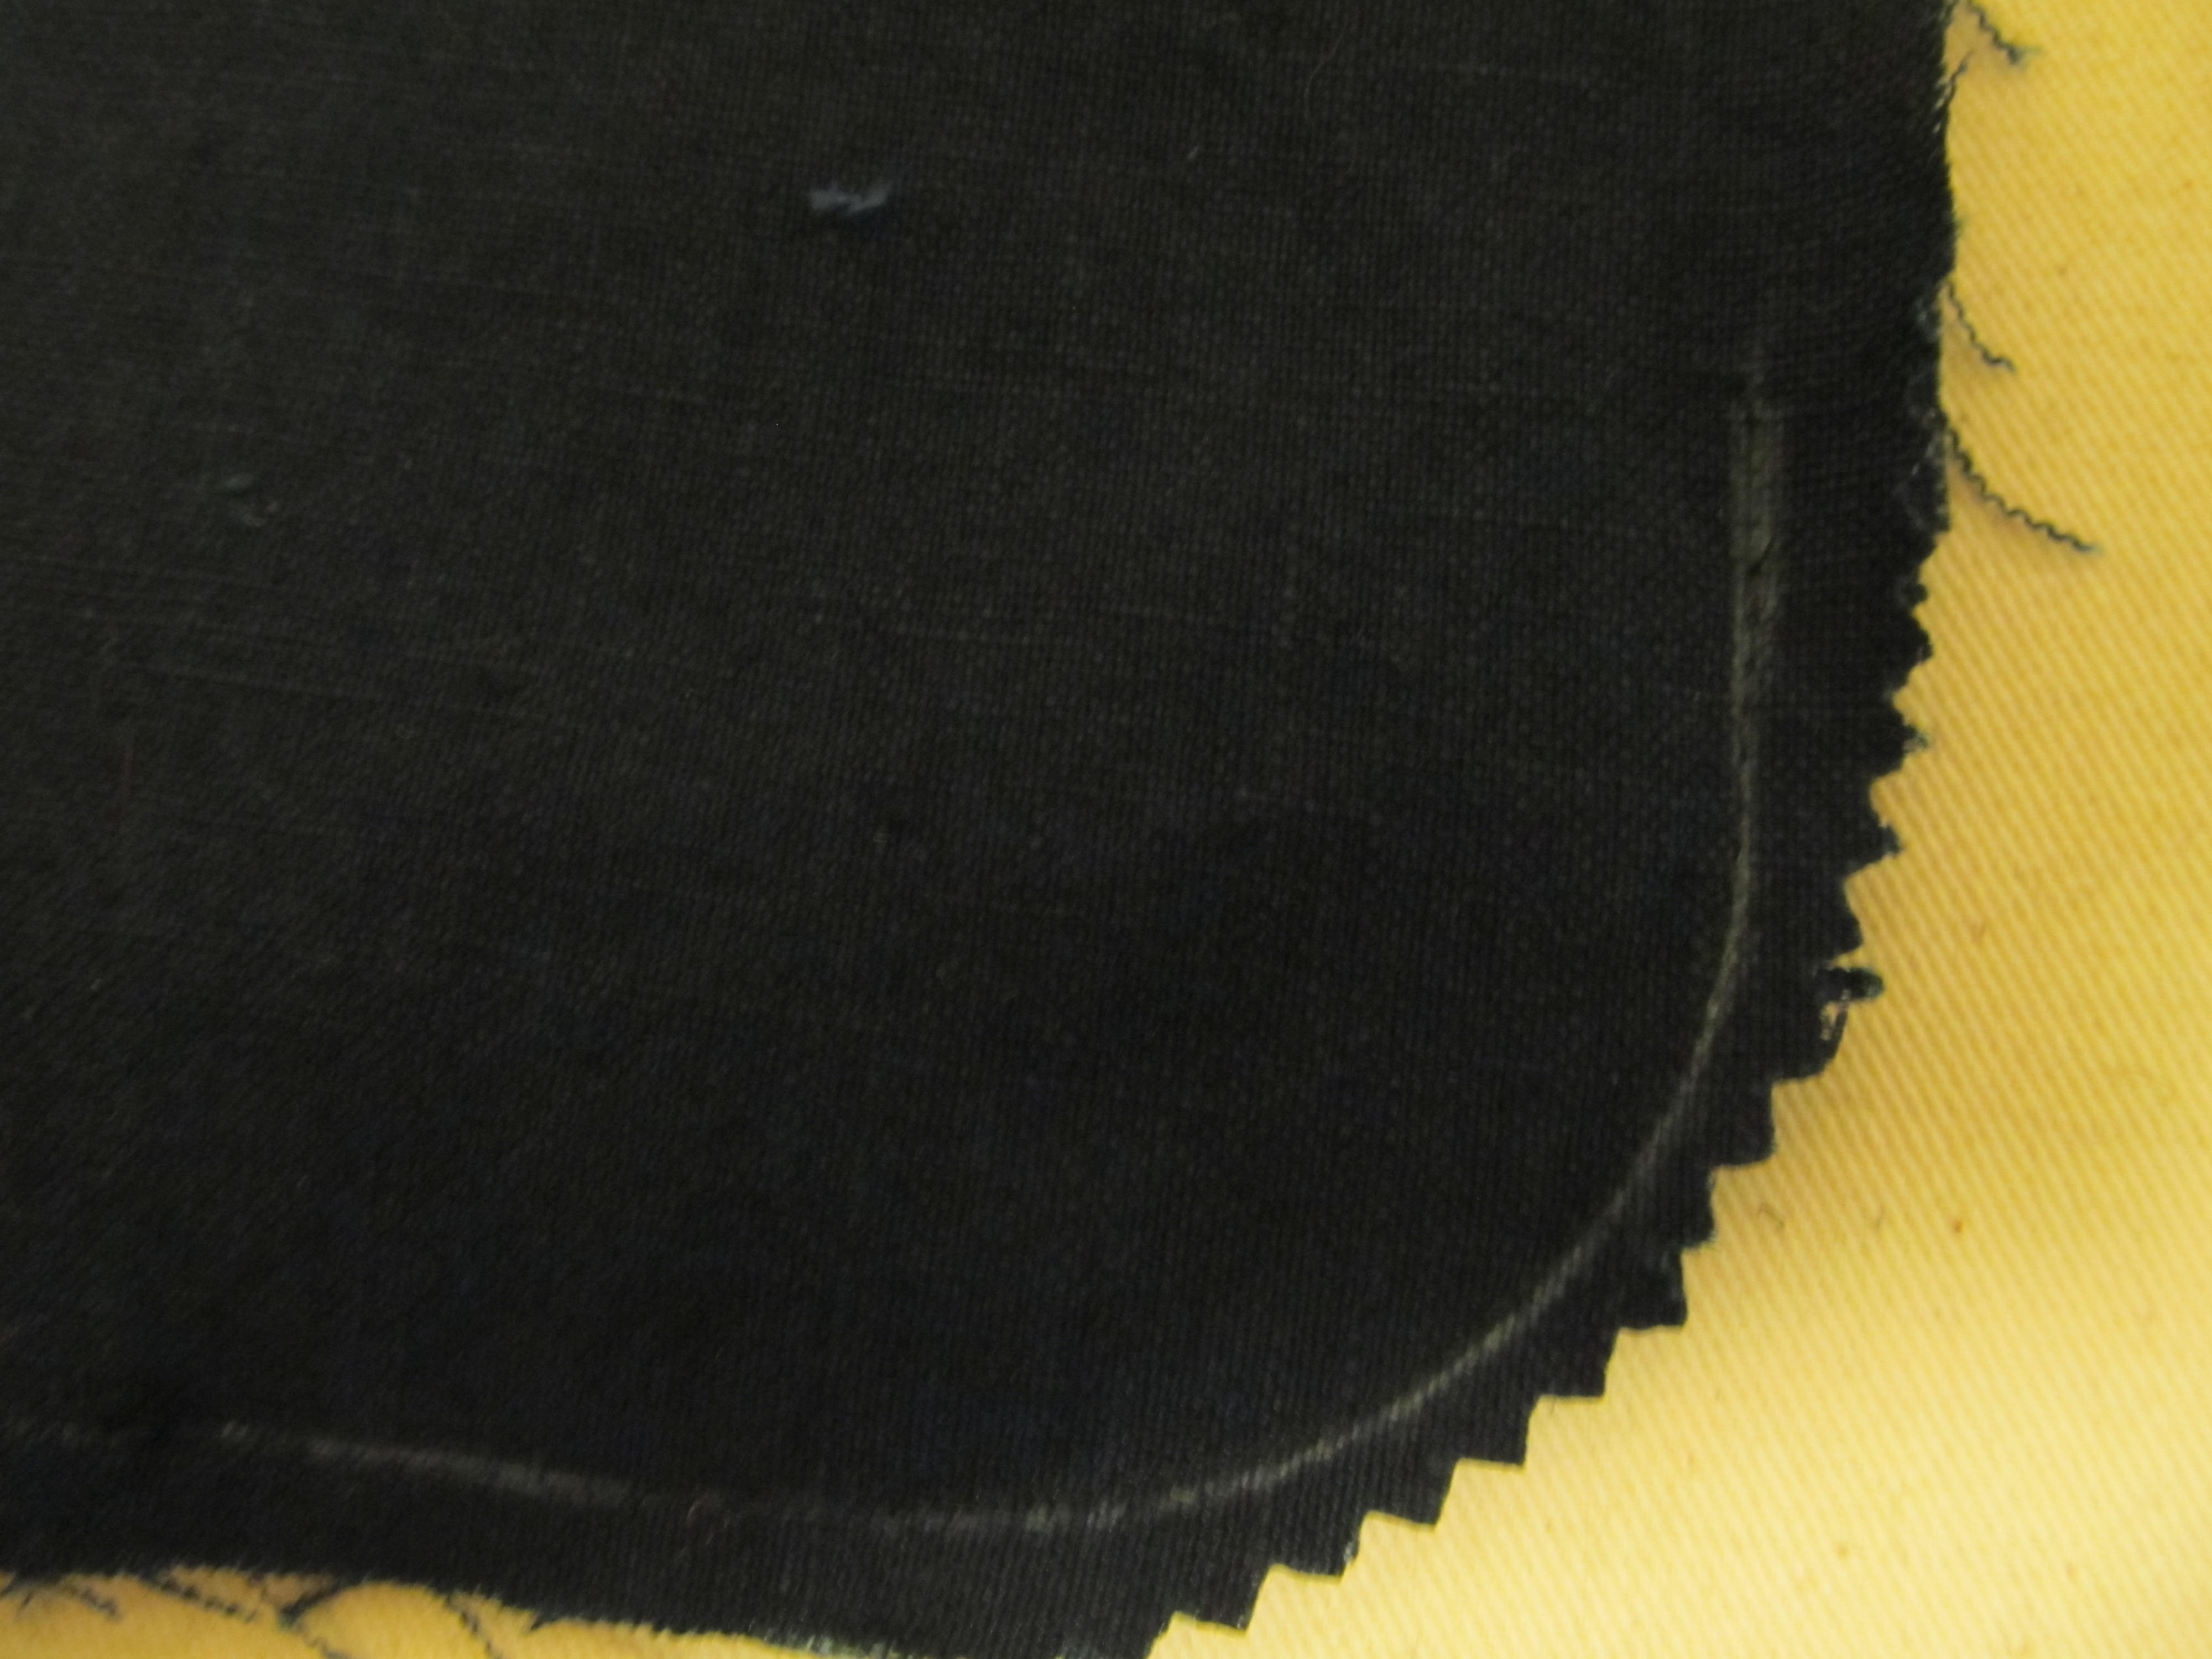
 Then I followed another tip I picked up recently, which is to trim curves using pinking shears instead of making a bunch of snips or clips one by one. How great is that?
 Next, I pressed the seams open over a tailor board. I know it sounds weird, but I got in the habit of doing this after taking a workshop a while back and it seems to make points and curves turn more easily and allow you to favor one side when you do the final press.
 The one thing about constructing this dress that was exactly like every garment I make is that it took much, much longer than I had thought it would. A lovely friend of mine tells me that the reason I always underestimate the amount of time something will take is because I’m an optimist. I’m going to go with that.
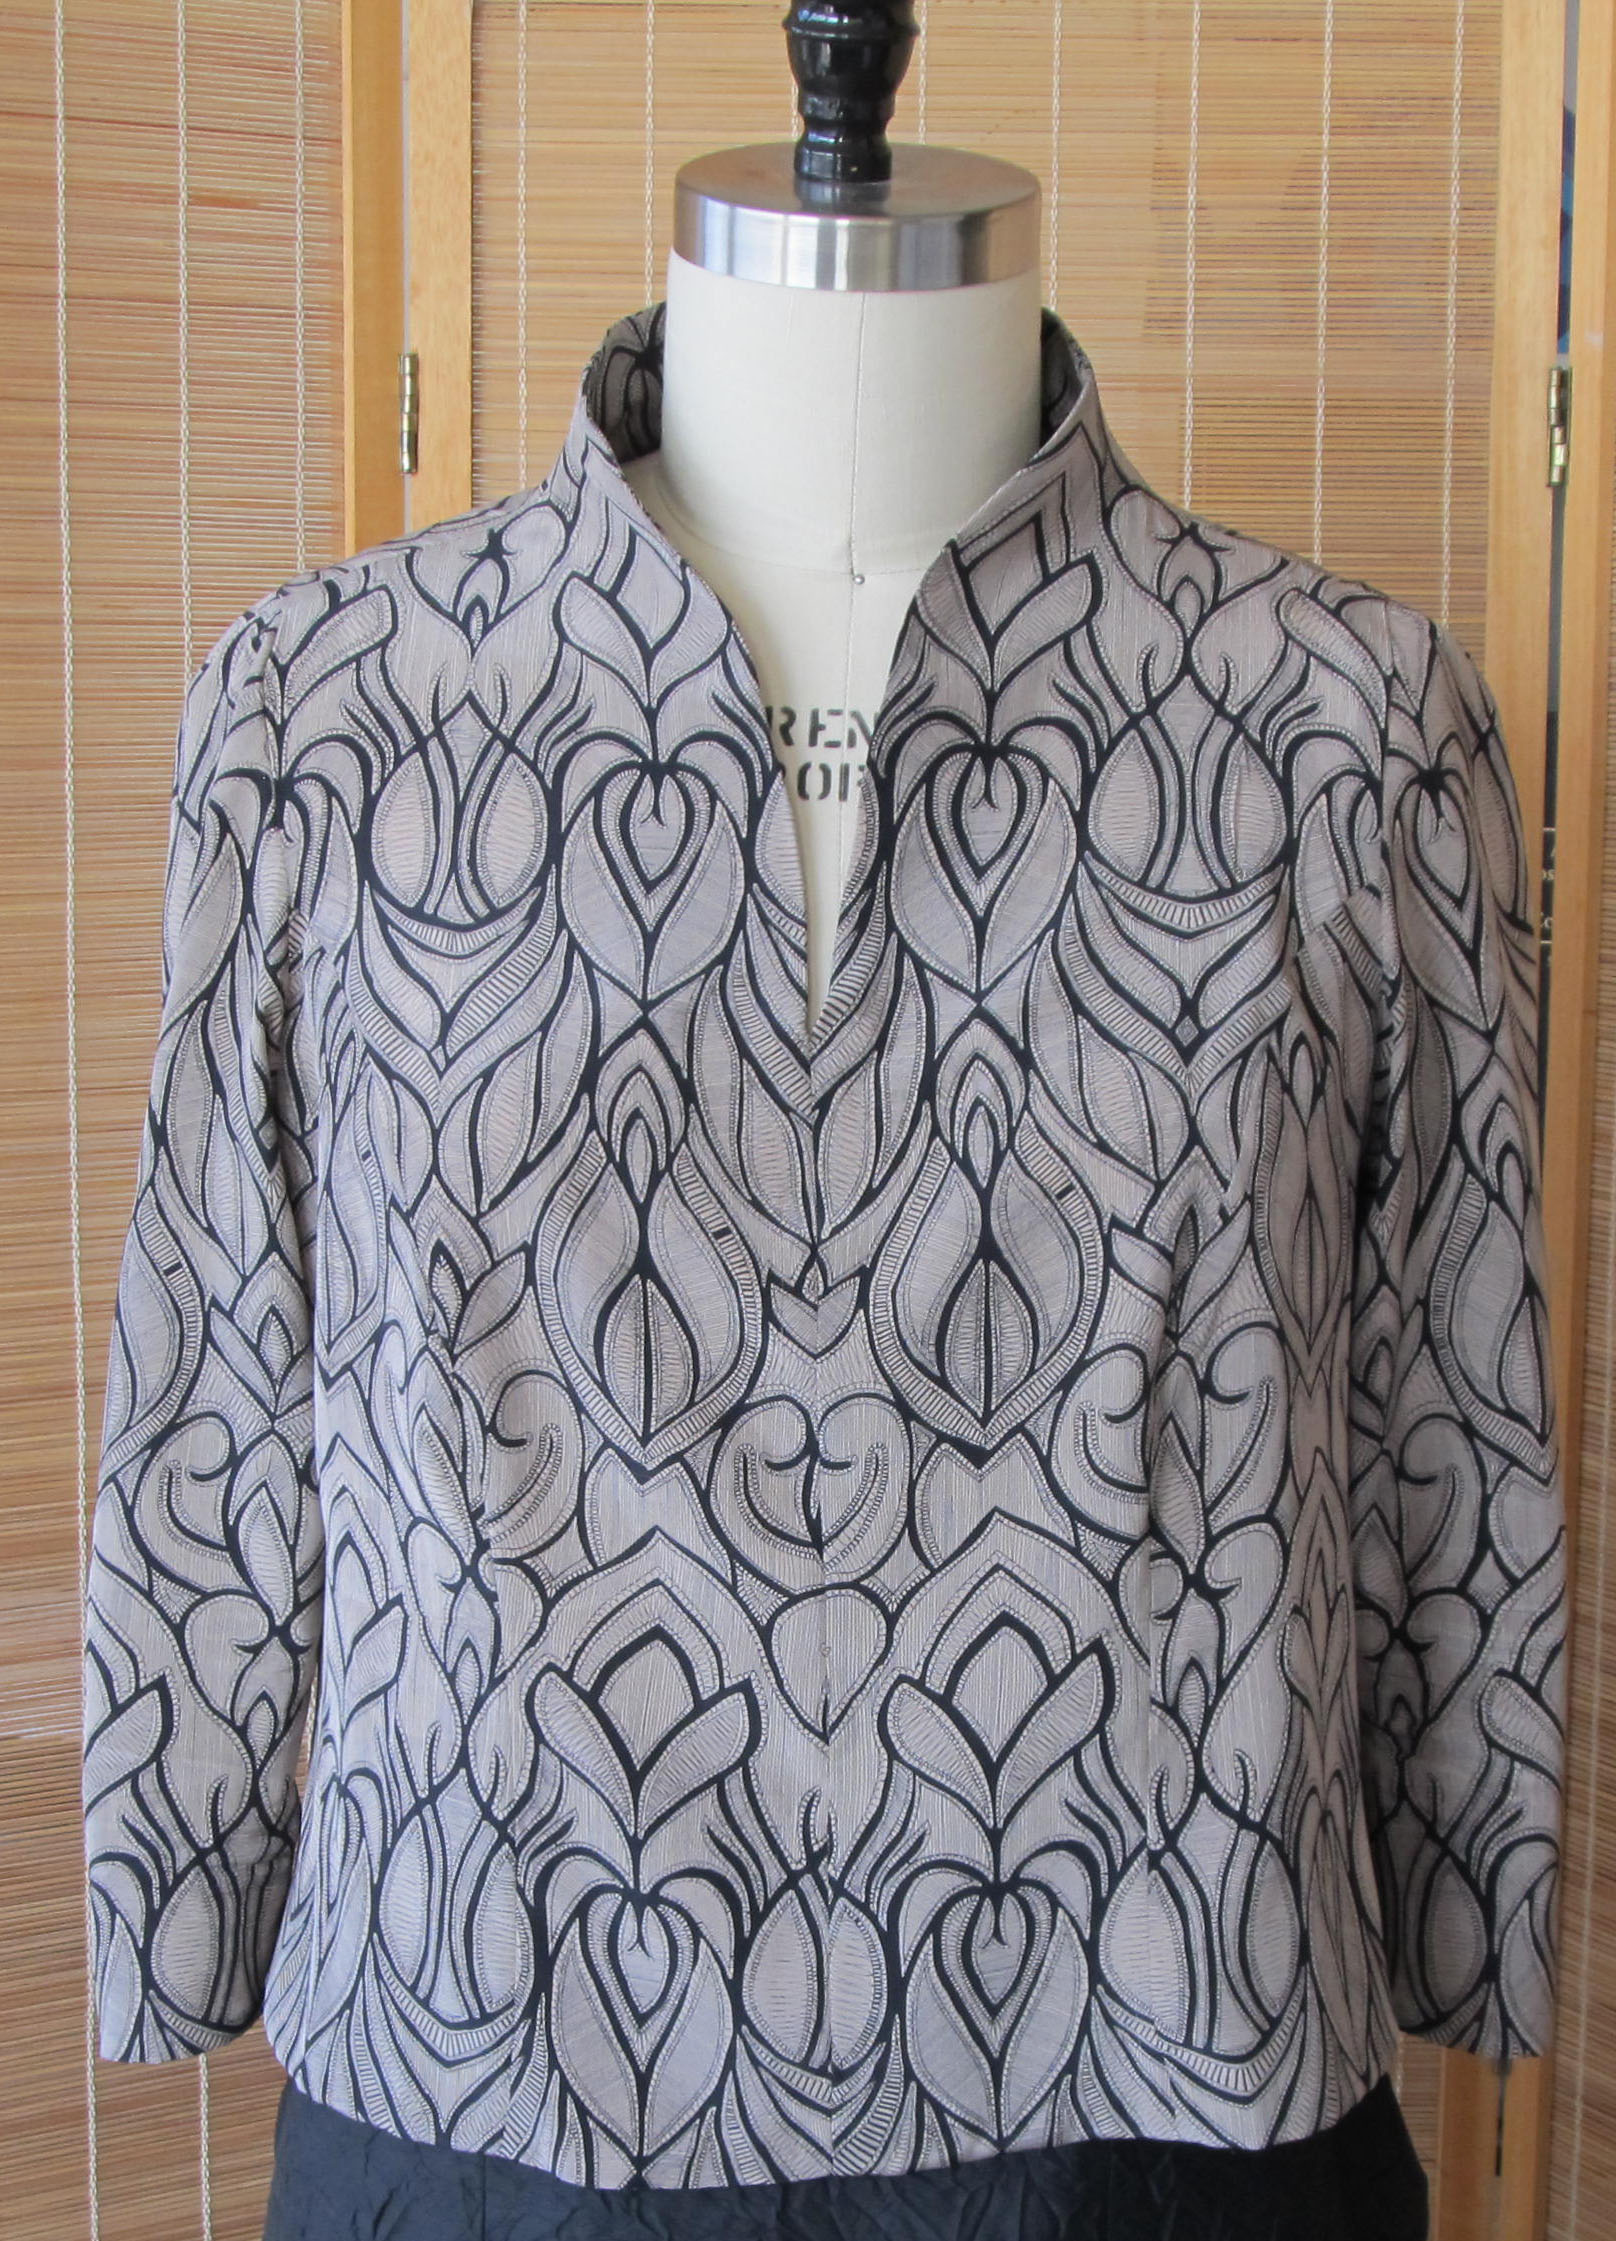
The thing is, after all that time and no small amount of anxiety, I really enjoy wearing this dress.

I love this dress on you! I think that perhaps you have a 2nd (or 3rd?) career as an engineer.
LikeLike
Beautiful and so graceful! Your pictures and your descriptions are incredibly thorough. Thank you for packing so much helpful information into your post.
LikeLike
Love this dress! You did a fabulous job and so what if it took you longer than you expected! The results are well worth the wait! And thank you for such a detailed analysis of construction and sewing notion tips. The sharing of your knowledge is truly appreciated.
LikeLike
Thank you for the support, my lovely friends. With encouragement like that, I’m going to keep on blogging.
LikeLike
I love the dress on you and thanks for noting down all the detail steps and tips! I’m sure you will enjoy wearing the dress every time you put it on!
LikeLike